4: Death of Hope
Transformers: War for Cybertron Walkthrough and Guide
by vhayste
Chapter 4: Death of Hope
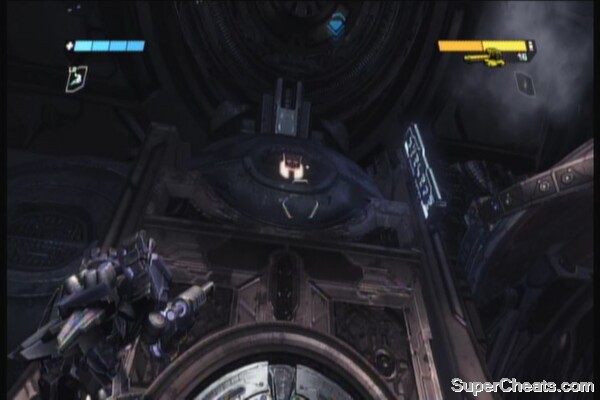
The Omega Key is Angry
Objective: Rendezvous with the drop ship
Once in control, get out of the wrecked ship and grab an energon cube and choose from the EMP shotgun or battle pistol. Once ready, follow your allies and jump down to the bridge.
AUTOBOT symbol: As soon as you land on the bridge, turn around and look up. You should find the symbol above the tunnel entrance.
 |
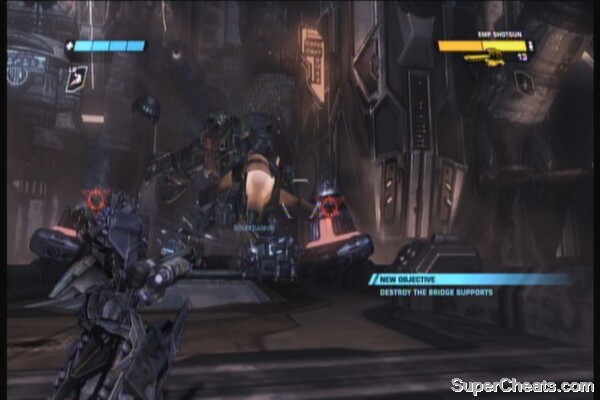
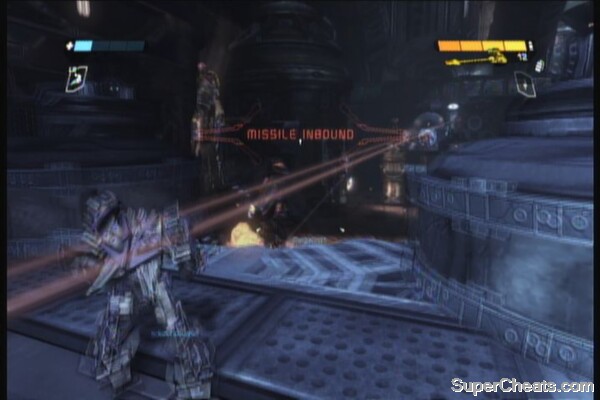
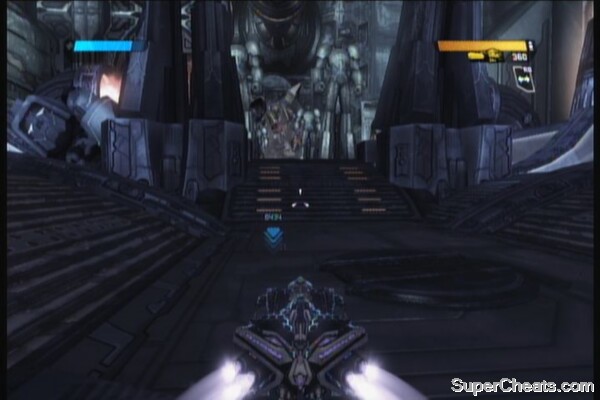
Continue along the bridge and Omega Supreme will appear. Evade its volley of missiles, then destroy the bridge supports as commanded.
 |
Objective: Fall back to the interior
Enemies Within
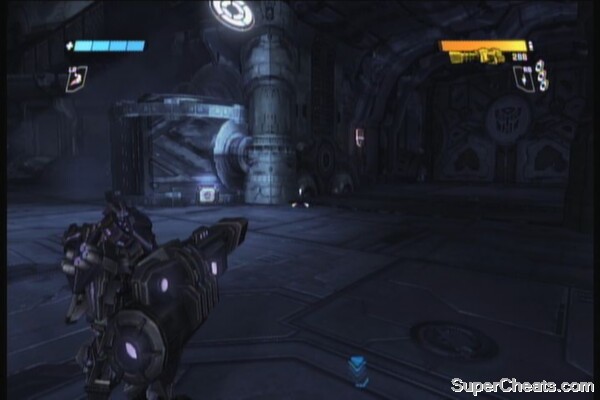
Run back to the tunnel. Megatron can only open it with Dark Energon so just wait for him to do so. Once inside, grab the grenades, ammo and energon cubes as you need. After a short while, a brute and an overshield autobot will come out from the door to the right. Another heavy autobot will appear on the otherside. Take out the overshield autobot then take out the heavy autobot while the brute is distracted by your allies. There is also an Overshield upgrade inside the room where the brute came from so pick it up for additional protection. Once done, follow your allies and take the lift.
Cargo Lift
Objective: Ascend the chasm wall
Follow the path until you reach the lift. Destroy the locks when prompted and enjoy the ride... for a few seconds. Omega Supreme will start attacking again. Destroy the emergency locks again to fall down.
Objective: Escape the elevator
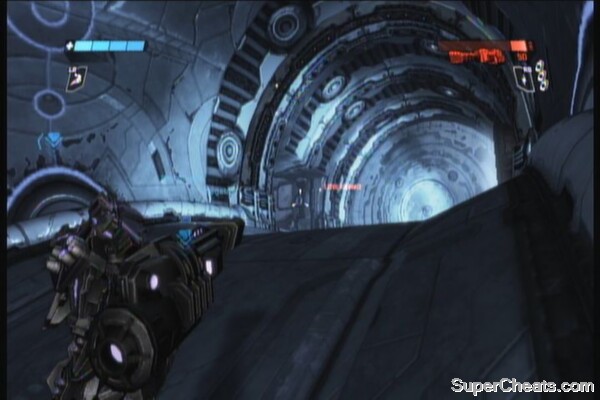
Destroy more emergency locks then follow the mission marker. Keep moving across all platforms until you reach a tunnel. The tunnel opens with a trio of autobots. Kill them all and grab the weapons/ energon cubes if you need them. Go through the tunnel and Omega Supreme will tear open the other end. Shoot its hand before you get completely sucked.
 |
AUTOTBOT symbol: After destroying Omega's magnetic vacuum grab, follow your allies to another path that leads to an elevator shaft. Before jumping, look at the odd-looking elevator car. The symbol should be behind it.
 |
Jump down the shaft and grab whatever item you need. Follow the hallway and destroy the door locks.
Storming the Control Dome
Objective: Go to the Bridge Terminal
After opening the door, kill all enemies inside. You can just stay near the entrance to have an easy cover and access to ammo caches. After clearing the enemies, go to the central terminal and activate it. A couple of brutes will appear on the other door. Shoot the explosive canisters beside the doors to damage them, then take them out.
Exit through the door where the brutes emerged from, then follow the tunnel until you find the locked door that can only be blasted away by Megatron's dark energon. There will be electric sentries that will appear; just destroy them and proceed forward.
You need to cross the highway section in vehicle form while avoiding the mines and Omega Supreme's attacks. In the other, there will be a couple of autobots waiting so just blast them out of the way and grab whatever supplies you need. Go up the ramp.
Heavy Resistance
A scene will trigger and you'll have to face a Tank and a large force of Autobots. First, take out the repair turrets, then the smaller minions. There will be snipers that will appear in a short while so make sure you take them out using the Null Ray that can be found near the stairs to the left.
 |
AUTOBOT symbol: After destroying all enemies in the plaza, make your way to the upper platform on the otherside, where the snipers and missile defenders spawned. Check the open room there to find the symbol.
 |
Maintenance Tunnels
Objective: Find another way to the bridge
Regroup with your team mates and follow the path. Upon reaching the dead-end, break the door open and press forward. You'll encounter more autobot forces, including some snipers. Destroy them all, including the sentry behind them then press forward. After clearing them all, follow the path again and it will lead you to the large tube. Go inside, destroy the lone sentry then continue along the power conduit.
 |
You need to quickly reach the other side before the next flow of energy fries you. Transform into vehicle mode and dash your way to the next door. Break it open and destroy the flyers waiting for you on the other side.
AUTOBOT symbol: Stand in the middle of this bridge and you should see the small red dot at the far end of the large conduit.
 |
Break another door, but be careful not to rush inside. This is another power conduit where energy bursts flow at an increased rate. Quickly dash to the nearby room.
 |
In the next room, grab the items you need then open the door using the nearby console. The next door is just a few steps to the right so there's no need to change into vehicle mode. As soon as the burst dissipates, run to the door and smash it open.
Objective: Activate the bridge
Go down the ramp. Before heading to the next mission marker, you can break down the door to the left to find a couple of weapons and some grenades. Proceed to the marker and enter the room full of cloakers. Use the explosive canisters nearby to damage them and reveal their positions. After clearing the room, activate the console and proceed to the next area.
Terminal Ambush
In the next room, get rid of the sentries and take out the autobots. Before moving to the bridge, check out the room to the south for an Overshield and a chest containing a Plasma Cannon.
Guardian on the Bridge
Activate the console to extend the bridge. You need to cross this bridge in less than 33 seconds to unlock the “Motormaster!” achievement. Remember that this is not a straight path so you need to keep an eye out from debris and mines. Also, Soundwave is the best character for the job since he's the only one that can use an additional boost ability while in vehicle form.
 |
AUTOBOT symbol: Right after crossing the bridge, check out the other side of the platform for the symbol. Its protected by a barrier so you can just stand on the nearby crates and lob a grenade inside.
 |
 |
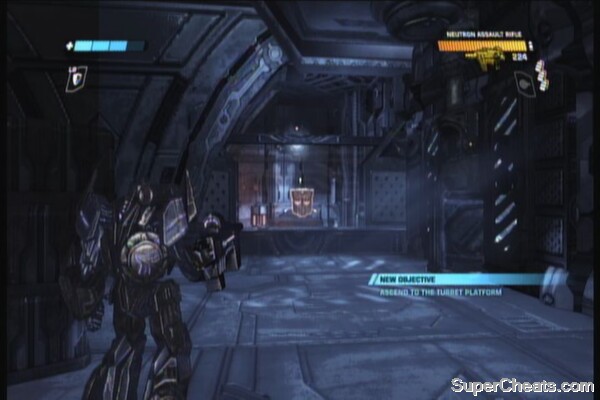
Objective: Ascend to the Turret Platform
Don't forget to grab the Overshield upgrade behind the crate along the main road. Regroup with your teammates, then proceed to the hallway, encountering more cloakers. After getting rid of them, a brute and a couple of autobots will go down the lift. Take them out then ride the lift.
Across the Bridge
Objective: Clear the turret platform
After reaching the turret platform, grab whatever items you need then press forward and mop the enemy forces. There is a tank in the middle and some repair sentries. Make sure to take those out. Use the covers and try to take as much enemies as possible from the ramps. This serves as a very effective cover. After clearing one side, run towards the turret platforms on the side and clear it. You should have a good view from there. Clear all the autobots to trigger the boss battle against Omega Supreme.
 |
Battle on the Terrace
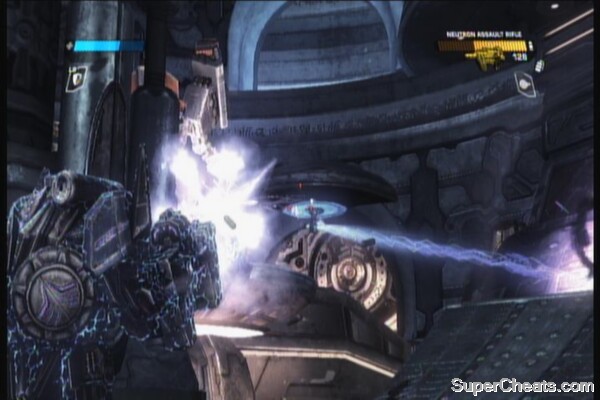
Objective: Use the turrets against Omega Supreme
This boss isn't that hard compared to the previous ones you've faced. The best position to take him out will be using the turrets on the side platforms. Aside from his massive beam, Omega Supreme will also release a volley of energy projectiles and homing rockets. These don't deal that much damage individually but avoid eating up too much of them. Omega supreme will then release flyers that you can easily take out if you have a thermo rocket launcher. After all flyers are destroyed, he'll make an appearance again, repeating the same pattern.
One thing to note is that the turrets CAN be detached since they respawn. Also, during the animation where your character is equipping the turret, you'll have a couple of seconds of invulnerability. Use this tactic to avoid taking damage or just simply be aggressive enough to man the turrets while there are several projectiles heading towards you. You need to constantly adjust your firing angle since the projectiles from the turrets are slow. Omega Supreme just moves from side to side so just anticipate his next direction and fire there.
No comments yet. Tell us what you think to be the first.