Decepticon Campaign
1: Dark Energon
Transformers: War for Cybertron Walkthrough and Guide
by vhayste
Decepticon Campaign
Chapter 1: Dark Energon
Crash Site / Entering Orbital Station
Objective: Escape the Crash Site
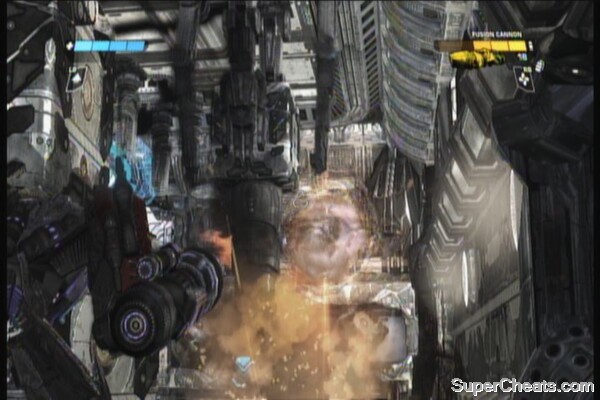
Once in control, follow your allies and make your way out of the crumbling ship. Just press A to jump, press it twice to double-jump. Controls like movement and looking around is done through your left and right analog sticks respectively. Just exit the crash site to reach your first checkpoint and another scene. Destroy the wall-mounted turrets afterward. Fire with your RT (right trigger) and press X to reload. The next path will opened by your reinforcements.
Objective: Secure the station
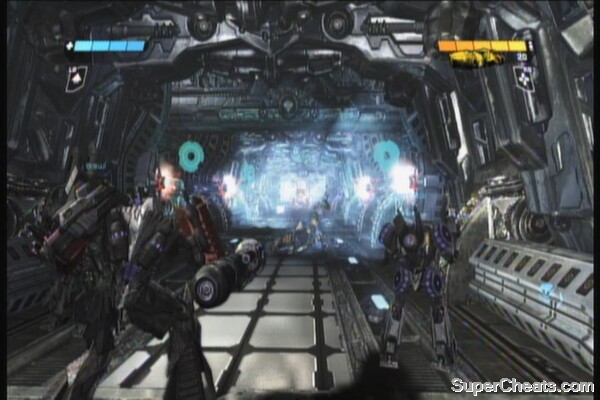
Follow the hallway and grab the energon cube if along the way. There is also an ammo cache in the deadend to the left. Continue following the hallway and destroy the sentry guns on the ceiling as your team move forward. Use the pillars as cover to avoid taking too much damage. Continue along the hallway, and interact with the console to open the next area. There will be several autobots here so take cover and destroy them all. Once cleared, walk up the ramp unto the platform and interact with the console there to activate the mechanical arm.
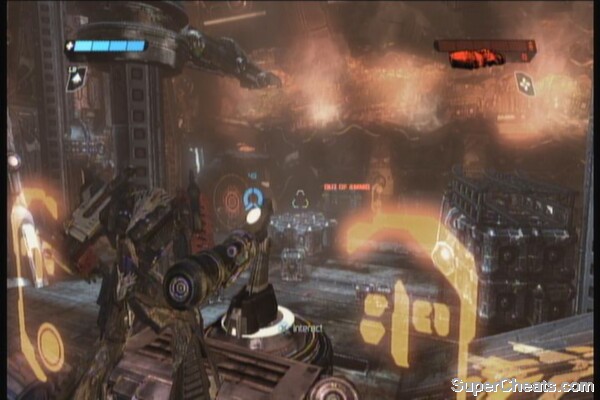 |
Destroy the autobots that will appear from the upper platform, then use the crates to reach it. Carefully move through the flame jets until you reach the next large area. Equip the Magma Frag Launcher beside the crushed autobot (switch weapons by pressing Triangle)
The Ambush
AUTOBOT symbol: From this ledge, look to your upper left to find the symbol on top of the ledge/ scaffolding. Shoot it to acquire the symbol
 |
Objective: Meet Soundwave at the forward base
Use the height advantage to launch some frags to Starscream's ambush troops below. There will be several energon cubes scattered in the area so pick them up as needed. Use the crates as cover to avoid getting ripped apart by the enemy forces. After getting rid of the first wave, another wave of reinforcements will appear. Defeat them as well. If you need ammo, there is a cache behind those crates piled in front of the orange-circles. You can also use those crates to reach another energon cube on the platform.
 |
Moving Forward
Continue along the newly opened path, and grab the energon cubes and ammo caches as you need. Push your way through the next hallway and fight through autobot forces until you reach a closed door. Destroy the energy canister for some free shards then go through the door.
You need to drop to the bottom floor in the next room but you can grab the Overshield power up located in the other end of the broken bridge. You need to do this quickly before the bridge collapses.
Once you reach the bottom floor, there will be multiple enemies that will start pouring in this room. Mount the turret by pressing X then detach it by pressing B. Score 10 kills while carrying the detached turret to unlock the “Action Master” achievement. Make sure you make every shot count since the turret has limited ammo. There is another turret here you can detach in case you failed to kill 10 enemies with the other turret.
 |
Action Master Achievement
There is an Energon Repair Ray behind the broken part of the bridge but I'll suggest to stick with your launcher for now. You can carry the other turret along for some extra heavy firepower but since your double-jump is disabled with this massive weapon on, you can only carry it until the next room. Grab the ammo cache in the other side of the room. Continue along the next hallway, destroy the enemies in the next room then go up the platform. Missile launcher-wielding enemies will appear. Use the crates to protect yourself while destroying them. Jump along the platforms and follow the path until you reach the next room.
 |
You'll find several captured autobots (bound in energy rings) here. To get the “Your Lucky Day” achievement, kill ALL but ONE of the prisoners. It doesn't matter which prisoner you leave alone then take the lift. If done correctly, you'll get the achievement as the lift ascends. Watch the next scenes.
Prisoners
Base of Operations
Objective: Secure the station schematics
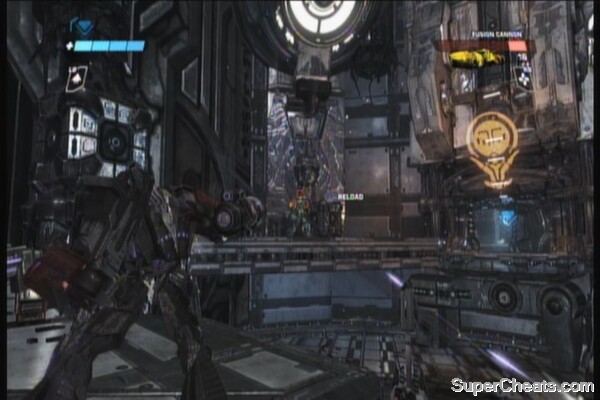
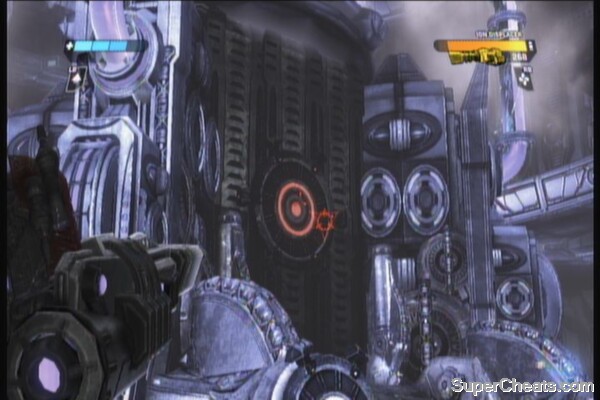
Fuse some Flak Grenades by pressing X near the grenade symbol. To the left of Soundwave is a red chest. Destroy it to reveal another weapon: Energon Battle Pistol. There is also an energon cube nearby if you need to. Continue along the hallway (there is an EMP Shotgun beside the soldier). Continue along the lift then use it. Fight through the hallway; be careful of the wall-mounted missile turrets that will appear near the end of the hallway. After turning in the curve, find an ammo cache, a weapon chest containing a Neutron Assault Rifle and an energon cube. The next room has some fortified enemies; just keep shooting on their shield to overload it and render them vulnerable. Use the crates for cover. Activate the console to create a walkway and kill the reinforcements that will appear.
 |
To the Data Center
Proceed to the next hallway then grab the ammo cache, energon cube and a Neutron Assault Rifle behind the crate. Go through the door and another door to reach the data center. Kill all the enemies; use the energon cubes in the center in case you need health refill. Activate the pedestal in the middle. After a short chat with Starscream, more forces will appear. Find your cover and quickly defeat them. Grab the energon cube before approaching the main door.
Objective: Infiltrate the manufacturing area to proceed
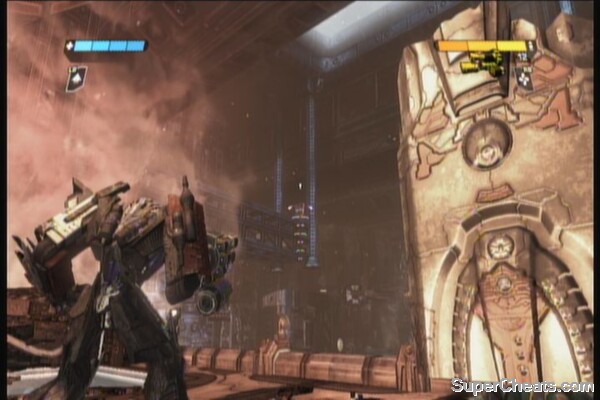
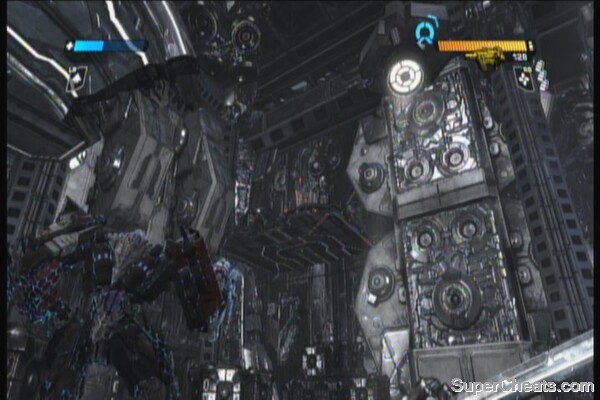
As you get near, the large autobot called Brute will appear. This guy is invincible if attacked up front; the trick here is to run around until he changes targets then quickly get behind him and throw everything you got to destroy his backpack.
Brute Battle
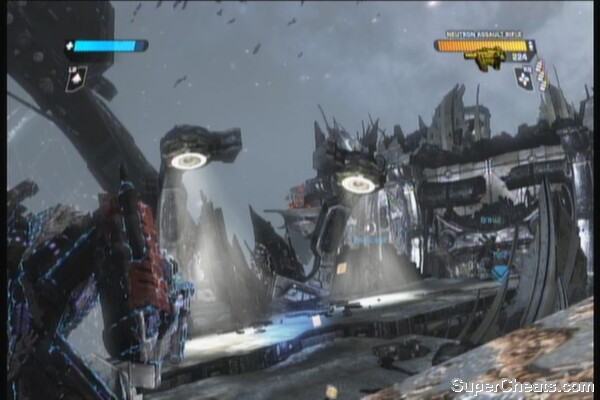
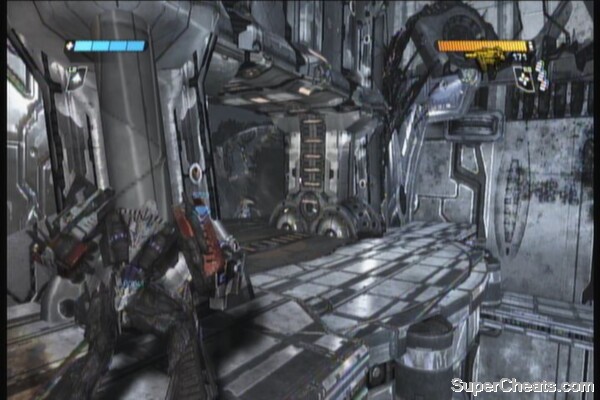
Ventilation Shafts
Exit the room and follow the next hallway. There is an EMP shotgun and an ammo cache here so grab them both. The next hallway has some electric traps so shoot the wall-mounted emitters to clear the path. Follow the hallway to find a large area with blue liquid. Destroy the fortified autobot guarding the other end then interact with the console to create a walkway. Shoot open the vent and jump through it.
 |  |
Continue along the walkway, avoiding the jets of fire that shoot from the floor. Shoot the large fans to destroy them. Continue until you reach the large vent at the end. Shoot the fan, then drop in the middle platform. There are some grenades and an EMP Shotgun in one of the shafts there. Carefully drop down and destroy two more fans.
AUTOBOT symbol: After destroying the third fan, look for a platform in one of the sides of that you can land on. There is a shaft there that contains the symbol and an overshield power up. Carefully fall off from the edge of the platform then move your character forward so it lands inside the shaft.
Autobot Symbol in the Ventilation Shafts
After grabbing the overshield and destroying the symbol, jump down to the bottom.
Objective: Find and secure Dark Energon.
Continue along the ramp and you'll find a large room with enemy snipers. Take cover behind the large debris in the middle and switch your weapon to the Energon Battle Pistol. This is the best place to get the “Targetmaster” achievement. To do this, you must kill two snipers within 5 seconds. Remember that the Battle Pistol is a rapid-fire, long-ranged weapon so if you can't take them out with headshots, just shoot rapidly and adjust from the recoil accordingly. It will just take 2-3 shots to destroy a sniper. There is also an ammo cache to the left of the middle cover.
Targetmaster Achievement
Move along from cover to cover and take out the snipers. After clearing them all, move to the end of the ramp and enter the next hallway. A Brute will appear here so use the covers to avoid it and shoot its back once it chases your other team mates.
Continue to the next area with pistons. You need to traverse this place by heading left. You must avoid the getting crushed or move only as soon as the electricity dissipates. Doing this in your normal form can be risky. You can transform into vehicle mode and use Boost/ Dash by pressing LT. Continue to the next area, activate the next console to create a walkway, then proceed to the lift.
 |
Laboratory
Once you reach the upper floor, walk forward a bit to trigger the arrival of the autobot flyers. Shoot their leg thrusters while they're in normal mode to kill them instantly. Killing 5 flyers using this method will award you with the “Footloose and Fancy Free” achievement. Next one is a bit risky so it will be helpful if you have the Overshield upgrade on. Take the ramp up and destroy a flyer up close with your melee weapon to get another achievement. “Fire in the Sky”
AUTOBOT symbol: From the entrance, look to your upper left to find a platform. The symbol should be sitting there.
 |
Continue up the ramp and then go to the right to find a console. Before activating it, check out the platforms at the back, which will lead to an Overshield upgrade and grenades. Activate the console and more flyers will arrive. Destroy them all.
Detritus
Continue along the new walkway and continue along the floating space debris. More flyers will attack so take cover and destroy them.
AUTOBOT symbol: Follow the path until you find two lights beside each other and look in the middle. The symbol should be barely visible in the right side. Shoot it to count to your achievement progress.
 |
Continue along until you reach the other part of the station. Destroy all the enemies that will ambush you here, including a brute that will appear during the second wave with some gunners on the upper platform. The best way to is to jump to the upper platform and get rid of the gunners first. After destroying the brute, go back to the upper platform and find an Overshield upgrade behind the door before jumping down and joining your team mates.
 |
On the first debris, swap your secondary weapon to the Thermo Rocket Launcher and jump to the next debris. Two waves of flyers will do a bomb run so stay clear off the middle to avoid getting pummeled. The rocket launcher should be enough to destroy them with ease. Continue along the debris and get rid of the resistance you'll encounter. Continue along to reach another part of the base.
Dark Energon
As soon as you enter, you can go to the right to find an Energon Battle Pistol. Continue along and drop down the hole on the floor. Grab the grenades and the overshield behind you then continue along. Some flyers will be foolish enough to engage you so destroy it then open the door using the console nearby.
AUTOBOT symbol: In the next room where the floor breaks off, look for a hidden hallway near the blue flames. Just follow it to find the symbol at the end.
Autobot Symbol
Objective: Destroy the Dark Energon containment
Enter the next room and continue to the core. Starscream will send more of his men to intercept you. Just fight your way until you reach the core. Clear the whole place and destroy the containment as targeted. After the scene, move along and destroy the last remaining autobots. Watch the follow scene to end the chapter.
 |
No comments yet. Tell us what you think to be the first.