Interlude
The Legend of Zelda: Twilight Princess Walkthrough and Guide
by SPV999
Zelda: Twilight Princess Guide - Interlude
This is a little brake from the dungeons for a bit. We have several goals, and a lot of side-quests to accomplish here.
- Save Midna
- Get the Master Sword
- 2 howling stones
- Entrance to Gerudo Desert
- Heart pieces, bugs, and Poe souls
- 2 Lantern Caves
- Item upgrades
Saving Midna
Hike back to Castle Town. Everyone here is naturally afraid of you, but you can talk to the animals at least. Head over to Telma's Bar. Nudge the door open and go in only to get thrown out.
 Ingrates |
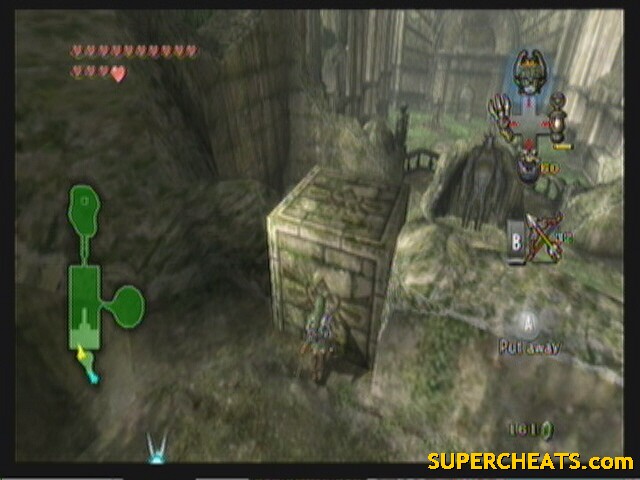
Her cat will then open a passage through the window. Push the create in the east over to the wall to climb up. Inside, be very carful not to knock off the vases, or else someone will spot you and you'll be thrown out again.
Climb across the first two ropes. You'll see a line of vases that you cant get past. Carefully walk up to the red one up against the wall and pick it up. Just carry it with you the rest of the way. Till you're in the passage.
 Who put these up here anyway? |
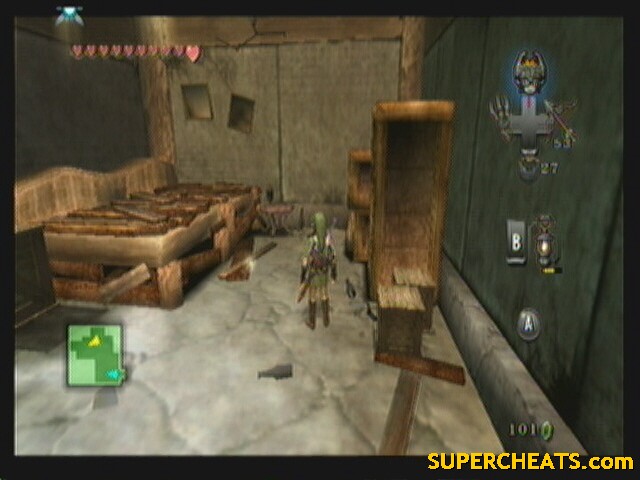
You'll be met by a huge pile of gold, a floating lantern, and a man incased in gold. Use your senses to take down the Poe (lantern). Jump attack him twice, then bite his soul when he is on the ground.
 Poe #1 |
Jovani will then ask you to track down the other Poes that cursed him so long ago. He'll then open the chest to the secret passage.
--== Sewers ==--
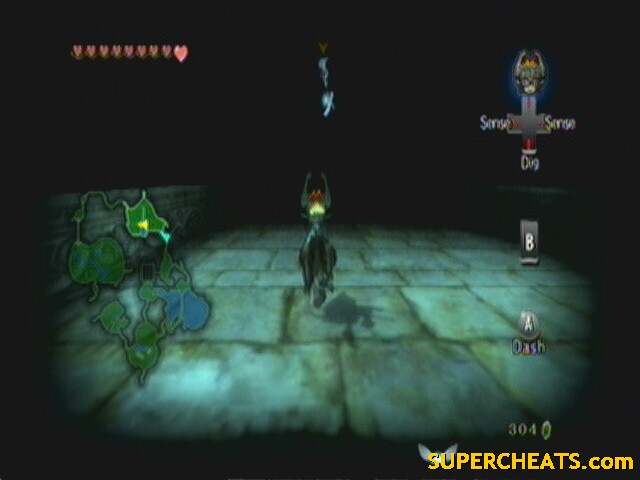
Stay on the ground against the north wall and go clockwise. You'll be prompted to bit a chain. Do so and ride the current. There is 2 skulltulla in this area. Run up the stairs and trigger the second one to come down from the ceiling. They're pretty hard to beat in wolf form, so instead lure them down the stairs and into the water. Run back up and grab the stick near the flame and light it, then use it to burn the web around the door.
Light the first torch on the right, then light all the other ones (2 total, just go clockwise around the room). Use the last one to re-light your stick and climb the rubble beside it. You'll need the stick to burn the web at the top.
 Web and torch |
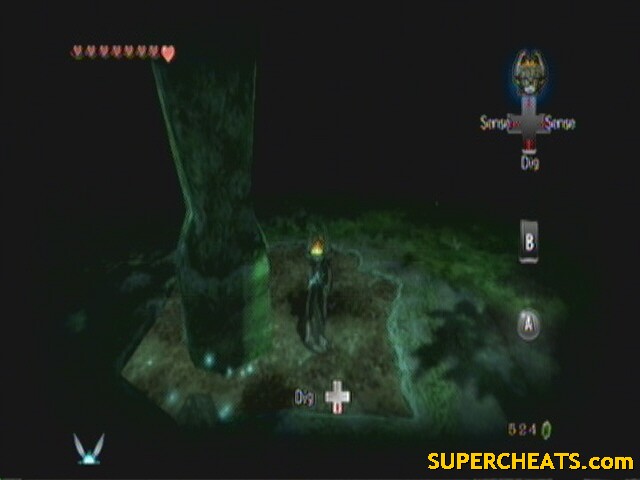
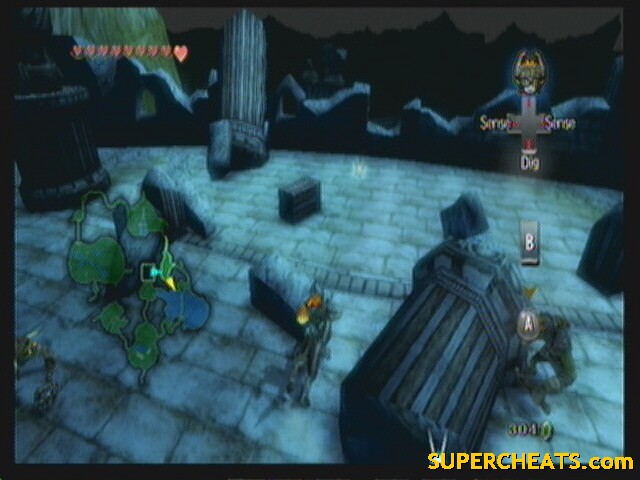
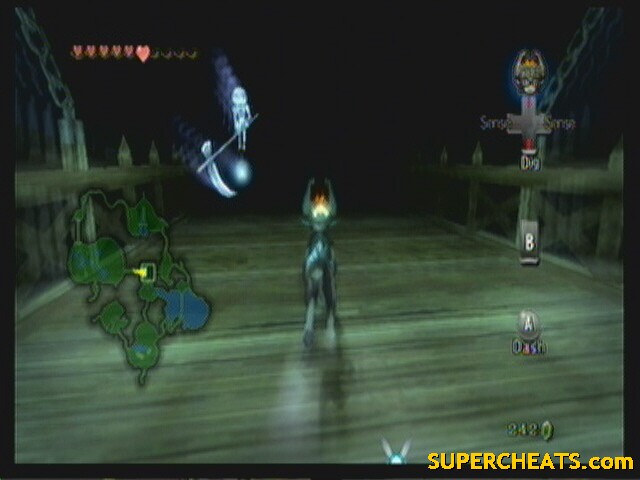
In the dead-end circular room, dig in the soft soil to fall down.
You should actually know where you are now. They've outfitted the area with ropes so you don't have to use Midna. Pretty much just continue clockwise around the room, using the ropes to work your way up till your at the top. Enter the open door at the top.
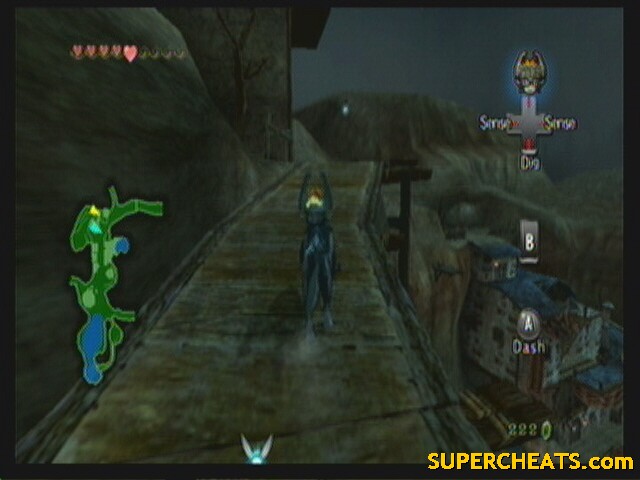
--== Hyrule Castle Roof ==--
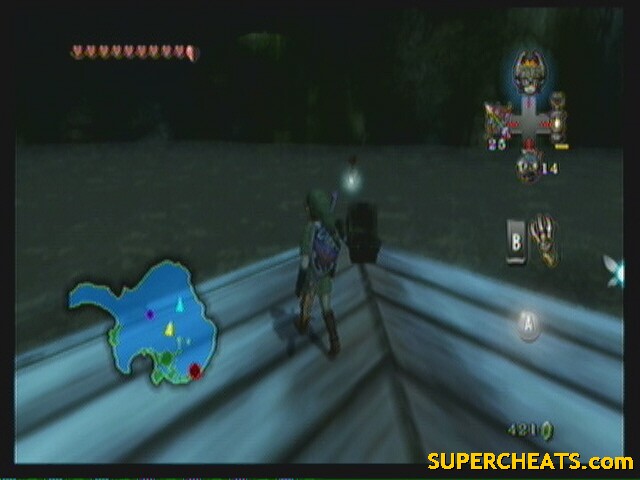
Follow the path down and use the create at the end to get over the wood wall. Keep on the path north till you get to what looks like a dead end. Wait for the wind to pick up, then jump over to the broken wood bridge.
 Rather convenient storm |
Jump down onto the blue room on the right. Follow the peak around and enter the tower at the end. Make your way up the stairs and into the room.
Now that that's over with, time for the next part, turning you human!
The Master Sword
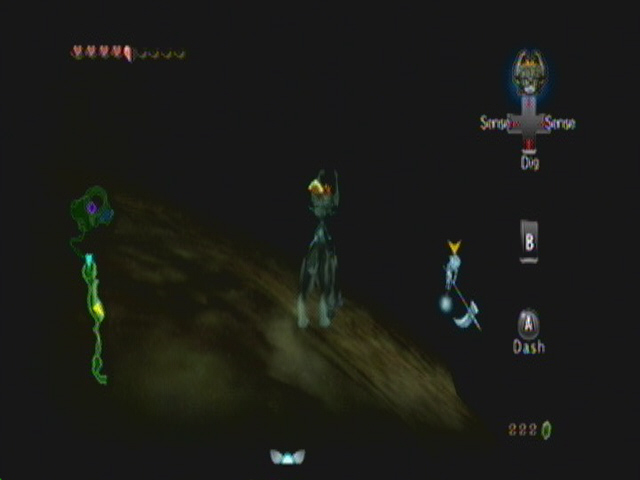
Now that Midna is back, you can warp anywhere again. Have her warp you to N. Faron Woods.
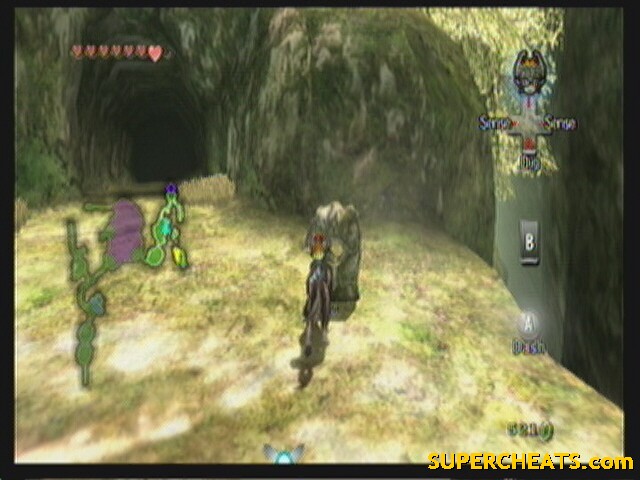
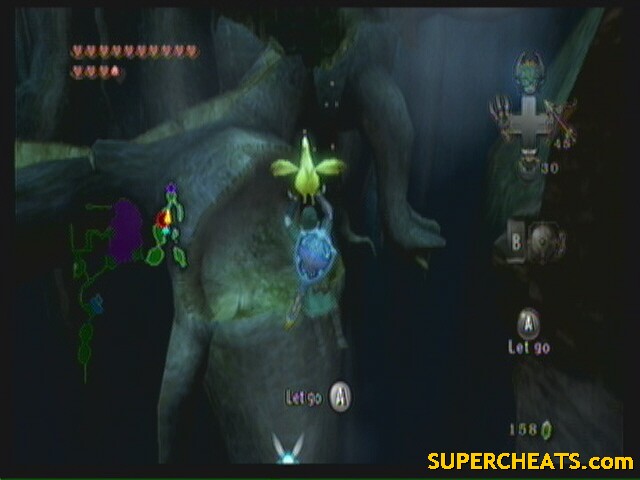
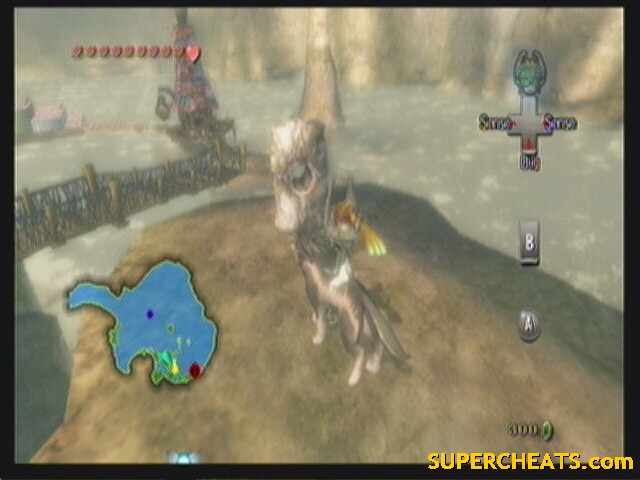
The monkey is in trouble... again... this time by some puppets. They are very east to take down, normally just one hit each. After, she'll tell you of a secret part of the forest deeper in the woods. Walk up the stump that she came from to have a Midna prompt all the way to a cave.
 Here |
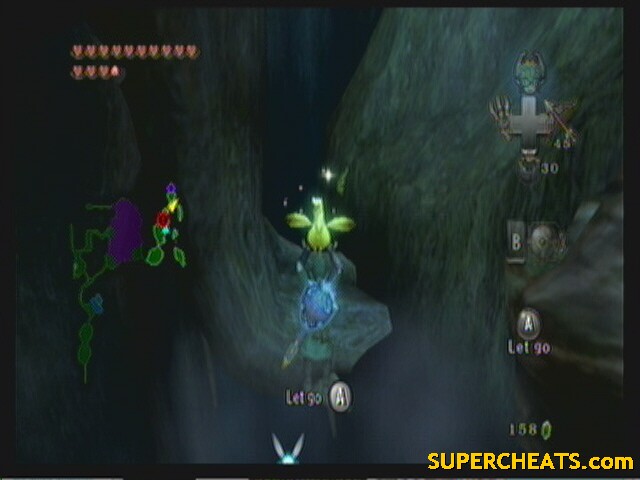
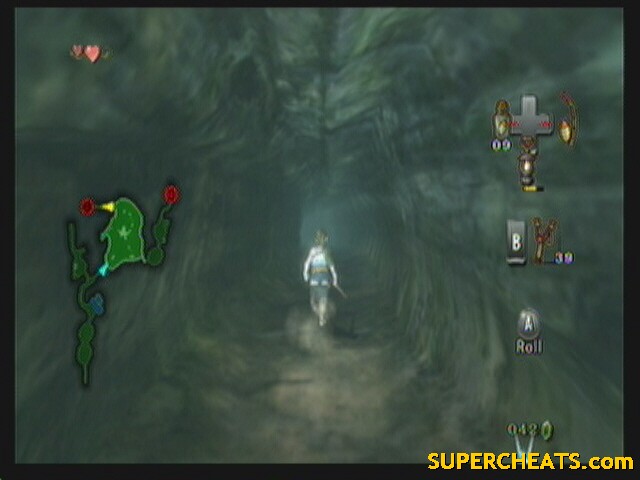
At the ledge ahead, wait for the wind to blow and the bridges to turn around and face you. Walk across onto the second one, then wait for the wind to twist the bridges back to how they were. Walk off onto the ground east. Walk across the ropes, trying not to get hit by the logs.
At the end is the first Howling Stone of this trip.
 Howling Stone #3 |
 Pattern |
Song is Prelude of Light from OoT.
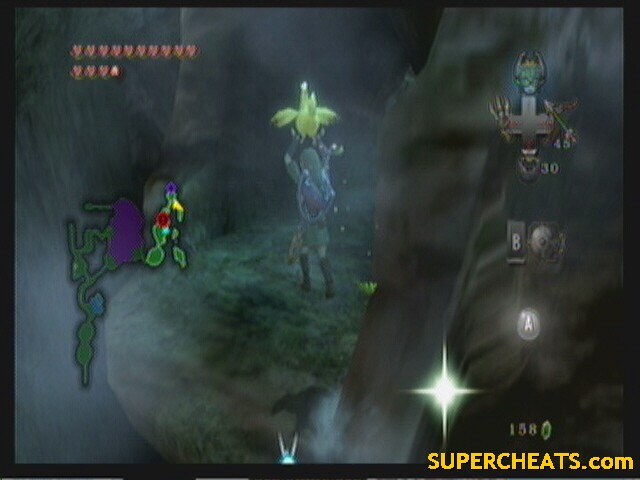
Enter the cave behind it.
--== Sacred Grove ==--
 |
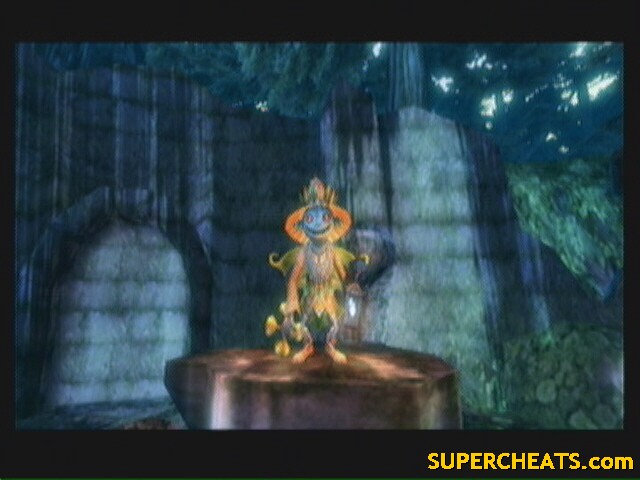
You'll find another howling stone in this area. However, this one doesn't summon the spirit. Howl into it (middle, high, low, middle, high. Zelda's Lullaby, OoT) to bring down the Skull Kid.
You'll first have to take out his puppets, then attack him. He'll then open a new passage deeper into the woods.
You'll have to hit him 3 more times before this ends, and each time he opens up a new section of the forest. I think where he goes is random, but I'll list where he took me anyway.
You can usually track him by the sound of the trumpet. It'll get loud if you're in the same area as him. Also note that his puppets will continually spawn, so don't bother with them unless you get boxed in.
--==--
Head straight along the path and into the next area, don't go in the water, just follow the path. This area, he's up on a ledge near the back.
 #1 |
Follow him back the way you came into the water. There should be a new passage open by the water falls. Take an immediate right in this area (you can see a small worn path in the ground where you're going). He's up on the large hollow stump ahead. To get up there, swim left in the stream behind the waterfall. Climb up and come up behind him.
 #2 |
Jump down and follow him back into the water area. Go back into the door by the falls. This time, climb the wood straight ahead in the area. Follow the tree to come up behind him.
 #3 |
He jumps down and opens a new passage through a brick wall. Jump down after him. Time for the showdown.
He'll jump to a stump and summon some puppets. If you try to get close to Skull Kid, he'll warp away to another stump. Rather, keep a slight distance and destroy all of his puppets. He will then blow on his trumpet to summon more. Attack him while he is blowing (jump attack works best). Repeat three times.
--==--
A new passage will open up. Walk through and stand on the Triforce mark. Howl to activate the guardians.
 Triforce Mark |
This can be a tricky puzzle if not done right. Jump in the following order:
Left, down, right, right, up, left,
up, up, left, down, down, right, up.
They will now grant you passage to the Master Sword.
 The Master Sword |
Check the sword to turn back into a human. What's more, you also get the ability to freely transform from human to wolf.
We're not quite done here yet. Head back to where you faced Skull Kid.
You probably noticed the large bombable rock when fighting Skull Kid. Take out a bomb and blow it up.
A Poe will appear. Use Midna to transform into a wolf, then use your senses to take it down.
 Poe #2 |
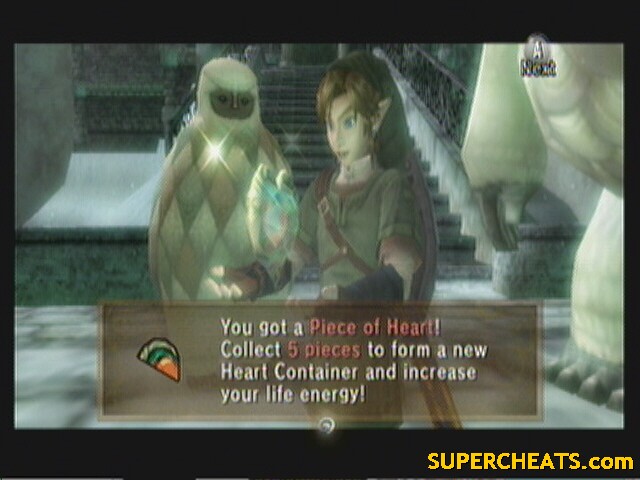
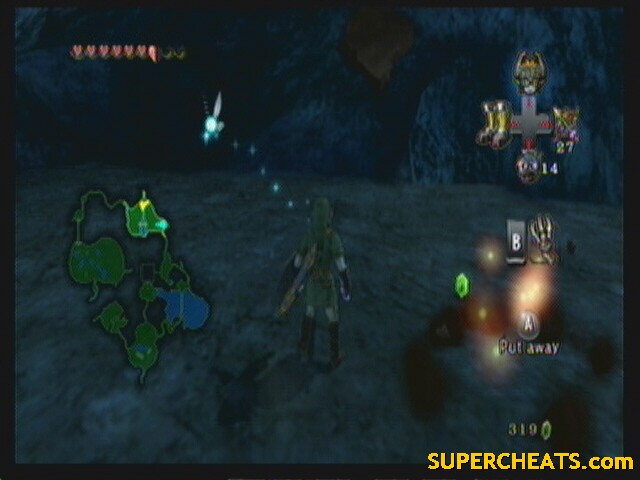
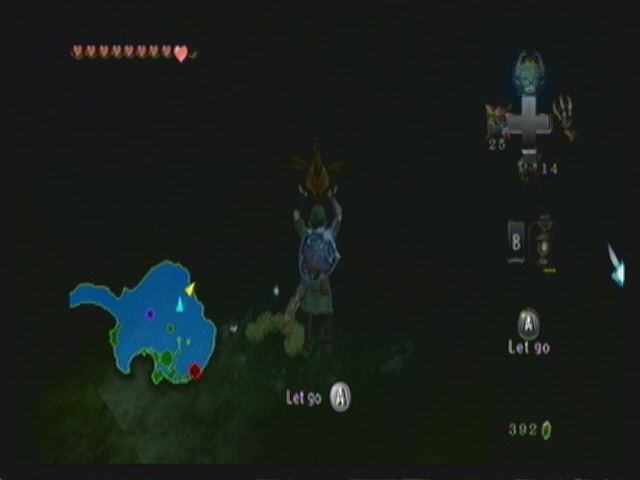
Wait, we're not done yet. Dig in the area where the rock was. You'll be taken underground. Defeat all the Deku Baba in this area to make a chest appear. The chest contains a heart piece!
 H16, 9 1/5 |
NOW we're done here. Not totally, we'll be back, but there's nothing we can do for now. Use Midna to warp out to Castle Town.
Entrance to Gerudo Desert
There's a LOT of side questing mixed in here. It's a good thing.
Transform back into a human and start across the bridge. Mailman will deliver a letter from Telma. Go into Castle town.
Notice the priest on the right of the street as you go through. Talk to him and donate some rupees. You need to donate 1000 rupees to get a heart piece. You don't have that kind of money right now unless you sold off all your bugs, so just give him 100-200 or so and be on your way.
 H17, Priest |
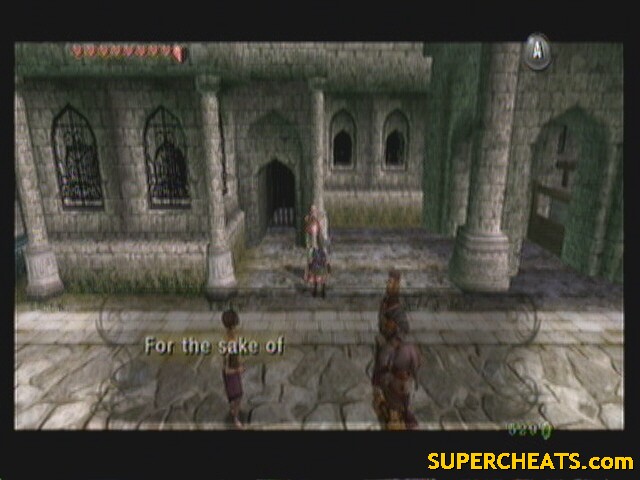
Continue down to Telma's Bar. Inside, talk to Telma, then examine the map in the back. Talk to everyone there, and talk to the one on the right twice. :)
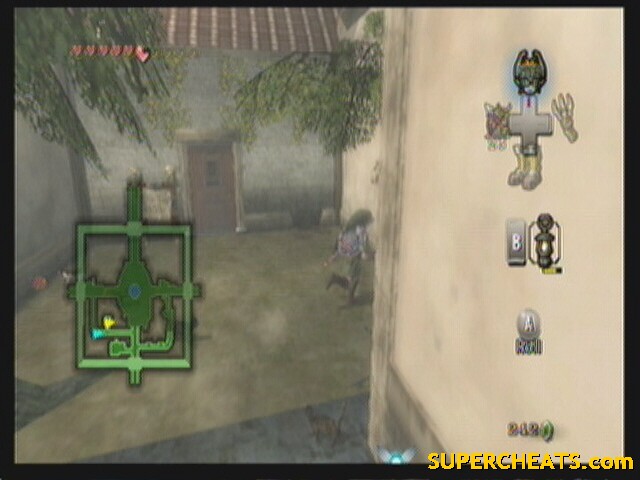
Go out and take the southern exit out of Castle Town to end up in a courtyard. Go down the first set of stairs on the left to find a Golden Bug in the trees.
 Female Ladybug |
If you scare her, she'll fly to the other side of the wall near the wolf.
Speaking of the wolf, he is just below you. Run down and talk to him to learn the Helm Splitter.
Another Golden Bug lurks in this area. He is over on the west side near a pillar with vines on it.
 Male Ladybug |
Hang out in this area till night fall. Once it gets dark, head back toward castle town to run into a Poe near the door.
 Poe #3 |
Back into Castle Town. Take a right like you're going to Agitha's (and you can if you need some money), but keep following the alleyway around. You'll come to a tent. Enter and play the STAR minigame for 10 rupees.
 STAR Minigame |
Win the game by using the Clawshot. It's not hard to figure out the pattern. Winning nets you an upgraded Quiver that holds 60 arrows.
Exit castle town via the east.
--== Hyrule Field ==--
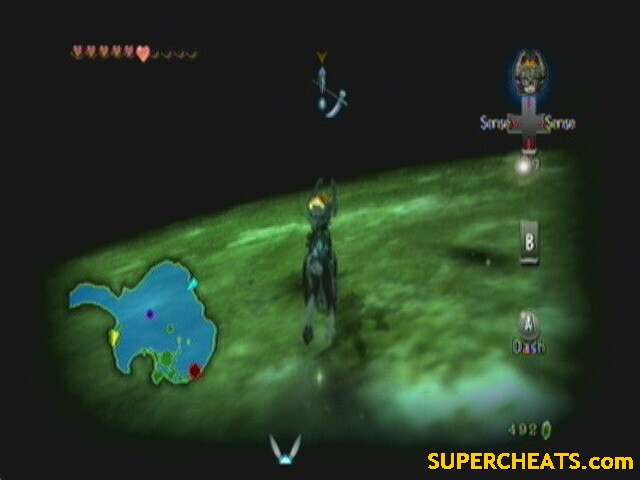
Back in the field, don't waste time as we have a lot to do tonight. Transform back into a wolf and head south into that small round area there. Amongst the wreckage is another Poe.
 Poe #4 |
Go back north, all the into the northern Lanayru Province. There are 3 Poes in this area and 2 bugs.
First bug is on a tree. Follow the path you're on and you'll come to it.
 Male Stag Beetle |
Next, a Poe is on the bridge over the river.
 Poe #5 |
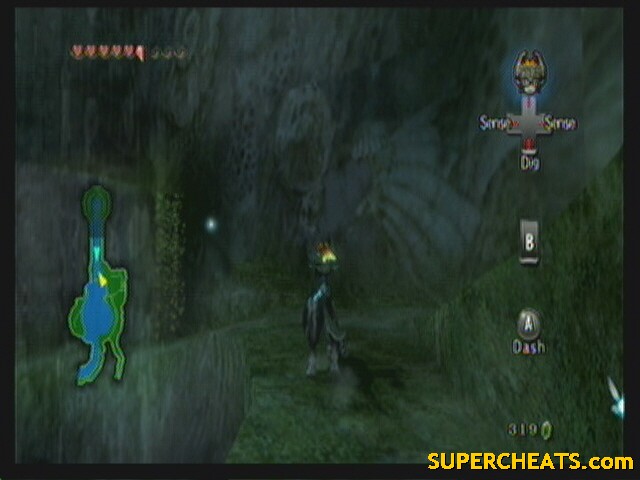
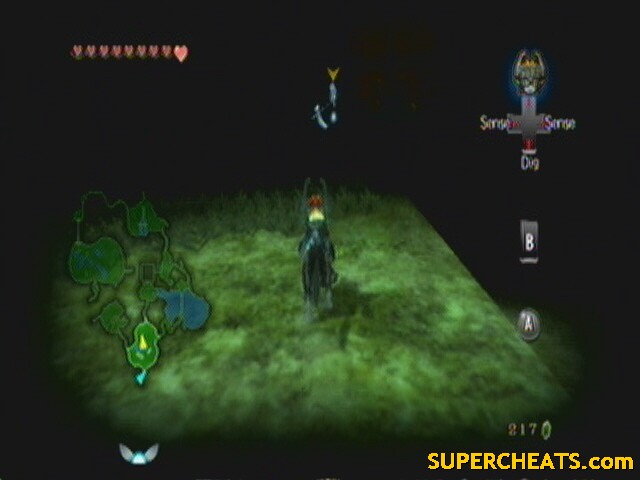
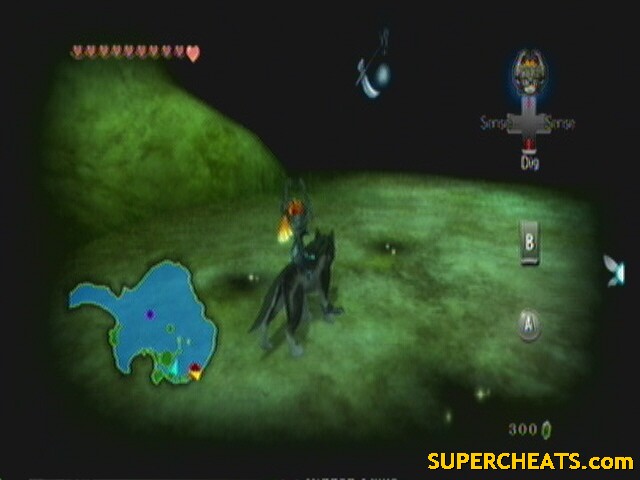
Next 2 Poes are in a secret area to the east. Head due east from the bridge and look for a large patch of grass near where you entered the area. Dig in the center and kill the 2 Poes inside.
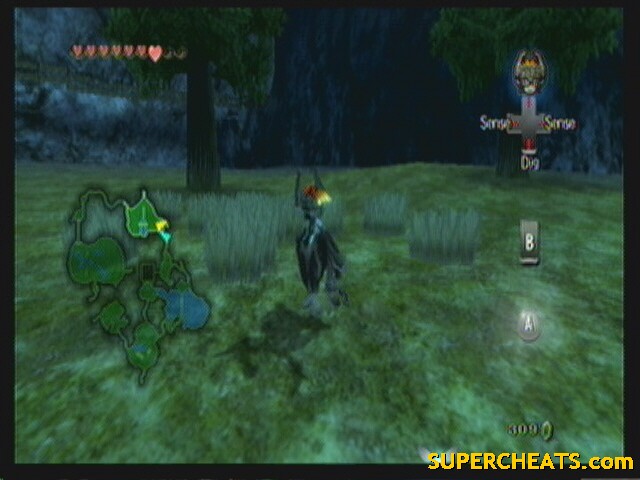 Poes 6-7 |
Final bug is in the rocks at the north end. Run north, but don't take the eastern path up the side of the cliff. Rather, take the western path closer to the ground. In an alcove at the end of the path is a bombable rock in the wall. The bug is above the rock (behind the rock is a puzzle that hides a heart piece. You need the ball and chain to get it).
 Female Stag Beetle |
Use Midna to warp you to Zora's Domain. If day has broken, wonder around Hyrule Field till night falls again, as time does not move in Zora's Domain.
--== Zora's Domain ==--
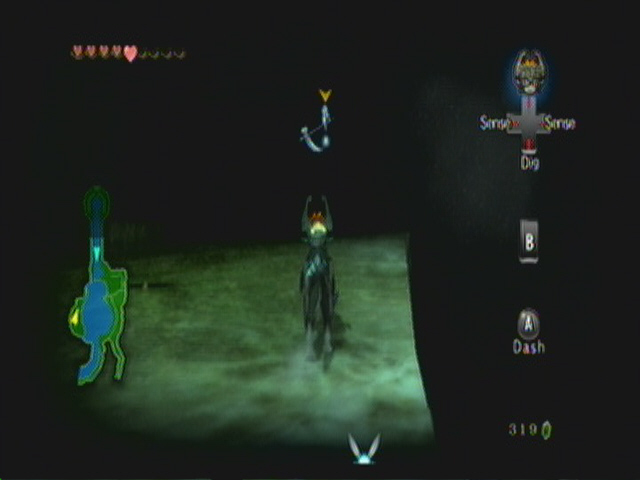
Ride the fall down. At the bottom, swim off to the left (east) side. Use Midna's prompts to go up a bit and spot a Poe.
 Poe #8 |
Jump down and swim to the beach in the west. Work your way up the trail to find another Poe at the peak.
 Poe #9 |
Hop in the river and swim down stream till you're in Zora's River.
--== Zora's River ==--
Poe is on the small patch of land at the south end, between the two streams.
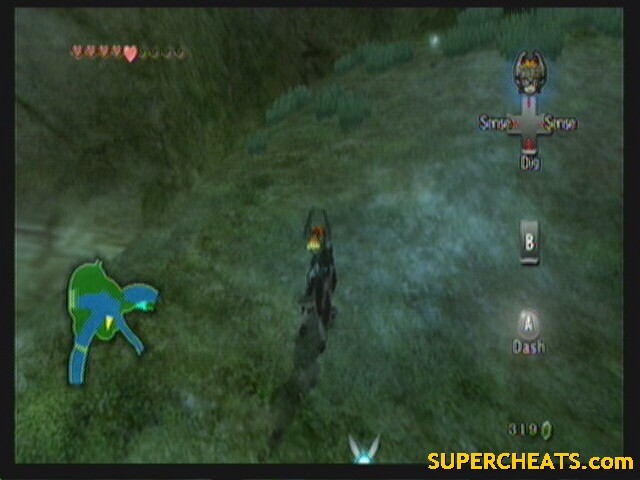 Poe #10 |
Last Poe for this area. We have more to get later, however. Swim back across the stream north. Behind the howling stone is a door. Enter to come out at the fishing hole.
You can fish here if you want, but we came here for the heart piece. Find the pier and jump into the water off it. If it's still night, you should easily be able to spot the glow off the heart piece on the rocks in the middle of the lake. Swim over and use the clawshot to drag it down. It wont be given to you till you climb out of the water.
 H18 9 2/5 |
Next is an empty bottle. Go to the bridge on the west side of the fishing hole. Throw your line in on the west side of the bridge and wait. After a couple tries you should pull up an empty bottle.
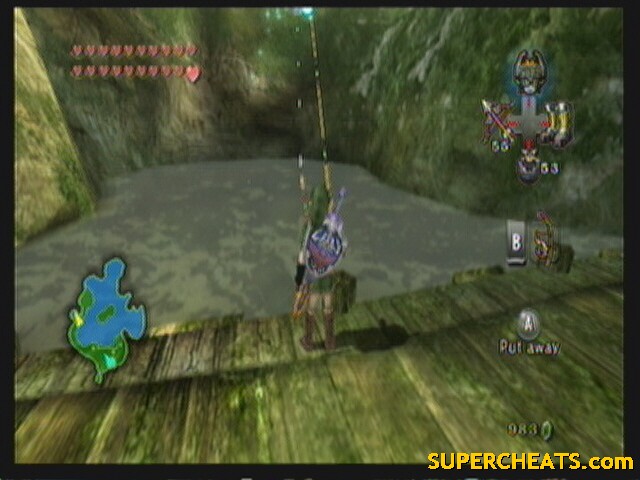 Empty Bottle |
Alright. Go back out and go into the shack on the river (Iza's rapid ride). Talk to here and rent a boat. The point of this game is to shoot the jars with your bomb arrows (you have infinite) while avoiding running into things. Yellow jars are worth 1 point, red are worth 2. Every time you hit something, you lose a point.
At the end of the rapid, try to have more then 25 points for a bomb bag upgrade. If you don't, you'll get another chance very soon.
 Bomb Bag Upgrade |
Just behind where they drop you off, there is a bird flittering near some grass. Talk to him in wolf form then howl in the grass to be picked up by the giant Kargarok again. This time, it's a game, the Fruit Pop Flight.
The goal is to run into the fruit balloons to earn points. If you hit the same fruit in a row, you get the fruits normal worth times your fruit multiplier to a max of 10.
Watermelons = 1 points
Oranges = 3
Strawberries = 10
The best strategy is to go for a single balloon type the entire time. Watermelons are best avoided, as their max is only 512 if you get a x10. Oranges would be ok, their max being 1,536 for 10. Your best bet though is strawberries, the max being 5,120 for 10.
At the end of the game, you're goal is to have more then 10,000 points. This gets you a heart piece.
 H19 9 3/5 |
At the top, warp to S. Faron Woods. Work your way up and talk to the lantern sales man again. This time buy his bottle of oil for 100 rupees. Go out into Hyrule Field (north of here) and wait for dusk.
--== Hyrule Field ==--
Next Poe soul is in the middle of this field, just past the bridge.
 Poe #11 |
Run west to the west side of Hyrule Field. The next Poe is on the rise on the south east side of this area.
 Poe #12 |
Warp to Kakariko Village.
--== Kakariko Village ==--
Go up to the third house on the west side. Open the door to find a golden bug.
 Female Ant |
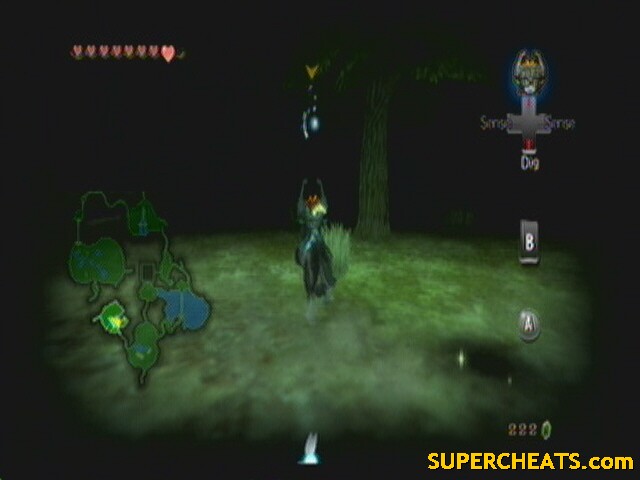
Go into the graveyard on the west side. The first Poe in this area is floating in the middle of the yard. The other is in the south-eastern most tombstone. Just push it back.
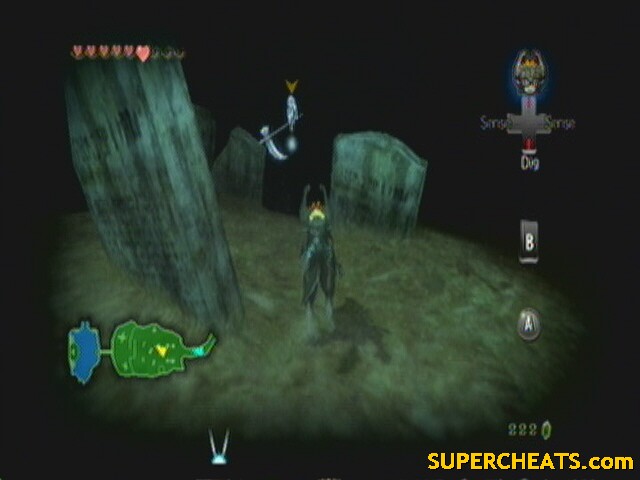 Poe #13 |
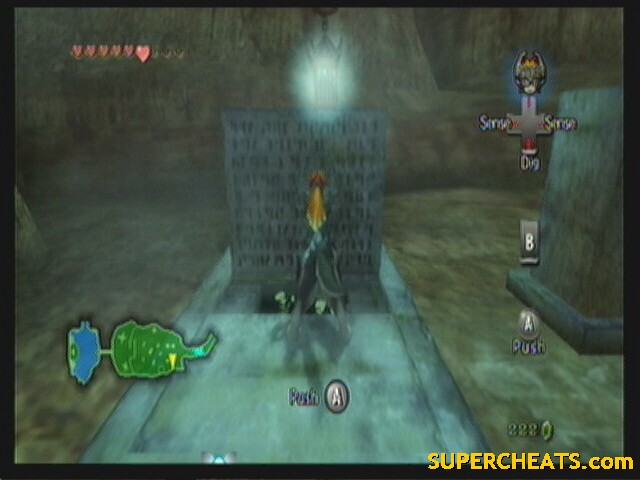 Poe #14 |
Head to the back of the graveyard. There is a tree with an ant on it's base.
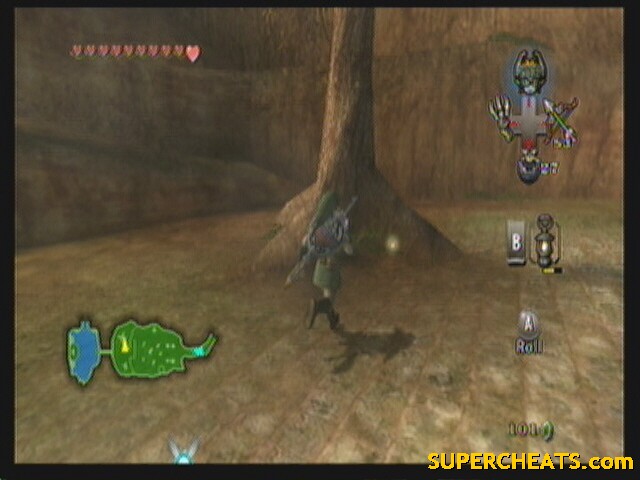 Male Ant |
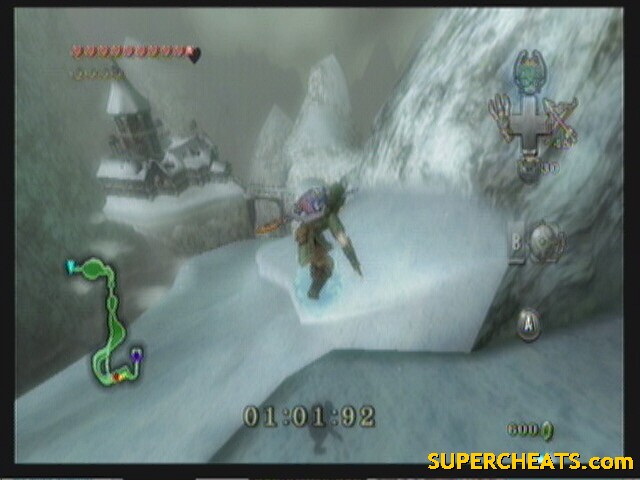
Back out into the village. Go to Barn's Bombs shop and walk up the stairs. Exit though the top door onto the roof. Poe 15 is in the shed we blew up. Go up the cliff south. The other is at the second highest peak in the village. Head north up the cliff.
 Poe #15 |
 Poe #16 |
Run to Death Mountain.
--== Death Mountain ==--
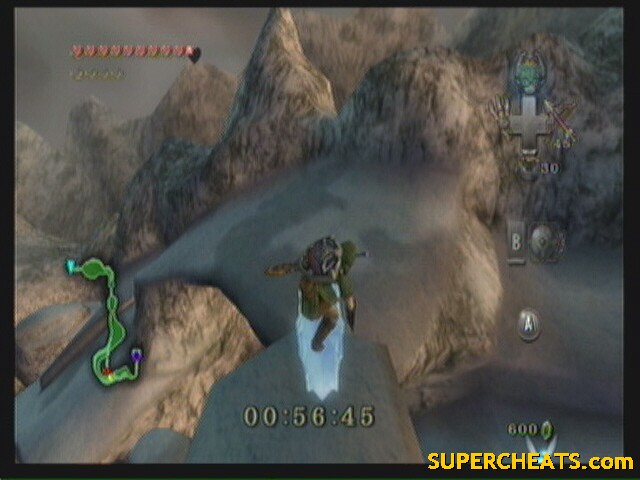
Run up the mountain till you reach a Goron that offers to boost you up. When he does, turn and face east. You should fly up and grab a ledge. The next Poe is just to your left.
 Poe #17 |
Now for a heart piece. Again, talk to the goron and grab the ledge. This time, go north. Hug the right wall till you find a cave. Walk in and drop down. You should be facing a chest. Open it for your heart piece.
 H20 9 4/5 |
Warp back to Kakariko Gorge.
--== Hyrule Field ==--
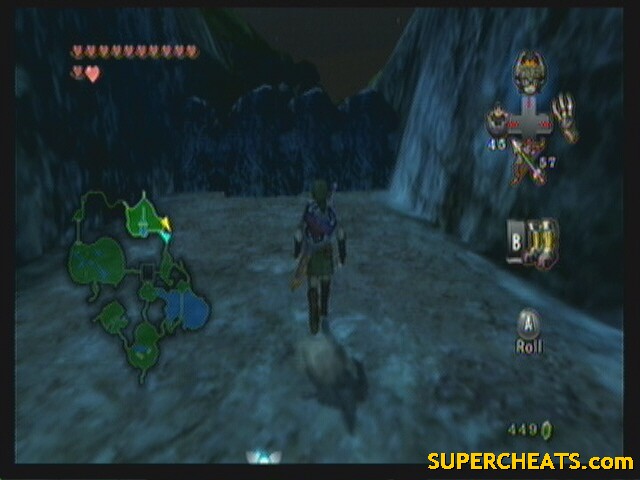
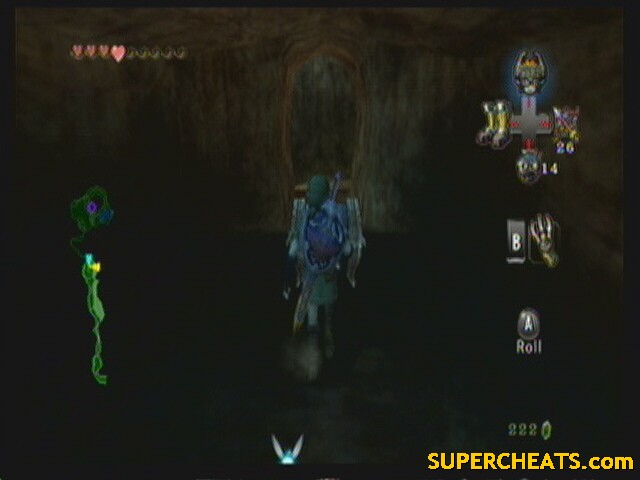
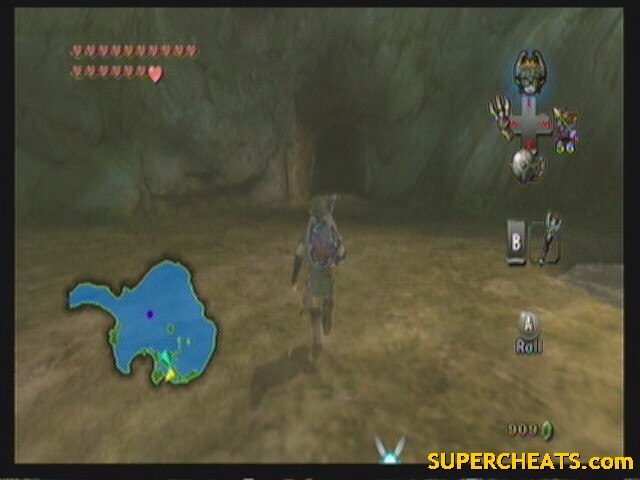
Run to the southwest of this area. You should see a bombable rock. Destroy it and enter the cave.
The cave is dark, but a trick is to just turn up the brightness on your TV a bit and you should be able to see just fine ;)
Here is a map that show where everything is at. Cant give much better direction then that. Just look for lanterns to light along the way. They tend to help. Also, don't forget that you can use your lantern to burn down webs.
 Lantern Cave 1 |
Should be day break by now. Warp to Lake Hylia.
--== Lake Hylia ==--
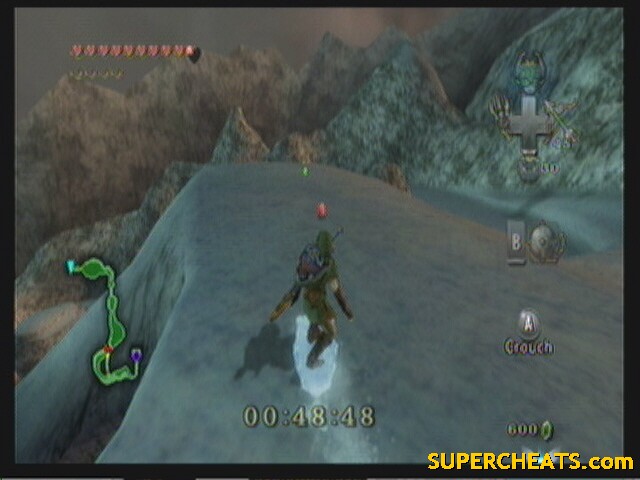
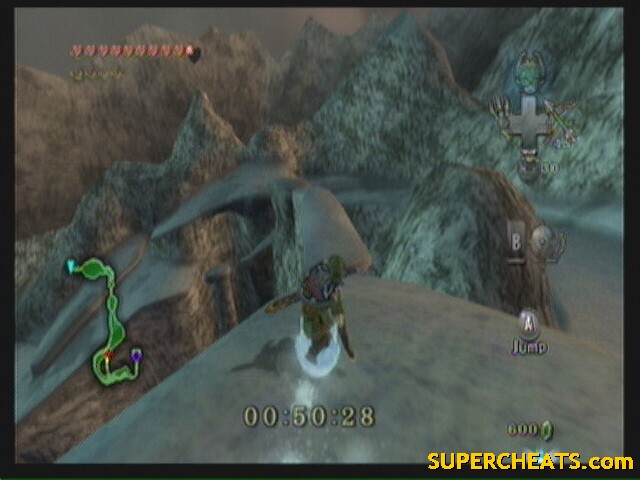
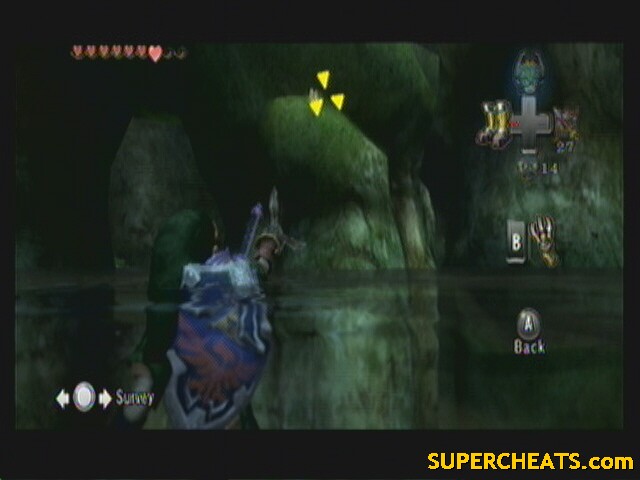
Transform back into a human. Turn south-east and look for a ladder to climb up. On top, look out north. You should see another howling stone.
 Howling Stone #5 |
 Pattern |
There is one final note that is off screen: high.
Song is Oath to Order, MM.
Continue up toward the red dot on your map. Climb the tower and talk to Auru to get access to Gerudo Desert.
Climb back down. Don't go anywhere! Transform into a wolf and wait for night fall again. A Poe will appear right below the tower.
 Poe #19 |
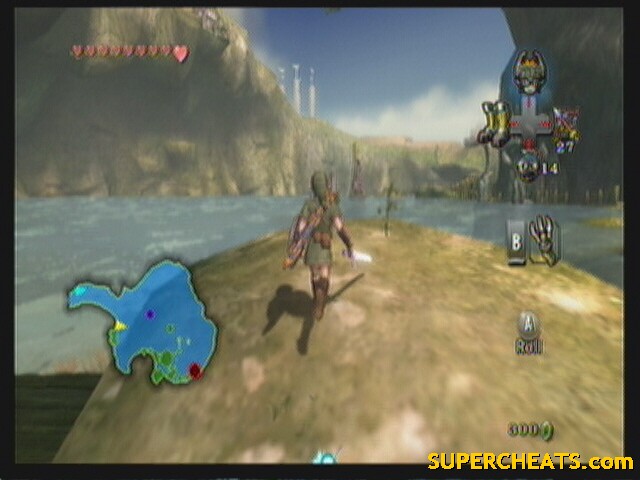
Jump down to where your warp in. Then next Poe is on the southern alcove. You'll have to hop over the islands to get there.
 Poe #20 |
You can stop here if you want. 20 is enough to get you a jar and some Fairy Tears. But I want infinite rupees. We'll have to hike all the way to the other side of the lake. On the way, stop off at the spirit spring. Walk around the east side and grapple to the vines. There is a door right ahead. Inside, light the torches for a heart piece.
 H22 10 1/5 |
Poe 21 is near where you played the Fruit mini game.
 Poe #21 |
For 22, talk to the clown and have him blast you to the top. Then play the flight by fowl mini game. this time, land on any platform above the first two (you can aim for the spinning one if you want. Easy 100 rupees). Remember to hold back on the stick to slow down and go in a straight line. The Poe is on the second to last platform.
 Poe #22 |
The 23rd Poe is on a small cliff UNDER the flight by fowl house. Launch back up, then play the game. Pull a U-turn and fly under the house. You should see the glow of the lantern.
 Poe #23 |
While you're here, dig in the ground near the grass to enter another secret area. Use the iron boots to sink down and take out all the Shell Blades in the room. A chest will appear with 100 rupees inside.
While it's still night, we have one more Poe to get. Warp to Castle Town.
--== Castle Town ==--
Give the priest pretty much all your money. You'll make it back in the Lantern Cave soon, plus the dungeon right after.
Walk all the way west and exit via the west. A Poe is on this bridge.
 Poe #24 |
Lets go collect our reward. Enter back into Castle Town and go south. Jovani's house is that little nook above Telma's Bar on your map.
 Jovani's house |
You can transform into a wolf in the corner. Dig in the soil to get into the house. He'll give you a bottle and Fairy Tears for your efforts so far. Exit and warp back to Lake Hylia.
--== Lake Hylia ==--
Go back up the ladder where the stone was. Turn south and look for a bombable rock. This rock reveals another Lantern Cave.
This cave is MUCH harder and MUCH longer. You'll need a lot of arrows and bombs, and some extra lantern oil (or at least an empty bottle) to make it through. Your prize is around 300 rupees, a heart piece, and 3 Poes.
There's really not much I can direct you in this cave. Turning the brightness up on your TV will eliminate light traps (hidden enemies, pits, ect), and having enough bombs means you can blow every rock in there up (definitely recommended. Every rock hides something). And remember to light every torch you come across. Several hide chests.
I will say that about half way through you'll bomb a rock and there will be a light leading to surface behind it. Don't take it! It's a fake exit. You'll exit before you complete even half the cave. Also, you can use the clawshot as a substitute for arrows to knock the torch slugs off the ceiling.
Once you're out, take Auru's notes to the clown and use them in front of him. He'll adjust the cannon and launch you into the desert.
That's it for that. Time for the dungeon!
All the other dungeons shouldn't have much to do between them anymore. We're almost half way done with Poes, only have 2 sets of bugs left to find, and only 9 heart pieces (that aren't in dungeons).
I think that the poe soul side quest is kinda pointless why should you go to so much trouble for a bottle and a healer!!??
I spent hours looking for this guy/girl in particular because they my favorite person! now i remember how to finish all temples cause they so good at explaining it tyvm!!!
thank you for all your help so far ! but i only have 22/24 poes & i swear i've been to all 24 :/
That's cool! Tanx for help, i'm near the part where you must take the poe 21. It helps alot for people who don't no what to do in the game, thanx again, ur a life savr
I like that alot because it is story of the game and fright the bad guys
and I never trad it and learn old things and I hope I like it alot.
Shanel Ames
Yeah, a lot of the pictures don't look like they're matching up at all
Are the first few pictures correct? Doesn't look like Link is in his wolf form to me xD