12: The Ultimate Heist
The Elder Scrolls IV: Oblivion Walkthrough and Guide
The Elder Scrolls IV: Oblivion Guide - Thieves Guild
12: The Ultimate Heist
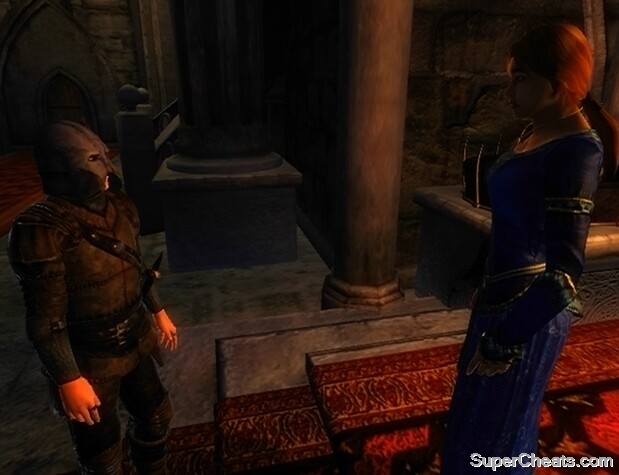
Fence over 1000 gold worth of stolen goods to unlock this quest. Once you've reached the required amount, travel to the Imperial City Waterfront. Use the wait menu to pass 24 hours. During this time, you will be approached by Amusei, who has a message for you from Gray Fox. This time, Gray Fox is hiding out in Orthelo's House, which is located in the Imperial City's Elven Gardens District. Fast travel to the Elven Gardens District, locate Orthelo's House, and enter to see Gray Fox.
This is it; the final and ultimate heist. You're tasked with stealing one of the Elder Scrolls. This quest is a long one, so ensure that you are prepared before setting out. Once again, the first rule of the Thieves Guild is not in effect here, so you're free to kill while on the job. You'll need to make use of the Boots of Springheel Jak and the Arrow of Extrication that you thieved during previous quests here. You'll need plenty of lockpicks (unless you have Nocturnal's Skeleton Key), an enchanted weapon, as well as bow so you can fire the Arrow of Extrication when the time comes.
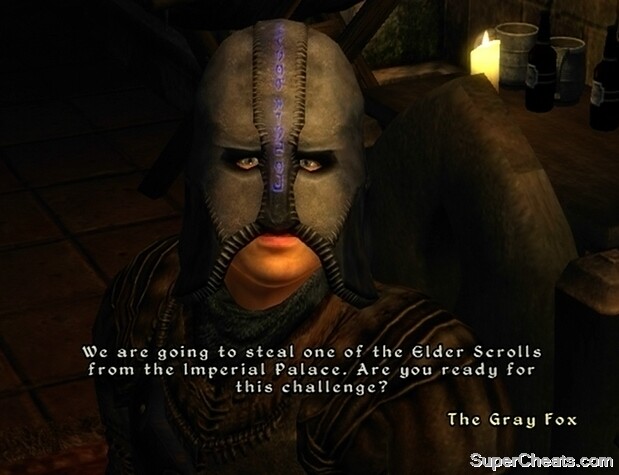 The Gray Fox wants you to steal one of the Elder Scrolls! |
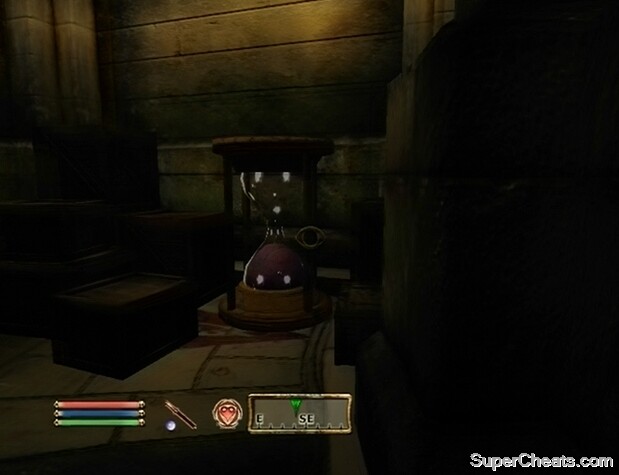
First, to infiltrate the Imperial Palace and activate the Glass of Time. Fast travel to the Imperial Palace and enter the Elder Council Chambers. Upon entering, turn left and head in this direction to reach a wooden door to the Palace Basement. As always, ensure that you are in Sneak Mode, and that the sneak icon is faded before heading though. A single Palace Guard patrols the Palace Basement, so you'll have to take care to avoid being detected. Move through the middle of the room and approach the Glass of Time. Activate the Glass of Time and then make your way out of the Palace Basement. Take care not to be spotted by the guard on your way out.
Since activating the Glass of Time, the door to the Old Way area in the Imperial Sewers is open; you'll need to head there next. Exit the Elder Council Chambers and fast travel to the Imperial City's Arboretum. Head right until you reach a grate to the South East Tunnel. Proceed through the gate when you're ready.
Move through the South East tunnel until you reach an area with a gate; you'll need to activate a Turn Wheel to open it, and there are several in this area. Once through the gate, turn left and drop down into the water below. Move through the tunnel and follow this path until you reach a door to the Bloodworks tunnels. There are vampires in this area, so be careful. Turn right and move through the two rooms here. Move through the second room until you come to an area with water and bridges. Before you can enter this area, you'll need to activate the Turn Wheel in the room above. Head up to this room, jump over to the other side, and enter the small room here. Activate the Turn Wheel in this room to open the gate below. Head to the bridge room, and drop down into the water. Find the tunnel that leads to a manhole cover into the Palace Sewers.
 Activate the Glass of Time in the Palace Basement to open the Old Way. |
Once in the Palace Sewers, you then must locate the entrance to the Old Way. Upon entering the Palace Sewers area, head straight and open the gate in front of you. There are likely enemies about, so remain vigilant. Exit into the circular room connected to this one. Here, move across the platform and into a second circular room. Exit this room via the passage on the right side. Search this room for the door to the Old Way.
Upon entering the Old Way, go straight and continue moving in this direction until you reach a large room with many pillars. Jump down to the lower level off this room and head off to the right to reach two doors; head through the locked door. Depending on your character's level, you may encounter a ghost, so hopefully you have a silver, enchanted, or Daedric weapon with you.
In this room, head down the stairs and move through the room and look around for a hole in the wall leading into a large tunnel. Move through this tunnel and drop down the hole that you come to. Head through the tunnel down here and exit to the Lost Catacombs. If your character is at a high enough level, you'll likely encounter plenty of Ghosts in this area, so be careful.
Make your way through the Lost Catacombs and you will eventually reach a giant, open room. Drop down to the lower level and look to your left to spot some stairs and a large block. You'll need to equip the Boots of Springheel Jak to be able to jump high enough to reach the stairs. On that level, hit the Press Block on the wall to your left. Then, move over to the opposite side and activate the other Press Block.
 Equip the Boots of Springheel Jak to jump up the stairs. |
After activating both Press Blocks, jump back down and head through the door at the end of this room to reach the Hall of Epochs. Upon entering the Hall, continue moving forward until you reach a room with four Welkynd Stones. Exit this room and you will find yourself in a large, open area. Move forward and you will soon come to a Keyhole Pillar. You'll need to stand on a certain spot and fire the Arrow of Extrication directly at the keyhole that is visible while standing there. First, you'll have to activate a couple of Press Blocks.
Head to the south side of this room to find a moveable wall. Approach the locked gate behind the wall and proceed through it. Hit the Press Block to the left as you enter the room. Then, jump down to the lower level, look around for a stone door to another part of the Hall of Epochs, and head through. In this room, go straight and turn left when you can. In the large room, look around to the right for a passage. At the end of the passage, turn left as soon as you enter the next room and hug the wall. Go down the stairs that you come to and move to the end of the room at the bottom.
There is likely a ghost or some other type of undead creature standing in front of the second Press Block. Kill the creature, then activate the Press Block and make your way back to the Keyhole Pillar. The wall that was in this area has been moved, and an array of undead creatures are standing where it used to be. Take care of them, and then move onto the walkway that was previously blocked. Stand on the pressure plate up here. It would be a good idea to save your game at this point, just in case you miss when firing the Arrow of Extrication.
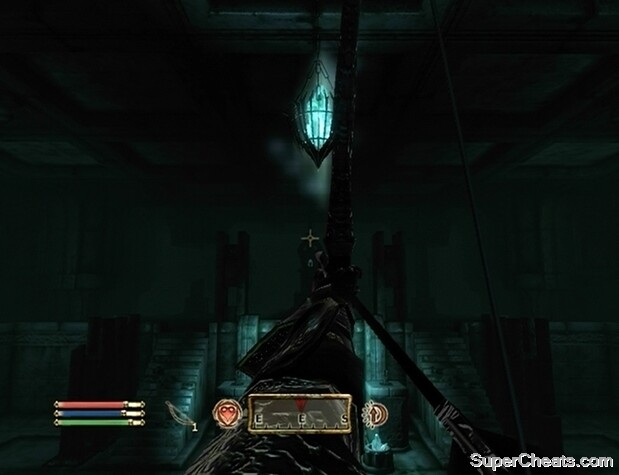 Fire the Arrow of Extrication at the Keyhole Pillar to reveal a secret route into the Palace. |
When ready, activate the pressure plate and equip the Arrow of Extrication. If you didn't bring a bow with you, one can probably be found on one of the skeleton warrior enemies. When the pressure plate is activated, the statue will spin around, revealing the Keyhole. Aim at the hilt of the sword on the statue and fire the arrow; with any luck, the Arrow of Extrication should hit the glowing blue spot right on.
The two statues next to the pillar will come to life if you approach the entrance to the Imperial Guard Quarters. You can try to sneak by them, or fight them. They are pretty tough, so you might as well attempt to sneak by. If you are detected, you'll have to kill them, because if you proceed into the Imperial Guard Quarters without doing so, the guards there will be immediately alerted to your presence.
There are likely guards asleep in the Imperial Guard Quarters, so ensure that Sneak Mode is toggled before entering. Upon entering, creep through the first room and open the door. Exit this next room to find yourself in a hallway. Turn left and make your way to the end of the hall. Be careful, however, as there are a couple of guards patrolling the area. At the end of the hall is the door to the Elder Scrolls Library. To avoid the guards, you can hide in one of small indents along the walls and wait for them to pass by before continuing down the hall. Once you've made it to the end of the hall, use lockpicks to open the door to the Elder Scrolls Library.
Upon entering the Elder Scrolls Library, start to descend the giant staircase in front of you. Take your time, as the monks in the library will know you are not one of them if you just rush down. At the bottom of the stairs, sit the chair there and wait for one of the monks to present the Elder Scroll to you. When the Elder Scrolls appears in front of you, click on it and press the X/Square button to take it into your inventory.
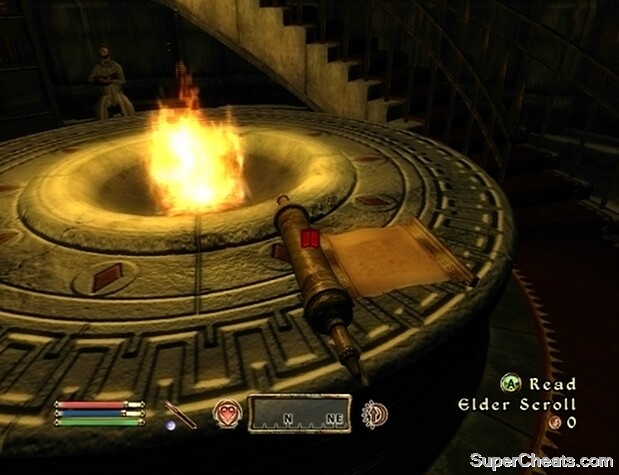 Sit in the Reading Chair and wait for the Blind Moth monk to present you the Elder Scroll. |
Once you have the Elder Scroll, you then just need to get out of here and report back to Gray Fox. Try your best to sneak back up the stairs, as the monks will realize who you are and begin to attack. If you are unable to sneak by, blood must be spilled. Once out of the Elder Scrolls Library, turn left. Be careful of the guard patrolling this hallway, and enter the Moth Priest's Quarters. Move through here cautiously, as there are several blind monks who can still hear you. When you reach the end of the hallway, you will find yourself in the Imperial Battlemages Chambers. Silently move through this hall until you can step into the room in the middle.
Move toward the fireplace and look for a loose grate back to the Old Way. Be sure to have the Boots of Springheel Jak equipped before heading through. Your character may be able to survive the fall, so consider saving your game here and trying first without them. After the fall, the Boots of Springheel Jack will be destroyed, so if your character's health and Acrobatics skill is high enough, you may be able to make it away with them.
After the drop, head through the door to the Palace Sewers. Follow the arrow on your compass to reach the door to the Bloodworks dungeon, provided 'The Ultimate Heist' is set as your active quest. Here, make your way to Market Sewers. You can exit the sewers via basement of The Best Defense basement. When you reach the ladder, pick the lock and climb up. Get out of the basement, exit the store, and you're home free.
Report to Gray Fox in the Imperial City and inform him of your success. He'll give you a ring that he wants you to present to the Countess in Anvil. Fast travel to Castle Anvil and give her the ring. If she isn't in the throne room, use the wait menu to pass as many hours as necessary to make it the afternoon. Once she has the ring, sit back and watch the final event.
 Give the ring to Countess Millona Umbranox in Castle Anvil to trigger the Thieves Guild end event. |
That's it for the Thieves Guild questline! You've been rewarded with the Gray Cowl of Nocturnal, allowing you to take on the identity—and the bounty—of the Gray Fox. You can also now access the secret guild hall in the Garden of Dareloth in the Imperial City Waterfront.
I am not allowed to equip quest arrow in spite of practicing with steel arrows on the statue eye and hearing the metallic 'clunk' noise AND not changing position. Am stuck !
Ok every body. Once you leave you are screwed. Time to restart
I am playing on the Xbox version, and I cannot move the walls to fire the Arrow of Extrication. Please help!
i walked into the guard quaters an got caught, the quest marker immdediatly told me to escape so i did so through a 'chute' without collecting the elder scroll, i attempted to go back intp the guard quarters via the door in the hall of epochs but it says its locked? i dont know what to do, and i want the complete the quest, help please!!
i am stuck outside of the libary and i dont have any lock picks how can i get into the libary
I need help. I got caught by a guard on my first attempt and now i cant get back in does anyone know what to do. I have the Xbox 360 version.
While trying to sneak past the guards in the elder scrolls library, i got arrested and the waypoint still points me upstairs in the palace. Now I can't go back in because both the door in the palace leading to the third floor and the door at the end of the old way are locked and i need a key. I tried pickpocketing a guard's imperial palace key, but it doesn't work on the doors. When I go back to Orthello's house, the Gray Fox isn't there so I can't finish the Quest. Can someone help me?
HELP!
I entered the Library, but the monks DID attack me, I just killed one and left.... I am still in the BATTLEMAGE QUARTERS (or something like that) but when I get back to the library and sit, the monks DON'T ATTACK ME but they DON'T HAND ME THE SCROLL .... What can I do? (XBOX VERSION)
I sat in the reading chair, talked to no one and I did not receive the Elder Scroll, is there anything else I am to do?