Seth Briars' Missions
Red Dead Redemption Walkthrough and Guide
Seth Briars' Missions
(New Austin Walkthrough)
Complete 'You Shall Not Give False Testimony, Except for Profit' in Nigel West Dickens' mission line, then travel to the 'S' that appears on the map southeast of Armadillo and touch the marker there to accept a mission from Seth Briar.
Exhuming and Other Fine Hobbies
Moses, Seth Briars' former treasure hunting partner, was caught exhuming and is now locked up somewhere in Benedict Point. Seth wants the treasure map Moses has with him. You'll have to help Seth get his map back before he'll help you.
Mount your horse and start following Seth toward Benedict Point. When you reach the spot, Seth asks you to distract the two deputies near the cabin so he can speak to Moses. You'll have to commit a crime to distract the deputies, but don't worry; Seth will help you clear your name once he has what he wants.
 Make off with a deputy's horse to lead the two deputies away from their post. |
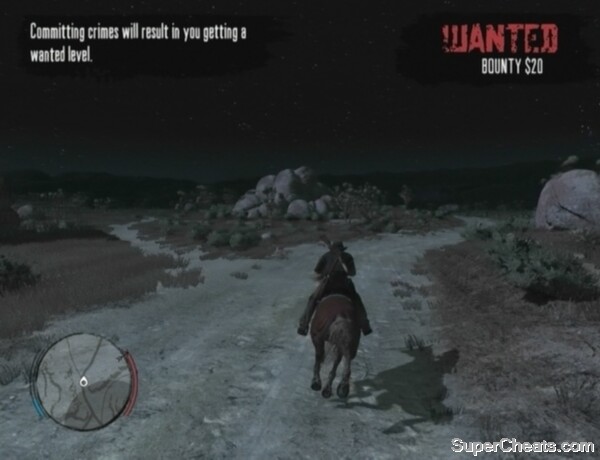
When you regain control over Marston after the cutscene, hop on one of the deputies' horses, which are marked on the Mini Map with blue markers, and start east. To lose your wanted level, you must get out of the red circle visible on the Mini Map and remain outside of it until the text in the top-right corner of the screen is completely grey.
Spur your horse until the stamina meter on the left side of the Mini Map is in the red, at which point hold the A/X button and wait until some of the meter is replenished before spurring the horse again. Spurring a horse when its stamina meter is in the red will only slow the horse; continuing to spur it thereafter will get you bucked off.
Once you've lost the deputies, return to Seth by following the blue marker on the Mini Map. Moses manages to break free from the cabin and makes a break for it. You must stop Moses from getting away -- without killing him.
You can use your Lasso to capture and hogtie Moses. As soon as you regain control over Marston, press up on the D-pad to call your horse and hop on. Take aim while trotting next to Moses and throw the Lasso to stop him. When you've managed to lasso your target, dismount your horse, approach Moses and press the Y/Triangle button to hogtie him. With that, press the Y/Triangle button to pick him up, then walk over to your horse and press the Y/Triangle button again to place him on the horse's rear. Bring Moses back to Seth to get Moses talking.
Lassoing Moses
Once Seth knows what he needs to know, it's time to clear your name. Seth will give you a Pardon Letter, which you can use at a telegraph office to clear your bounty. There's a telegraph office right along the tracks here, so walk in and approach the man behind the counter. The bounty for horse theft is only $20, so you may want to save the Pardon Letter for later and pay the bounty out of your pocket.
A Gentle Ride with Friends
Meet Seth at Coot's Chapel to accept this mission. You may want to purchase a couple of things of Medicine from the doctor's office in Armadillo before getting started.
Seth is still in search of his lost treasure map. He has loaded several corpses onto the back of his wagon with plans of searching them for the map. Seth needs you to drive him to a secluded area first, as there are other treasure hunters after the same map.
Get in the driver's seat of the wagon and start following the yellow line on the Mini Map. Three treasure hunters on horseback will soon appear and surround the wagon. It is best to take the time to kill them all with your Winchester Repeater, as you probably cannot outrun them. It might help if you tap the RB/R1 button to slow the horses so you can properly take aim. A couple of the enemies are carrying Fire Bottles, so you definitely don't want to come to a complete stop to fight them off.
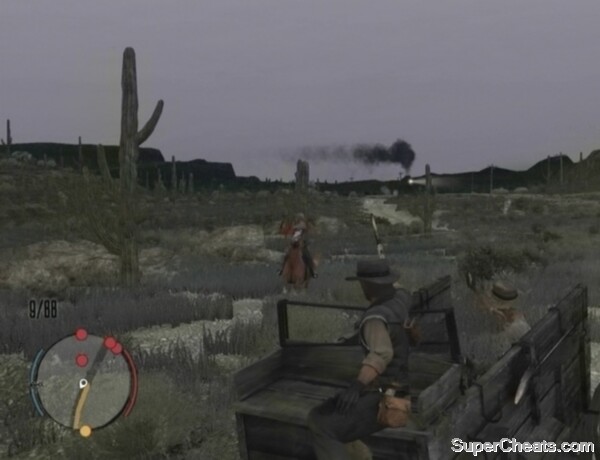 Protect the wagon from the treasure hunters. |
If you're taking a lot of damage while trying to fend off the treasure hunters, you can use Medicine to instantly restore your health. To use Medicine if you have some, press the Back/Select button to open your inventory, then select the Medicine in the Consumables section and press the A/X button to use it.
When the first three treasure hunters are dead, press the LB/L1 button to put away your weapon and continue following the yellow line on the Mini Map. You will soon encounter four more horse-riding treasure hunters. Take them out with your Winchester Repeater before continuing on.
You'll face a group of four more treasure hunters before the end of this mission. You might be able to make it to Tumbleweed without having to kill this last batch, but you might as well kill them just to be sure. Hit the marker in Tumbleweed once you get there to complete the mission.
Let the Dead Bury Their Dead
Travel to Tumbleweed and look for Seth in the graveyard behind the chapel. Seth is still searching for that treasure, which he has learned is in a chest somewhere inside the abandoned mansion at the west end of town.
Start toward the mansion, denoted by the yellow blip on the Mini Map, and you will soon encounter a band of treasure hunters. There are plenty of wagons, crates and barrels to use for cover, and these guys are terrible shots, so you shouldn't have any trouble clearing them out.
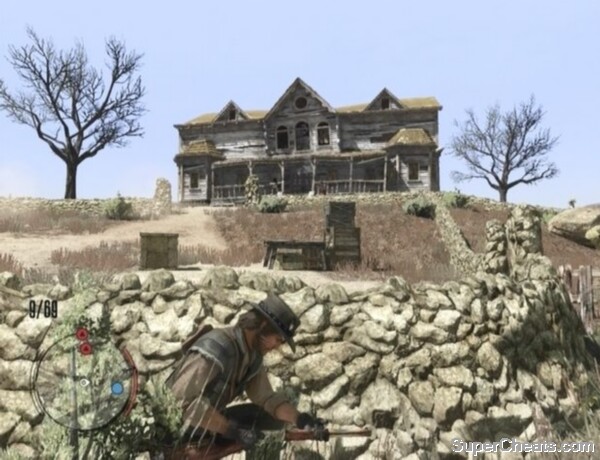 The treasure Seth is after is somewhere inside the abandoned mansion in Tumbleweed. |
Take the time to loot the corpse of a fallen treasure hunter by approaching his corpse and pressing the Y/Triangle button when prompted. Do this to discover the Treasure Hunter outfit. You can't don this outfit until you've collected all of the scraps needed to craft it. You can view a list of the items needed to craft any of the outfits you've discovered by interacting with the wardrobe in one of your safe houses. Refer to the 'Outfits' section of this guide for a complete listing of outfits and where to find everything needed to craft them.
Kill all six treasure hunters marked on the Mini Map and then move up and take cover in front of the rock wall surrounding the mansion. There are two more treasure hunters to deal with here: one on the porch and one in the left-most window on the second story of the mansion. Take out both of these treasure hunters with your Winchester Repeater before approaching the front doors.
The front doors of the mansion are locked. You'll have to go through the basement, which is accessible through the cellar door along the left side of the mansion. The treasure chest is upstairs in one of the rooms on the second floor. Though there aren't any enemies marked on the Mini Map, you will face some treasure hunters inside the mansion. The enemies in this area will only appear on the Mini Map when you spot them, so be extra careful.
 Search the mansion for Seth's treasure. |
Two treasure hunters will enter the basement from the first floor, so blast them both before heading upstairs. Turn through the doorway to your right once up the stairs and take cover below the opening in the wall. There are two enemies on the first floor and two on the second-floor walkway. Kill these enemies before taking the stairs up to the second-floor walkway. There are two more enemies in the room with the treasure; gun down the first, enter the room and then immediately turn right to spot the second enemy through the doorway there. Kill both of these enemies and then move in to claim the treasure for Seth.
I can't pass the telegraph office part
i have finished the game and this is exactly right