11: Dragon Fury
Operation Flashpoint: Dragon Rising Walkthrough and Guide
Operation Flashpoint: Dragon Rising Guide - Walkthrough
Mission Eleven: Dragon Fury
Summary:
This is the last level in the single-player campaign, and features play over a huge area of the map, complete with a helicopter ride in the middle. We need to wipe out the final remnants of PLA resistance, those willing to fight to the last man, before heading to eliminate or capture General Zheng, the ring-leader of this whole operation. We are back in the shoes of Dagger One Bravo, despite the low-light levels (though thankfully we have the awesome Night Ops weapons).
Walkthrough:
Primary Objective 1: Eliminate PLA armour in valley:
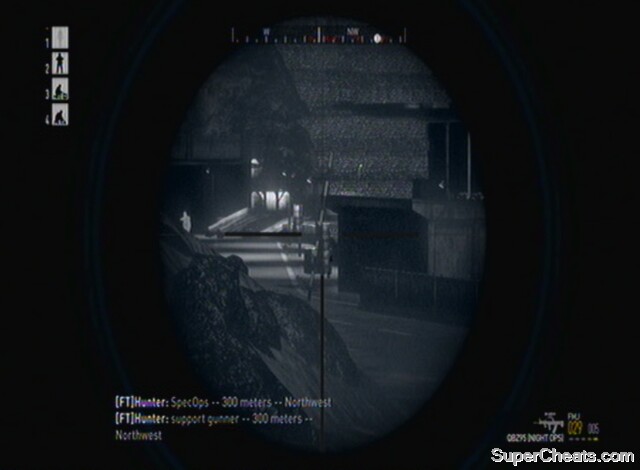
From your starting position on the beach, go to the first RV marker in the trees. Once you are about 90 metres away from the next one, use your Night Ops scope to scan the horizon and spot the enemies behind sandbag emplacements ahead. Time is important, as Longsword, our vehicle convoy, are moving up alongside us. There is a mounted gun here, and removing that PLA should be your top priority. Pick off as many as you can, but watch for friendlies. Move up to the RV marker when you feel you need to get closer to see more enemies. Use the map to keep an eye on enemy troop movements. Move up to the gun emplacement at the next RV marker when you're happy, and scavenge the ammo crate in the building for a Queen Bee.
We need to take out PLA armour in the area, and if you look west from the house you should be able to see an APC. Use a HEAT round on the APC, aiming slightly higher than the vehicle to ensure a direct hit. The PLA tank, which we also need to destroy, is visible from the road. Use another HEAT round or your Javelin (you can go back to the ammo crate and pick it up) to take it out, ensuring you fire suitably above it (the Javelin doesn't need to be aimed in this manner). The Javelin is easiest, as its range is so great and you don't have to manually aim.
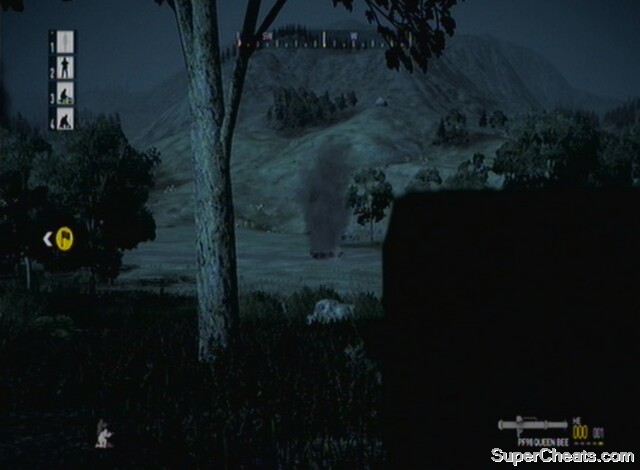 Eliminate the enemy APC and tank |
Secondary Objective 1: Eliminate PLA defensive position:
With the first primary objective completed, get back on the RV trail, and make haste. Soon, you'll come upon a wooden house with an emplaced gunner outside and a few PLA. Use your Spec-Ops equipment to take them out before they see you, and you will have eliminated the first defensive position. Activate the checkpoint and continue on to the next RV marker. You should be able to use your scope here to see the PLA (including AT gunners who can hurt Longsword) amongst the trees nice and early. Pick them off, and be aware of enemies to the south. Move through the next RV marker, and about 170 metres away from the second, scope to take out an emplaced gunner ahead. He will have allies with him, including an AT gunner and Spec-Ops soldier, so watch out.
Primary Objective 2: Capture Skoje village
Move up to the gun emplacement to reach a checkpoint and begin one of the hardest sections in the game. You need to move quickly here as there is a limited amount of time for us to take out the AAA units before the helicopters we need to cross the island will be destroyed. If you dawdled earlier then you may hit this checkpoint with very limited time indeed. Move quickly directly to the next RV marker to the south, watching the gaps beside the building and the windows (there are two PLA inside). You can see one through the left-most window in the centre of the building. Peer inside and look left, and you should see him facing out of the window on the other side. If you take him out now, the other PLA inside will be on the alert, however. If it's your team assaulting the building, you may not care. As they assault, enter in the other door or cover their backs. Note that there is a video below showing the assault on the village complete with the two AAA vehicle kills.
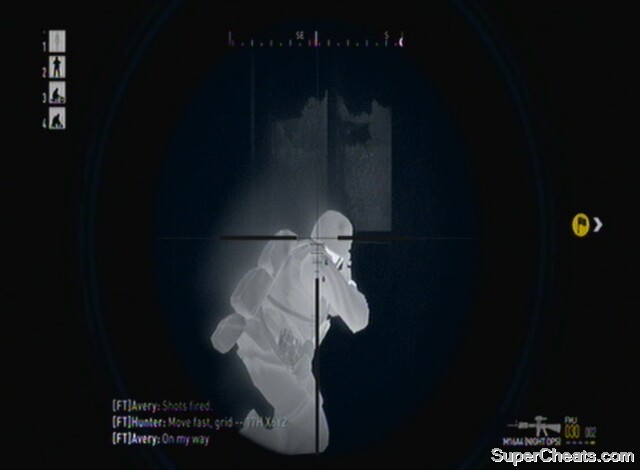 Use the window of the building to surprise one of the PLA inside |
Once this room is clear, get the Queen Bee from the ammo crate and quickly move outside via the back door that you came in through. It may be worth equipping it now (with HEAT rounds, although see note below) so that you're not fiddling with it in the middle of the street, but ensure your team are following you if this is your plan. You need to watch all the angles here, as there are tonnes of PLA in this base. Hopefully by this stage your allies will have moved up too to take some of the flak. There are plenty of Spec-Ops soldiers in the village, meaning they can see you from long distances, whenever you can see them. Move west to the edge of the farthest building. From here, turn left along the main road, heading south. The next RV marker indicates where the first AAA unit is. Follow this road and look at the corner of the warehouse ahead, near the marker. You will be able to see the edge of the AAA unit with the Queen Bee's scope. Once you can see enough of it, ensure you are on HEAT rounds (though see note below), and fire at the AAA vehicle.
Note: If you only have three rounds in the Queen Bee, one HEAT and two HE, you need to try and hit the back of the AAA vehicle. The first one is easier to do this on, especially from the angle we are coming at, but both AAA vehicles are lethal if they spot you, so be careful.
Once it's taken out, continue down the street, watching the market square where the AAA vehicle was in particular for enemies. If HQ hurry you up, that means one of the helicopters is just about to be taken out. Once you clear the market square on the main street, turn left towards the RV marker. Head south-east, to the left of the house with the RV marker in, readying your Queen Bee as you begin to see round the corner. The second and final AAA vehicle is just round here. Take it out with your HEAT round, and then defend your section of the street until your allies arrive. There is an ammo crate with a new Marksman rifle in and the last ammo before the end of the level in the RV marker building, if it wasn't destroyed in the carnage.
Assault the village and destroy the AAA units within
You now need to board the helicopter, either as pilot or with one of your team mates in this high-risk role. It's best and more fun if you do it, and there is an achievement for it.
If you want to fly, get in at the right hand side when the Pilot icon is lit up. This helicopter is very odd to fly, but is also robust, so you can scrape it along the ground a bit without it blowing up! Take your time to get used to the power and x axis movement being on the right stick (so push up for power, down to slow, left to move left and right to move right) and pitch and roll on the left stick (so up to decrease flight angle with inverted controls, down to increase flight angle and left and right to tip the helicopter). Start by getting plenty of height, just by pushing up on the right stick, and then get used to moving it side to side, and finally controlling height and movement together. A vital button to know is to press X/Square for auto-pilot. This will hover the helicopter for you if you let go of the sticks, which is very helpful if you're struggling to level it out.
 Get aboard the helicopter |
If a squadmate is flying, get in and then give them a move order. RV markers will appear en route that you either need to fly to or order your team to. Once you get to the final one (marked by purple smoke), you need to land. If no RV markers are appearing, start flying south and hover not too far from the village, and HQ should sort you out. If you saved both helicopters at the village, an allied helicopter will also be airborne. Note too that if you get too close to the naval base they'll shoot you down.
Land with a careful bump in the hills by the smoke, and you'll get an achievement (only if you were pilot).
Achievement/Trophy: Vertical Envelopment (Fly the helicopter from Skoje village to the landing zone) Silver/30G
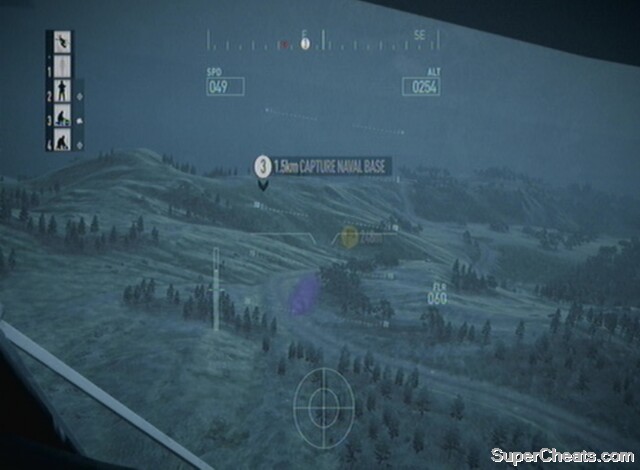 Land at the purple smoke |
Primary Objective 3: Eliminate PLA resistance at Naval base:
Secondary Objective 1: Capture General Zheng alive:
Once you disembark, head across country to the next RV marker. As you are about 60 metres away and just about to go over the crest of a hill, ready yourself for a single PLA soldier looking towards the road. Kill him and move up. Once you hit the RV marker, look to the east and you'll see two PLA soldiers at the next marker. This is a long shot, but you can take them out from this range. Reinforcements will also arrive, however, and to conserve your ammo it may be a better idea to get closer. Your allies from Skoje should also be lending a hand at this point. Move over the crest at the top of the hill so you are about 150 metres away and finish off the remnants. Head on up to the flat area where the RV marker is.
You are now directly west of the naval base, but our task is to go in the opposite entrance and get the PLA in a pincer movement while our allies go through the northern end. So head to the next RV down the hill. On your way you will be able to see a PLA soldier at the marker on an emplaced gun, and one more further behind him. Take out the closest one, and move up to his position at the RV marker to engage the next one along. He will be in a bunker.
Now move directly to the next RV marker, stopping about 70 metres short of it. In the road below (check your map) is an emplaced gunner, so edge over the top of the crest and take him out.
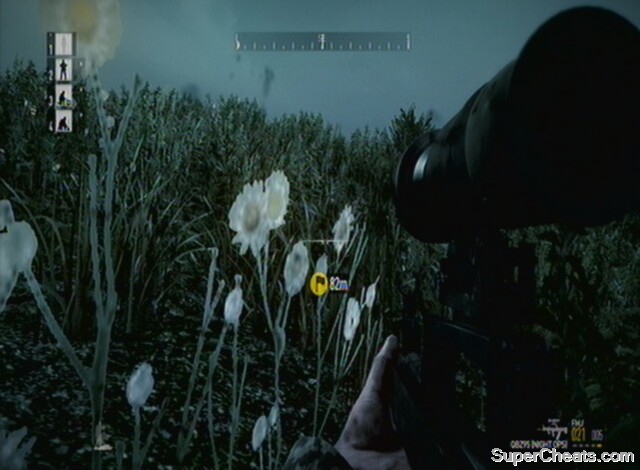 Edge up and take out the emplaced gunner |
Move down into the road, and then head across the hill diagonally towards the next RV marker. You'll come out right on top of a PLA checkpoint, so use your rifle to take out the guards around it. To play it safe, you will want to go back up the road (heading uphill) to activate a checkpoint, as the next one is right in the centre of the naval base and doing this will save you some time. So drop down onto the PLA checkpoint and head south-west. Once you get the confirmation that you've activated it, turn around and go back down.
Follow the road curving towards the naval base. Don't cut across country, as the AI struggle to get down the cliff. You should be able to see PLA through your scope as soon as you round the corner. Watch out in particular for an emplaced gunner. This is one section where the realism goes out of the window, as there are respawning enemies in the area. They seem to emerge from an indent in the cliffs, shown below. You have to push past this area to stop the respawning – this is presumably to stop you from just sniping everyone in the base from distance.
 Deal with those guards at the front of the base |
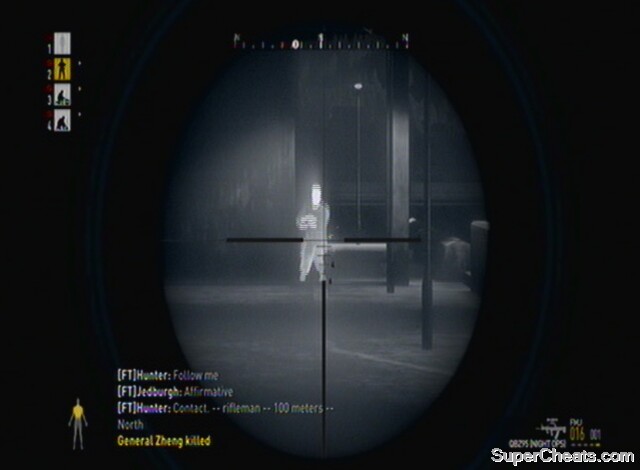
As you push towards the centre of the base taking out scores of enemies, you may see General Zheng. There is a tricky secondary objective for capturing him alive, but he is intent on killing you, which makes this difficult. He won't pro-actively look for you, like his cronies, but if he does see you, he will probably give chase. Once you cross the small bridge you should be able to see him, and activate a checkpoint just beyond it. If you are intent on keeping him alive, you'll have to set your team to 'Hold Fire' (as such it's worth sending them back across the bridge to relative safety). If Zheng sees you, duck behind some cover and fire at other enemies, the ones on the dock, for example. He should stop chasing you. He only has a pistol, so can't exactly snipe you. The remaining PLA in this area, however, are aggressive, so once Zheng loses interest and gets in cover, edge out and pick out his last few soldiers – let them come to you in your hidden position and take them out when they come into your sights.
There are Spec-Ops soldiers in the base, so they can see you from distance too. You may still have a fire-mission from earlier, and now may be a good time to use it, though be careful if you are hoping to keep Zheng captive. Keep Zheng about 80 metres away, and if he appears to be moving towards you (check the objective indicator distance), fall back yourself. You should be able to get him to hide behind a building which he will only move from if he sees you. As long as you don't move forwards into the main area (around 150 metres from the Capture Naval Base objective) you should be ok. You have a vastly superior weapon, and should be able to pick off his followers without taking any damage even if he's walking towards you. Note that you can't just shoot him in the leg and incapacitate him either, as he'll just die after a few shots.
Capture General Zheng alive
Once all the die-hard PLA are down, if Zheng is alive then you'll radio HQ confirming that you have him surrounded and are ready to extract him. If not, then you'll merely confirm the base is secure. Whatever the outcome, congratulations, as you've completed Operation Flashpoint: Dragon Rising.
Achievement/Trophy: Ship It (Secure the naval base and General Zheng, alive or dead) Bronze/20G
Extras:
This level takes place near the radio station in Mission 11, and you cover a lot of terrain in it. It is quite restricted with what you can do for the first half of the mission though. You have to take out the PLA armour at the start, though you don't need to worry too much about the convoy getting through – it just makes capturing Skoje village much more difficult.
Once you get to Skoje and secure the area, you have access to a helicopter. With it, you can pretty much do what you like in the AO. There is no defined point that you have to be at before you can attack the base and take out Zheng, so you are able to use the helicopter to come up with your own attack plan. The problem is that there is a lot of AA cover in the vicinity of the naval base, but if you could deal with this, you would have free reign. There are no unoccupied ground vehicles to use, so you are pretty limited to the helicopter with getting around.
 Whether to kill Zheng or not is in your hands |
One extra idea is to assault the naval base from the other end, where you allied team in the other helicopter initiate their assault from. The chances are they will be eliminated if you attack from the other end, so you would be helping them out! Once you begin the assault on the naval base you are given access to a fire-mission, which you can use on the brunt of the forces within. Try different methods of attack, such as from the cliffs above, or sending some of your team in one way and covering from another – there are quite a few alternate strategies to finish off the game.
Many thanks . lost without you
Thanks. Great help!
Thanks
that stupid javalin cant find his target
im just have problems take the base every time i get into base someone pops out and kills me quite hard spec when my men wont follow orders and go into with me
It's meant to be a realistic game, not the whole running and gunning health
regeneration crap.
One of the worst fps I've ever played. Constant long range combat, some long boring frustrating missions just running across large areas, accuracy on weapons in crap, one shot deaths on easiest difficulty (don't mind it on hardcore)
I found the first part a bit of a nightmare time wise when it came to taking out the AAA.Quickest route for me was to head for the road at a point where you could take out the first mounted gunner then turn and hit the tank with your javalin. Sprint (or wheeze)up to the hut kill enemy, get Q bee and dont stop to ask the enemy coming the other way for the time. You can let your crew have sum of the fun.If you keep up the pace to the vill you should have enough time for a quick burn(smoke)to further damage your mans baby lungs before engaging the AAA.
I took the helicopter and flew low & fast over the naval base. I went to turn around for another fly by but as I was doing so I called in to say the naval base was secure, mission complete. It was a piss easy mission.
one GREAT way to finish the mission is to hijack an Abram tank while it is heading for the village. To do that just run straight to it. Don't care about taking out the MG-nests.