- Kasumi: Stealing Memory
Mass Effect 2 Walkthrough and Guide
Kasumi: Stealing Memory
With the pleasantries over with, the loyalty mission for Kasumi can be introduced. Kasumi used to work with and love a man named Keiji Okuda, until he was murdered by Donovan Hock, a notorious character of many shifty trades, and well known for his ruthlessness. Kasumi wants to retrieve Keiji's 'greybox', which stores memories, passwords and important information.
Once you travel to the planet Bekenstein in the Boltzmann system of the Serpent Nebula, a cut-scene will introduce you to the plan ahead. Kasumi has set up a cover for Shepard, making Hock interested enough in us to allow our attendance at a party he is hosting, and we will be assuming the role of the somewhat humorously-named Solomon Gunn (or Alison Grundy for a female Shepard). Once at Hock's party, we will be giving the centre-of-attention a special gift: a gold statue shaped like Saren. This is also a chance for Shepard to try out his trendy (or her revealing) new outfit in public!
 Our present for Hock, with a little extra. |
Our armour and weapons will be inside, but we will be able to carry a pistol in case we have trouble getting to the vault where it is stored. Once we have our armour, we will go further into the vault and get Keiji's greybox. Simple! Note that it is just Shepard and Kasumi on this mission, with no extra team mates, unusually, despite there being plenty of combat.
Unfortunately upon our arrival, Hock comes to greet Shepard/Gunn and Kasumi. He recognises something off-putting in Kasumi, and refuses to allow her entry to the club. Luckily, Kasumi is an expert at stealth, and also sports a cloaking device that will enable her to track Shepard and assist him at the most crucial stages of the mission. When the cut-scene ends, you will be inside Hock's mansion.
Locate Vault Door:
The vault is located at the back of the mansion, but to get there you need to take a circuitous route.
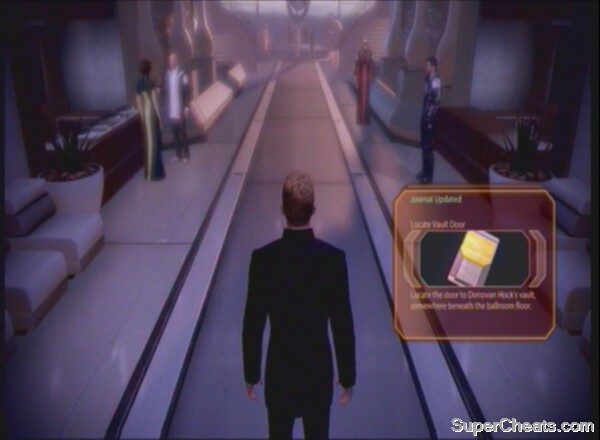 Proceed to explore the mansion and eavesdrop on some conversations. |
Head through the house, taking a left turn into a picture gallery and then left again when you emerge. Past the one standing and two sitting guests are some steps leading down to the vault. Proceed down and through the door below. Kasumi will appear to give some advice.
To enter the vault, we must do the following:
- Disable the power to the vault's kinetic barrier
- Bypass the voice-lock by engaging Hock in conversation long enough for Kasumi to get enough of a voice sample
- Discover the password for the vault's lock by exploring the mansion
- Bypass the DNA Scanner using a good sample of Hock's DNA
First, we will take the down power to the vault. Outside the vault in the corridor you should be able to locate a power cable. Interact with it and Kasumi will modify your Omni-Tool to scan for the cable's power signatures.
 Investigate the power cable. |
You can now head back upstairs and move around the mansion following the power signatures. The generator we need to shut down is actually in the art gallery we passed through earlier, so head there and use the statue to the left of the fire to open a security hatch. Kasumi will appear and deal with the power generator.
Next up we should talk to Hock. He is by the water feature in the centre of the mansion. If you have high enough renegade or paragon abilities, getting him to make a speech to the surrounding crowd is easy: just choose the appropriate renegade or paragon conversation option. If not, use one of the other options to progress and unlock new ones – the level of paragon or renegade skill required should decrease as you ask more and more generic questions. Keep going until you provoke Hock to make his speech. With that, Kasumi will have enough to create a voice-print for the vault's locking system.
We still need the password and DNA. The password is located in the only accessible side-room in the mansion. You need to access the door to the left as you entered the mansion for the first time. It is located by the stairs going up to the second level. Approach the door and attempt to gain entry and Kasumi will bypass it for you.
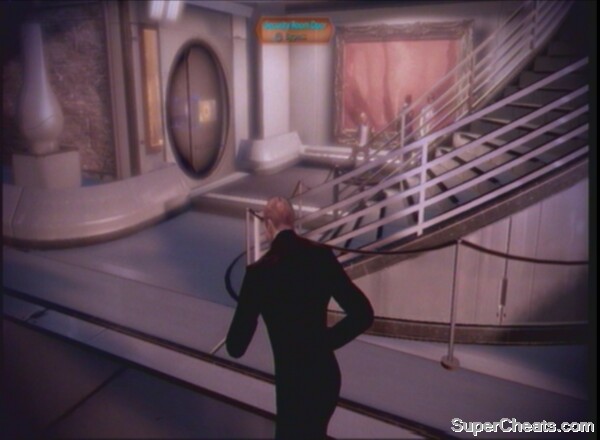 Enter this door in your search for the password. |
Once inside, you will have to bypass the next door yourself. As soon as you go through it, two guards will be waiting for you. They should be easy to deal with, even with just your pistol equipped (note that you can of course still use Biotic attacks and the likes of Concussive Shot in combat). Take them out and then access the Wall Safe and Medical Station in the same room. The password is stored on a Datapad left by a careless worker. With the password of 'Peruggia' in hand, we can now proceed to get the DNA sample.
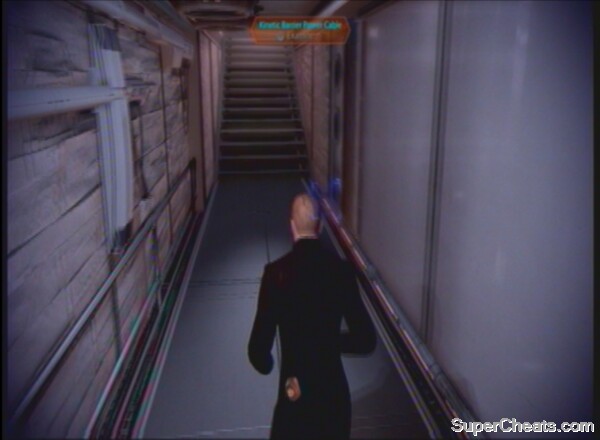
You can try talking to the guard outside the door to Hock's private quarters, located on the right hand side of the mansion (from where you originally entered) and through another art gallery-like area, but you will have little success. You need to head through the middle of the mansion and out onto the veranda at the back. Investigate the datapad out here, to the left, then head to the right. Just to the side of the stairs heading back up from the veranda you should be able to find some pipes allowing you access to the private area.
 Use the secret access to get to the private quarters. |
There is a possibility of some really satisfying kills here, if you wish. There are three guards round the corner ahead. You can melee the first one off the edge, and use Concussive Shot on the second, to send them both falling into the gorge below. Kasumi can use her Deadly Shadow Strike to get behind the third and create a diversion. Biotics work just as well, and you should take the opportunity for some fun, easy kills rather than using Shepard's pistol.
Throw the guards down the canyon.
With this done, move along the path to the blocked door, and proceed up the ramp. Shoot the glass and cover-vault to enter the private quarters. Enter Hock's room, to the left. There is plenty to do inside, but you should be aware of an alarm clock – if you investigate it for DNA, you will set it off and alert the guards. Explore the room, interacting with every item except the alarm clock. Most items do not have enough DNA on to use, but the antique weapons by the fireplace at the back of the room and the datapad to the right hand side (as you entered the room) are good specimens.
At the back of the room you can find a Wall Safe and a plant to search for DNA with humorous results.
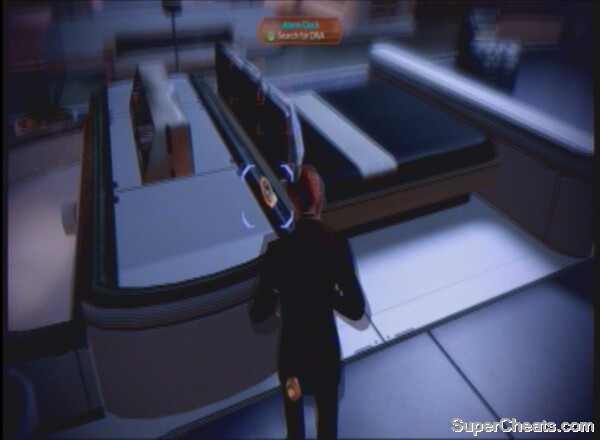 Don't access this alarm if you want an easier fight! |
Should you set off the alarm, two guards will come in via the main door. If you have done this, deal with the new enemies. Regardless, you will need to proceed back the way you came once Kasumi confirms that you have taken enough DNA. As you get back into the corridor, you will hear two guards talking if you did not alert them with the alarm clock earlier. They are up the top of the stairs, to the left. This is another perfect opportunity for a Concussive Shot or heavy weaponry kill to send the guards flailing down through the window into the canyon below.
 The guards will be up here if you didn't set off the alarm. |
You can then head through the door at the top of the stairs, and make your way back to the vault. Interact with the DNA scanner and the microphone voice-lock to open the door and allow access inside. With the statue also in this room, you now have all your armour and weapons back.
Inside the Vault:
There are plenty of Hock's exhibits to look at here, including the head of the Statue of Liberty, Michelangelo's David, and many artefacts that you may find humorous or interesting from the Mass Effect universe. You are provided with a sensor to show how close you are to the greybox, so explore the room (no enemies will bother you for the time being) until you locate it. There is also the DLC's unique weapon located next to it, the M-12 Locust SMG.
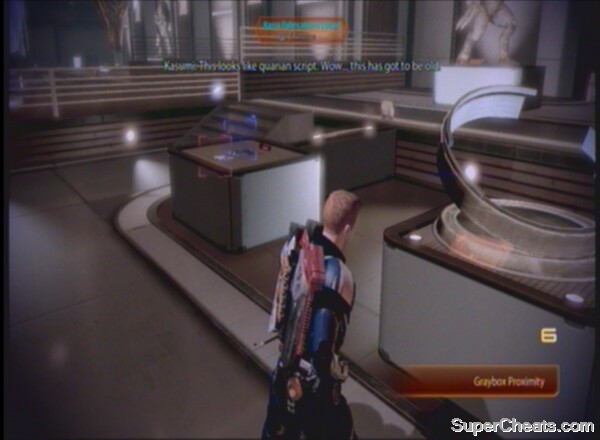 Pick up the weapon and the greybox |
You will then be interrupted by a holographic head of Hock. There is a Renegade interrupt to use if you want to, which will break one of Hock's artefacts and annoy your host. Once the conversation ends, many of Hock's guards will spill into the vault. Watch out for Flashbangs, which cause a white image burn if you are caught looking at them when the grenade goes off (turn away to avoid the effects, though this dislodges Shepard from cover). Kasumi has some Flashbangs to use herself when loyal, but for this mission you have to face them regularly and cannot use them in retaliation. Use a sniper rifle if available to take out as many enemies as possible as they enter, or move up closer to deal with them. Remember to use Kasumi's Deadly Shadow Strike to get behind the enemy lines and surprise some of the opposing soldiers. You will have to bear Chief Roe in mind, a Shielded and Armoured grunt of Hock, but once this target is down you should be able to mop up the remnants.
Before you leave, make use of the Medical Station in the vault. In the adjoining room there is a Weapons Locker. You need to ensure you have a weapon equipped that can deal with the likes of YMIR Mechs for the upcoming section.
Go through the next door and deal with the Eclipse Troopers inside. After this the first YMIR Mech will come to attack. Use Kasumi's Overload and heavy weaponry to defeat it. It's rocket attacks can be deadly, so retreat past the concrete divide in this tunnel to allow your shields to recharge if necessary.
Defeat the first YMIR Mech.
In the next section you will encounter some Eclipse Vanguards and Troopers. Watch out for the Vanguard's Barriers. Up the stairs on the way out of the section you can hack a PDA.
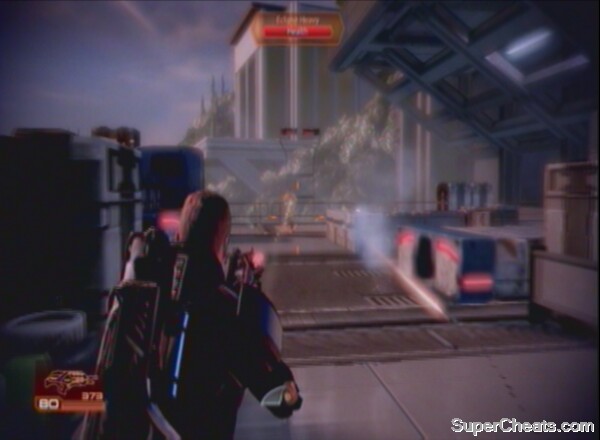
In the next hall, three Eclipse Troopers will jump out from cover ahead. Try to pick them off with a Sniper Rifle or biotics. LOKI Mechs, Eclipse Heavys and Eclipse Troopers will be in the section ahead. Clear the room and salvage the parts and pick up the Refined Platinum and Med-Kit. You need to use the Mass Accelerator Cannon to blast a hole in the wall ahead to proceed. In the room near the new hole you can salvage some more credits before moving on. In the next area, another YMIR Mech will engage you.
Destroy the second YMIR Mech.
Take out the Eclipse Troopers first so that they don't get a chance to flank you, before using Kasumi's Overload to take down the Mech's shield and finishing it off with heavy weaponry. Further along, a truck will pull in front of you, and Eclipse Troopers will emerge from the top. Collect the Med-Kit on your way up the stairs out of this section and scan the dead mercenary for a Tech Damage upgrade.
The next area is a big warehouse structure. Take cover as you enter and Eclipse personnel will attack from the front. Prioritise the Eclipse Heavy at the back of the area and any enemies getting close to your position. There are more enemies to the left of this area, but to deal with them you will have to move through the blue cargo container on your left, allowing you to move closer to them. Pick up the Refined Platinum on your way through. In this section, Eclipse Engineers are the order of the day, with their combat drones and shields, as well as the more usual Vanguards.
Make use of the PDA on the back of the truck once you emerge. Open the storage crate near the door out of the area and move through. When you go through the next door, a cut-scene will play as you reach the final section of this lengthy mission.
Defeat Donovan Hock:
Hock's dropship will arrive on the scene and pin you down. It is also assisted by Eclipse Troopers and LOKI Mechs. You cannot destroy the dropship at this stage, only damage its shields (and they will recharge anyway). To get Hock to leave you alone, however, you still need to take its shields down so that he retreats to recharge them.
 Use Kasumi to take out the dropship's shields |
The best tactic here, particularly if you have upgraded Kasumi's Overload, is to stay in cover and pick off the infantry sent to attack you, while occasionally popping out to target the dropship with Overload. You can use some heavy weaponry to assist, but it is less effective for the most part than using Overload, and you can save your ammo.
With the shields down, you are free to move up to the next section. Collect as much ammo as you can and move on. Trigger the wave of Eclipse Troopers and defeat them, using Kasumi to get behind them and split their fire. Also beware of enemies on the level above you. Pick up the two Med-Kits and Power Cells (important for the battle ahead) in the area where most of the Troopers were, before returning to cover to await the return of Hock, which coincidentally comes in tandem with killing the final infantry unit in the area.
This is a slightly odd section, as Kasumi needs you to clear a path through the infantry to allow her to reduce the dropship's power and thus lower its shields. You cannot simply lower the shields yourself, as they will recharge quickly once they go low enough. With the return of the dropship, more Troopers and LOKI Mechs emerge out of nowhere (and on all flanks!). Take them all out, and Kasumi will be free to attack.
Eclipse Heavys make a nuisance of themselves in the final wave |
When you have finally cleared the area, avoiding the dropship all the while, a cut-scene will play as Kasumi does her thing. She has used her Omni-Tool to disrupt the dropship's shields. You can now break out the heavy weaponry and rip through the dropship's armour to finish Hock off. Bear in mind that Eclipse mercenaries will continue to attack, so watch your flanks and don't become totally obsessed with the dropship. It usually flies off when the fighting on the ground gets hectic, giving you a window to destroy the floor.
When you finally get the armour of Hock's ship down, it explodes in a brilliantly bright explosion.
Destroy the dropship and kill Donovan Hock.
You are now free to cover-vault or climb the steps up to the higher platform (which also holds a Med-Kit), where the Normandy's shuttle is waiting.
Normandy:
Back on board the Normandy, Kasumi watches Keiji's greybox. It is a sombre holographic record of the love between these two characters, and shows some of the couple's most tender memories. It also contains information that the likes of Hock must get their hands on. Now Kasumi is at risk, and Keiji has left a message ordering her to destroy the greybox so that she will not be involved with the risks of being the only source of access to the data. You can give her advice on which option to take: to keep the memories or destroy them.
Either way, you have gained the loyalty of a very powerful team member, who will be invaluable in the future.
Achievement:
Broke, Blind, and Bedlam: Gain the loyalty of the thief (complete Kasumi Goto's loyalty mission, Kasumi: Stealing Memory) [15G]
No comments yet. Tell us what you think to be the first.