The Magic Begins (1-1)
LEGO Harry Potter: Years 1-4 Walkthrough and Guide
by vhayste
The Magic Begins
Year 1, Chapter 1
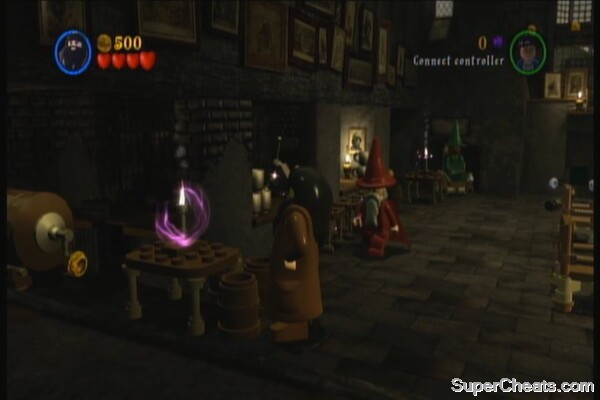
Press Y to switch to Hagrid. Go the left and use Wingardium Leviosa (will be shortened to WiLe in this guide) on the candles on top of the tables to the left. It will scatter to different blocks so use WiLe again on both of them to reveal a red crest. Use WiLe again on the stools in front of the bar to create a ramp for you to reach the crest.
 |
Red Crest
Use WiLe on the mugs on the bar to make them drop studs, then do the same to the mug on the long table as well as the mugs on the tables to the right end of the room. For those two tables, you can use WiLe several times as they drop several studs at once. Then destroy the barrels by using Hagrid's spell (press X) and keep shooting the ale kegs/ tanks on both sides of the room until they drop no more studs.
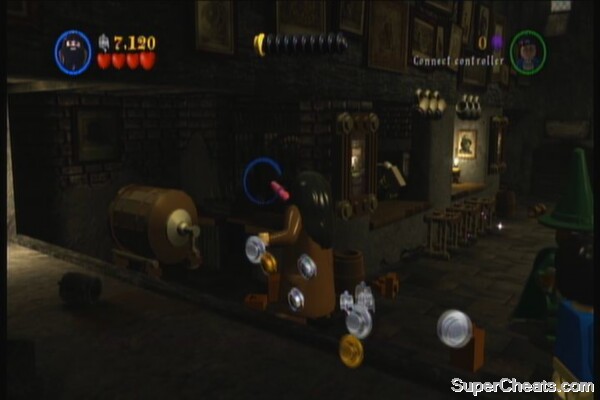 |
Approach the different colored tiles and Harry will step on it. Use WiLe to raise it, then switch to Harry. Grab the handle bar and drop back to the ground. Place it on the door. Switch to Hagrid and use WiLe to open the door. Grab the studs that will be dropped as well.
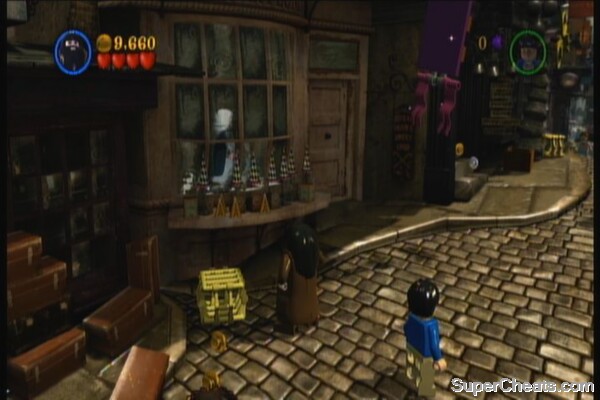
Use WiLe on the lego pieces on the ground to open the wall ahead. Destroy the destructible objects for more studs. Walk a bit then look for a lady in white, staring from the window to the left. Approach her to get prompt to press B. Do it to wave at her and the second Crest (green) will be yours. Don't forget to use WiLe on the signboard to get more studs.
 |
Green Crest
Then use WiLe on the barrel to the right, so the barrel will turn over and scatter the junk inside it on the ground. Use WiLe on the junk to create a sweeper machine.
|
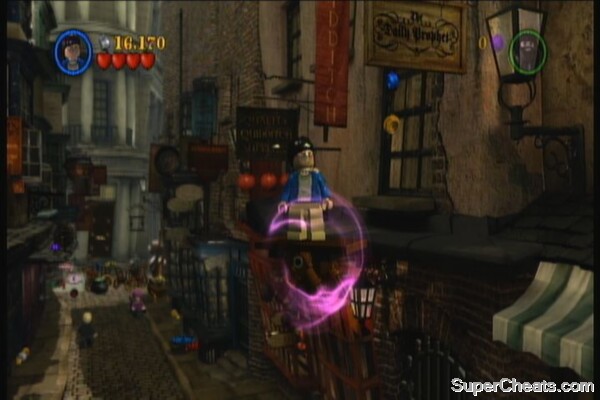
Next, use WiLe to bring the green stool/table down from the roof to the right, and use the spell on the scissor sign to drop more studs.
Switch to Harry and step on the brown table beside the green ones. Hagrid will lift you up. Jump on the next ledge to meetup with a student. You need to look out for similar students like this since they're part of the game completion. (Students in Peril)
 |
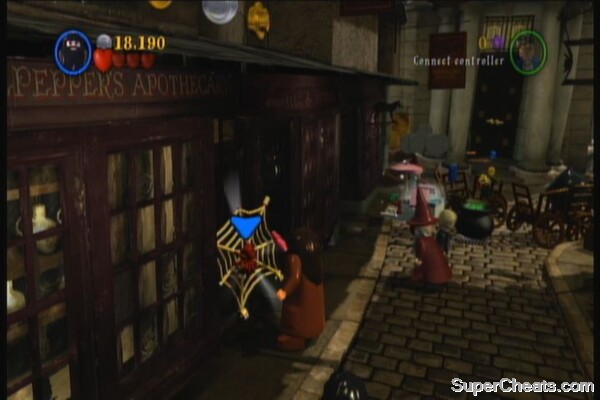
Continue ahead (beware of the green snake like things hiding under the grates to the right - they can damage you) Use the trampoline to reach the studs on the ledge to the left. Continue ahead and here you'll find a cauldron. You need to put the necessary ingredients to it in order to get through. The ingredients needed are the spider, popsicle and flower. They can be found nearby; pick the spider from the cobweb to the left, use WiLe on the ice cream cart to get the popsicle then grab the flower on the table to the right. Put them all together in the cauldron to make it explode and clear the debris.
 |
 |
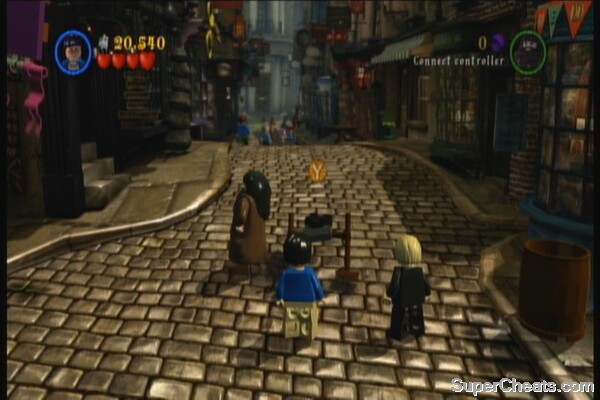
After clearing the debris, head back to the start of the alley and switch to Harry. Press Y to ride the sweeper and use it to clean the green goo that was left from the cauldron explosion a while ago. This will reveal yet another crest piece (yellow).
 |
Yellow Crest
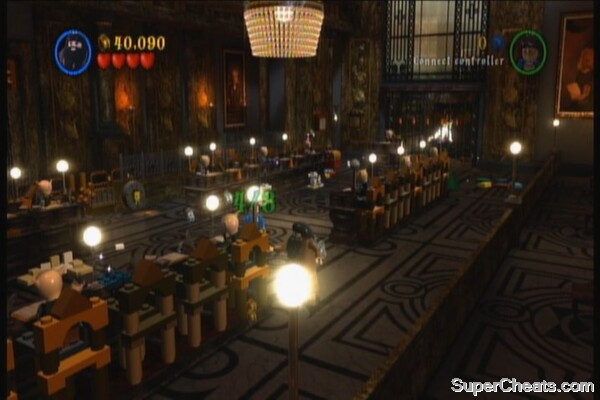
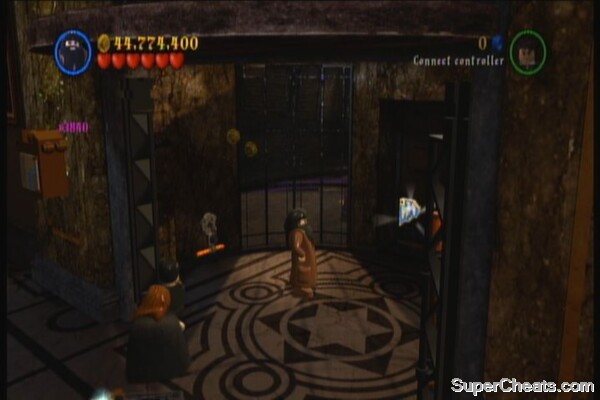
Continue ahead and use Hagrid to pull the chain and open the door. In the next room, grab the blue studs hidden in the lower right corner (they're worth a thousand) There is a locked door there but as suggested by the game, only a goblin can open it. Use WiLe on the unlighted bulbs on both ends of the tables (there are 8 of them) to reveal a purple coin. There is also a gate with a silver lock at the end of the room but then again, you don't have the means to open it yet.
 |
 |
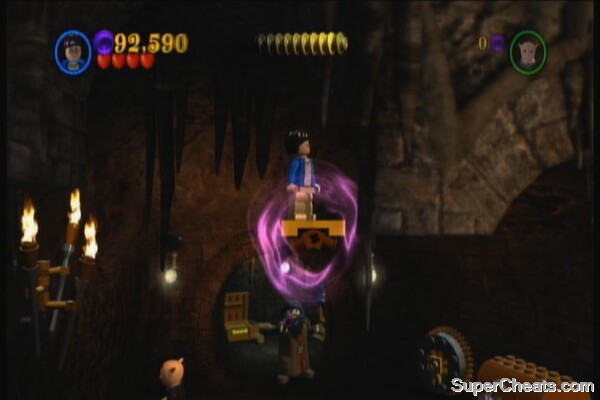
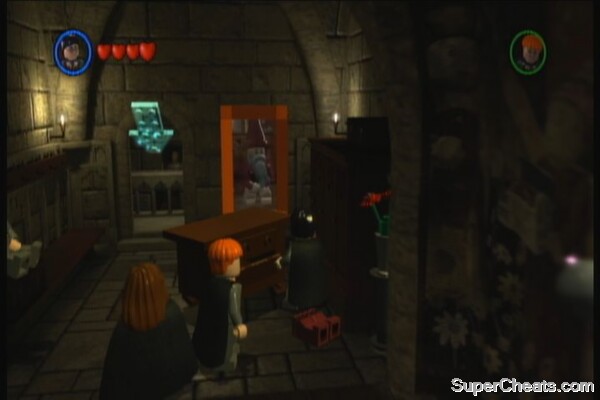
Use WiLe on the debris before that gate to create a table where Harry can jump on to get the studs above. Use WiLe or destroy the other interactable objects here then stand in front of the chief goblin and press B. Use the goblin to open the gate to the left. There are two chests here with silver locks so ignore them for now. Use Hagrid to pull the chain and open the gate, then shoot the chest inside for more studs. Switch to the goblin to open the safe, then switch to Hagrid and use WiLe to rebuild the blocks. Press B to wave at the mirror.
 |
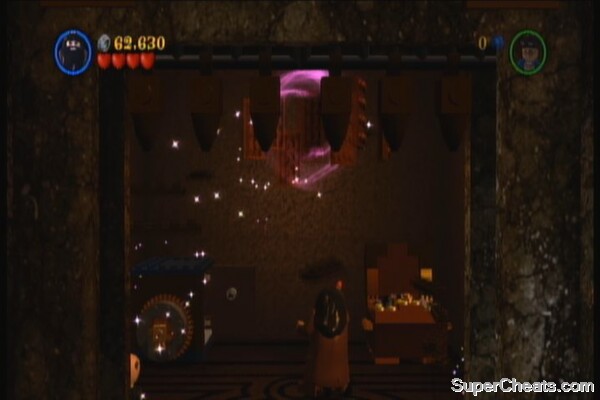 |
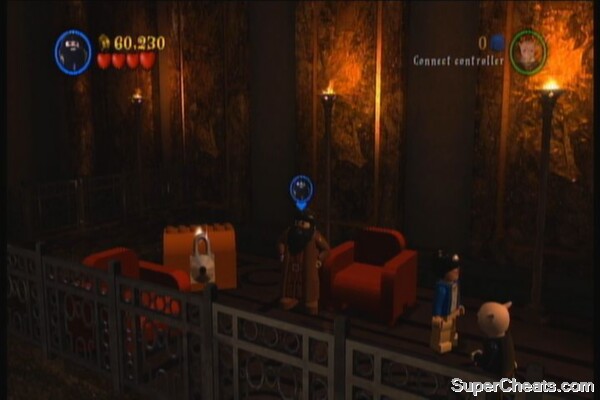
After riding the mine cart, use WiLe on the torches to arrange them and get some studs. Have the goblin use the key twice on the keyhole to the right to open the safe there. Once inside, use destroy the suitcase so spider-like thing crawls out. Follow it as it leaves a trail of gold studs and a purple coin (worth 10,000) at the end. Go back to that safe and use WiLe on the pieces to make a table. Have Harry stand on it to get more studs up, including another purple coin.
 |
Go to the left and have Hagrid pull the chain so the dragon-head disappears. Use the goblin to open the safe door. Enter the safe afterward. Watch the scenes and when you go back outside, enter the shop to get your own wand and to complete the chapter.
Re-run
At the far end of the office is a gate with a silver lock. Destroy it with RE, then pull the chain inside to retract the dragon-head and to obtain the Blue Crest piece.
 |
After opening the gate with the help of the goblin key, open the locked chest to the right to obtain the character token of Tom the Innkeeper.
After opening the gate with the help of the goblin key, open the locked chest to the left to obtain the character token of Mr. Ollivander.
After the cart ride, open the locked chest to the right to find the character token of Griphook.
Note: Griphook is a KEY character, meaning he can open safes.
Hogwarts
Shoot the trunk to the right to get Ron's character token. In the room, shoot the “roof” of all the four beds to reveal a gold brick. Then use the beds as trampolines to reach the studs.
 |
There is another trunk here that will throw out lego bricks but you don't have WiLe at the moment so ignore them for now. Shoot the cobwebs on the door to unlock it. Head to the next room then shoot the sofa where a student is resting. It will gobble him up. When he gets thrown out, he'll be a sorry lump so help him out. (Student in Peril) Check out the shining token behind the sofa to get the Griffindor Boy character token.
 |
Keep shooting stuff and gather studs. There a small drawer blocking the path so shoot the painting twice to make a lego piece come out and for the drawer to leave its position to gobble it up. Exit the room.
 |
Continue to the hallway and shoot the banners. There are five in this hallway, (2 red, 1 black, 1 green and 1 blue) Shooting all 5 will reward you with a gold brick.
 |
 |
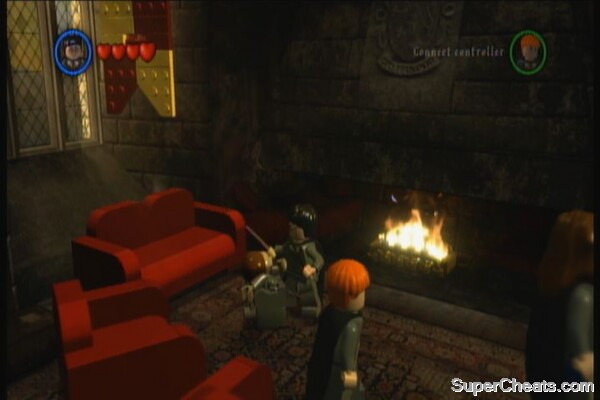
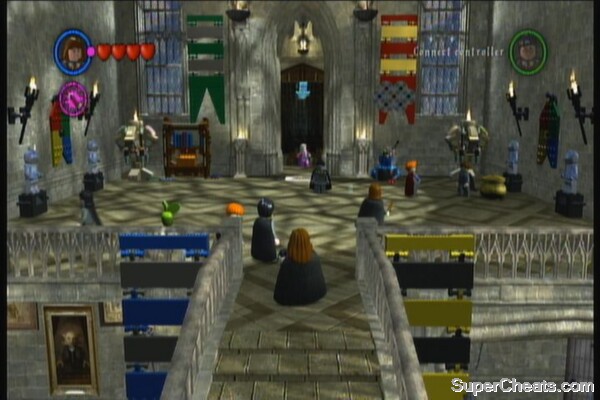
Continue downstairs. Go upstairs to the right, switch to Ron then release his pet to enter the pipe and open the door. Go downstairs afterward then press B on the displayed spot to move the stairs. Shoot the armors several times to make them drop more studs, as well as the candles. Follow the path to reach the Great Hall.
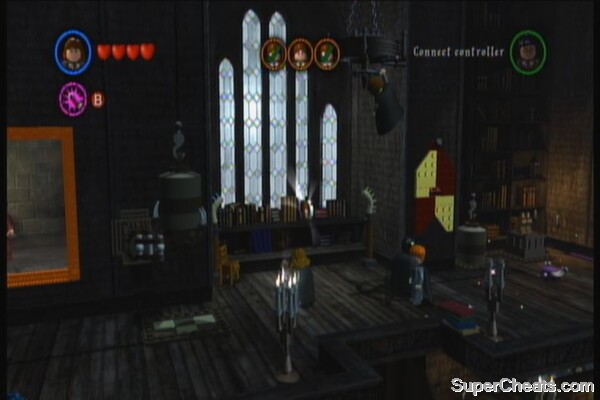
In this hall, there are tons to do. There are unlit candles here. Find all of them and light them up to get a Gold Brick. Upstairs are some vases. Hit them so they sprout flowers on the wall. Destroy them flowers to get more studs.
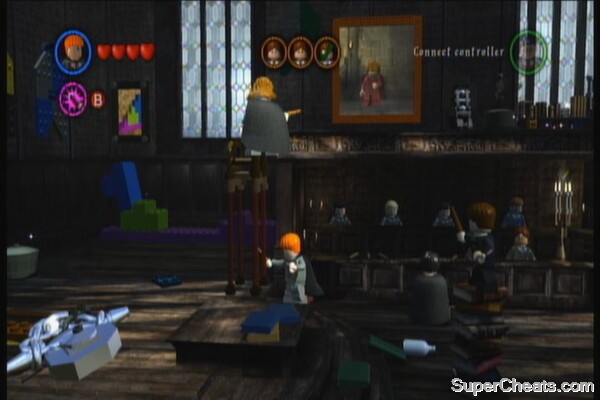
Follow the ghost to the classroom so you'll learn WiLe. You need to save three students. Save the first one by using WiLe on the nearby statue. Next, you need to go up to the platform. You can arrange the giant lego bricks to make a foothold or your can have one character stand on top of the chair near the teacher, shoot it to expand its legs, switch characters then jump to the next platform. Shoot the painting to get some lego pieces, then use WiLe on it to fix the “hand”. Use WiLe again to lift the statue and save the second student.
 |
 |
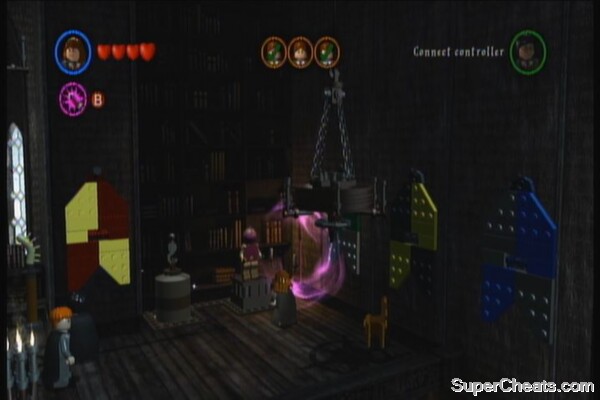
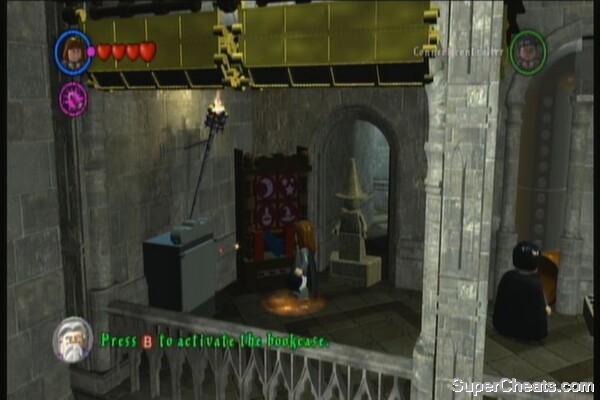
Use WiLe on the bookshelf by the window several times until the character token Boy is revealed. Continue to the right then assemble the knight armor. Use WiLe on the statue to save the last student. You'll have WiLe permanently as well as a gold brick.
 |
 |
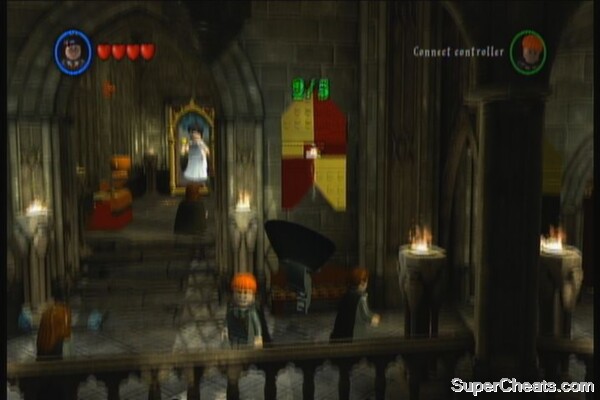
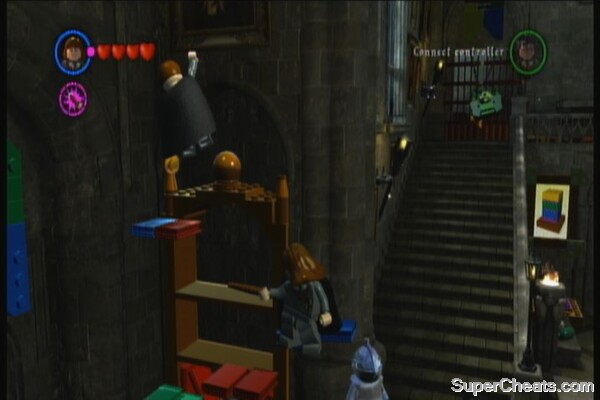
Exit the classroom then use WiLe on the apple to the left to save a Student in Peril. Continue to the next room until you reach the hall. To save another student in peril who is hanging above the bookshelf by the entrance, use WiLe to create some platforms using the books. Approach him to save him.
 |
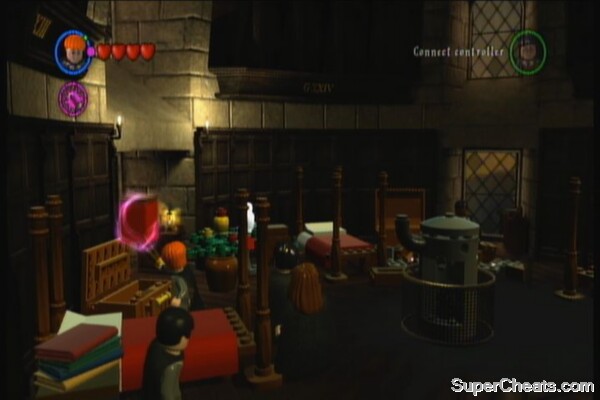
Go back to your room (the starting point) and use WiLe on the lego pieces from the northern trunk to build a clock. Characters with Time Turner abilities can use this. Next, lift the vase off the trunk and open it to reveal a red brick. Place that brick on the spot in front of the owl for it to carry it away.
 |
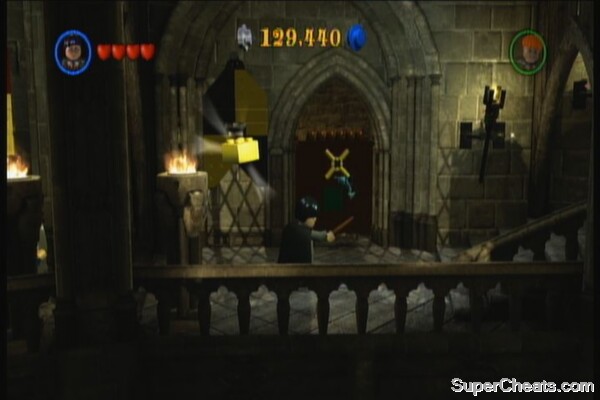
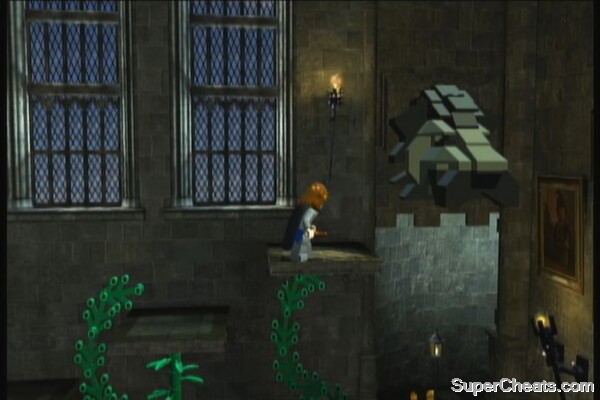
Use WiLe on the torches in this area. There are 6/9 that you can find here. Go upstairs and jump on the platform beside the giant lion head. Use WiLe to lift the crate and place it on the Lion's mouth. This will reveal another path.
 |
In this hallway, you'll find three more torches but the last one is locked. There are also three wall engravings that you can open by shooting magic but you can only reveal 2/3 at this time since the other one is locked.
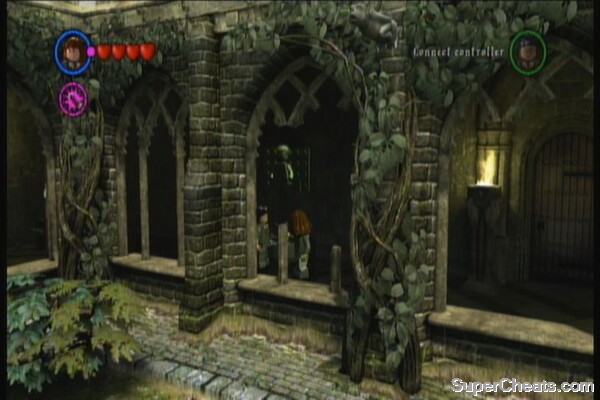 |
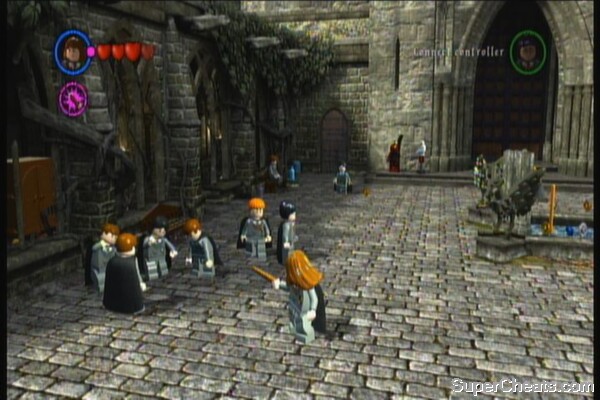
Head to the left to reach the courtyard. Continue further left to find a student being bullied. Shoot the bastards to scare them away and to help the student in peril. Shoot all the statues surrounding the well in the middle of the courtyard. Use WiLe to assemble the statue to reveal a red brick. Just the plumber to destroy the plants and to gather more studs.
 |
 |
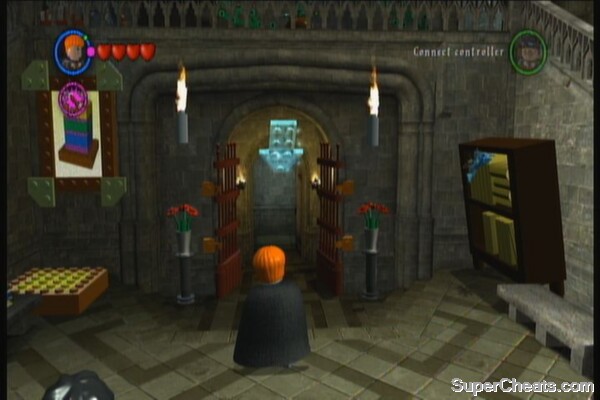
That's it for now; head back to the hall and arrange the lego pieces as shown in the picture to open the gate.
 |
Follow the path, then go upstairs to the next area. There seems to be small fair here so gather whatever you can. Shoot the curled up banners on each side of the stairs and another two banners near the central door.
 |
Now assemble the knight armor to the left. The arms are found in the ground. Order Ron's pet (press RB to switch between WiLe and his pet) to go through the pipe and push the head above. Connect the head to the armor to reveal the secret room to the left.
 |
Switch to Hermione and press B to read the symbols. Enter the same pattern to unlock the cabinet and spew out more studs. Gather all studs that you can then enter the door next.
In first year, out of gringots but somehow in room of requirement. Not sure of plot for the room. Please explain
What is RE?
Reducto
How do u get passed the lock in iPhone version world 1 part 2
I am stuck
Who is RE and re-run?
To the right there is a thing and I would love to know how do it, if you know plz tell me!!!
I dont know how to save the game...
pls help
Hi I'm on the iPad and I can't find the hidden object please help me
Dudley's second present is in the iPod/iPhone version, so look in that section. This walk through is for Mac/PC.
where is the missing train ticket?
im stuck on the year three second level
I am also having the problem where in free play mode for this level, Griphook doesnt add to the character list so he can be used to open the gate, meaning i cant get the character for the rest of the key requiring objectives. Anyone else found a way to figure this out, or contacted the game creators to see what's going on?
DS- How do you interact with the potion in the forbidden forest?
what about the second door? like the polyjuice potion when i'm near the stachu what do i do it dose not show any thing
My staircase won't work:(