Coastal Highway
Halo 3: ODST Walkthrough and Guide
Halo 3: ODST Guide - Walkthrough
Coastal Highway
Character: The Rookie
Achievements: Coastal Highway
Objective: Find elevator to highway
Follow your allies into the streets and start heading east. Beyond the checkpoint is a whole mess of enemies, including a Grunt on each of the mounted Plasma Turrets on top of the prominent purple tower. Switch to your Magnum, click the Right Stick to zoom and pick off the Grunt you can see before moving further into the area.
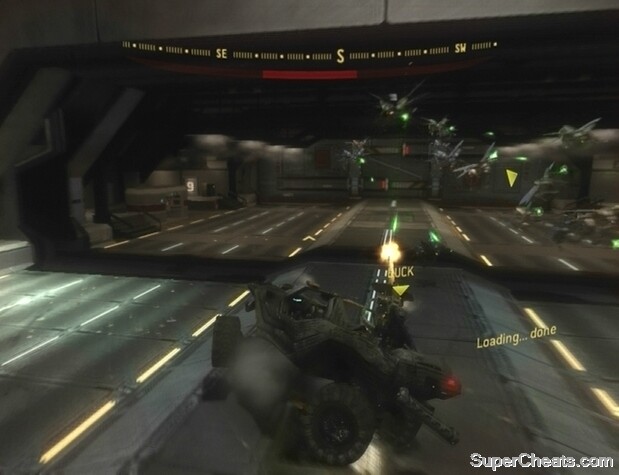
Clear away the Brutes, Grunts, and Jackals along the east side of the plaza and then use the gravity lift to reach the tower platform. Kill the two remaining gunners in the tower, detach one of the Plasma Cannons and drop back down to street level. Use the Plasma Turret to mow down the enemies in the area, ducking behind cover to restore your Stamina as necessary. There are three health packs on the ground along the east end of the area, so seek one out if you’re wounded.
 Detach one of the Plasma Turrets surrounding the tower and use it to mow down the enemies in the plaza. |
When the plaza is clear of enemies, continue down the northern road. Enter the building through the door you come to. After the Engineer has powered the elevator, approach the elevator doors and hold the RB button to move on to the next area.
Objective: Escort and protect Dare’s vehicle
After the cutscene, hop in the driver’s seat of the Warthog and start down the highway. Down the first stretch of highway you’ll encounter a group of Grunts. One of them is armed with a Fuel Rod Gun, so don’t sit in one spot. If you spot the Grunt with the Fuel Rod Gun try to splatter him, otherwise circle around and dodge his fire while Buck takes him out. Wait by the security door at the end of the first stretch until the Engineer opens it, then proceed through.
Between each set of security doors is an Optican kiosk which you can use to restore lost health. Hop out of the Warthog and grab one of the health packs if need be before continuing on.
At the start of the second stretch of highway is a group of Jackals. They aren’t of much concern, so just speed past them. You’ll encounter more Grunts as you drive down, and eventually a Brute Captain armed with a Brute Shot. Don’t try to splatter him (he’s the one outfitted in golden armour) as driving straight for him would be a bad idea considering the weapon he’s wielding. Just steer clear and allow for Buck to kill him with the turret. There are some lower-ranked Brutes on the same platform, though you can just drive past them.
 Hop in the driver’s seat and start down the highway! |
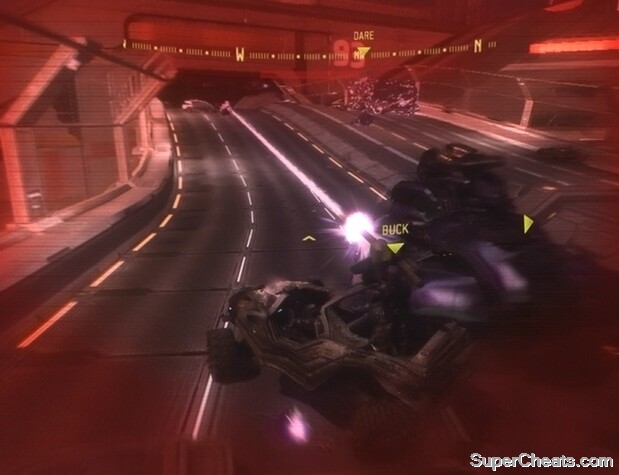
In the purple tower at the start of the third stretch of highway is a Grunt armed with a Fuel Rod Gun. If Buck manages to take him out, great, otherwise just speed past. You’ll encounter many more Fuel Rod Gun-wielding Grunts, but just drive on while making an effort to dodge their fire. A swarm of Drones will be there to greet you when the security door opens. Park the Warthog in the middle and use your Silenced SMG or Magnum to shoot down the Drones while Buck fires from the turret.
You face a lot more Grunts and two Brute Captains along this next stretch of highway. Just speed past the Grunts. When you spot a Brute Captain near the end, try to splatter him if he’s preoccupied with Dare’s vehicle. If his attention is on you, steer clear because he’s armed with a Brute Shot. Allow Buck to kill the second Brute Captain before moving on.
This next stretch is occupied by Ghosts. Take it slow here, as concentrated fire from multiple Ghosts will quickly spell the end for you. Allow Buck to take out the drivers as you approach each Ghost. If you’re taking heavy fire, speed past them but swing back around to give Buck another shot at the drivers.
Between the two security doors is a parked Gauss Turret Warthog. Hop out of your current vehicle and take the driver’s seat of the new one before continuing on. Grab a health pack from the Optican Kiosk if you’re missing any health.
 Trade your vehicle for the Gauss Turret Warthog when you come to it. |
With the Gauss Turret Buck can easily take out the Ghosts along this stretch of highway, as well as the Banshees flying overhead. When you spot a Ghost, slow down and allow Buck to kill the driver or blow up the vehicle before pushing forward.
Continue through to the next set of security doors. Down this next stretch of highway are several Ghosts and some Banshees flying overhead. By far the biggest threat is the Wraith about halfway down. Take it slow here; start by driving behind Dare’s vehicle, in the same lane. The shielded vehicle can sustain a seemingly unlimited amount of punishment so there’s no need to worry about its condition, at least not at this point. Allow Buck to shoot down the Banshees and destroy any Ghosts as you come to them. Don’t try to keep up with Dare’s vehicle and instead go at your own pace. Buck should automatically prioritize taking down the Wraith, which should be focused on Dare’s vehicle if you let her go first. If Buck is firing the Gauss Turret at the Wraith while it’s preoccupied with Dare’s vehicle and there aren’t any enemies firing at you, stop moving and wait for him to take out the driver and gunner before continuing on.
Through the next set of security doors is a Scorpion tank. Hop out of the Warthog and get in the driver’s seat. The tank is a great deal slower than the Warthog but the added firepower is a real benefit. There are a couple of Shade turrets, an AA Wraith and a bunch of Banshees down this next stretch. Use the Scorpion’s turret to blast the Shades and the Wraith when you come to it. Also shoot the Banshees out of the sky near the end.
The next stretch is unoccupied, but a string of Phantoms will fire at you as they fly by. Make your way to the security doors at the other end and drive through. Here you’ll encounter a Shade turret and plenty of Ghosts. Use the Scorpion’s turret to blast the Ghosts as you encounter them. Don’t let one of the Ghosts make it by you, as they can deal a large amount of damage to the Scorpion by driving behind you and firing continuously at the back of the vehicle.
 The Scorpion tank will make the rest of the trip a cinch. |
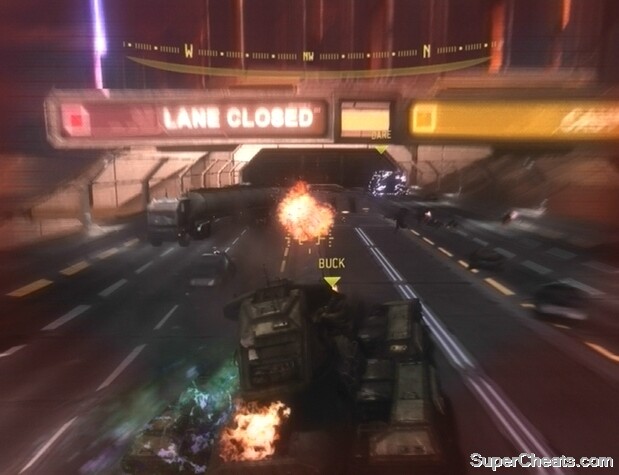
Brutes occupy the next stretch of highway. There is a Brute War Chieftain armed with a Fuel Rod Gun among them, as well as at least one Brute Captain with a Brute Shot. Quickly blast each Brute you see as you drive on to the next set of security doors. Once through, destroy each purple tower you see and continue to the next set of doors. The Scarab will damage Dare’s vehicle, but this is unavoidable, so just continue on.
Drive down the off-ramp and hop out of the tank when you reach the bottom. Help Buck kill the Grunts outside of the building at the north end of the area.
Objective: Defend Engineer until friendly Phantom arrives
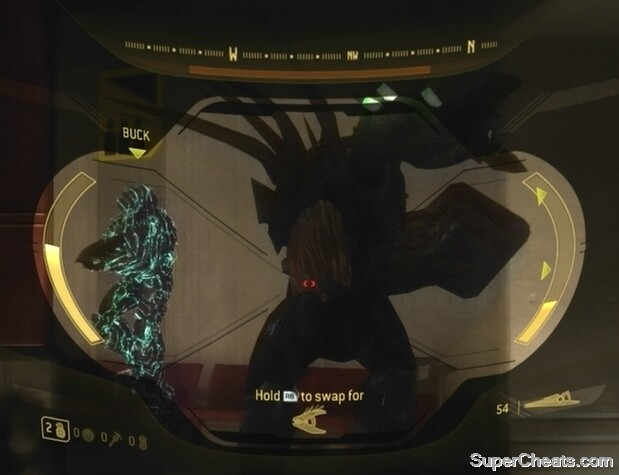
By the door inside the building is a rack of Silenced SMGs; grab one. There is also a Rocket Launcher on the rack in the eastern corner, and a Shotgun on the rack in the north-western corner. If ever during this fight you’re low on health there are several health packs by the benches closest to the entrance. If you head up the stairs outside you can find a Sniper Rifle and some Frag Grenades by a downed marine. There are more health packs up there, too.
 Defend the Engineer! |
The first wave consists of Grunts and many Brutes. If you grabbed the Sniper Rifle above, it would still be best to join your allies below. Use your Sniper Rifle to pick off the Brutes, leaving the Grunts to your allies. Pick up any dropped grenades and the Fuel Rod Gun once the Brute wielding it has been killed.
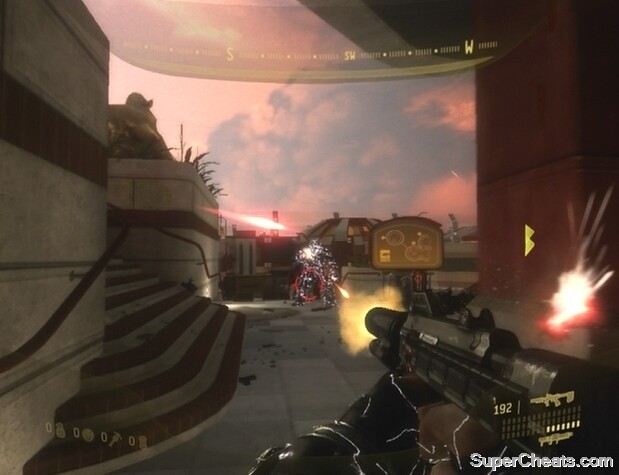
Next up are Jackals—a lot of them. There are many snipers in the mix, which can be distinguished from infantry by the plasma shields the infantry carry. The Beam Rifles carried by some snipers can be effective, so pick one up if you need a quick weapon. Stand up the steps and take cover behind the railing while the Jackals appear. When they reach the front of the building, use your Fuel Rod Gun to make short work of them. One or two of the snipers will also take position along the walls at the far west end of the plaza, so use a Sniper Rifle or Beam Rifle to take them out.
After the Jackal wave a couple of Hunters will appear. Three Plasma Grenades or three Spike Grenades (or any combination of three) will kill one Hunter. However it’s best to hold on to your grenades and instead try to hit the weak spot on its back. Wait until the Hunter is preoccupied with one of your allies before delivering two Sniper Rifle or Beam Rifle shots to the exposed membrane on its back.
 Hit the weak spot on the Hunter’s back while it’s preoccupied. |
The third wave consists of many Brutes, including a number of Jump Pack Brutes who can easily get behind you. To avoid this, stay in front of the building before the pillars. There is a Brute Chieftain among the others; try to use a Beam Rifle to take him out from afar before he can do any damage. If you haven’t taken the Rocket Launcher inside the building do so now, as this is the final wave of enemies. With it you can easily take out the remaining Brutes
Make your way to the Phantom when the final Brute falls to finish the level and win the game! Be sure to sit through the credits to view the Epilogue!
More for Halo 3: ODST on Super Cheats
No comments yet. Tell us what you think to be the first.