Stunt Jumps - Algonquin
Grand Theft Auto 4 Walkthrough and Guide
Grand Theft Auto IV Guide - Stunt Jumps - Algonquin
Refer to the map for the general location of a jump, but use the text descriptions to pinpoint the location. The jumps are not numbered in a coherent order, so go about completing them however you wish, though it might be convenient—and in one or two cases necessary—to follow the numbering in place. The ideal vehicle to use here is the NRG 900 motorcycle, so for best results, use one unless otherwise stated.
To complete a stunt jump your vehicle must land in a certain area beyond the ramp and on two (or four) wheels. Look for the “Stunt Jump Completed” message at the bottom of the screen for indication of your success. If your jump is “not good enough,” you either failed to land the jump, needed more of a run-up, or you didn’t land in the right area.
As you sail through the air in slow-mo, try your best to level Niko out for the landing. Sometimes, especially if you are using a motorcycle, Niko will wind up upside down; you can combat this to an extent by leaning forward (by pushing up on the Left Thumbstick/Left Analog Stick) just before hitting the ramp.
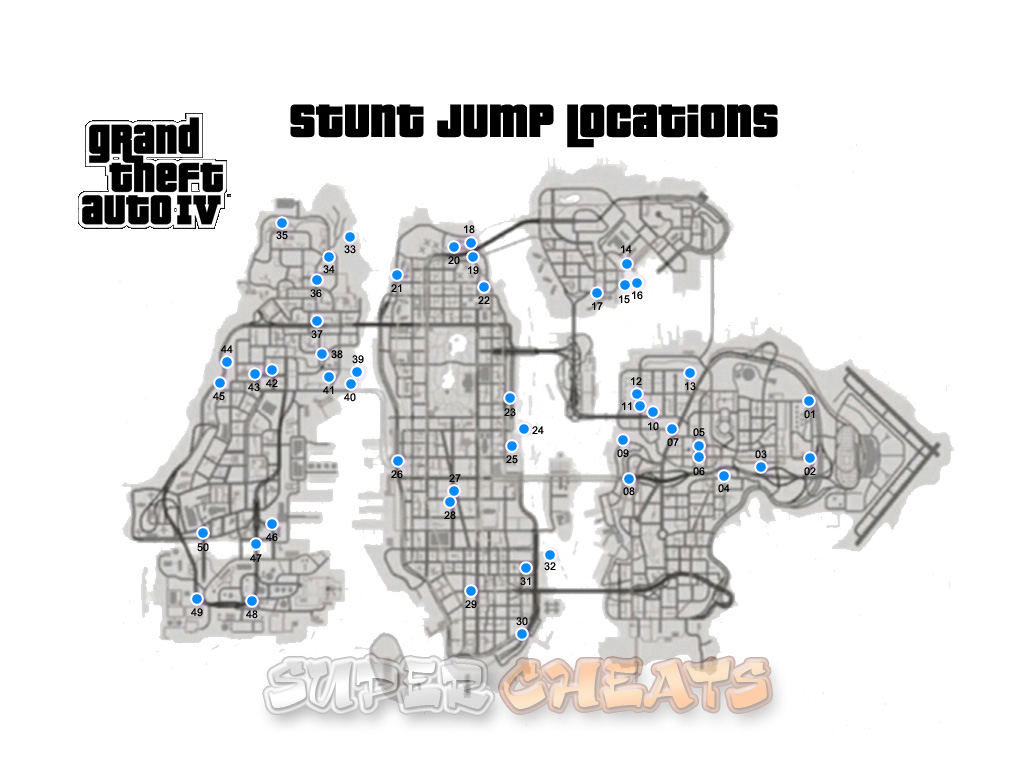 All Stunt Jumps Map |
Algonquin
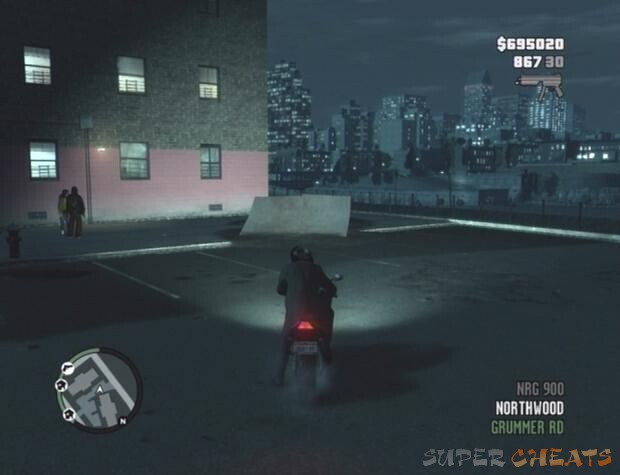
Stunt Jump 18: The ramp is along the side of Grummer Road; it’s surrounded by construction barriers. Drive down east from Grummer Road and land below the archway to complete the jump.
 |
Stunt Jump 19: The ramp is on the dirt path south of #18. Too much of a run-up will cause you to overshoot the target, so start from the nearby flatbeds, hit the ramp and land somewhere below to complete the jump.
 |
Stunt Jump 20: The ramp is west of the parking lot, west of #18. Drive west from the crosswalk and land somewhere in the parking lot to complete the jump.
 |
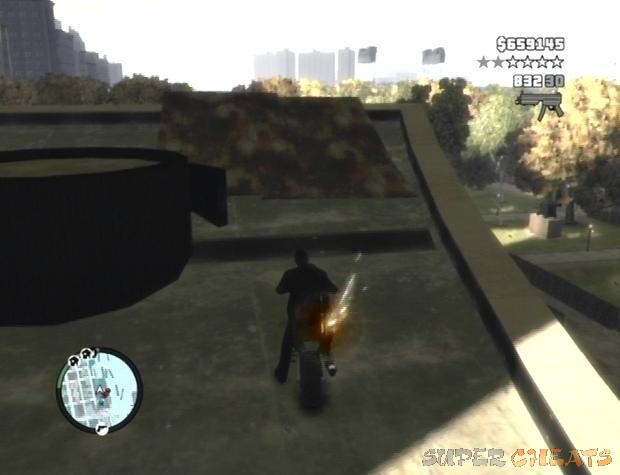
Stunt Jump 21: The ramp is in the parking lot between the two buildings. Start from the walkway north of the ramp. You just need to surpass the warehouse to succeed.
 |
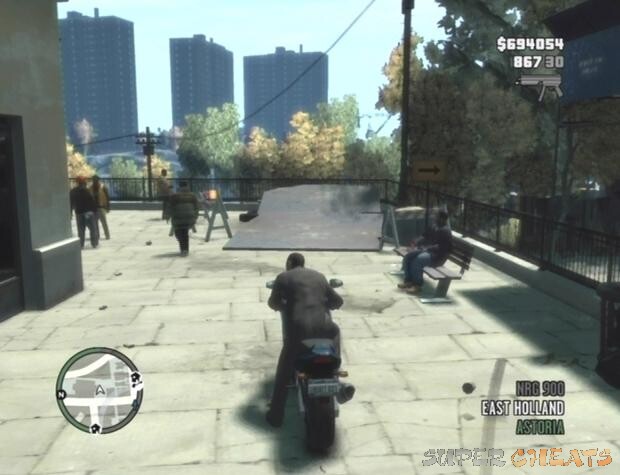
Stunt Jump 22: This jump is just before the walkway off of Astoria. Drive down from the subway tunnel entrance, hit the ramp, and land on the street below to complete the jump.
 |
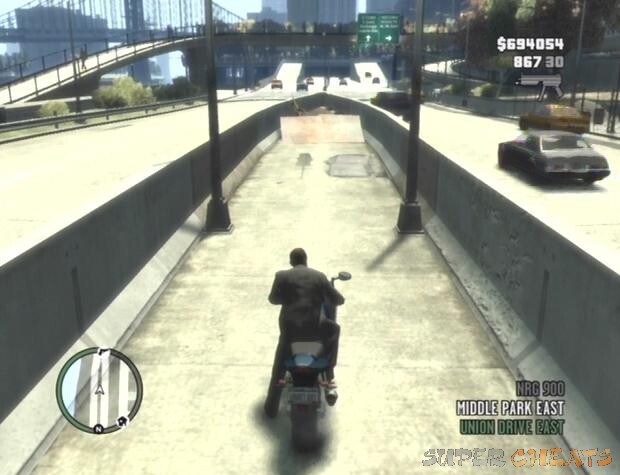
Stunt Jump 23: Look between the lane divider on Union Drive East to spot the ramp. Drive down from the support column between the two lanes and land the jump to succeed.
 |
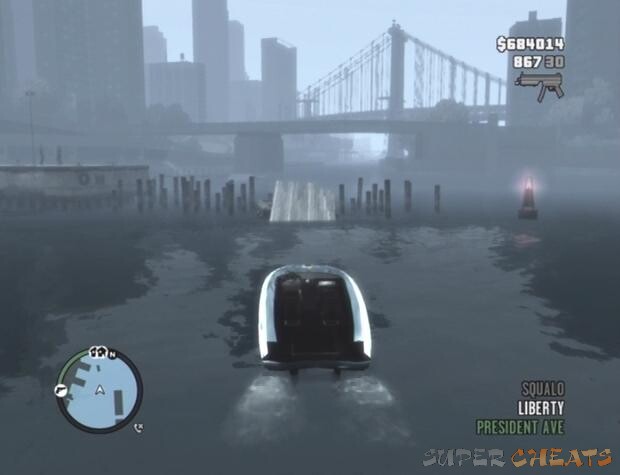
Stunt Jump 24: You’ll need a boat for this one (a Squalo will do). The ramp is between the two barges in the waters east of Algonquin. Get a good distance away from the ramp so you can build up speed and then hit the jump. You don’t need to fly all that far to pass. Once you’ve completed this jump, go on to get #32 because a boat is needed for that one as well.
 |
Stunt Jump 25: This one is a bit of a pain to get at; it’s up on the roof of the building on the west end of the Civilization Committee ground, a restricted area, so you’ll end up with a four-star wanted level. First drive up the stairs on the north side of the eastern building (behind the large one), then drive around the walkway until you reach a small ramp. This is not the jump; just drive up the ramp to reach the bridge between the two buildings. Then, drive up the ramp at the other end of the bridge to reach the building with the ramp on it. Speed towards the ramp, land the jump, and then shake that wanted level!
 |
Stunt Jump 26: The jump is at the end of the decommissioned train tracks. To get onto the tracks, go to the west end of Hematite Street and through the alleyway between the two buildings there. There are some stairs that lead up to a sitting area; slowly make your way up the stairs with a motorcycle and turn right at the top. Drive onto the tracks and to the jump at the end. You don’t need all that much of a run-up; just start from the columns and land on Union Drive West to complete the jump.
 |
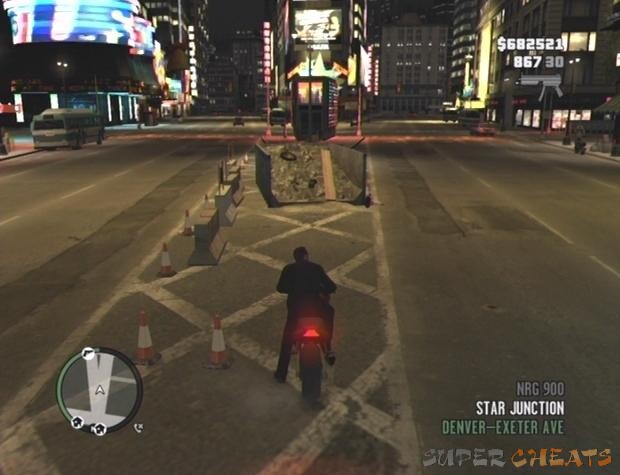
Stunt Jump 27: This jump is north of the LC Recruitment Center at the south end of Denver-Exeter Avenue and Burlesque. The ramp is the dumpster surrounded by pylons and construction barriers between the two streets. You need to land in the intersection on Burlesque, so you’ll have to hit the ramp’s left side to avoid crashing into the LC Recruitment Center. Drive south down Denver-Exeter Avenue, hit the ramp, and land in the intersection on Burlesque to succeed.
 |
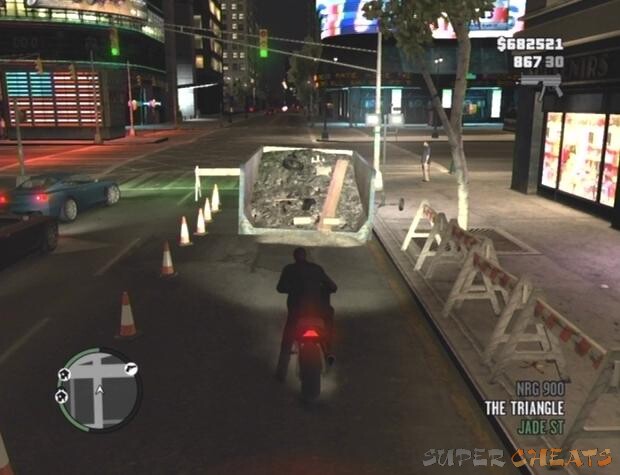
Stunt Jump 28: This jump is at the east end of Jade Street, just east of the LC Recruitment Center mentioned during #27. Drive west down Jade Street, hit the ramp, and land somewhere on Burlesque to pass.
 |
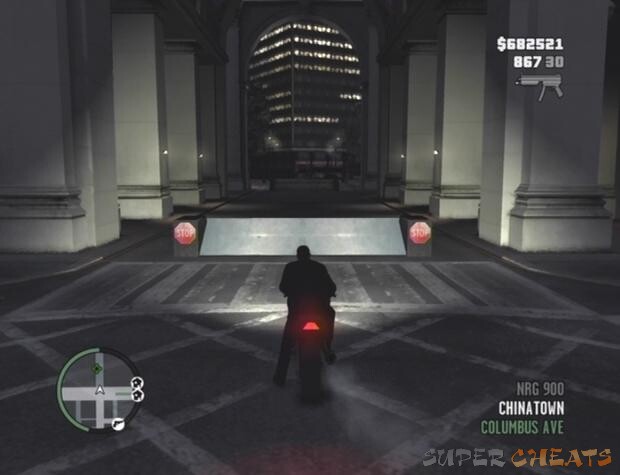
Stunt Jump 29: There are two ramps at either ends of the City Hall archway between Columbus Avenue and Denver Avenue; only the ramp on Columbus Avenue will work here. Drive west down Diamond Street and clear the second ramp to make the grade.
 |
Stunt Jump 30: The ramp is up on the walkway of the tall building on the corner of the South Parkway. Start from the top of the incline on Amethyst Street (south of the ramp), hit the ramp, and fly over both lanes of the highway to complete the jump.
 |
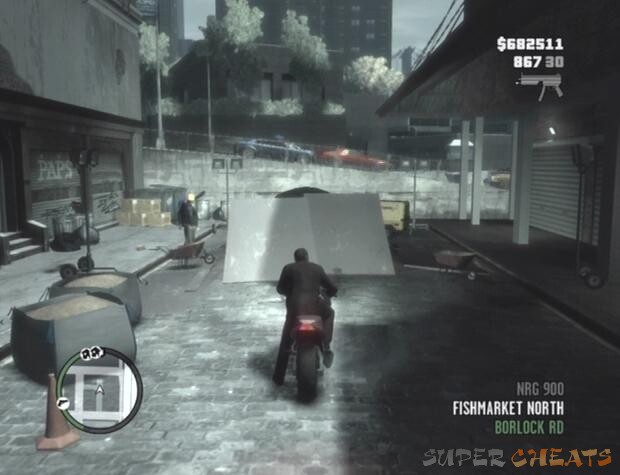
Stunt Jump 31: The jump is at the end of the alleyway off of Borlock Road. You don’t want too much of a run-up here, otherwise you’ll just end up smacking into the wall at the other end of the street. You just need to make it up onto Feldspar Street to complete the jump.
 |
Stunt Jump 32: You’ll need a boat for this one (a Squalo will do). The ramp is next to the pier in the waters east of the south end of Algonquin. Get a good distance away from the ramp so you can build up speed and then hit the jump. You don’t need to fly all that far to pass. If you have yet to complete #24, go for that jump once you have completed this one because it requires a boat as well.
 |
ha my brother is a hogger when it come to gta he does not even let my dad play
I landed 21 accidentally on the truck behind the warehouse and it worked.
Easiest way for 25 spawn annilator heli land on building spawn bike/car then do jump then quickly get to safehouse and save lol
[quote][/quote] jkgyujk
For #19 I started all the way back next to the flatbeds and gunned it with a turismo and got it the first time
I did them all and got the dare devil achievment
Jump 23: the support column is the concrete pad you start from, furthest back from the ramp, next to a light post. I think.
Jump 23: you need to land in the intersection, so try keeping your front wheel down so it hits first to give you that extra bit of distance.
Jump 19: Using a bike, if you start back in the street and take the left side of the jump you'll land on the bridge above which is the intended landing area.
i say 25 was hard
JUMP 27 was hard to do but i did it
im having trouble with 23, no matter where i land or how fast i go i get "not good enough"... what's the "support column"?
[quote="#27068"]no matter how i clear the warehouse on 21...[/quote]
give it some more pedal to the metal. hit the roof of the warehouse on the dock, that should clear it.
i had a ton of trouble on jump 19 but it finally got it. this comment is for others who are having the same problem... i landed in every possible spot below and it still said not good enough but for some reason i finally got it by hitting the fence on the opposite side of the street below. i was driving a sanchez
no matter how i clear the warehouse on 21 it says not good enough, maybe you should be just a tad bit more clear on how to do it