02 :: La Porte De L'Enfer
Devil May Cry 4 Walkthrough and Guide
Devil May Cry 4 - Mission 02: La Porte De L'Enfer
A group of Scarecrows will immediately spawn a short distance ahead of you. Scarecrows are one of the weakest enemies in Devil May Cry 4, so fighting them is a great way to further familiarize yourself with the game's combat system. Once the group of Scarecrows has been dealt with, proceed through the blue door in the northeast corner of the plaza.
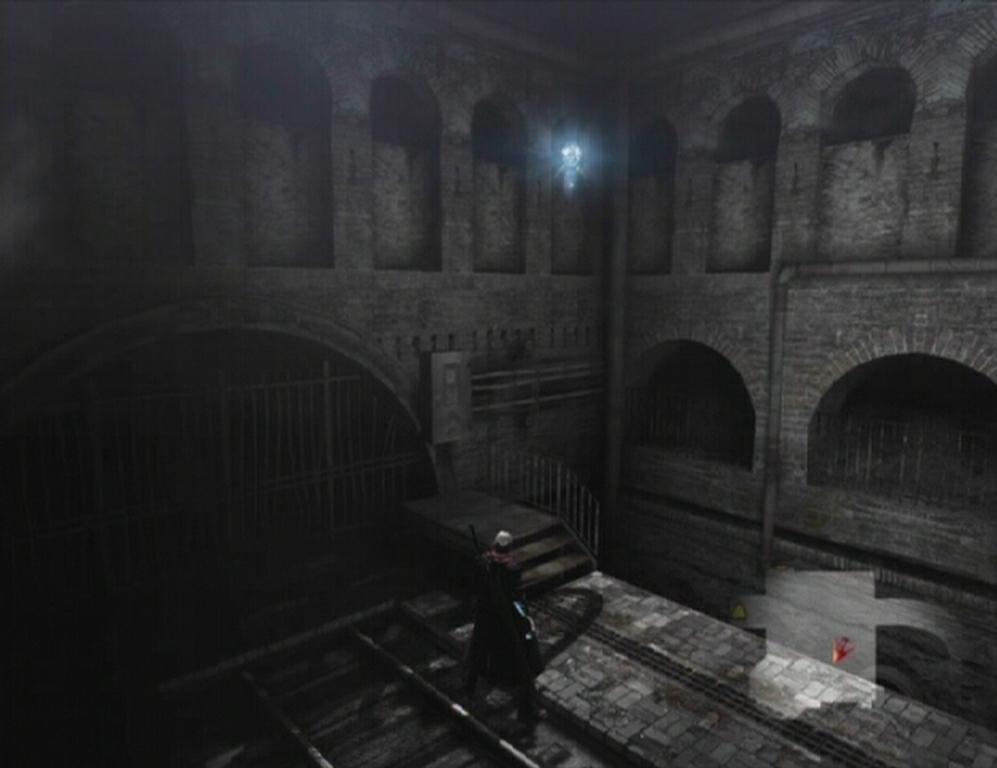
Storehouse
Upon entering the Storehouse, the camera reveals a Gold Orb nested in a small alcove above some steps. You'll have to perform a Kick Jump to get to this orb. First, head up the steps and face the wall, then jump up into the air while holding forward on the Left Thumbstick (or Analog Stick) and press the Jump button again when Nero reaches the extent of his jump to jump off of the wall and into the alcove.
 Alcove |
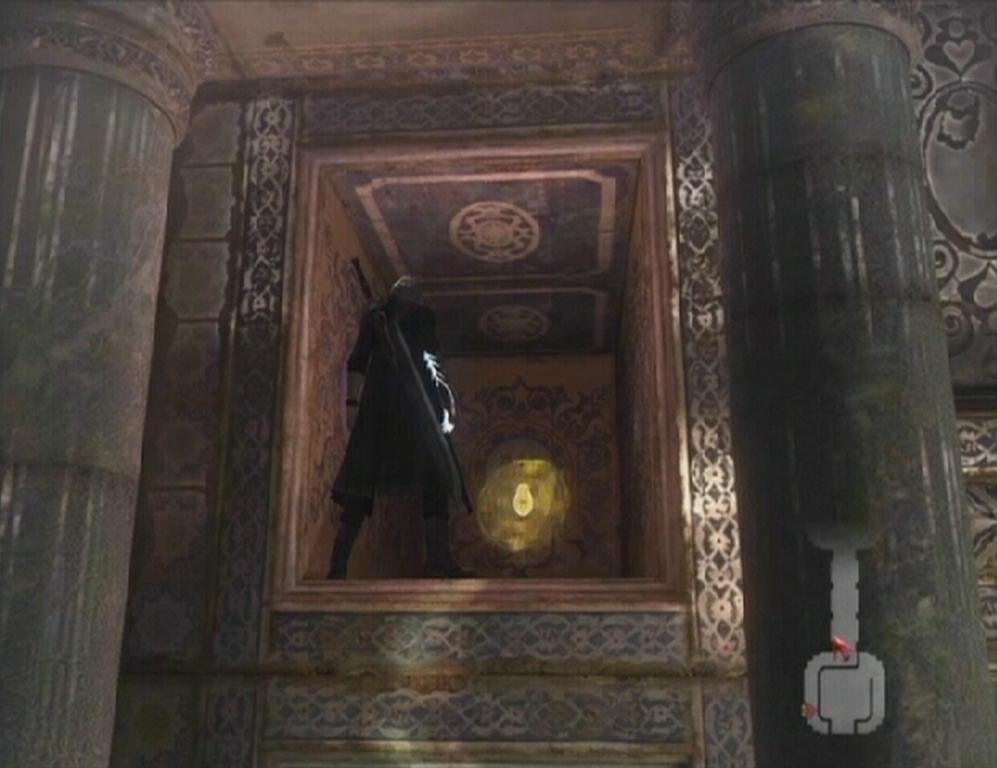 Gold Orb |
Gold Orbs can be used to revive your character upon death. By using one, you can avoid having to revert back to the mission's last checkpoint. Gold Orbs are not very common, nor do they come cheap, so try your best to hold on to them.
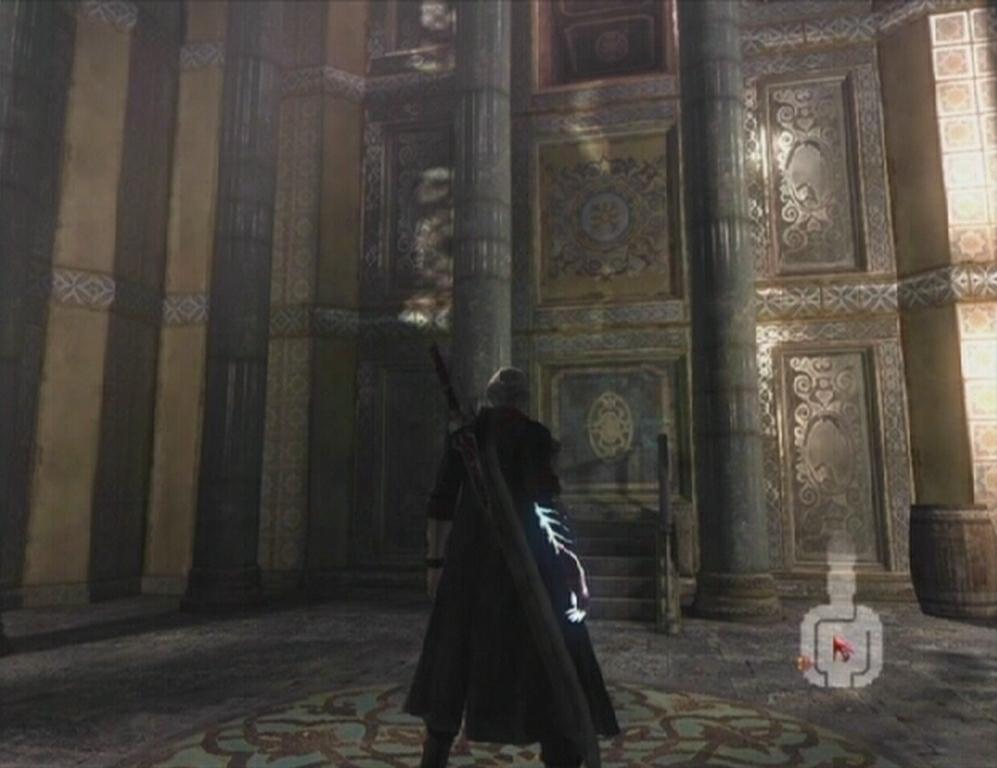
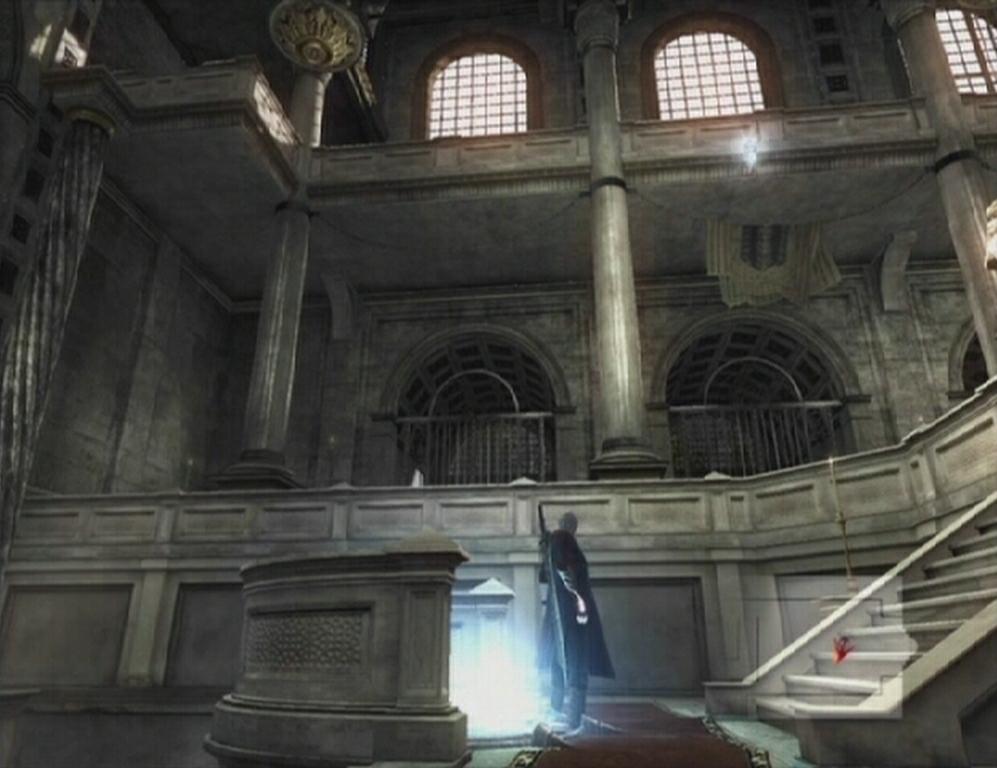
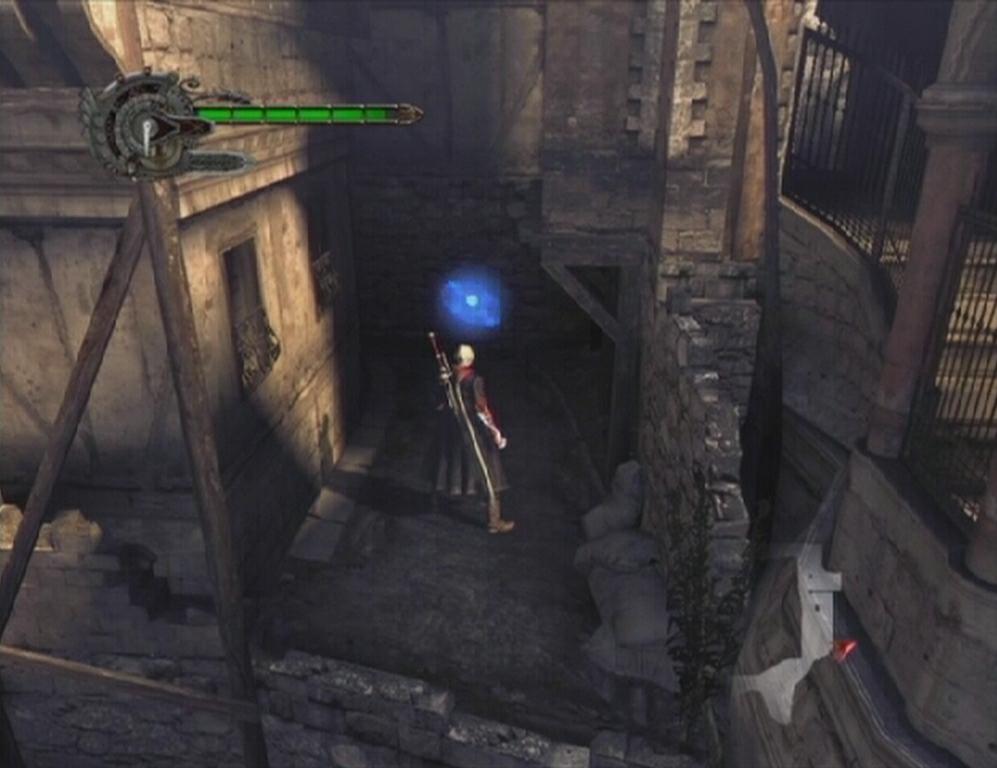
Cathedral
When you're ready to move on, head up the stairs, hop across the broken section, and proceed into the next room. A short cutscene introduces a group of Scarecrows. Take out the enemies once you've regained control over Nero, then head through the door at the far end of the room. There's nothing of interest in this area, so go through the red door to reach the Cathedral. Move down the stairs to the glowing altar at the bottom of the area and examine it to receive the Evil Legacy key item.
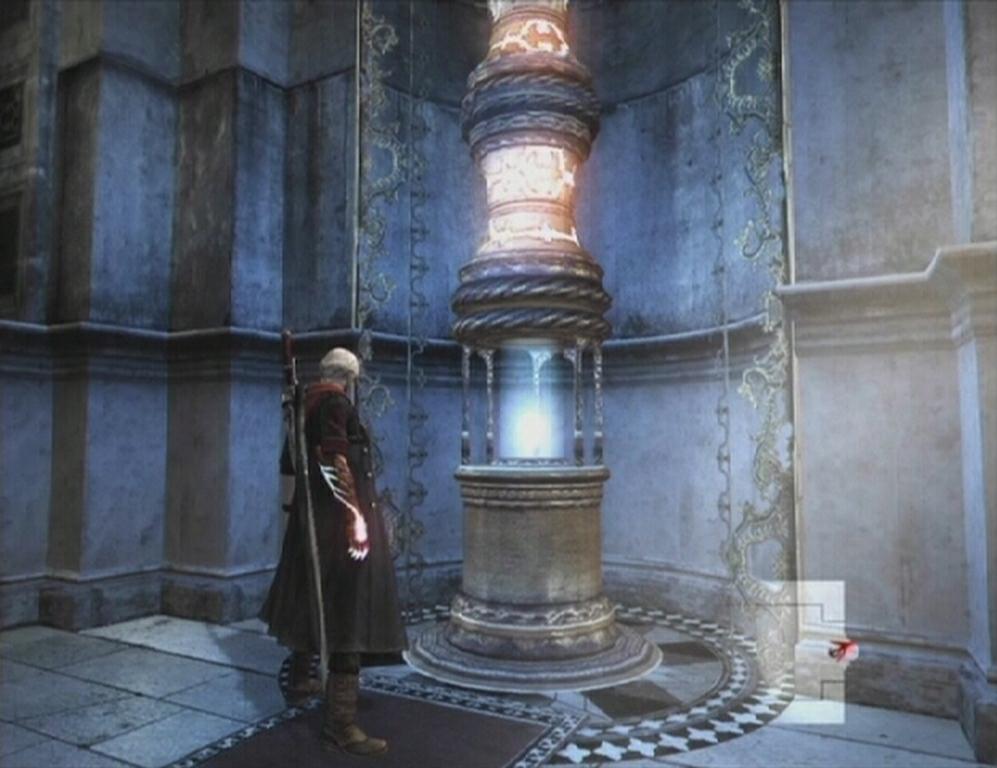 Pillar |
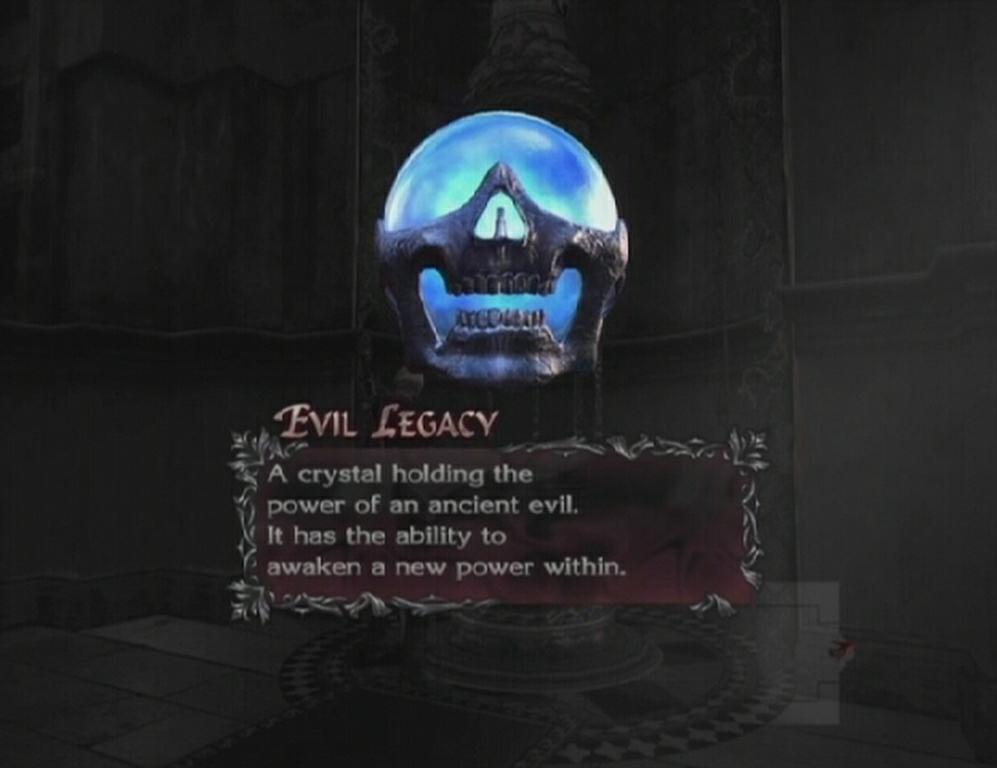 Evil Legacy |
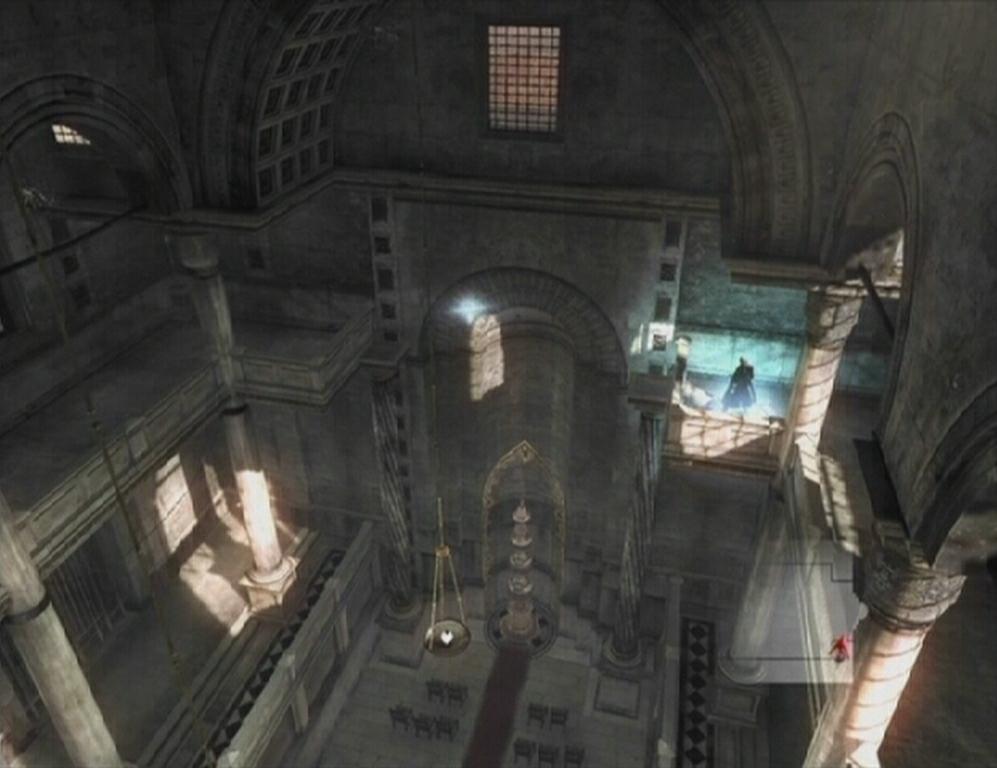
With this item, the Hell Bound, Snatch, and Devil Snatch abilities are useable. Nero can use Hell Bound on Grim Grips to travel long distances. Hell Bound can also be used to launch Nero towards unsnatchable enemies, too. There is a Grim Grip launch pad across from the altar that held Evil Legacy. Stand on the launch pad, lock-on to the Grim Grip and tap the Devil Bringer button to pull Nero up to the second floor walkway. Use the second launch pad at the walkway's west end to reach the parallel walkway. Move to the end of this walkway and then through the door.
Tip -- A Vital Star S can be found in one of the cells along the southern end of the Cathedral's first floor; locate the star and use Snatch to take it into your inventory.
 Grim Grip |
 Grim Grip |
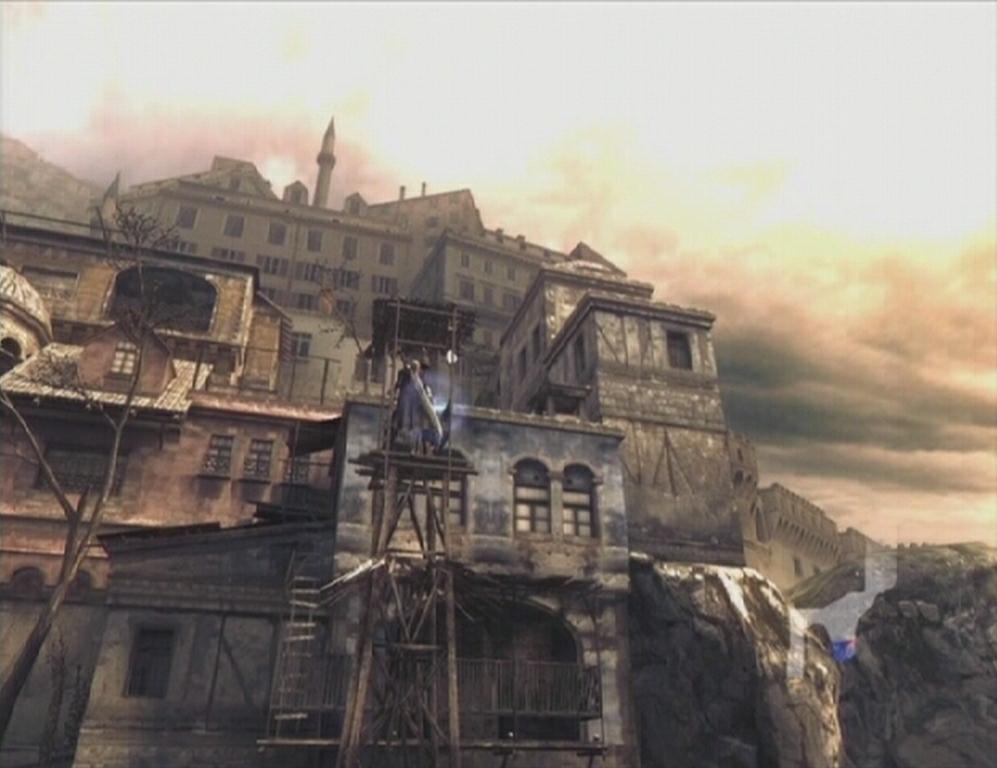
Use Hell Bound to quickly cross the Business District, completely avoiding the mess of demons in the streets below. You can attempt a secret mission by examining the piece of parchment attached to the centerpiece in the circular room, but you may want to pass this by as your skills may not be up to par this early in. Another Grim Grip launch pad lies at the end of this walkway; use it to reach the walkway of another building. Kill the group of Scarecrows that spawns, and then use Hell Bound to reach the next building. More Scarecrows… Kill them to unblock the doorway, and then proceed into the next area.
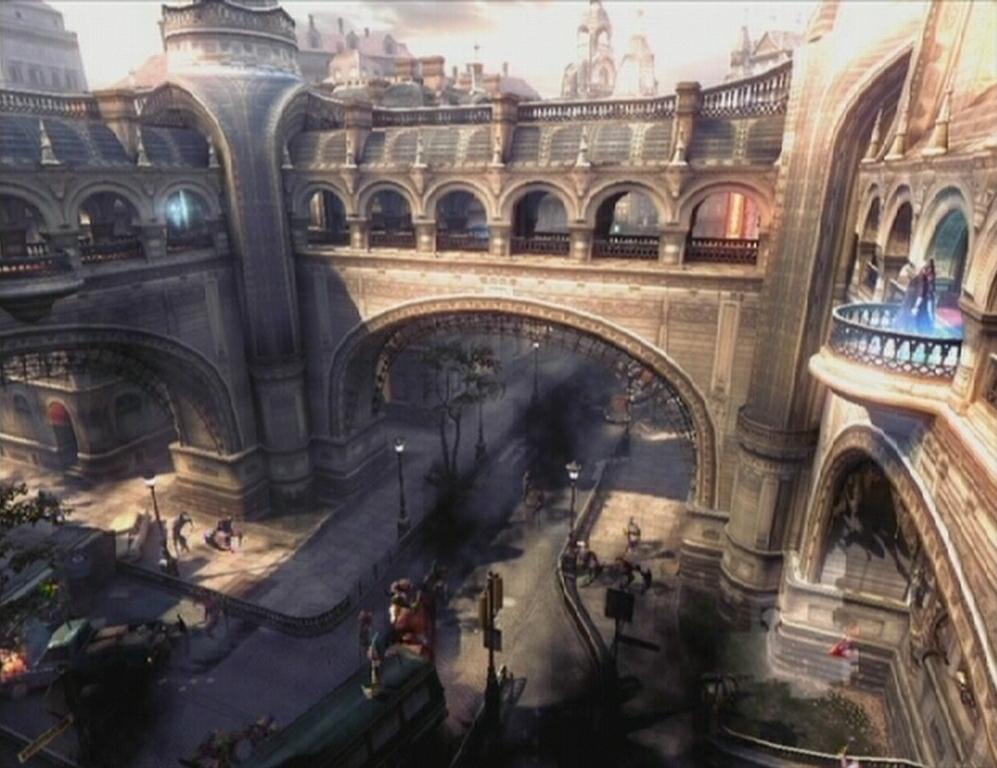 Business District |
Residential District
Drop down into the alleyway below and wipe out the Scarecrows at the opposite end. When the Scarecrows have been dealt with, approach the Red Orb cluster midway down the street and pummel it with quick attacks until it shatters.
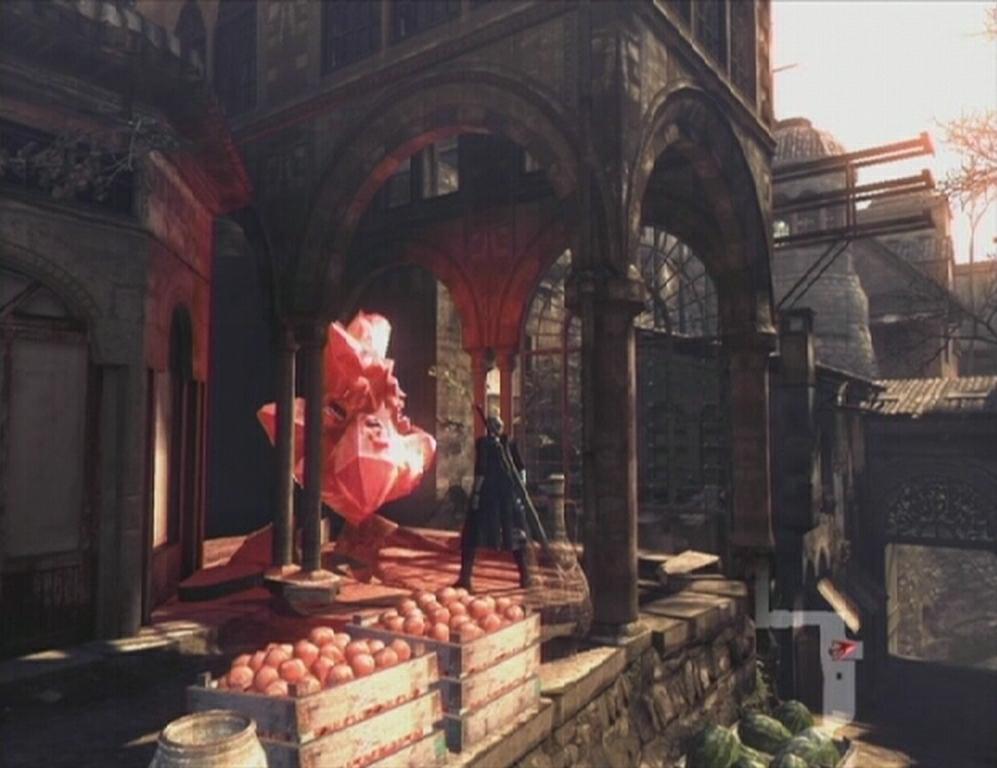 Red Orb Cluster |
Blue Orb Fragment -- Jump up onto the building behind the Red Orb cluster, hug the wall and hop into the small crevice above the lower roof. The Blue Orb Fragment is tucked away in this crevice.
 Crevice |
 Blue Orb Fragment |
Make your way to the end of the street. A large steel tower sits at the southern end of this area; Kick Jump up to the top of it and wait there for a moment to reveal a stash of Red Orbs. Afterwards, approach the door at the end of this area and use it to enter Port Caerula.
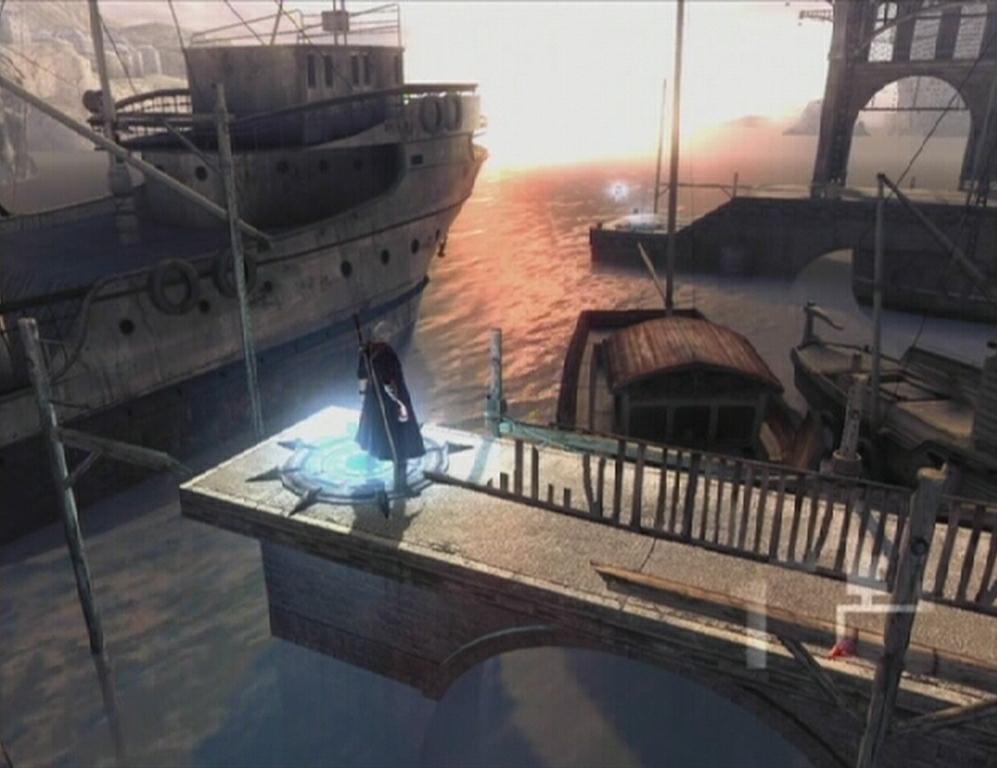
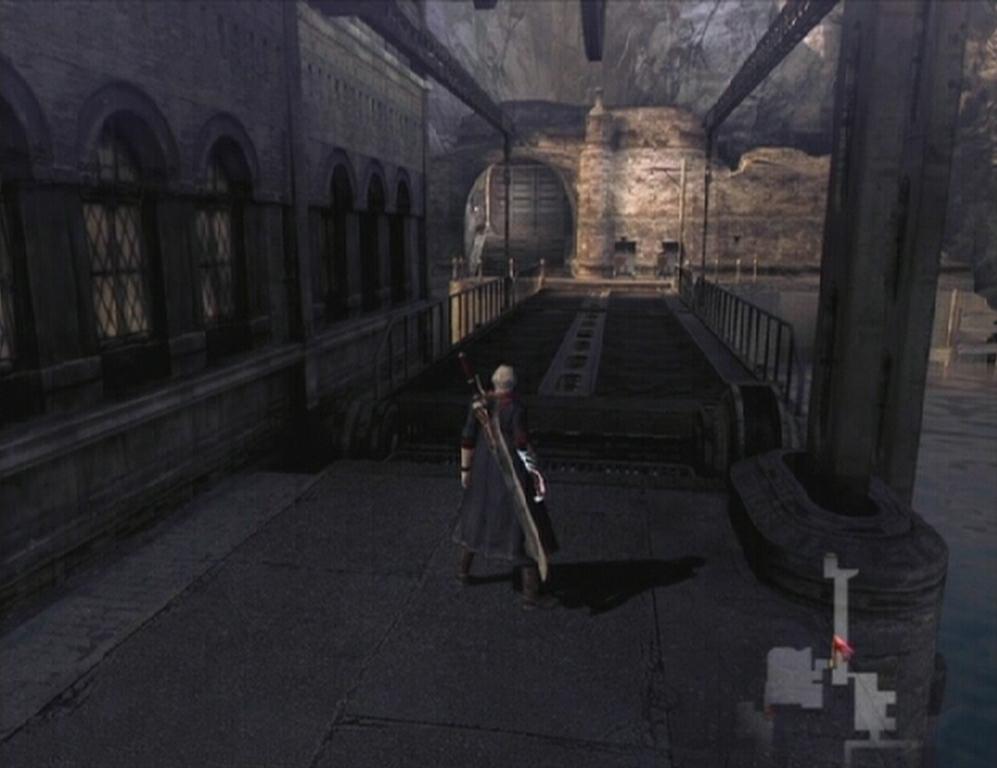
Port Caerula
Move to the end of the dock at the west end of the port and use the Grim Grip launch pad to reach the other side port. Head through the door at end of this section to enter the Customs House.
 Tower |
 Grim Grip |
Kill the group of Scarecrows that spawns, then approach the wheel that was hidden behind the red mesh. Rapidly slash the wheel until the blue mesh blocking the doorway above dissolves. Examine the console here to trigger a brief cutscene. Afterwards, return to the Port Caerula dock area. Another group of Scarecrows spawns outside the Customs House. Defeat the enemies and make your way back to the other end of the port using the Grim Grip.
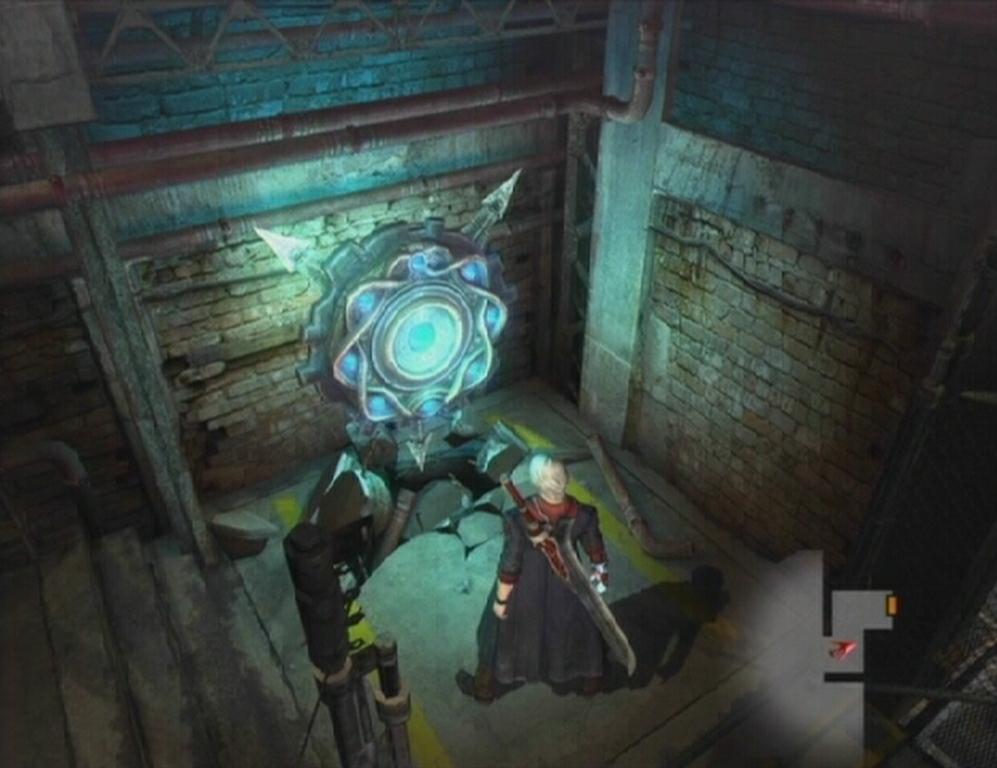 Wheel |
First Mining Area
Move to the north end of the port and cross the recently lowered bridge. Head through the door there to reach the mining area. A large group of Red Orbs can be found at the south end of the waterway, so drop down and collect the orbs, then hop back to the upper level. When you're ready, use the pair of Grim Grips to reach the upper walkway.
 Bridge |
 Grim Grip |
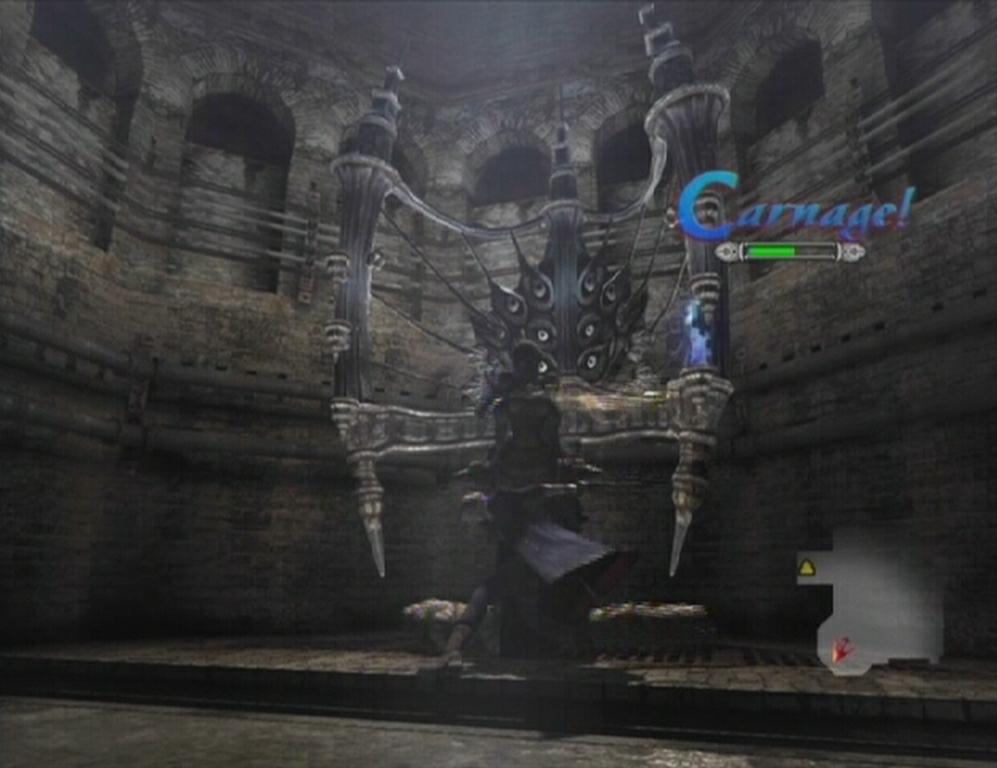
Blue Orb Fragment -- Attack the Combat Adjudicator and attain a combo grade of B to receive a bunch of Red Orbs and a Blue Orb Fragment.
 Combo |
With the Divinity Statue, you can use Proud Souls to gain new skills and combat abilities, and spend Red Orbs on items. There's a tough enemy waiting for you through the next door, so you may want to purchase a few healing items.
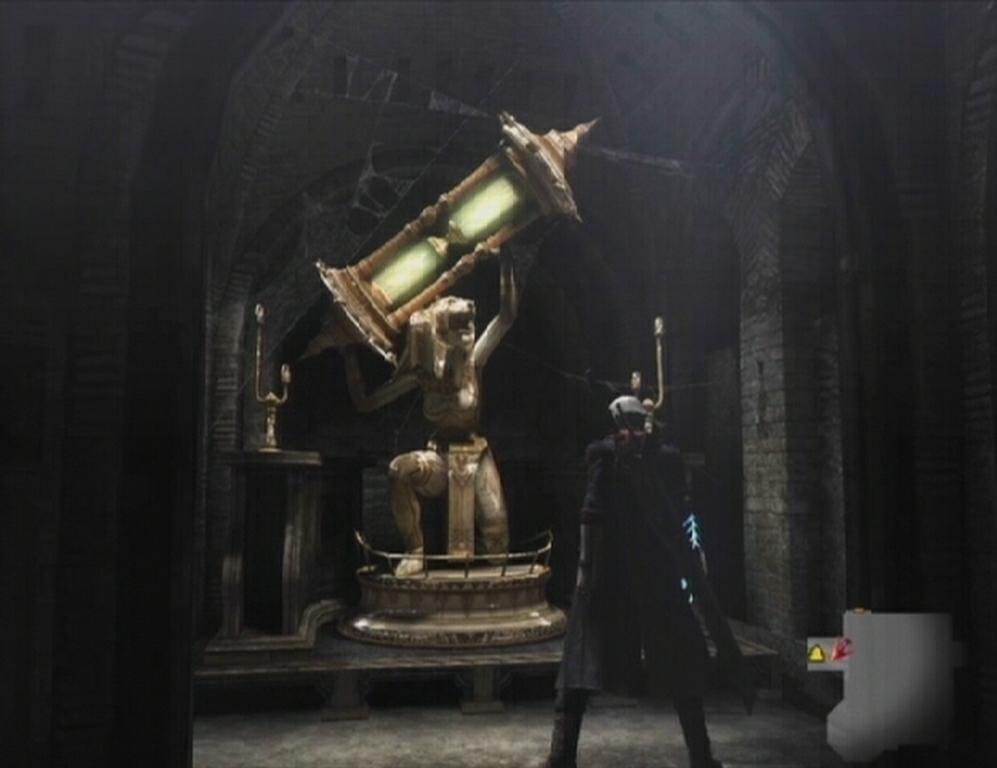 Divinity Statue |
Ferrum Hills -- Boss Battle: Berial
The towering Berial poses a significant threat, as his attacks are quick and quite damaging as well. Blast the demon with Blue Rose as he closes in on you. Bullets are nigh useless against this beast, but you may as well chip off a bit of his health bar before getting down to business. Berial's attacks are usually hard to detect, so you're definitely not going to make it out of this one unscathed. When you see the demon raise his flaming sword, prepare to use the Side Roll ability and avoid the swipe that follows. You can also hop over Berial's horizontal sweeps, but this attack usually comes quickly and is in some situations (such as while you are in the middle of an attack), completely unavoidable.
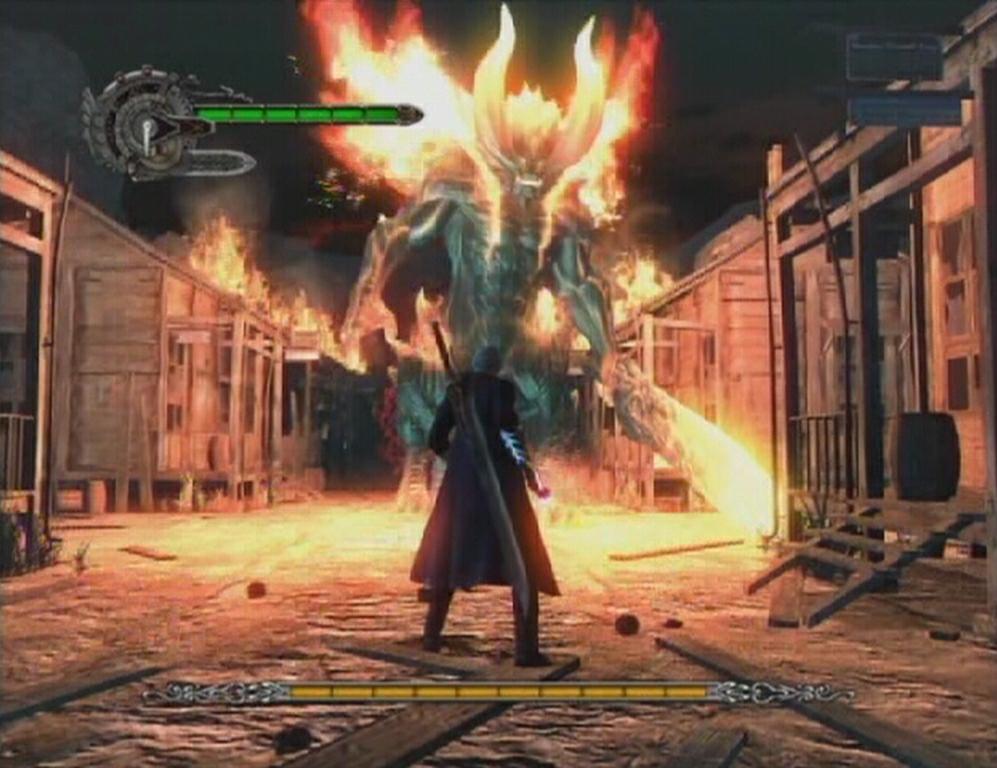 Berial |
Luckily Green Orbs are made available when Berial smashes one of the ruined houses in the village. The only issue here is that Berial's attacks cover a wide range, which can cause him to break too many of the houses quickly, resulting in an excess of Green Orbs. To combat this, try your best to lure Berial to one section of the village and face him there. If you're taking a lot of damage and your health is dwindling, lead the beast towards a fresh group of houses, lead him around until he destroys them, then collect the Green Orbs to restore some of your health bar.
When you've managed to get close enough to Berial without being tossed about, jump up into the air and use Hell Bound to launch Nero towards Berial's head. Slash the beast's face by rapidly tapping the Close-range attack button while Nero falls. You can use Hell Bound and attack Berial in this fashion while his back is turned too, but be careful as he can quickly whip around and slash you with his sword. You can slash his legs and mid-section too, but this doesn't seem to be quite as effective, and you'll have to work harder to dodge his attacks.
Once you've dealt enough damage to Berial, his flames dissipate and he becomes stunned. While the beast is in this state, approach him and use Buster to deal some heavy damage to him. You can hit him with another super combo if you can reach and Buster him before he gets up. When Berial begins to snap out of his stunned state, run as far away from him as you can; upon waking, he'll let off an explosive hellfire attack that is quite difficult to avoid. After you have managed to stun Berial at least once, a flaming pillar attack is added to his arsenal, but that can be dodged easily enough with the Side Roll ability.
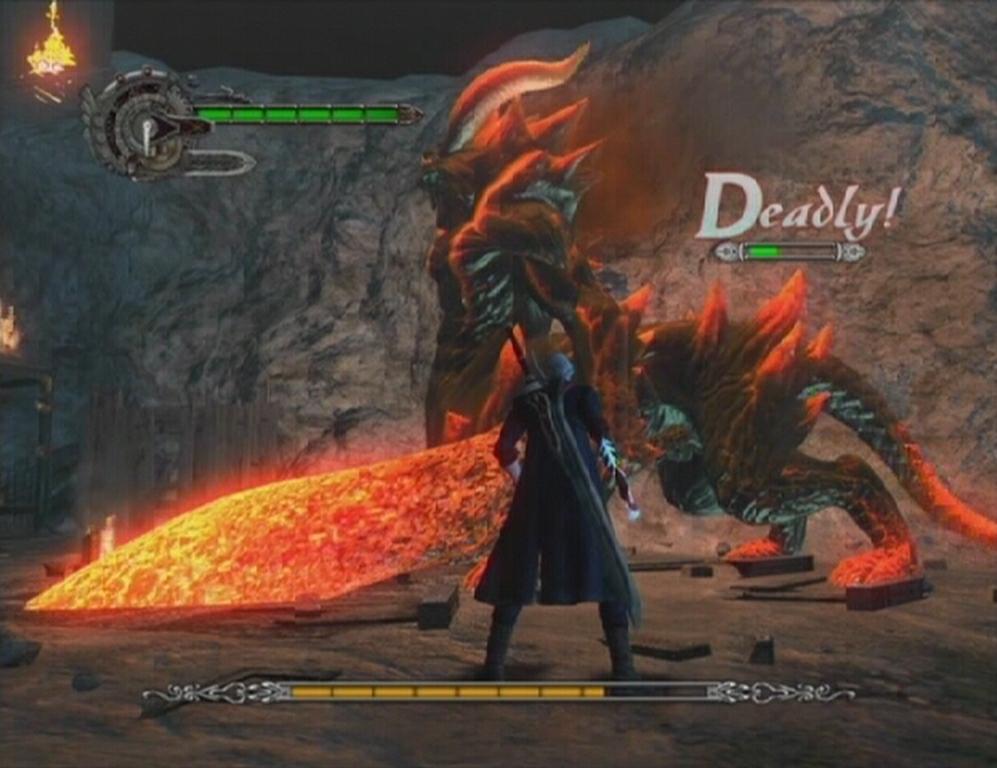 Stunned Berial |
Continue to attack Berial until his health bar is completely spent. When the demon falls, he'll leave behind a heap of Red Orbs. Collect the orbs, and then head up the stairs at the end of the area to clear the mission.
Devil May Cry 4 - Xbox 360 | Devil May Cry 4 - PS3
No comments yet. Tell us what you think to be the first.