Chapter 6
Dead Space 2 Walkthrough and Guide
by vhayste
Chapter 6
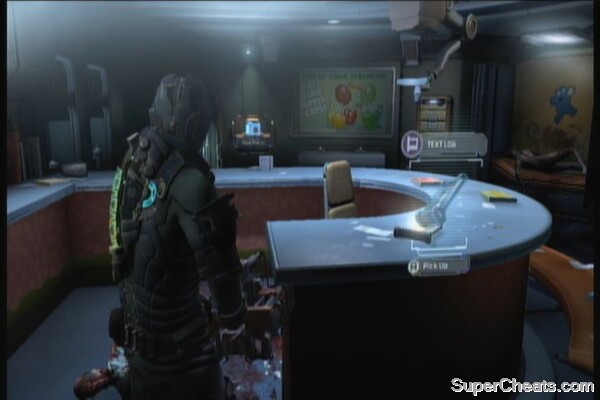
Check the room behind you for some credits and a power node. Check the next open room for additional credits. Exit through the door to find a save station. Instead of entering the door to the left, check the other door first to find a container and a schematic for Seeker Rifle.
Schematics for Seeker Rifle
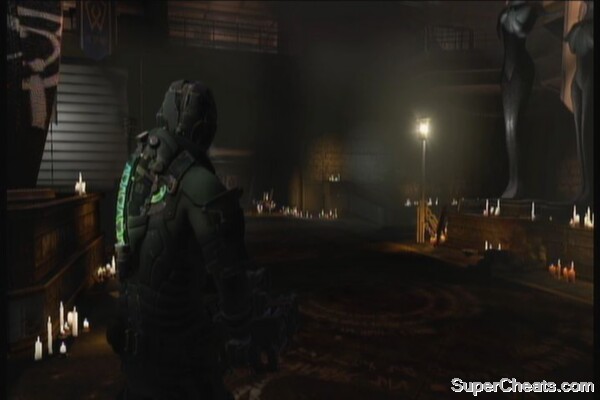
Exit to the next area and check out the rooms for various items, then exit to the hall. Ride the elevator down then use the savepoint. Head to the next area where you'll need to defeat some leapers as well as large, bloated Pregnants that release small critters if not killed immediately. There's a store also across the exit for your convenience.
 |
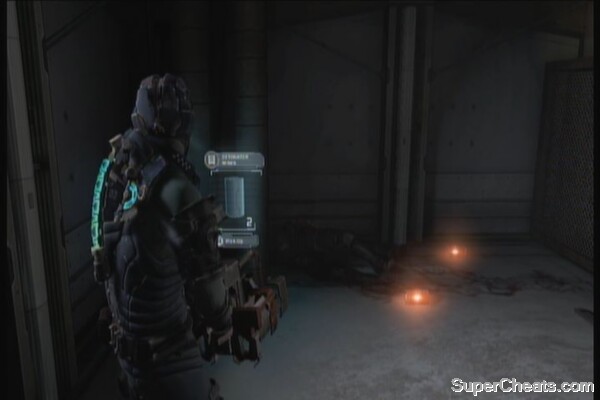
Once done, head to the door to find a hallway littered with cysts. You can unlock an achievement here by catching the mine and throwing it back. Make sure you're at a distance though.
Bouncing Betty Achievement
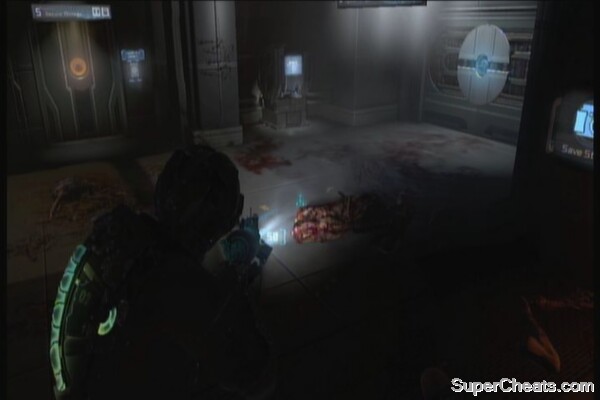
Use projectiles to trigger the cysts pre-maturely. At the end of the corridor, you'll find a locked supply room, a workbench and a save station.
 |
You can backtrack to the store to sell some stuff, especially the semi-conductors. Save your game and proceed to the next area. The area is in zero-gravity and you're not going anywhere without extinguishing the flames. Before doing so, it will be a good idea to scour the area for items first. Fly to the second floor balcony and look for the power node locker inside. There's also an audio log (Happy Hope) in the corner of the balcony near the fire. There's also a few containers floating around as well.
 |  |
To take out the fire, you must remove the three power cells that controls the life support system of the area. Two are at ground level while the third is on the ceiling. After the fire dies out, return the two cells head to the hallway that was previously blocked by the fire. There are two tentacled baby necromorphs around the corner so take them out before proceeding. Bring one power cell with you as you need it to replace the busted cell in the next room. There's also a acid-spewing necrom inside the elevator so have your stasis ready to prevent it from spitting acid on you.
 |
After exiting the elevator, grab the power node and credits from the wall lockers then use the save station. Shoot the fuse to enable to door to the Concourse Supply Storage. Continue down. You need to fend off a stalker ambush. You may want to fall back to a closed corner as you'll be in a disadvantage if you remain in the middle. If you have the Detonator gun, you can lay down mines in front of you (at a safe distance). One effective way is to fall back to the ledge where you came from and use the Line Gun's mines while the stalkers are taking cover. If ever one stalker chases after you, you have enough time to slow them down and kill them.
 | 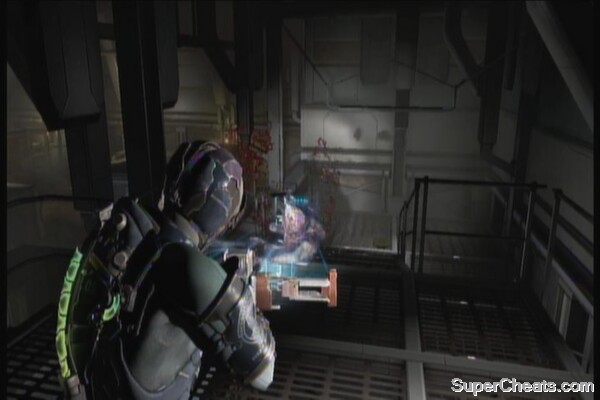 |
Once all stalkers are killed, scour the area for more items and containers. Once done, head to the other end of the warehouse and hack the panel to unlock the door. Follow the corridor to the concourse. You'll see another survivor fending off several necromorphs. You don't need to help her; just approach her and wait for her to open the grate after the conversation. Don't follow her immediately; instead, check the floor a few steps to your right. You should find the schematics for Pulse Rounds.
 |  |
Ride the elevator until you reach another hallway. Destroy the nearest cyst so you can safely access the store and save station. More necroms will appear along the way so make sure to clear the area before completely moving to the nursery.
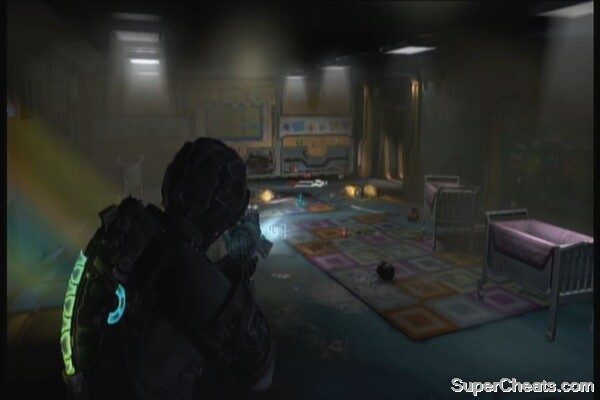
Once inside, you can peek through the window to learn about the newest enemy you'll face – volatile crawlers. There's an achievement for killing a certain number of crawlers without detonating them. Refer to the Achievements section for more details. You can maximize your crawler kills here by luring them and opening the door and standing by it. The crawlers won't follow you to the door but will clump together in one side of the room. From there, you can safely pick them off accurately. Refer to the video below for more info.
Daycare Bug
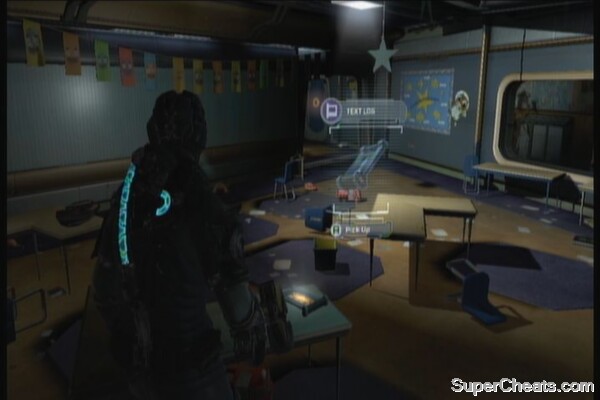
Head to the next open room then destroy more crawlers. Carefully traverse the next room then continue to the nurse's station. Grab the text log (School Nurse Report 8022) on the counter and items from the wall locker. Save your game.
 |  |
Head to the gymnasium and kill the adorable little necroms that come your way. Go behind the stage props so you can access the panel. Hack it and prepare for an onslaught of several packs and a few crawlers. This is also a good spot to unlock the Lawnmower Man achievement. See the video below.
Kids Gone Crazy
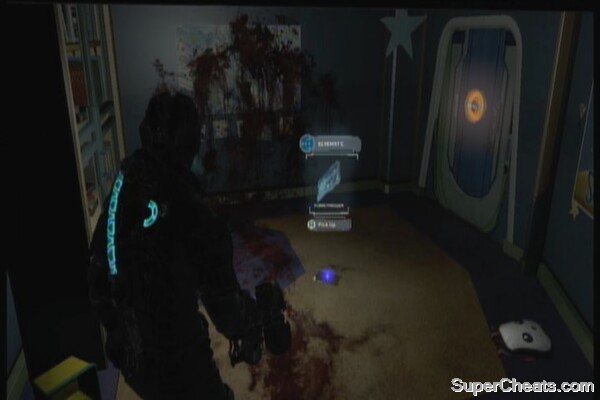
Exit the gymasium after looting the bodies and the lockers then enter the next classroom to get the text log (Kids Gone Crazy) inside. Check the backroom to find the Flamethrower schematic.
 |  |
Exit to the next room. After Isaac's vision in the playground, grab the power node in the rocket then use the elevator. The achievement (The Graduate) will be unlocked automatically. After disembarking from the elevator, grab the items and save your game. Exit to the transport hub.
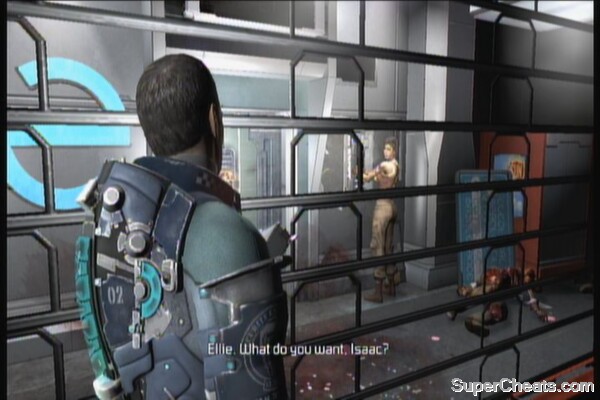
After meeting up with Ellie and Stross, check the area for some items. When the power goes out, you'll be facing a brute. Use stasis to slow down its charge and shoot its weak points. If you managed to defeat it without getting damaged, you'll unlock an achievement. Refer to the video below for more details.
Brute Juice Achievement
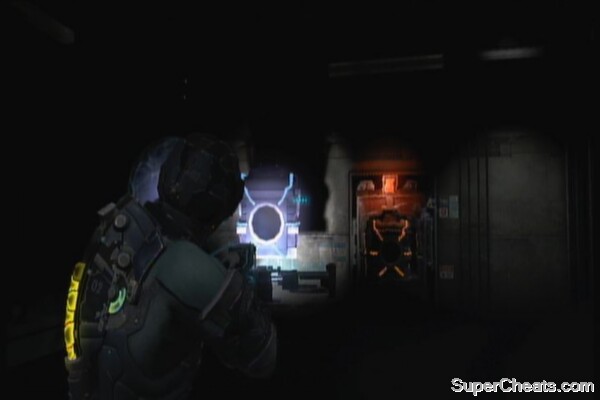
After that, head to the next open door and grab items along the way. Disable the tripwires and kill the necrom on the wall. You need to destroy all tentacles to kill it. An well-placed Line Gun explosive or Pulse Rifle grenade launcher (ALT) should be enough to kill it in one blast. Continue forth and take the elevator to end the chapter.
 |
No comments yet. Tell us what you think to be the first.