Chapter 11
Dead Space 2 Walkthrough and Guide
by vhayste
Chapter 11
As soon as the chapter starts, look behind you to find a log floating (Personal Log, Rig 438642 #5). Use kinesis to grab it.
 |
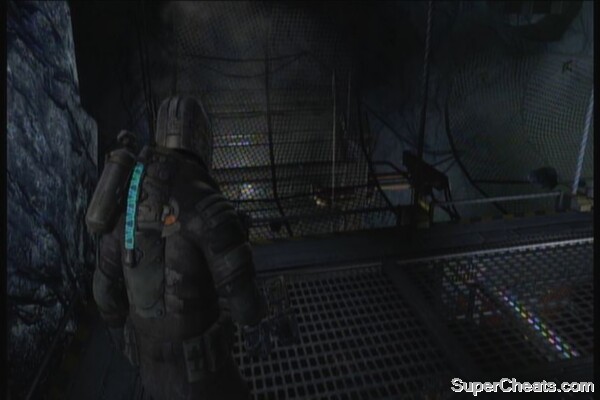
After saving the game, head through the door, down the ramp. There will be enemies that will appear so take them out as necessary. Head to the next room and hack the panel. Continue along the ruined corridor and take out the cysts. Grab the items along the way, especially the power node right before the next door. The next hallway has another savepoint and a store so use them as necessary.
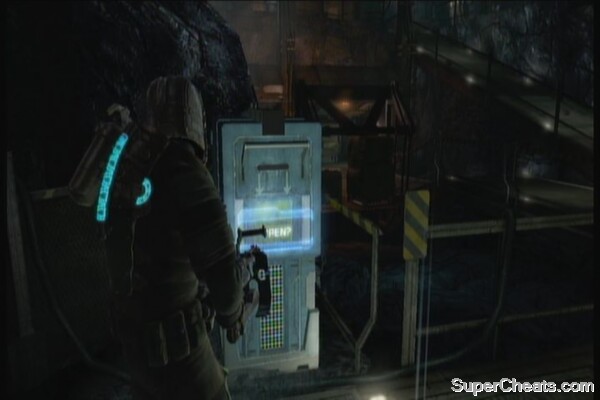
Continue to the next area. You need to go down the ramp and remove the defective battery. The replacement battery is found near the lift's ground level. Drag it back to the outlet to activate the door on the second level. Kill the necromorphs that will appear, then head to the next area.
 |
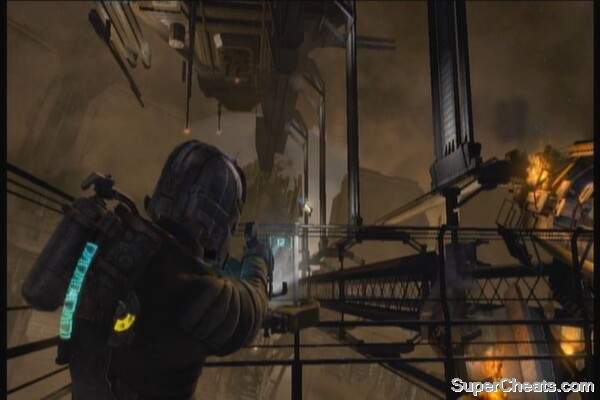
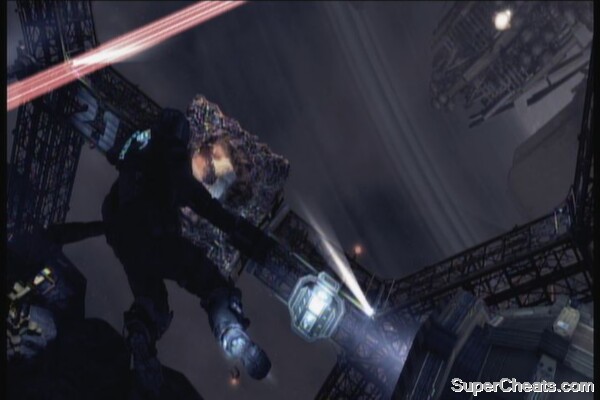
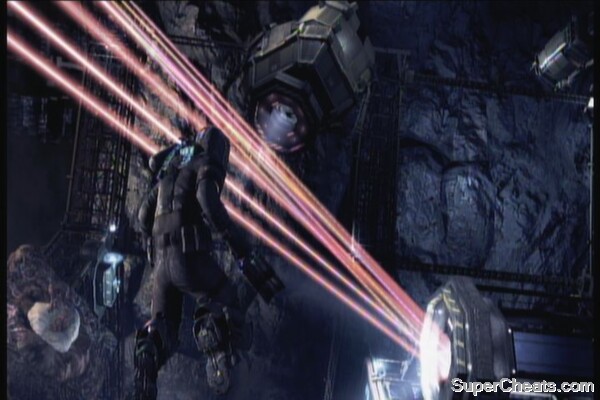
Save your game and walk a bit. You'll find Ellie and Stross again. Continue forth and you'll be dragged by a tentacle out in space. There's a nest nearby so take it out first. You need to re-align the lasers to clear your path. Look for the open pod that contains some thrusters inside. Install them on the lasers then shoot them to re-align. Before heading inside, check out the schematics for Contact Energy, floating around outside of the shaft, near the right window.
Author's Note: I initially missed this schematic but for some reason, it was added to the first store I've accessed in Chapter 13 WITHOUT having the schematic at all. My brother who was playing on a separate file also confirmed that he got this even when he missed the schematic in Chapter 11.
 |  |
Once done, enter the central shaft. Use the corpse to get rid of the cysts along the way. Continue until you reach the non-zero-g room. Grab the ammo on the floor and save your game. Take the lift next. Fight off necroms along the catwalk. Grab the power node on the netting to the left, after the second corner then continue to the Mining Hall B access door.
 |
Open the emergency supply room to your right first to find the schematics for the Advanced Suit. Throw one of the corpses to the tripwires to clear your path and save ammo.
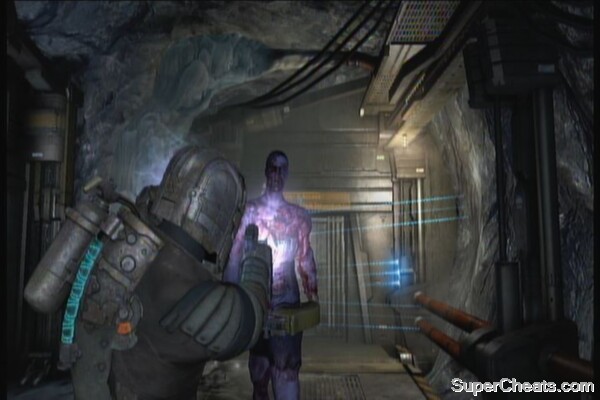 |  |
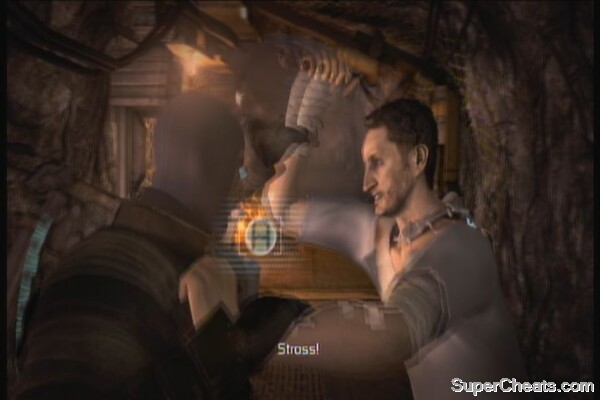
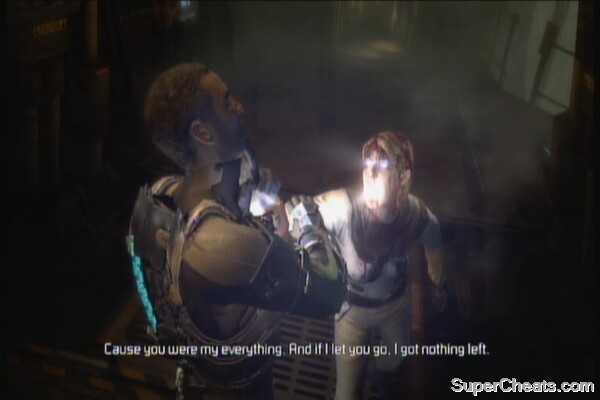
Continue along the corridor. Just take out the two cysts on the walls before proceeding to the panel. Hack it once ready and go to the next area. Kill Stross and stomp on his body to get the second log. (I Could Never Hurt You)
 |
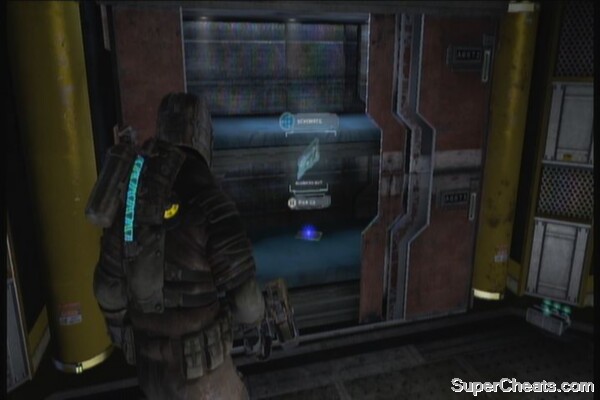
Go through the door and you'll be back in the previous area you're in. Backtrack to the store first to sell some stuff and upgrade your armor. Upgrading to the Advanced Suit will unlock the Looking Good achievement. Return to the previous area then take the elevator this time.
Continue to the next area. There's a slasher that will jump on you by the lift so be ready. Grab the items from the other side, including another log (Personal Log, Rig 438642 #1) and a power node. Take the lift up.
|
You'll be attacked by several necromorphs here. In such a tight area, the Ripper is your best friend. If you upgraded it already, then you shouldn't have problems fending off these enemies.
Lift Carnage
After getting off the lift and entering the next room, Isaac will confront Nicole. Once in control again, use the store and workbench then save your game. Head to the next area to begin the next chapter.
 |
No comments yet. Tell us what you think to be the first.