The Tree of Life
Before heading to the Tree of Life, there are a lot of stuff you can do first while you're in the area.
The Crucible
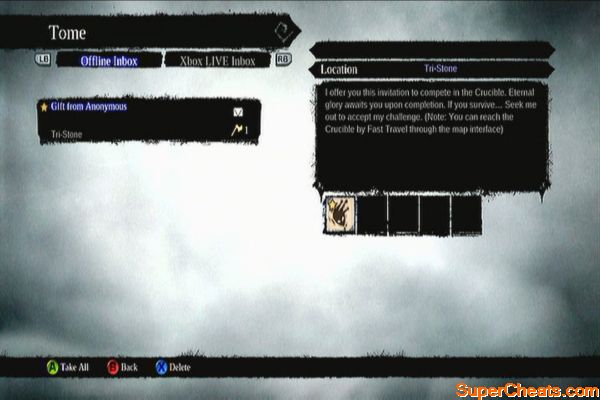
After the scene, you'll receive a new mail. Check it from the tome and you'll find “Gift from Anonymous”. Read it and you'll receive The Fool card. The Crucible appears in the lower left corner of the map. You can fast-travel there and try out the challenges if you want. Take note that you should download or redeem the Crucible Pass in order to use this feature.
Death Tomb 1
By following this guide, you should have obtained at least 10 pages now. 9 can be acquired through main story missions while 2 can be found in optional areas. One is in the Weeping Crag and one is found in the Shattered Forge.
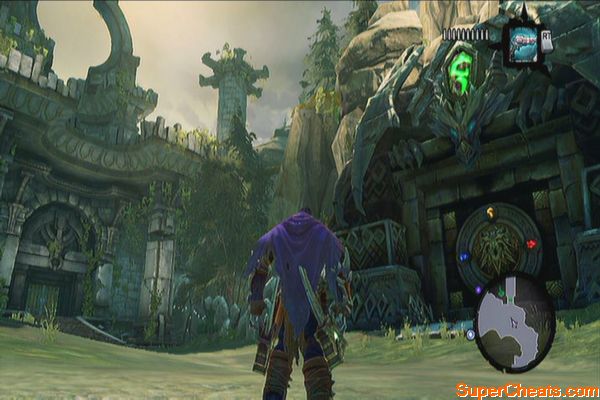
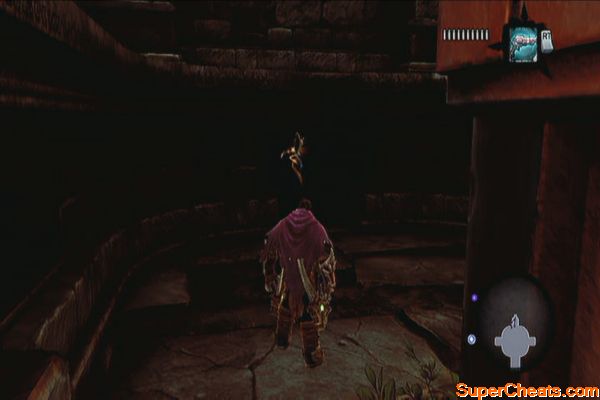
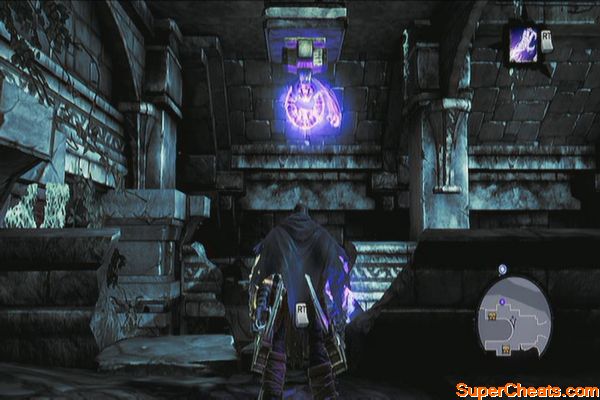
After getting your 10th page, it will automatically form a chapter. Surrender it to Vulgrim to get a key for the first Death Tomb. Fast-travel to the Lost Temple and look for the colored door there.
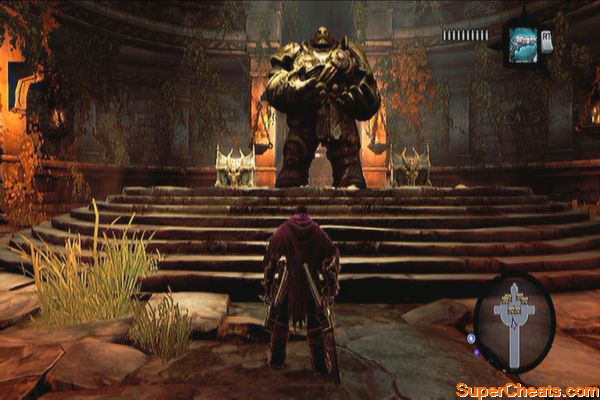
Loot the chests inside. Destroy the weapon racks as well to get more weapons. Finally, drag the stone block in the middle north to get the Blade Master Talisman.
Baneswood Ruin
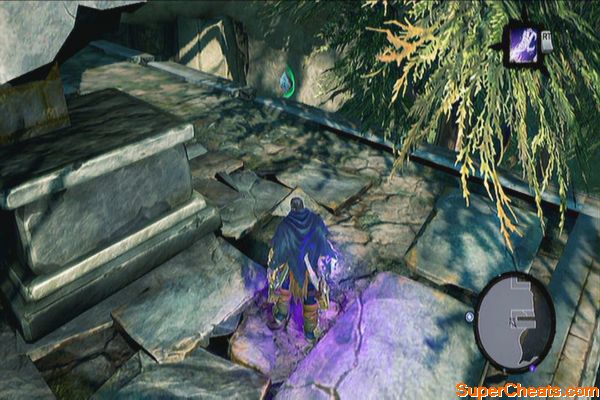
Head to the ruins in the middle of the map to the east. Climb up the northern half of the ruins then cross the wall in the middle using an extended wall-run with the help of the deathgrip. This will allow you to reach the other half of the ruins. Loot the chest and follow the ledge around to find a Boatman Coin. (40)
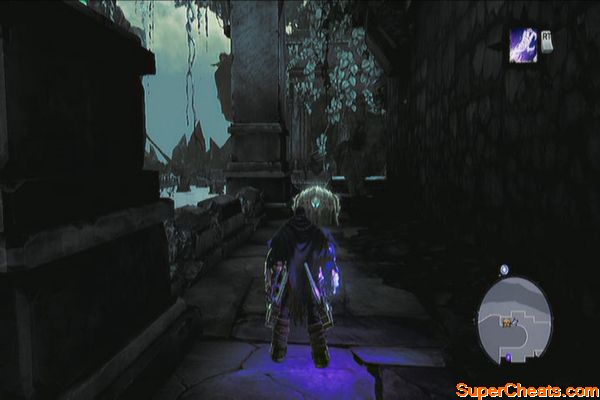
Fjord Chests
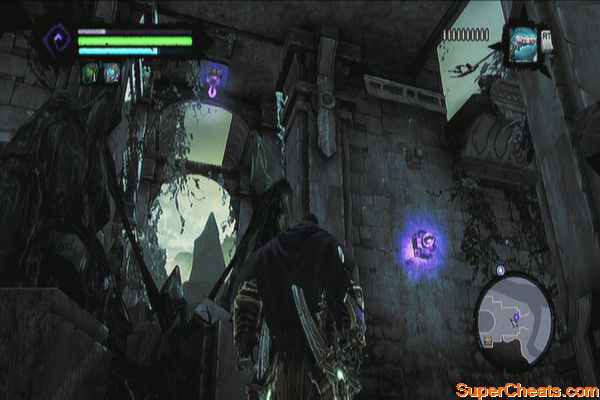
Head to the Fjord and go the harbor ruins which you can't explore earlier. Check the eastern side of the ruins and you should find the deathgrip hoops there. Scale the wall to reach the balcony and defeat the prowlers. Peek over the edge to find a Boatman Coin (42)
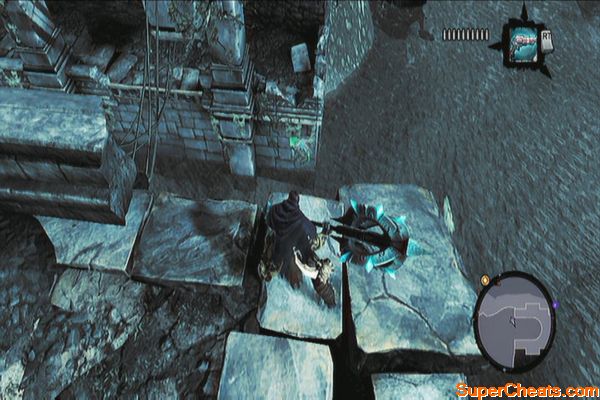
Backtrack and go around the balcony to find another deathgrip hoop in the middle. Cross to the other side and loot the chest to the south. Backtrack to the middle and jump down to ground level to reach another chest.
The Weeping Crag – Defeat Gorewood
You can now fully explore the area and defeat Gorewood. Refer to the Side Quests section of this guide for more information.
The Nook – Defeat Bheithir
You have explored most of this dungeon on your way to the Lost Temple. You can get a Book of the Dead page here, a Boatman Coin and fight Bheithir. Refer to the Side Quests section of this guide for more information.
Shattered Forge – The Hammer's Forge quest
Refer to the Side Quests section of this guide for more information.
The Spark of Life quest
Though you can't complete this at the moment, you can start this quest by talking to Muria in Tri-Stone and asking her about constructs.
|
At this point, the collectibles in your possession should be:
Stone of Mystics: 15
Stone of Power: 4
Stone of Resistance: 1
Boatman Coins: 42
Book of the Dead pages: 12
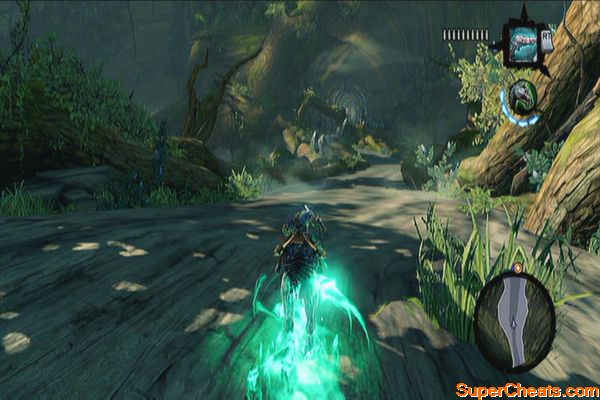
When all of that stuff is done, you may now proceed north of the Stonefather's Vale and ride to the Tree of Life. Just follow the straightforward path and the quest will be complete as soon as you reach it.

No comments yet. Tell us what you think to be the first.