The Rod of Arafel
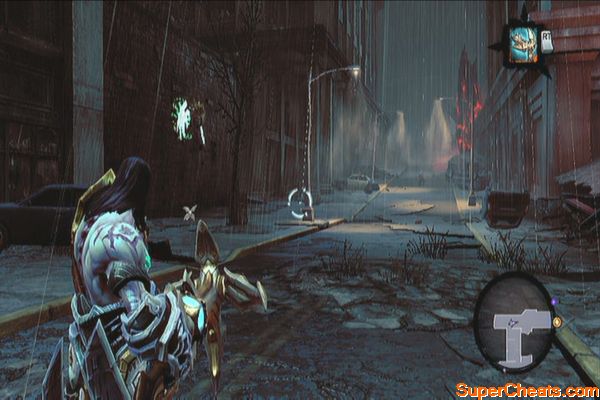
You should at least have two non-fetching side quests listed at this point: Lost Soul and Spark of Life. The latter can be done at this point of the game, before heading back to Earth. Should you wish to do it, please refer to the Side Quests section for the complete walkthrough of the dungeon. When ready, enter the portal the Archon has opened to reach Earth.
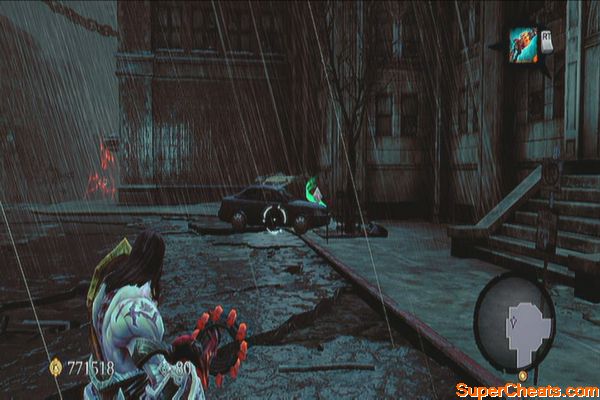
After reaching earth and the scene, help Uriel fend off the swarm. You can fight the old-fashioned way or pick up the rapid-fire weapon called Salvation nearby. After the battle, you'll also get Salvation. Choose the blue conversation option with Uriel to start a new side quest. (Light of the Fallen)
Standing against the swarm
The Staff of Arafel
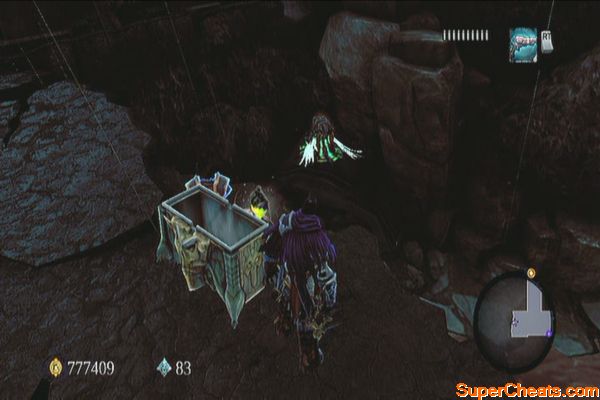
After talking to Uriel, scour the area for some chests as marked in the your map. To the northwest corner behind a truck, you'll find a Boatman Coin as well. There's also a Stone of Mystics on the building to the north.
Head south to find another Boatman Coin, beside the room with a chest. Return to the building where the portal is and go to the second floor to find another chest.
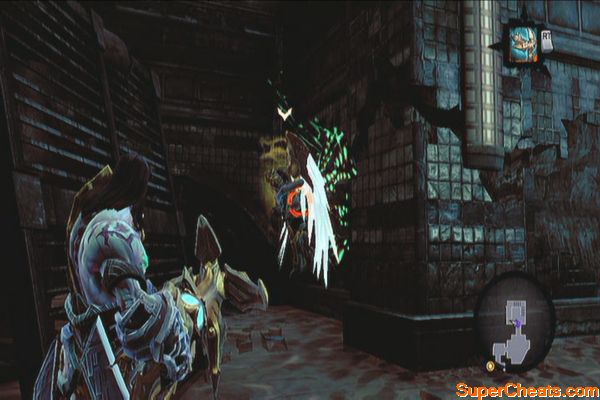
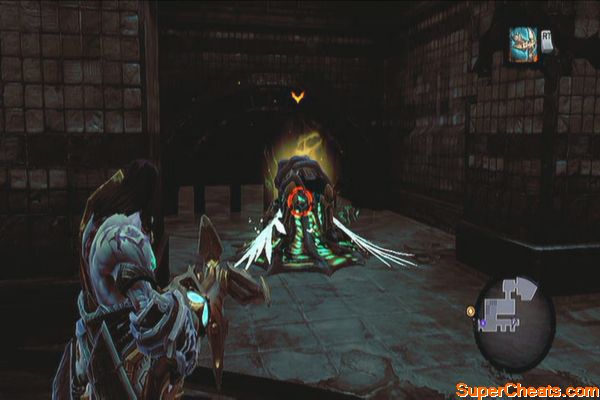
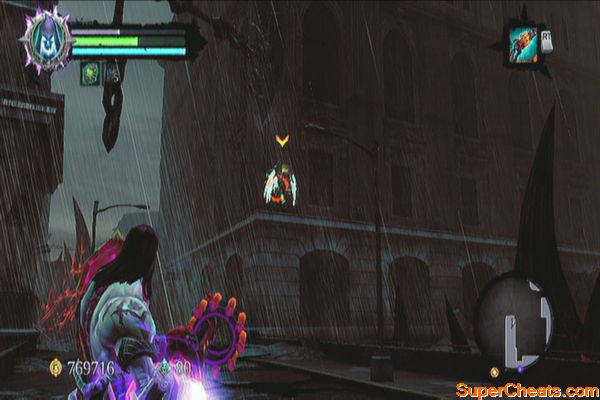
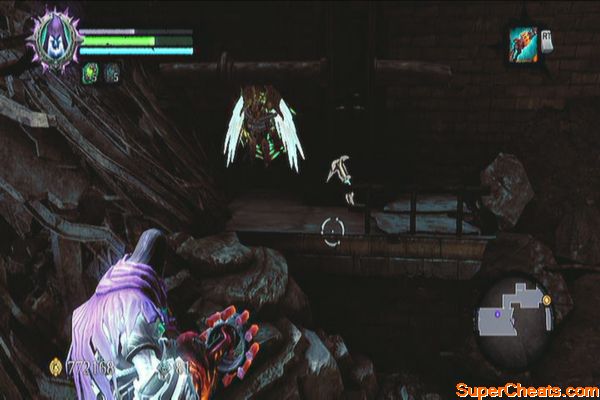
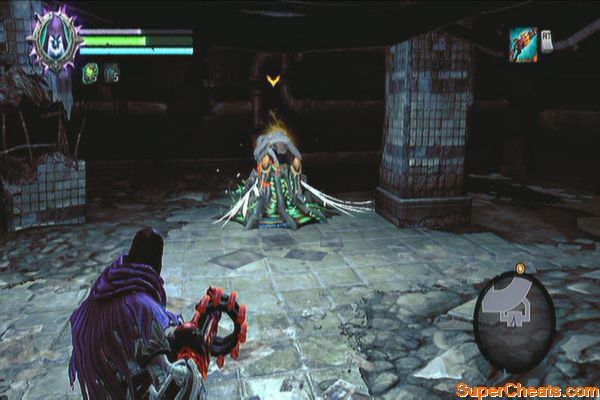
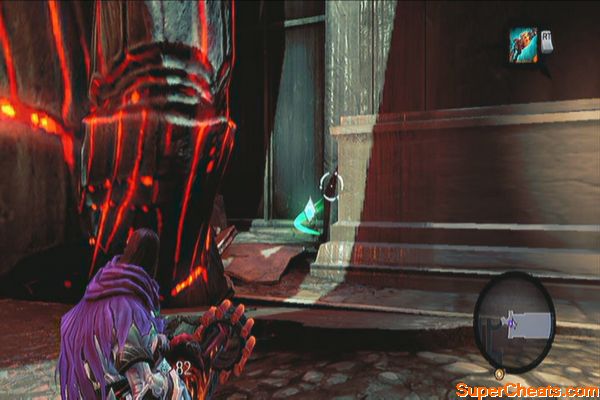
Make your way to the northeast and take out the swarm. Before entering the building, continue to the east to find a Soul Arbiter's Scroll. Backtrack and enter the building. Dispatch more enemies and continue to the east to find the first trapped hellguard. Shoot it to deliver mercy.
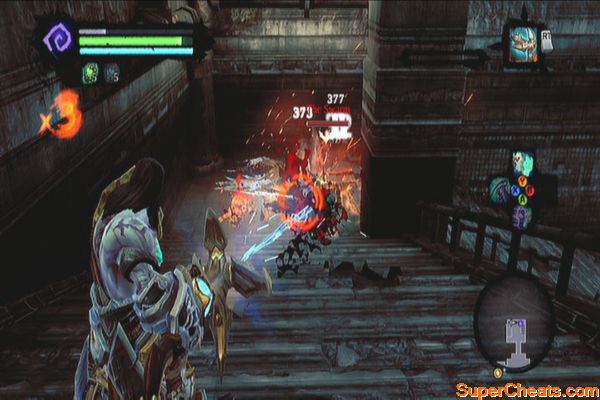
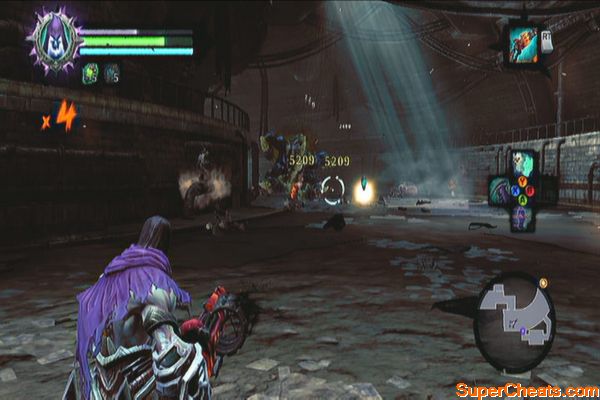
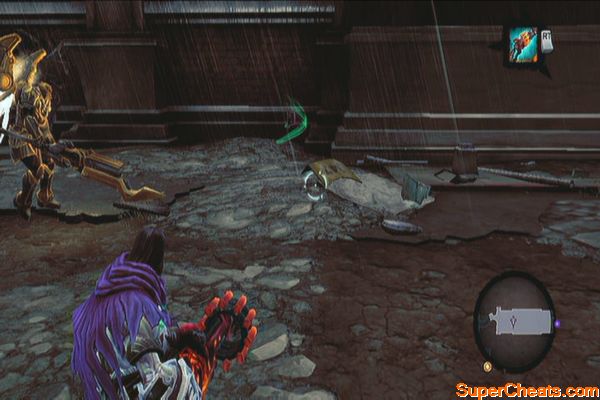
Continue to the open area where a fast, powerful beast called the Suffering will appear. It will be dangerous using melee weapons against it so use Salvation to take it down; evade its rush attacks as well.
Against suffering
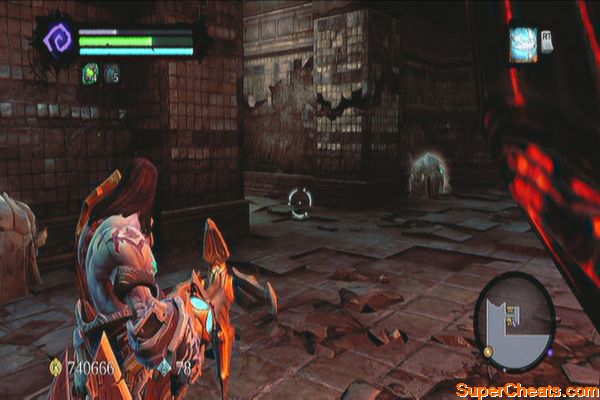
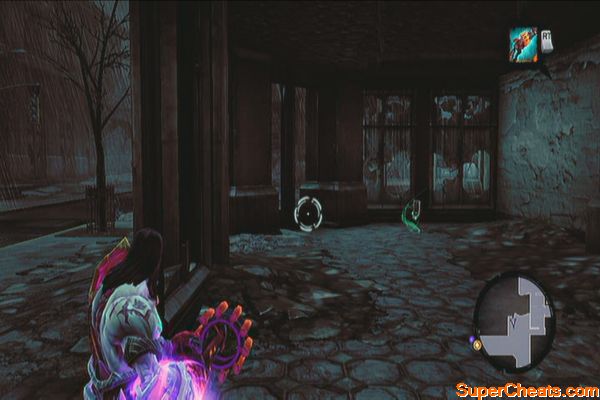
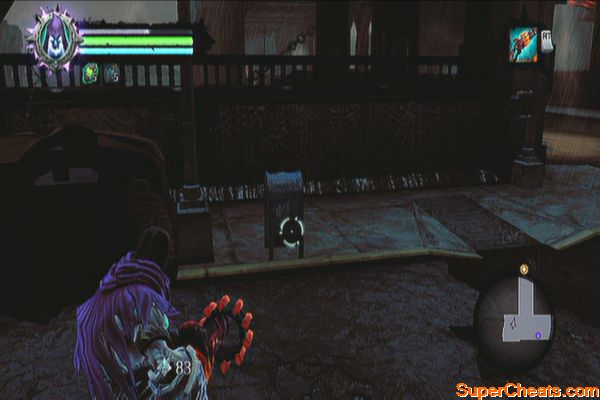
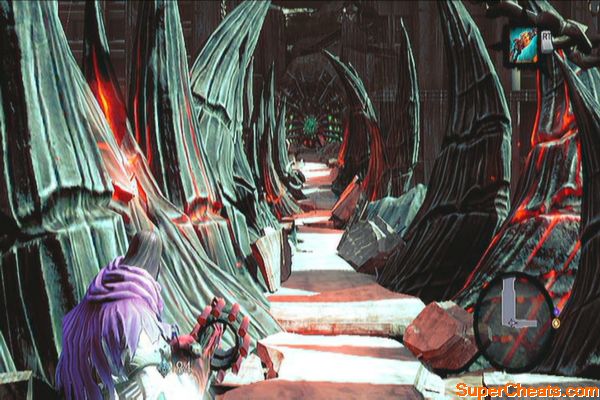
Continue to the northeast then find a Book of the Dead page in the southwest corner, near the chest and some red crystals. Loot the chest and continue inside the subway. Kill the rushing wave of swarms then check the southwest nook to find a second Trapped Hellguard.
Continue forth and make your way to the stairs southwest. Once there, head east to the dead-end corridor and find another trapped hellguard in one of the nooks there. Continue to the west and dispatch more swarm, and another hulking Suffering.
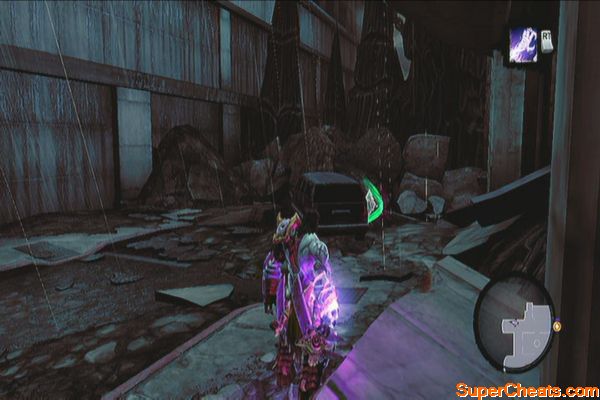
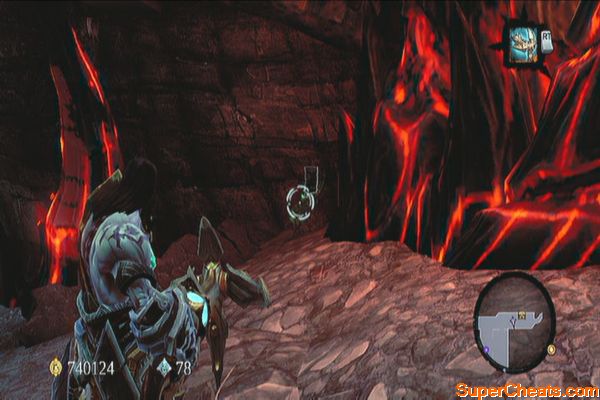
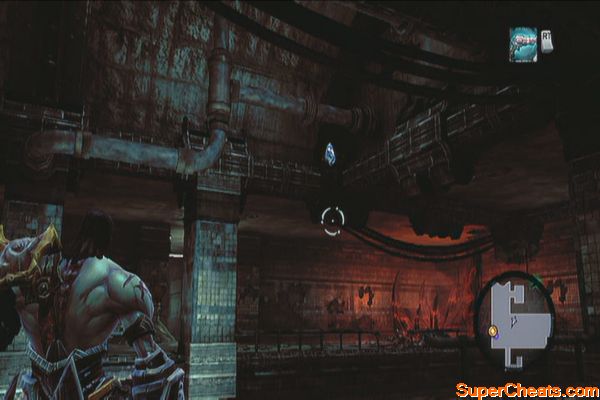
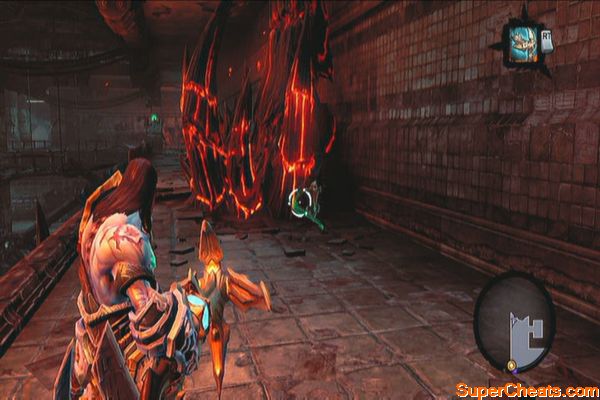
Continue west and look up the ceiling in front of the large demonic growth on the western wall. Shoot it to get a Stone of Mystics. Enter the small room to the north to find two chests. After looting them, make your way to the northwest corner of the area to find a Relic of Renagoth behind some red crystals.
Next, shoot the large demonic growth and retrieve the Staff of Arafel from there. Take the stairs and grab the Book of the Dead page along the way. Continue following the stairs until you reach outside. Regroup with Uriel to update the quest.
The Eye of Arafel
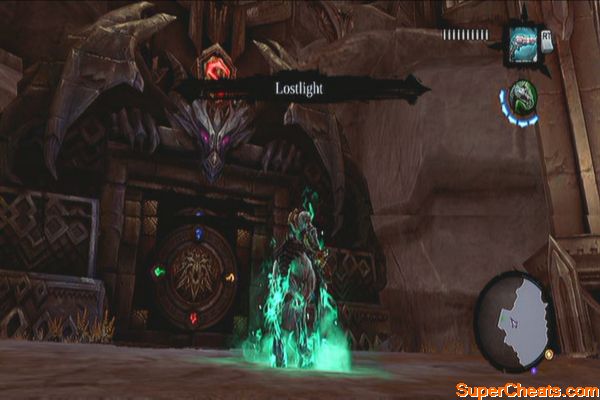
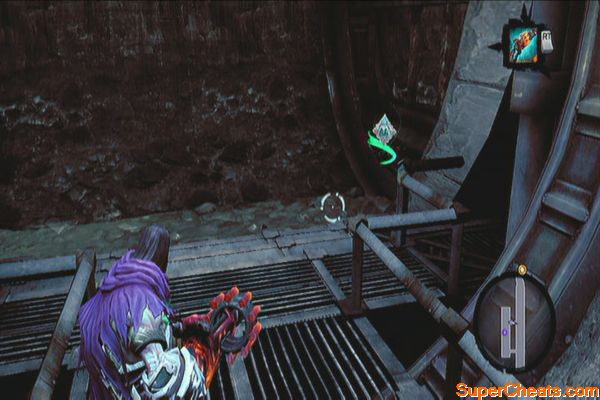
After Uriel opens the gate, follow the path until you reach a tunnel. You should see another Book of the Dead page there. If you've been following this guide, this should be your 30th. You can fast-travel to Vulgrim in Lostlight to get the key and loot the Death Tomb in the same location. The Tomb's main treasure is the Hoardseeker Talisman and two Boatman Coins.
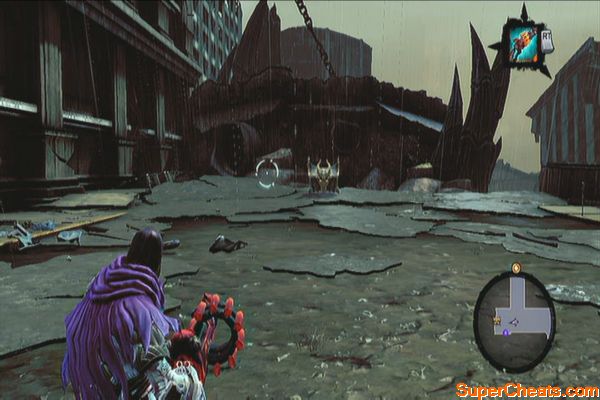
Continue outside the tunnel when you're ready. Outside the tunnel lies a slow but powerful weapon that launches explosives slugs. Take note that you can detonate these slugs prematurely by pressing LT, even in mid-air to deal massive splash damage – which is very effective against the swarm. As you make your way to the bridge, a Suffering will attack. Take it out then collect the Stone of Mystics inside the second level room to the west, near the window.
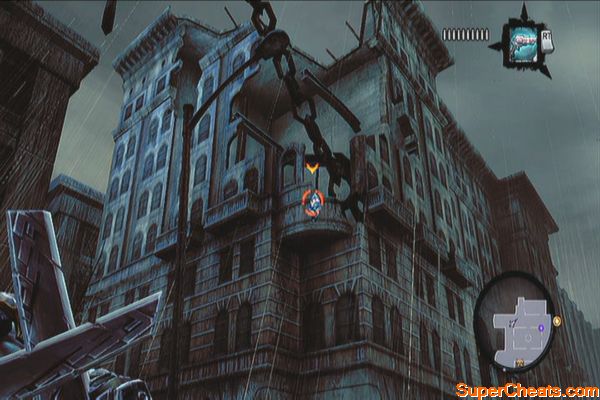
Continue past the bridge and head south to loot a chest. Continue to the west this time and loot the chest containing the Dungeon Map behind the pillar. After looting it, make your way to the northwest to find a Relic of Renagoth. Backtrack and as you turn around, you should see a trapped hellguard on the building wall. Kill him to free him.
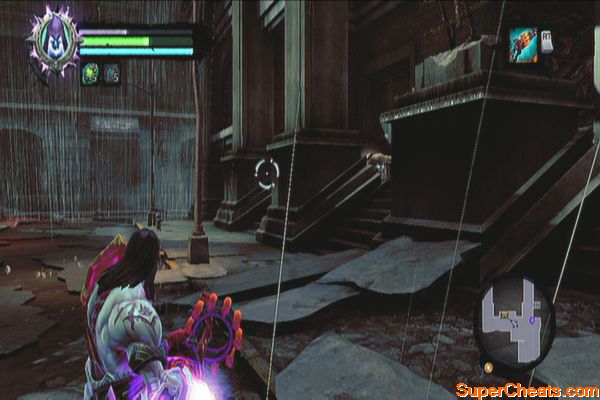
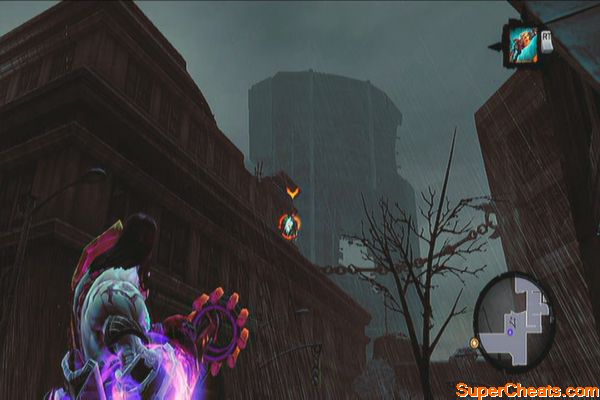
Continue south this time inside the building and blast through more enemies. Once you reached the streets to the southwest, enter the nearest building to the west to find a Book of the Dead page inside. As you exit the building, look up to find a trapped hellguard on the building to the far southeast.
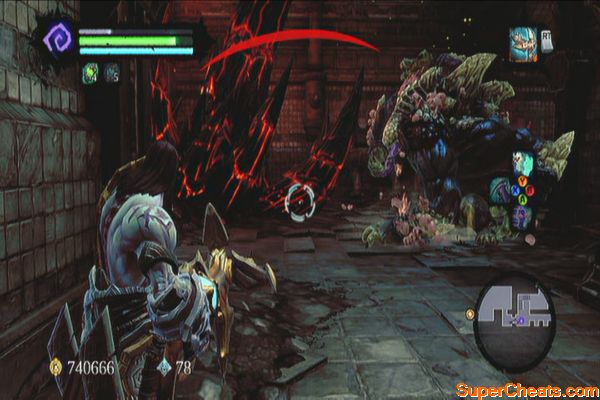
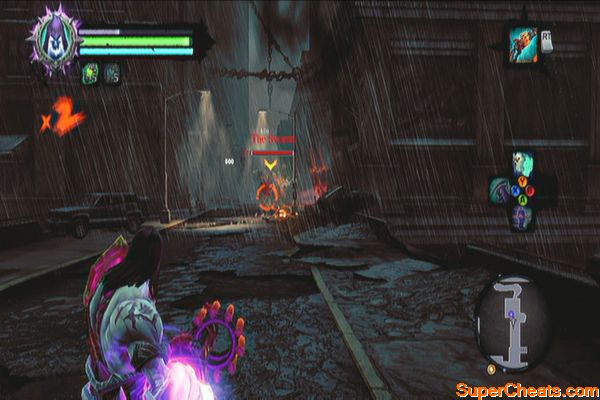
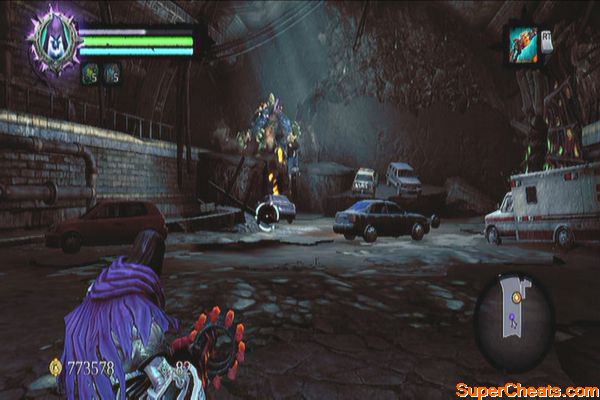
Continue along the path this time, until you encounter The Noss. This battle will be a lot easier with the slug-launcher; otherwise, Salvation will do. The boss will regularly release stingers; however, you can ignore them and just concentrate your fire against it.
The bigger they are...
Before leaving, turn around to find a Stone of Resistance on the building wall to the north. There's also a Boatman Coin to the southwest corner, behind some cars.
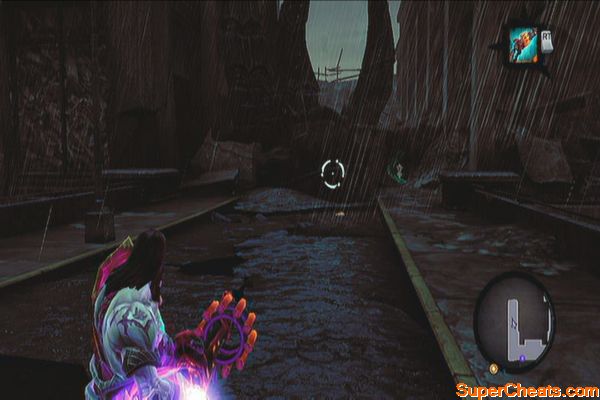
Continue to the car tunnel and follow it until you find an alcove that has a chest. Loot it then look at the ceiling to find a Stone of Power. After getting them, climb the walkway and blast the enemy rush. Before giong through the northern tunnel, look to the southeast corner to find a trapped hellguard.
Continue along the tunnel then loot the chest from the small alcove to the north. Continue to the car tunnel and destroy all enemies, including a Suffering. Once cleared, enter the small room to the south to find another trapped hellguard.
Continue to the sewer tunnel to the north and follow the path, blasting the opposition away. Before going up the ramp, look behind to find a Boatman Coin. Go up the ramp and destroy more enemies, including a Suffering.
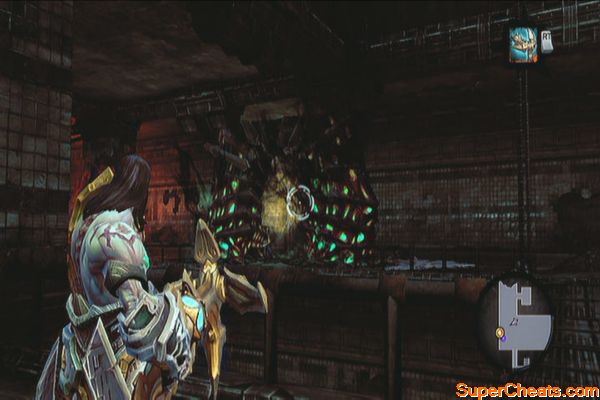
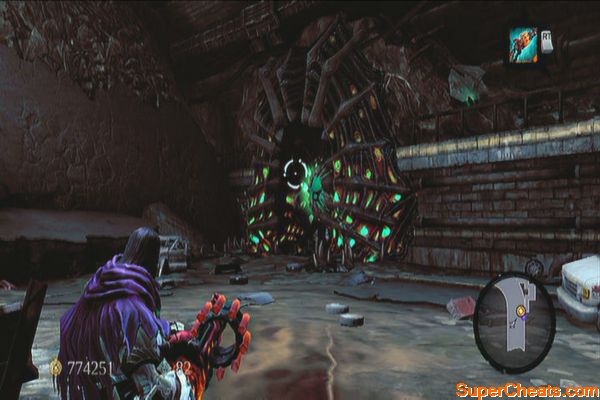
Before destroying the giant growth, check the alcove to the west to find a Soul Arbiter's Sacred Scroll. Destroy the growth to receive the Eye of Arafel. Follow the path outside and meet up with Uriel.
Before leaving through the gate, grab the Boatman Coin in the northwest corner and the Book of the Dead page to the south, behind a vehicle.
Continue following the path until you reach a portion of the subway. There's no points of interest here so you can just continue to reach the street outside. Once there, a Noss will ambush you. Take it out using the weapons provided on the ground.
Still coming back for more
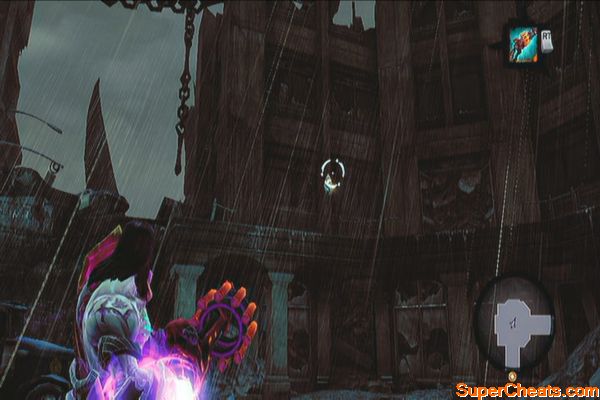
After clearing the area, destroy all four postboxes to reveal a secret chest. If you can't find all postboxes, there's a chance that you've destroyed them already by chance so just find any postboxes in the area and destroy them. The chest should appear in the western edge of the road. After looting the chest, peek over the edge to find another trapped hellguard.
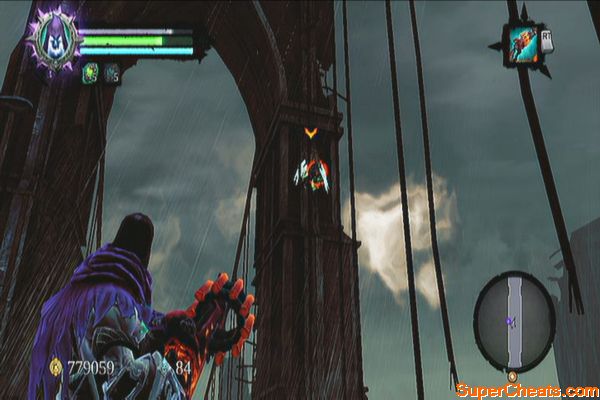
Continue north along the bridge and defeat more enemies coming towards you. Continue until you reach the hole in the road. Check the support beam to find a Stone of Mystics there. Move on and continue destroying the enemies along the way. Check the small room to the west along the way to get the Boatman Coin.
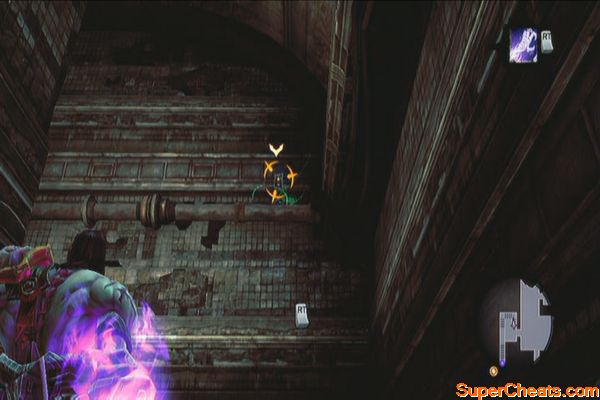
Continue until you reach the northernmost end then use the ramp to go south to the bridge's upper level. Here, more enemies will attack, including yet another towering Noss. Get rid of them and continue south. After passing the arch, turn around to find a trapped hellguard on the arc. Follow the path and you'll eventually reach the growth. Destroy it to restore the Rod of Arafel.
Bridge clearing
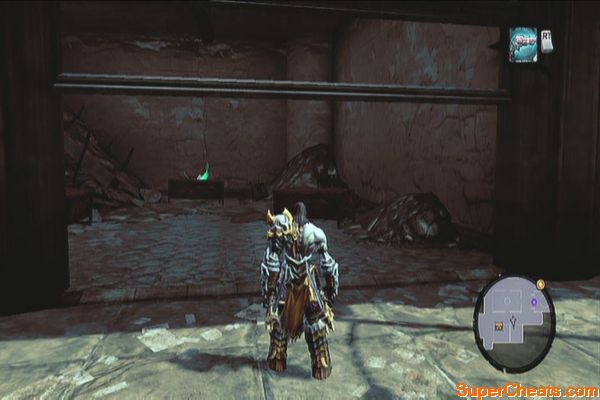
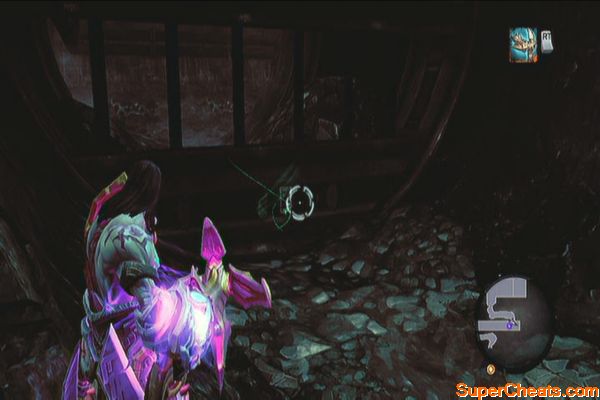
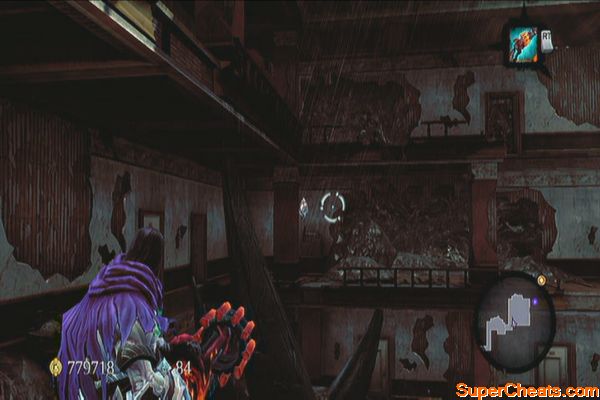
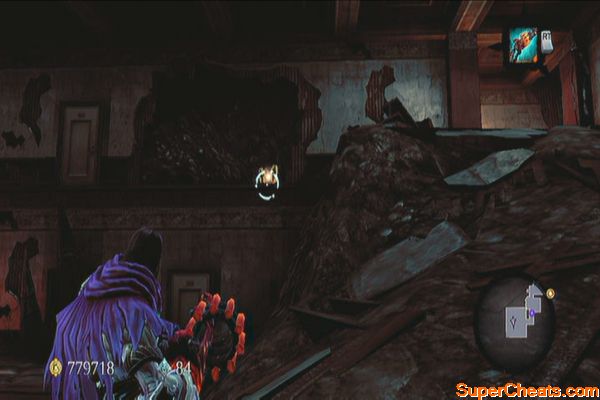
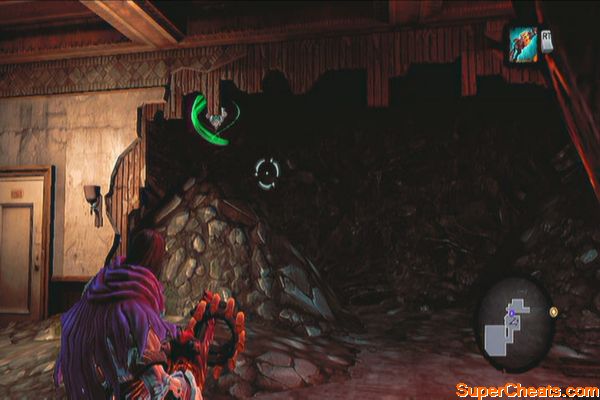
Continue through the ruined hotel then loot the chest along the way. Turn around afterward to find a Relic of Etu-goth. Continue until you reach a large room with a slope. Go down and look for the Stone of Power in the northwest corner. Now to the south ledge is a unique secondary weapon called the Fists of Elhazar. Get it then proceed forth.
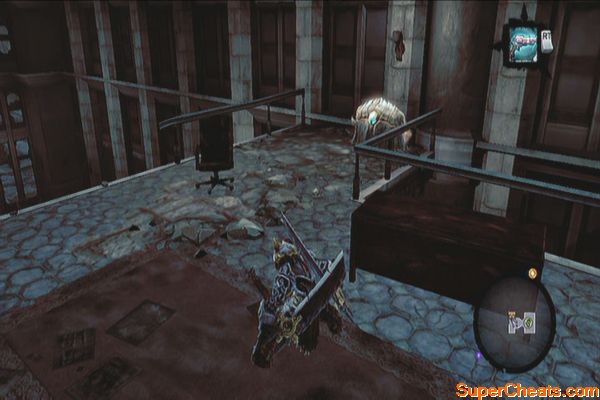
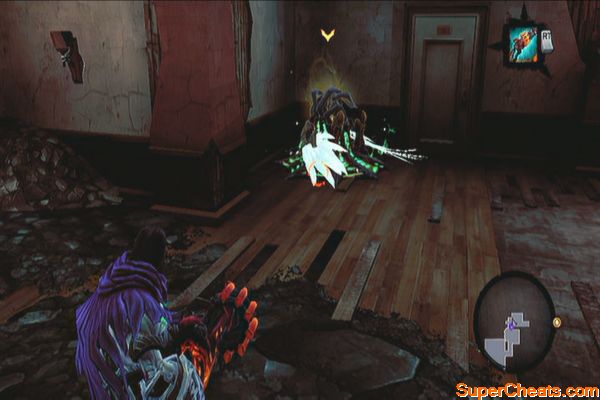
After reaching the next room, search for the Boatman Coin in the broken wall then shortly you'll find the last trapped hell-guard. Grant it mercy then go out and meet up with Uriel.
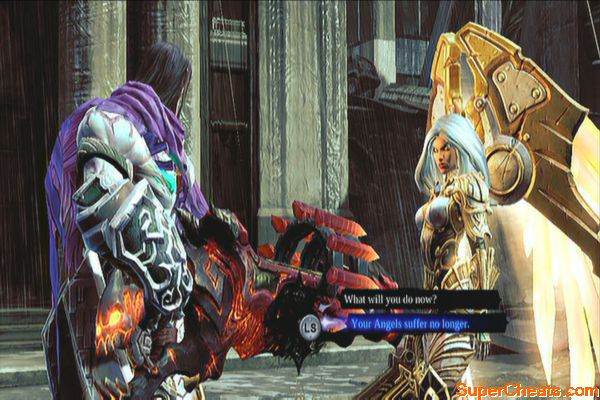
During the conversation, select the option to close the sidequest to receive your reward. Next return to the portal to deliver the Rod to the Archon.


you only mentioned 9/10 hellguard for that side quest on Earth when Searching for the Rod of Arafel.