The Fire of the Mountain
Darksiders 2 Walkthrough and Guide
by vhayste
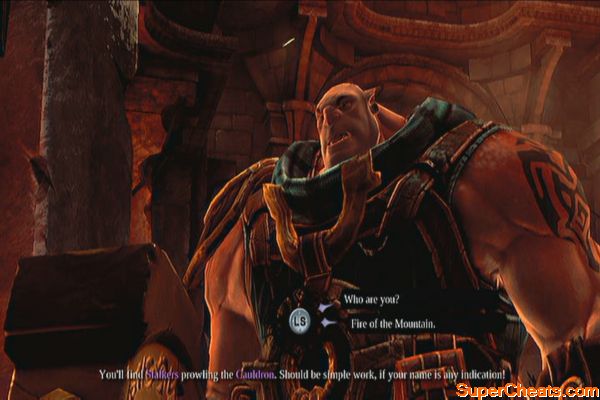
The Fire of the Mountain
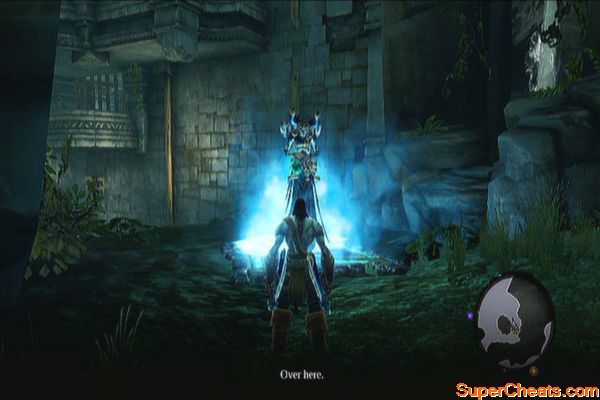
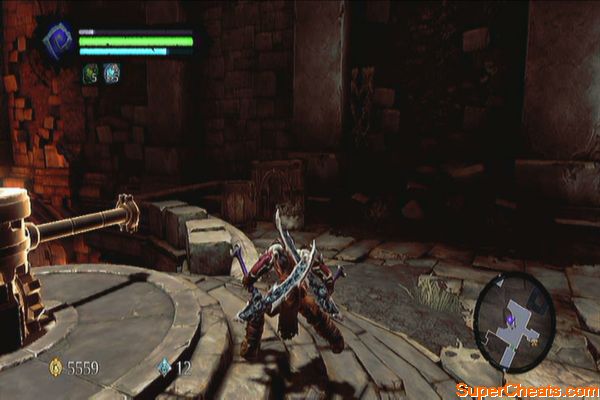
After the scene, you'll have to defeat all construct warriors to proceed with the story. You can ask the old maker questions to move on. You should have leveled up at this point. Use your skill point to buy a new skill. Don't forget to assign it to your skill radial by pressing and holding the Down DPAD.
 |
 |
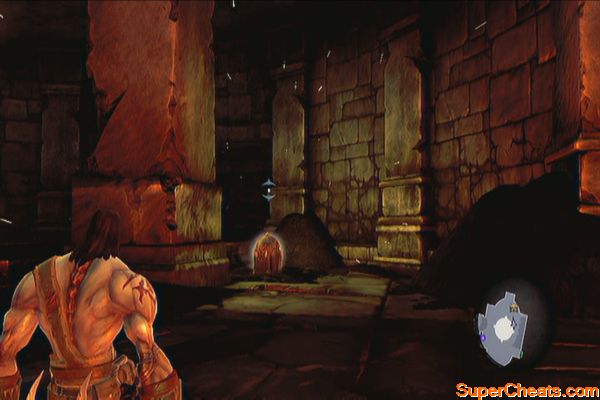
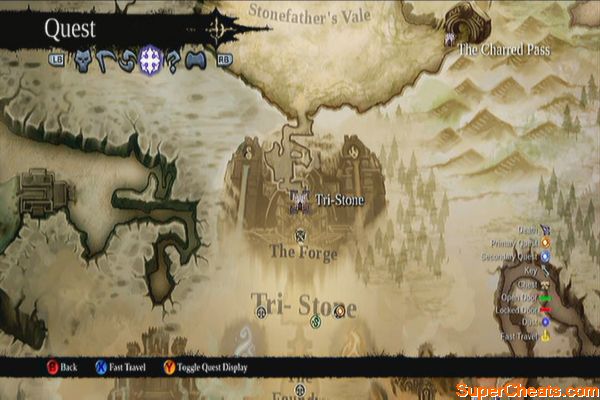
Before leaving, make sure to check the chest behind the statue to grab some random loot. Enter the passage afterward until you reach Tri-stone.
Tri-Stone
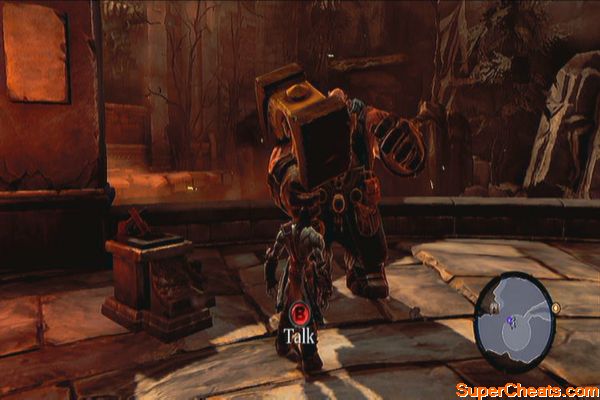
Once there, you'll find a large maker named Thane. Talk to him to get the Harvester Revenge move for free. You can buy the other moves later on but for now, prioritize getting good gears and replenishing your health potions while Death's level is still low.
 |
 |
(Sidequest: The Maker Warrior)
You have the option to challenge Thane but I suggest doing this later when you have better gears and higher level.
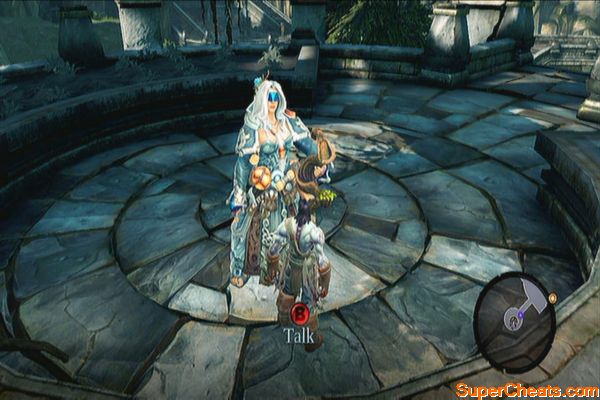
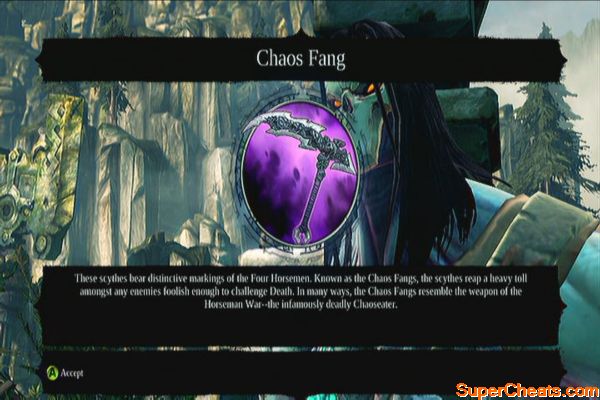
Head south then turn left to find a white-haired maker named Muria. You can buy potions from her and start a new sidequest. Keep talking to her then select the last option to get a free gear and weapon as well. The talismans she sells are also good but too expensive for you for now at this point.
 |
 |
Sidequest (Shaman's Craft)
You don't have to concern yourself too much regarding this quest for now. You'll come across these items while working on your main tasks and objectives. Refer to this guide's Sidequests section for more details.
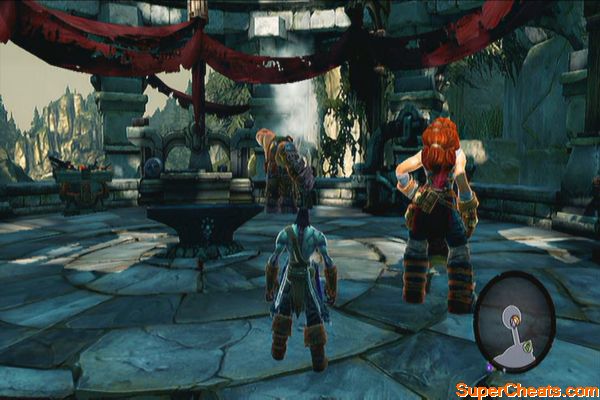
Next, head to the forge to the east and talk to Alya to update your quest objectives. After that, head back to Thane and talk to him. He will open the gate and it's now alright for you to venture forth.
 |
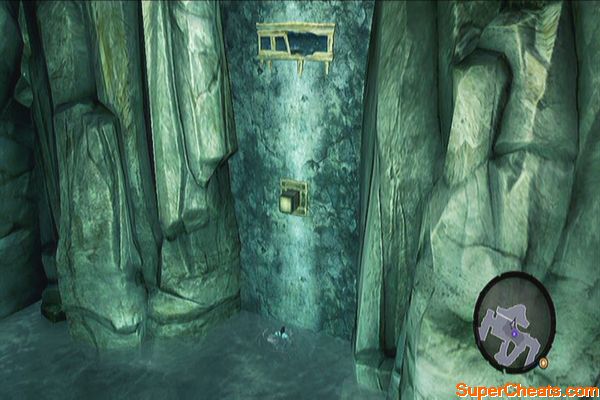
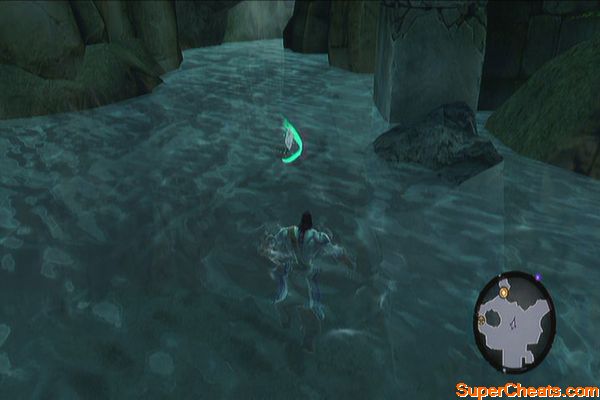
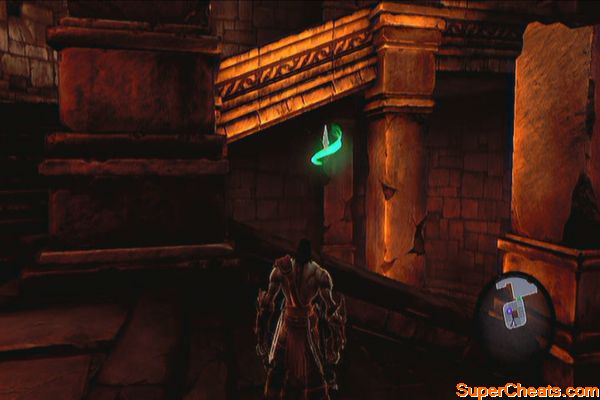
Dive to the water and collect the Boatman Coin underwater. Swim up and perform a wall-run on the vertical wall to reach the upper ledge and return to where you jumped off a short while ago.
 |
 |
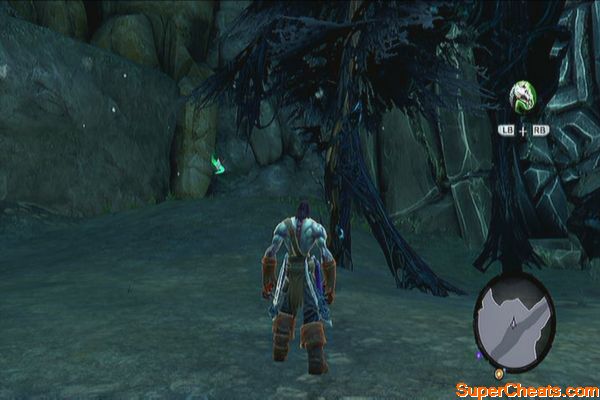
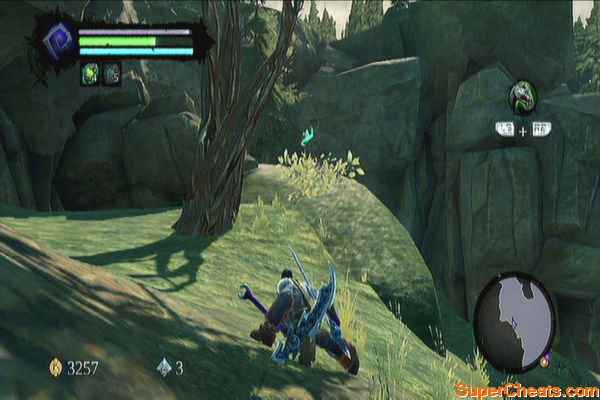
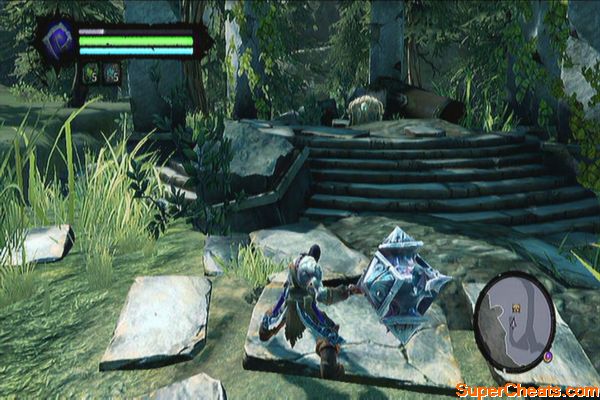
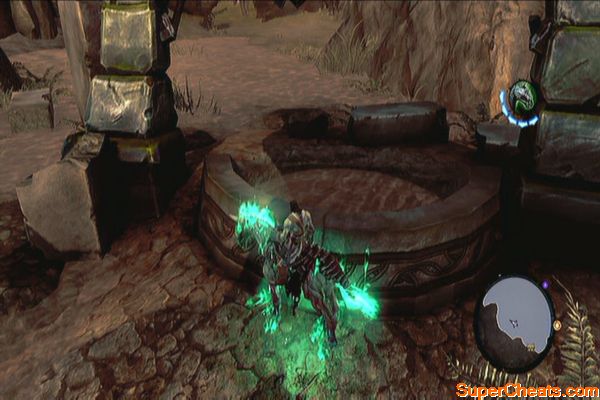
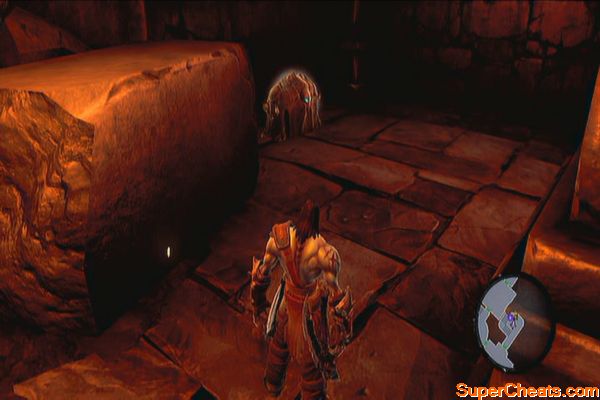
Go up the next ledge to the east and follow the trail to continue forth. You'll eventually reach an open field where you can summon Despair to explore. You need to head east to the Weeping Crag but you can find two valuable items here first.
Stonefather's Vale
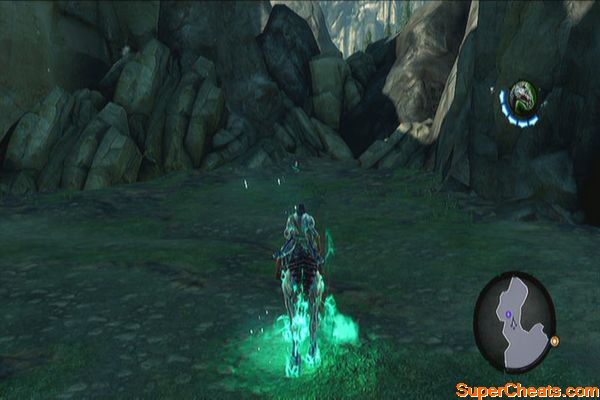
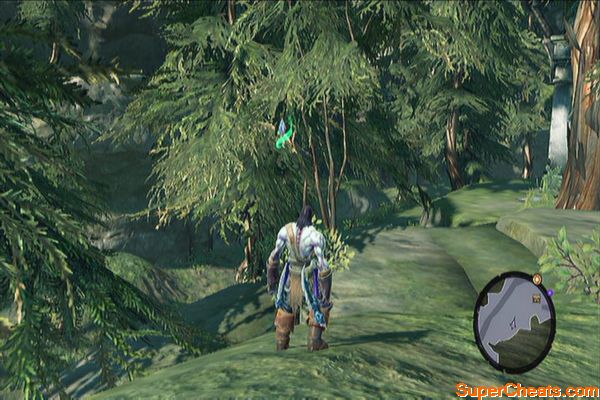
Ride west until you reach the gate. A Boatman Coin should be visible to the left of the gate. Next, ride to the northernmost tip of the Vale to find the first page of the Book of the Dead. Three Prowlers will appear after collecting the page so be prepared.
 |
 |
 |
Weeping Crag
Head west to the Weeping Crag and you should find another Boatman Coin in the water. You can explore this area only to a certain extent so aside from the boatman coin, I suggest leaving this area be for the meantime.
 |
Cross the bridge and follow the trail leading to the merchant symbol. Here you'll find Vulgrim, the demonic merchant. Here you can trade in your boatman coins and Book of the Dead pages. For now, sell your unwanted gear and move on until you reach Baneswood.
 |
Baneswood
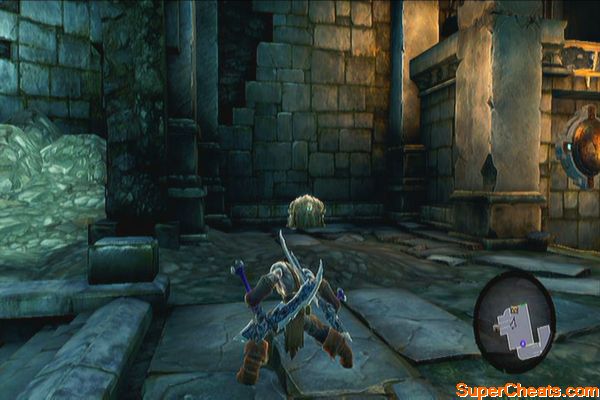
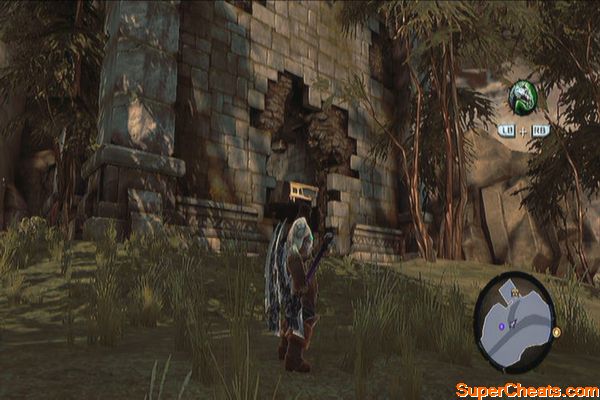
Upon entering the area, turn left and follow the path north to find a small ruin. Destroy the constructs then find a climbable wall inside. You should find a chest containing random loot on the top ledge.
 |
 |
Return to the main path and follow it. You should come across another chest right where the path splits. Turn back a bit and go to the lower left corner of the map. You should find a Boatman Coin there.
 |
 |
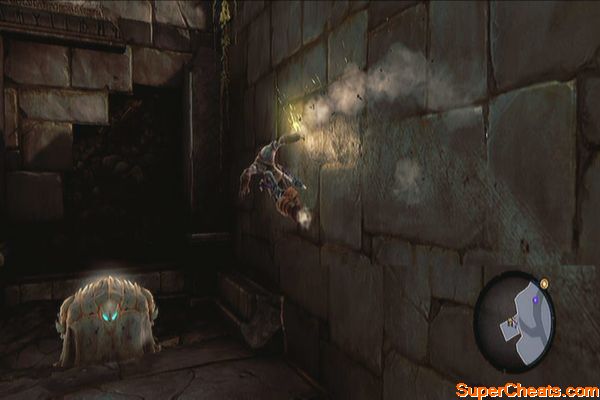
Now ride to the northeasternmost portion of the map to spot another ruin which has an exit that leads to The Nook. Head inside and destroy the barrels and urns after the stairs to find another Boatman Coin and a chest.
You can't do anything else for now so just take the loot and exit the ruins.
 |
 |
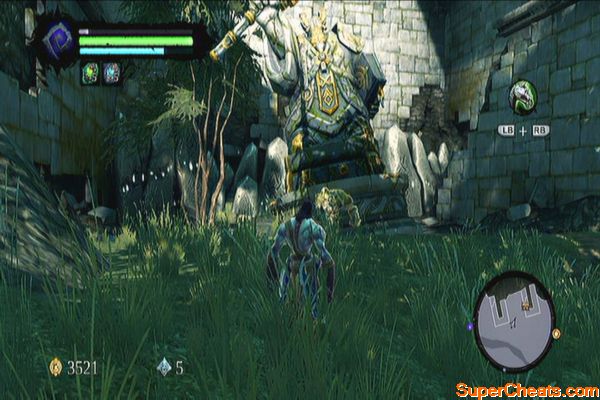
Now look for the square ruins in the map, in the center east to find a statue. There's a Book of the Dead page behind it.
 |
Now ride southeast to reach a trail. A treasure chest should be detected nearby follow the path until you find another uphill path leading to the ruins where it's located. There should be a floating Boatman Coin to the left so don't forget to grab it as well.
 |
 |
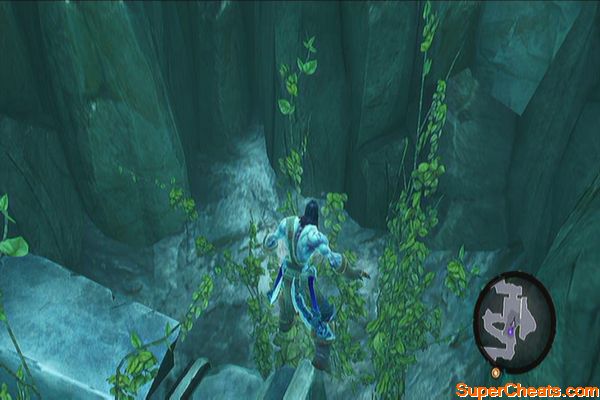
Continue along the path and you'll find another ruin shortly. Head inside and reach for the hand-hold by performing a back leap. Perform a couple of wall runs and you'll finally reach a post. Climb up then perform another wall run to reach the chest. Head out and follow the trail again until you reach the Charred Pass.
 |
 |
Charred Pass
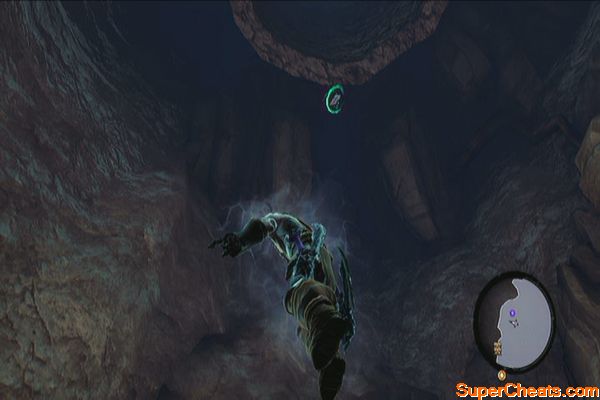
Once you enter the Charred Pass, check the hollow log to the east to find a Boatman Coin. Head west and dive down the well to find another Boatman Coin hiding behind the large pipe.
 |
 |
 |
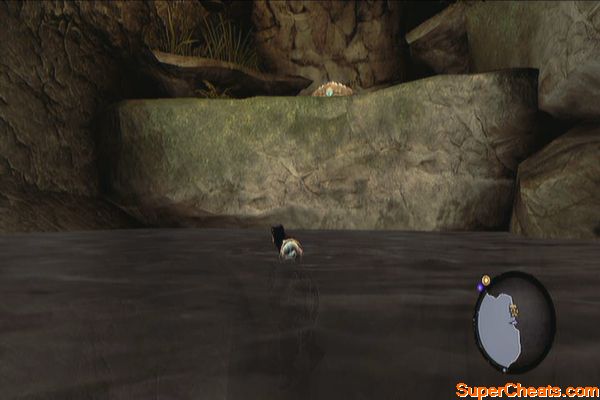
After getting the coin, swim west then up to find a chest up the ledge. Find a climbable wall behind then quickly back leap to grab the hanging post. Back leap again to reach the chest.
 |
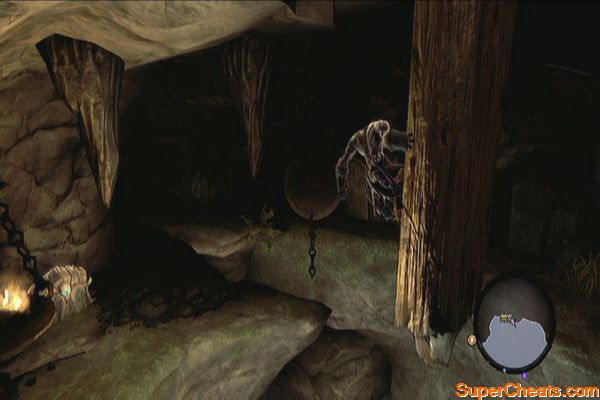 |
Backtrack to the well entrance and head west to find a chest up the hill. Don't bother exploring the ruins south (The Scar) as you don't have the necessary item to explore it fully yet. Instead, make your way southwest to the Cauldron. You'll eventually reach another small ruin here. Make your way to the upper ledge to find a chest. Continue to the Cauldron next.
 |
 |
Once you reached the Cauldron's entrance, you'll see a maker fighting some constructs. Join him and dispatch the enemy wave.
Helping Karm
After the battle, you can ask Karm about the “shaman's craft”. He will then inform you that you can get the Stalker's Bone from Stalkers inside the Cauldron. Choose the other conversation options to proceed with the story. After Karm brings down the drawbridge and before entering the dungeon, head to the right to find a chest. Enter the dungeon next.
 |
 |
The Cauldron
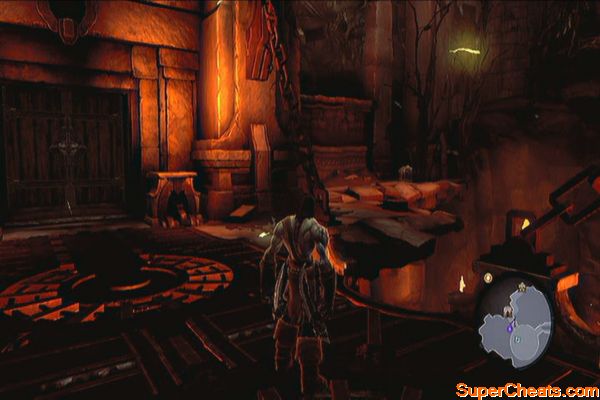
Start by operating the switch to the right to open the door to the next area. Head to the west and destroy the contructs. Loot the chest afterward.
 |
 |
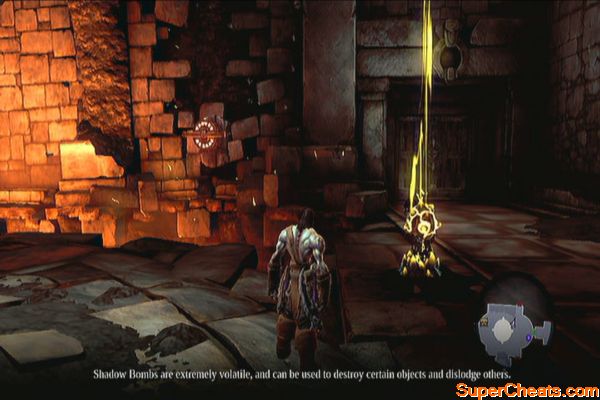
Next, head north and you should find a Shadowbomb. Quickly grab one, aim then throw one at the switch to open the northern door. Before entering the door, pick up a shadowbomb again then run towards the pair of yellow stone spikes and throw a bomb there. This will destroy the spikes and reveal a chest.
 |
 |
Take the only door north, ignore the purple locked door to the left then proceed north again. You'll find yourself in a fiery chamber. Before heading left, look down the ramp to find a Boatman Coin.
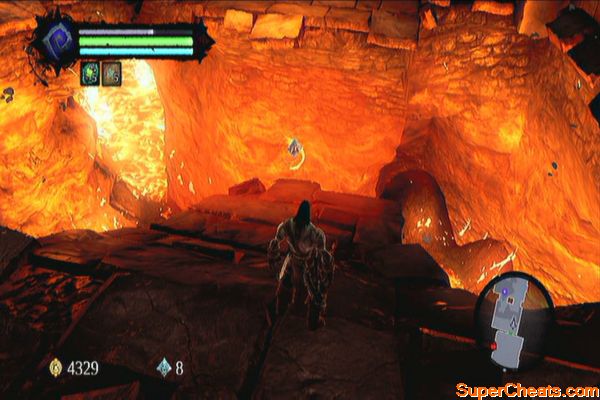 |
Use the hand-holds to the left then jump to the right. Head to the next portion of the chamber then look to the left to find a scalable wall with posts and wooden beams. Just use these to reach the shadowbomb pod in the middle. Once you do, grab a shadowbomb and throw it at the switch. Once the door is open, jump to the nearby floor and head north.
Lava-filled chamber
Defeat all enemies here to continue to the next door. Open the chest along the way to find the Dungeon Map.
 |
 |
Head west and you should find a Stalker surrounded by constructs. Join in and make sure to attack the Stalker first as it's hardy enough. Once defeated, it will drop the Stalker's Bone quest item.
Hunting Stalker-san
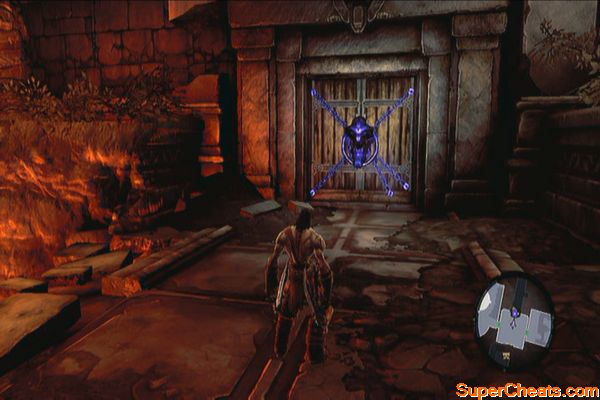
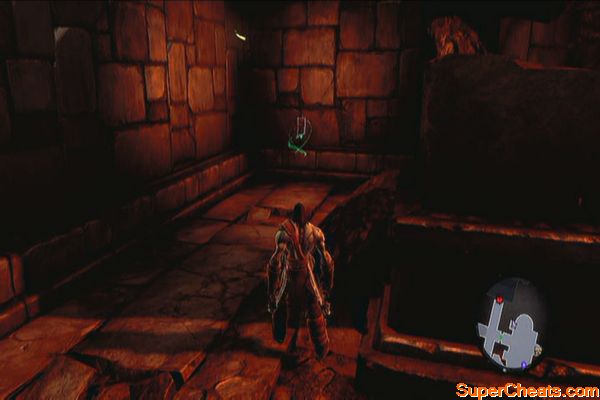
Clear the area then head to the west to open the chest. It contains a Skeleton Key. Destroy the objects in the arena to get some loot. One of them also contains a Boatman Coin. Do a wall-run to the south then make your way back to where the purple door was. Refer to the map and look for the green lock and key icon.
 |
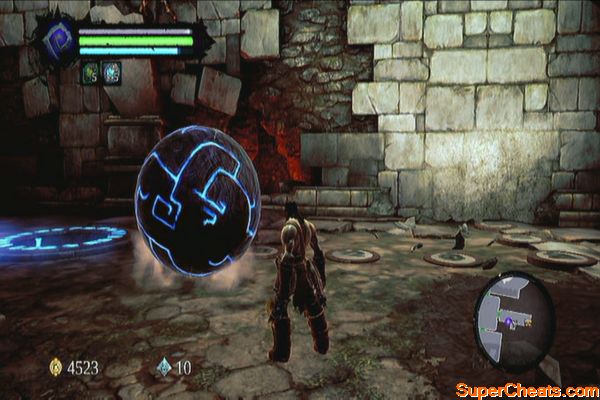
In the next room, find the blue ball and roll it towards the hole. A peg will be revealed on the wall. Wall-run and keep holding on the hand-hold. Press the focus key then jump to reach the floating Boatman Coin.
 |
 |
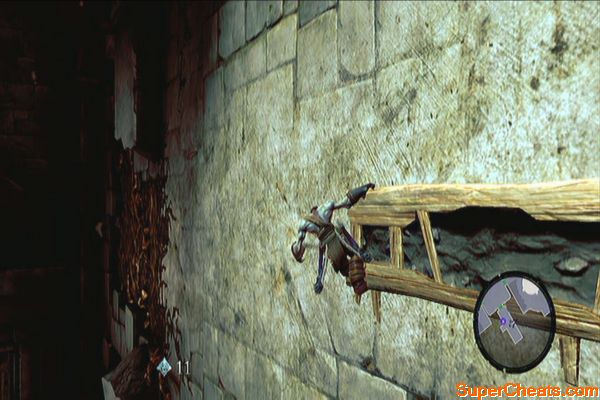
Wall-run again, grab the hand-hold then wall-run to the right to reach the upper ledge and to find another chest behind the statue. Do the same thing this time and wall-run to the left to grab hold of the vine wall. Follow it to reach the Cauldron's next floor.
 |
 |
Follow the path and you should find a chest to the right. Loot it and destroy the objects nearby for some minor loot and gold as well. After looting it, proceed to the end of the path, wall-run then before going left, focus to look back then jump to grab onto another ledge, containing a chest.
 |
Grab hold of the hand-hold then keep heading left this time until you find a vine wall to grab unto. Climb / drop down from the vine wall and activate the switch ahead. Enter the new area then open the door to the large chamber.
 |
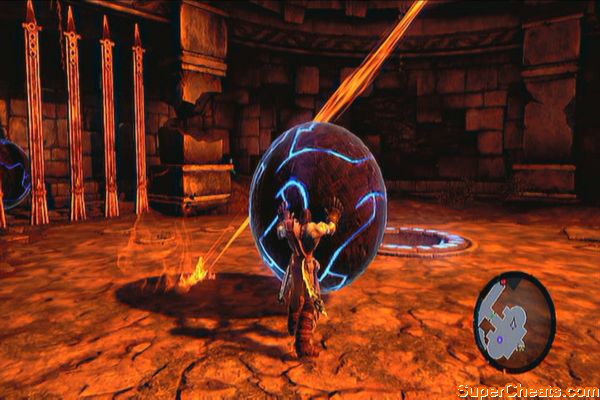
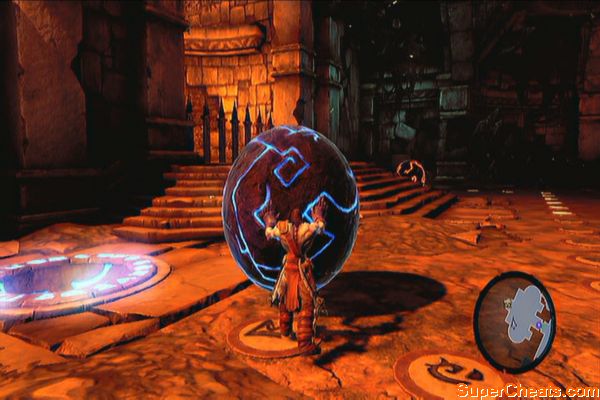
Inside the room, find the shadowbomb pod, grab one and throw it to the yellow crystals. This should free the blue orb. Push it to the farthest hole down south (of the map) so that it frees up another locked blue ball. Don't forget to grab the Book of the Dead page 3, near the second ball's location.
 |
 |
 |
Now, move the second ball to one of the slots near the stairs. Dislodge the other ball by throwing a shadowbomb at it, then place it on another hole. This should bring down the iron gates and open the chest containing another Skeleton Key.
 |
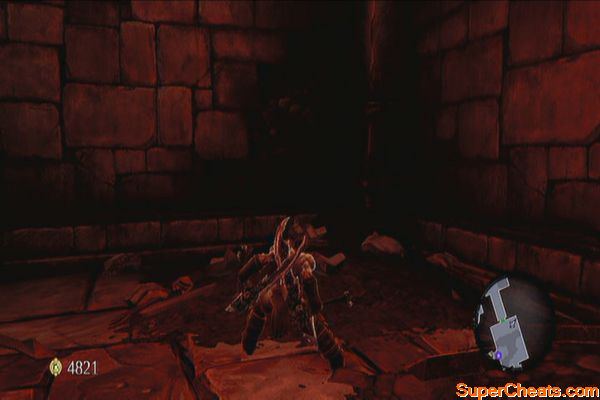
Exit the hall then follow the corridor south to the locked door. Enter the next chamber then immediately turn left to find some destructible objects. Destroy them for another Boatman Coin.
 |
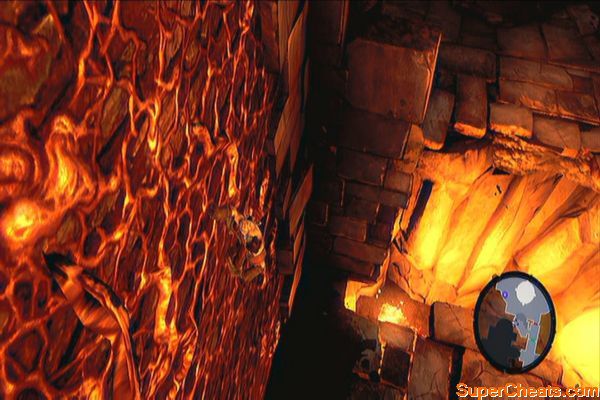
You only have limited time after pushing the switch to quickly get across the area using the cauldron before it lowers back to the lava. Watch the video below for more details.
On the way to the boss chamber
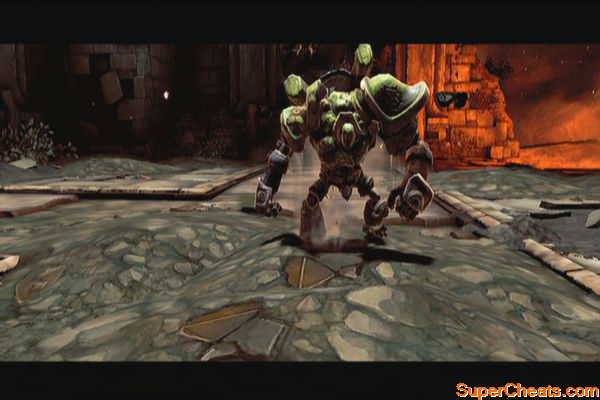
Once you've reached the next chamber, a large construct will burst out from the wall and attack you.
Boss: Gharn
This is a practically easy battle. Focus on him then wait for him to charge. After evading, counterattack quickly and even use Teleport Slash to cancel his normal attacks and deal damage. After dealing enough damage, Gharn will fall down to its knees. Use this time to dish out as much damage as you can, preferably with a heavy weapon. Once you see it recover, evade as far as possible before it erupts and damages you. Repeat the process until it's defeated.
The giant construct
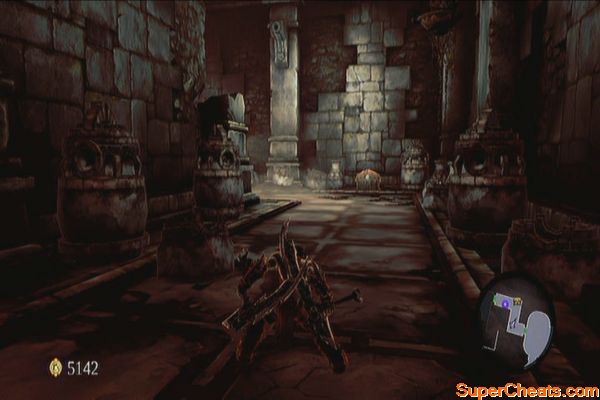
Continue to the next passage and destroy the clutter along the way. Open the chest as well then proceed to the next balcony. You should see a large turning lever. Before interacting with it, destroy the objects in the northwest corner of this area to find another Book of the Dead page (4). Loot the nearby chest as well then push the lever to complete your task in this area.
 |
 |
 |
Follow the staircase to find another floating Boatman Coin (13) in the middle. Claim it then open the chest on the lower ground as well. Leave the area afterward.
 |
 |
Once you're outside, talk to Karm and select the Mordant Dew option to update the Shaman's Craft sidequest. Open your map, select Tri-Stone and fast travel there.
 |
 |
Talk to Alya to complete the quest. You'll also receive Redemption and she'll allow you to trade goods with her.
 |
No comments yet. Tell us what you think to be the first.