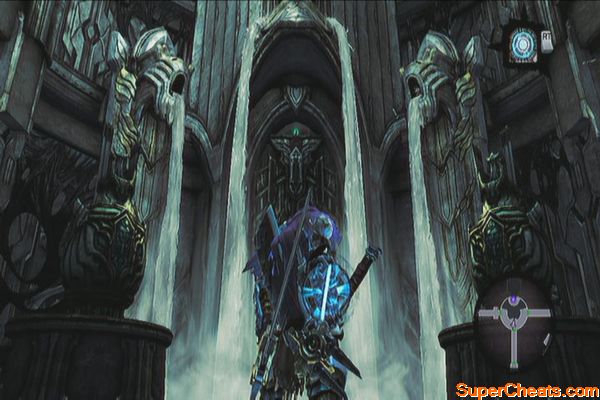
Stains of Heresy
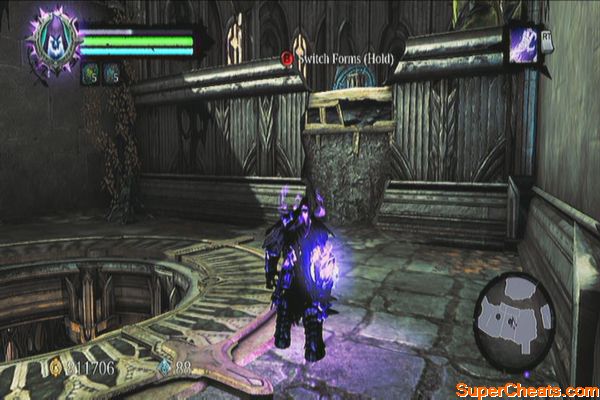
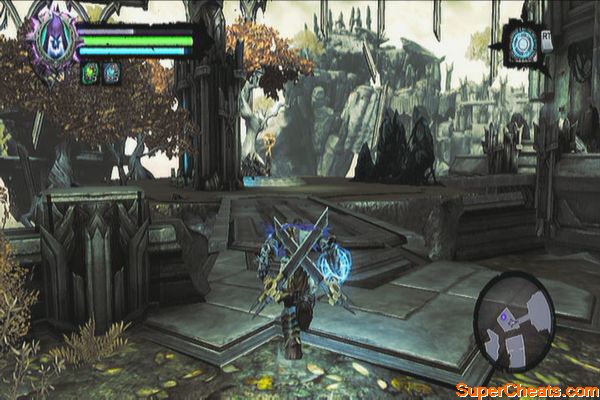
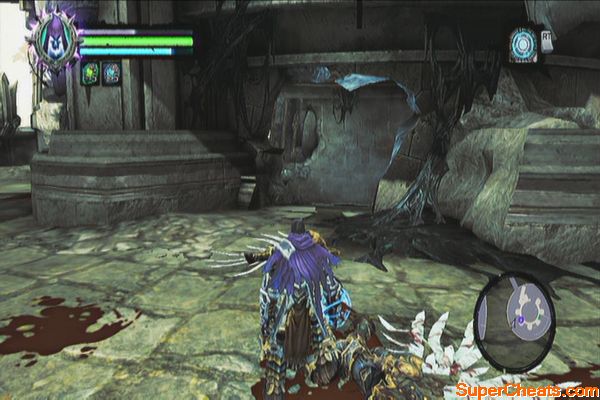
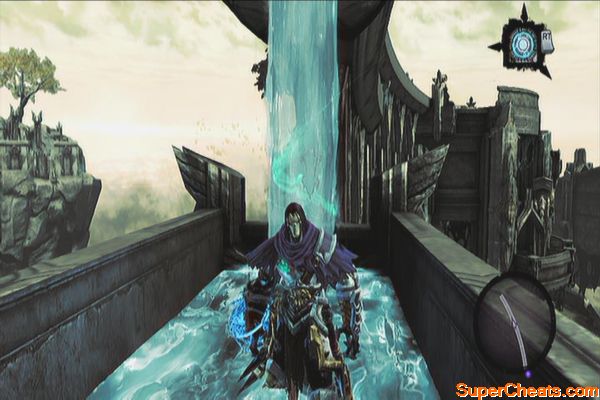
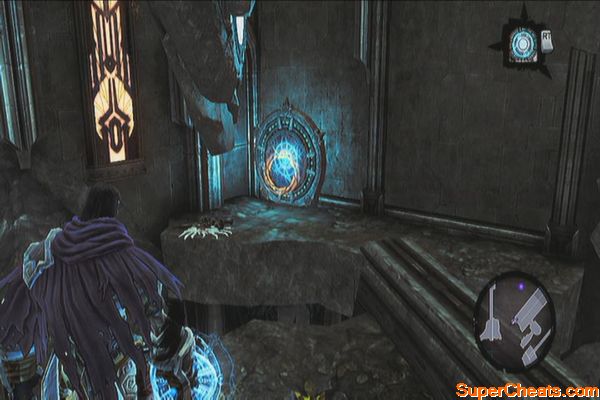
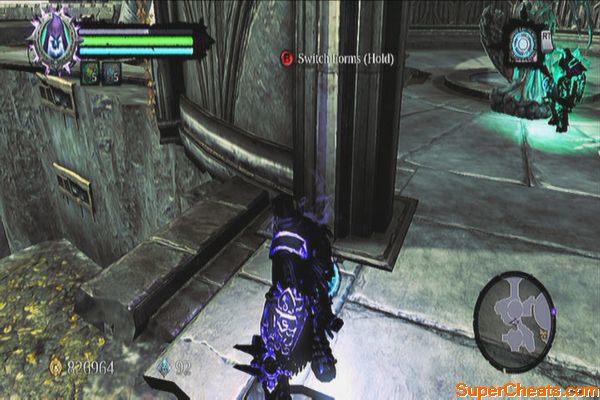
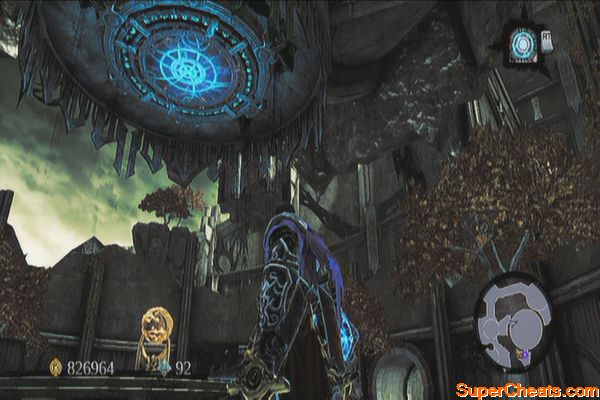
After landing, enter the building. Avoid the murky ooze as it will drain your health significantly. Climb the wall to reach the upper floor. Spin the lever there to lower the glowing pedestal. This will trigger the other pedestal in the lower floor, cleansing the corruption. Jump down and enter the next door.
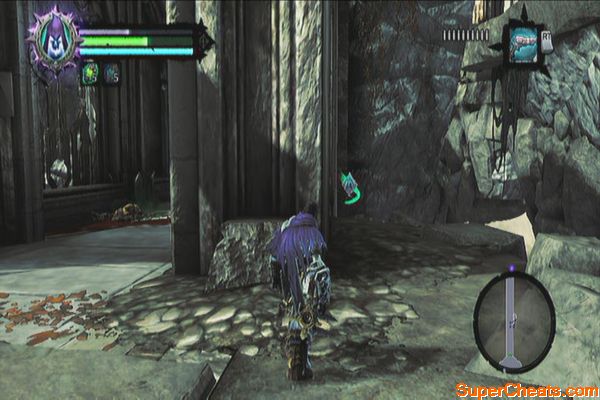
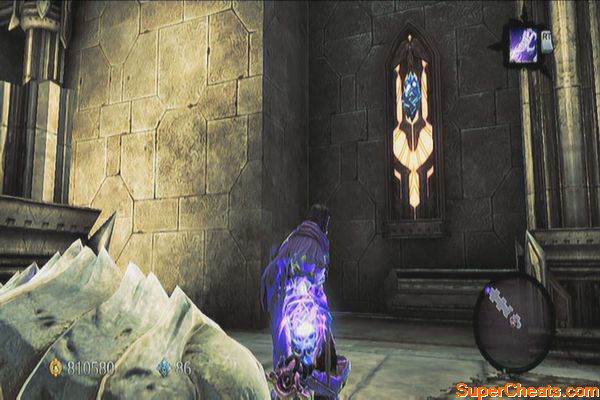
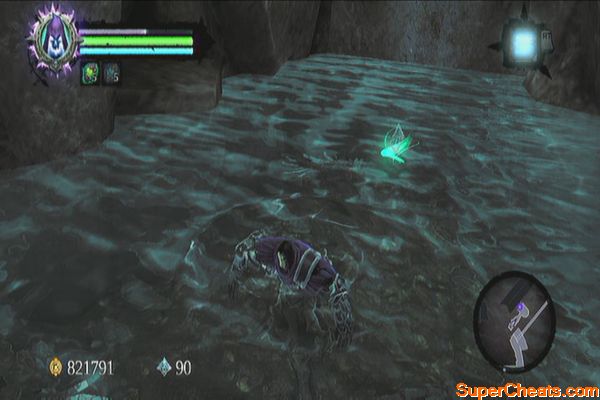
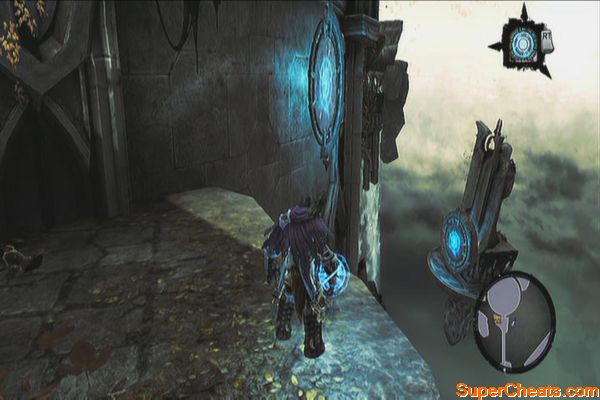
Follow the path then check the nook to the right to find a Boatman Coin. There's a climbable wall nearby but just ignore it for now since it is blocked by a crystal. Return to the main path and head to the north, past a gap.
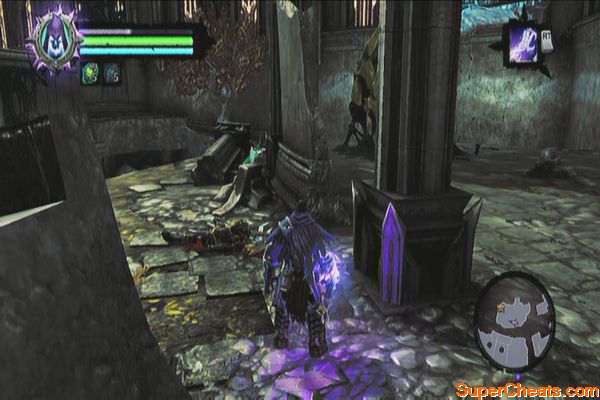
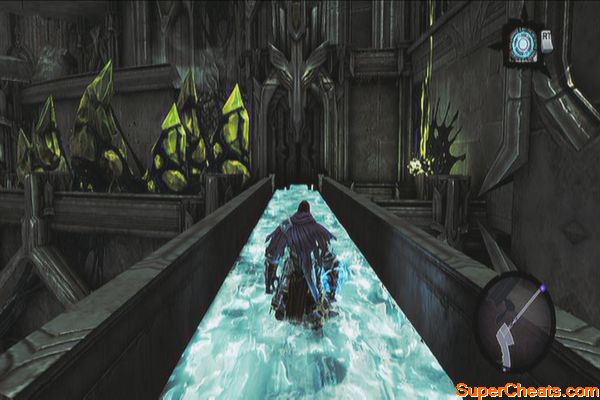
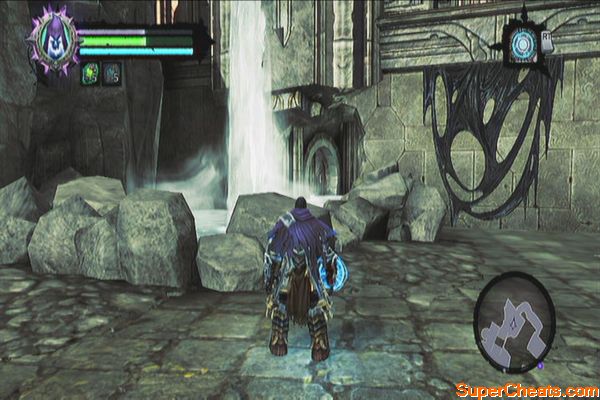
Continue until you reach a room with three doors and some murky waterfalls. Enter the door to the east and follow the corridor outside. Loot the chest beside the stairs to the south then go upstairs to find a passage. Continue to the end of the passage then scale the wall.
Before moving forth, wall-run to the wall behind you to find a chest and a Stone of Mystic. Cross the gap again then follow the hallway to reach outside. Cross the gap by using the deathgrip.
Defeat the enemies then get the Boatman Coin to the east, behind a broken wall. Before wall-running to the northeast, drop down the hand-hold to loot the chest containing the Dungeon Map. Climb back up and wall-run to the next ledge.
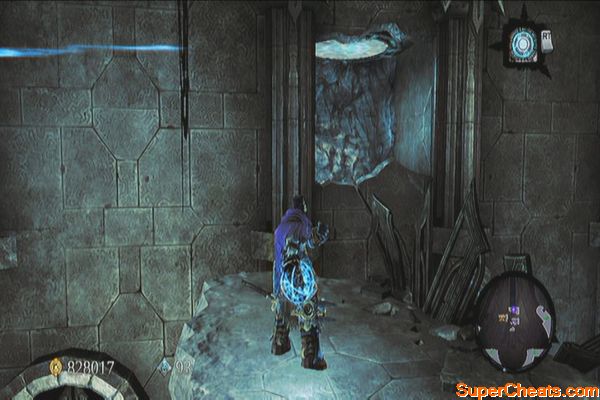
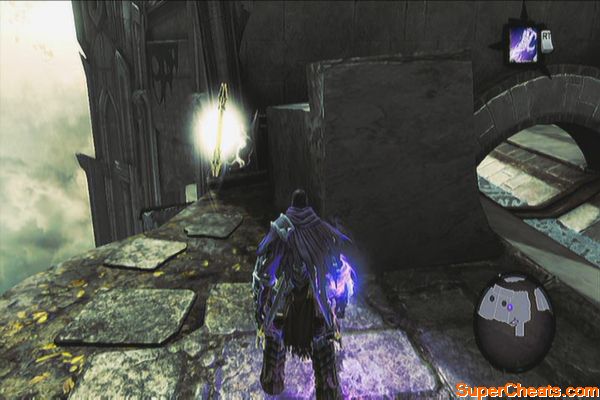
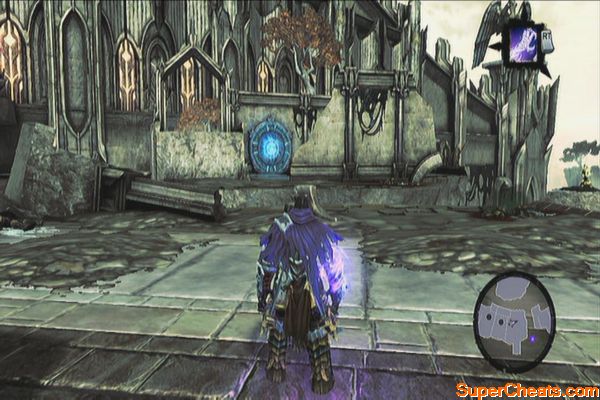
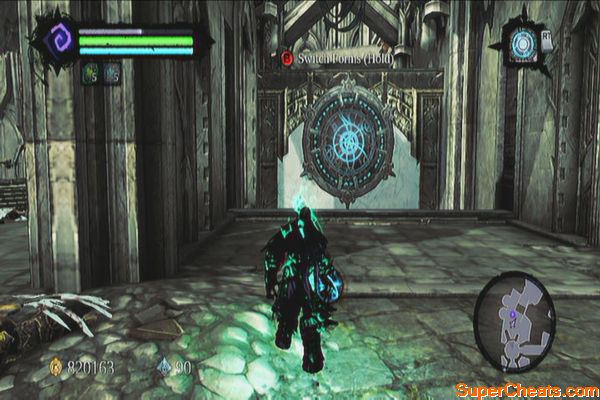
After reaching the other side, check the west corner to find another Boatman Coin. Next, stand on the large circle then soul-split there. Have one soul step on the smaller circle nearby to open the canal gate. Go through the gate then turn left. Don't fall down the hole but instead, climb the low lying hand-hold to find another small plate you can step on. This will open up the large circle and make Death's physical form fall down.
Return to your physical form and climb up the wall. Climb another low hand-hold to the east again then grab the shadowbomb on the island to the southeast. Blow the crystals to the south and to the northwest ledge. Before continuing south, backtrack to the western section where the second pressure plate is then climb the hand-hold to the north again. You should see a lever here, after clearing the crystals.
Pull the lever then drop down. Follow the canal to the southeast and you should find a unique weapon called the Goldbringer around the debris.
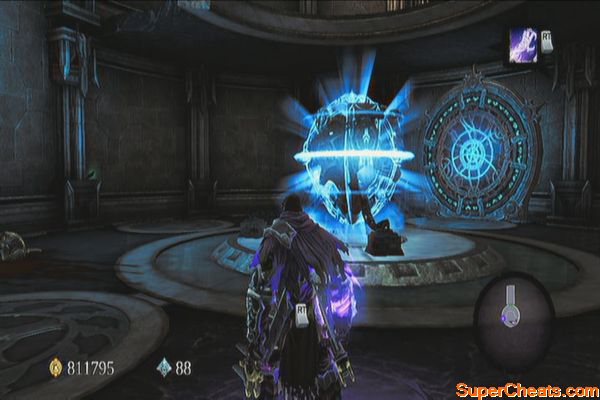
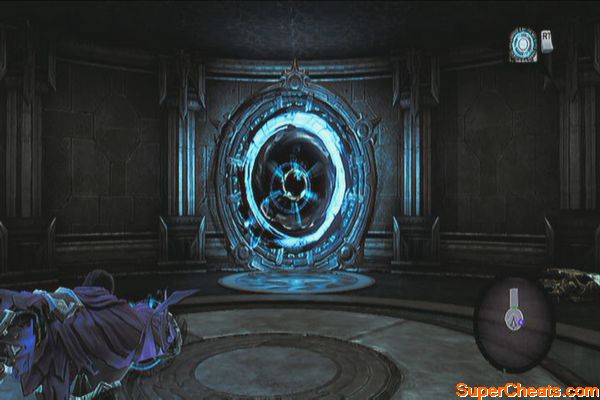
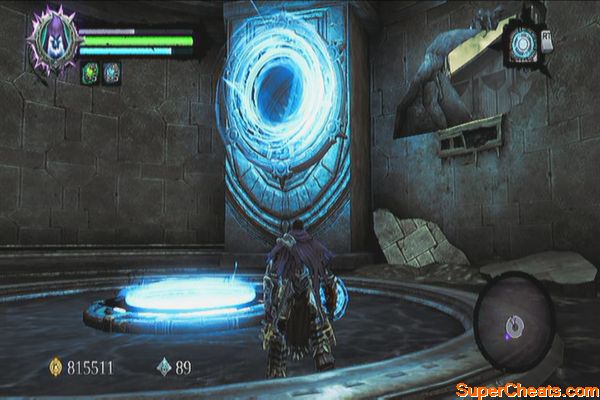
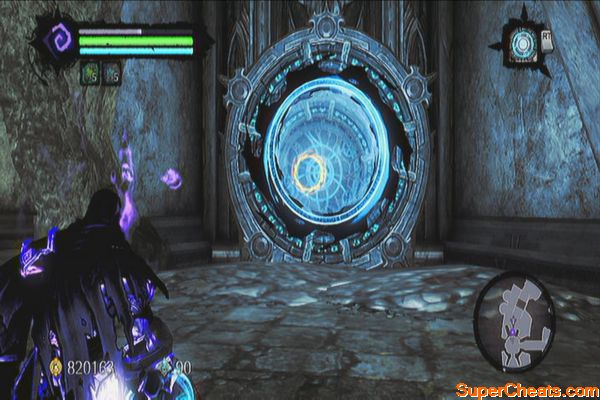
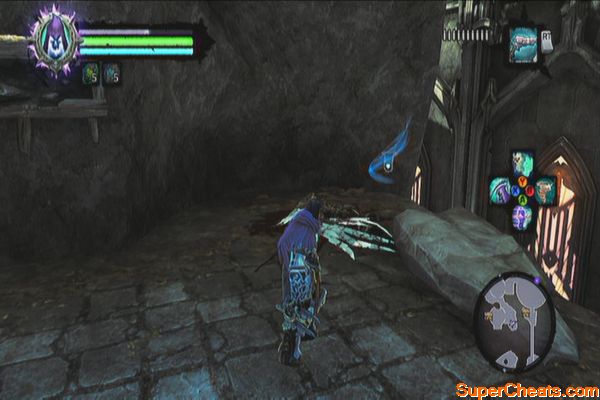
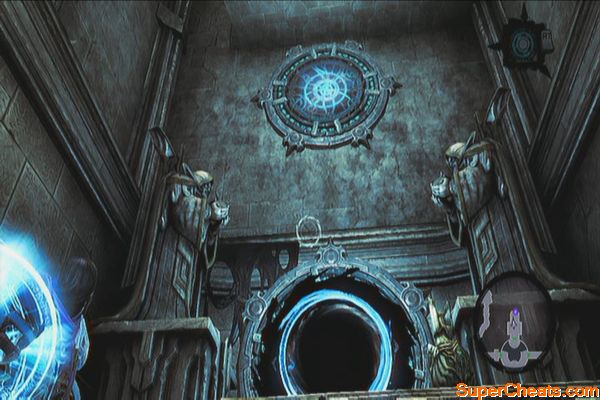
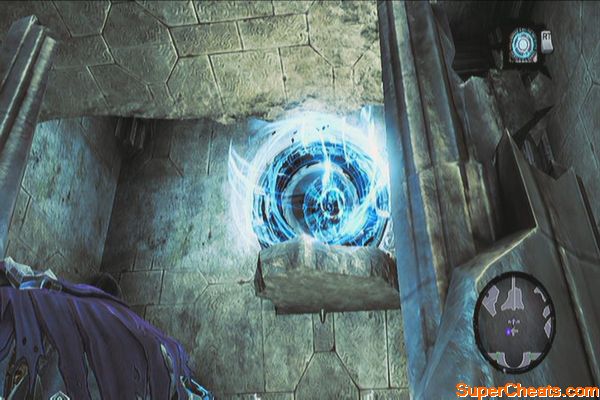
After getting the weapon, backtrack to the where the southern crystals are then swing across the gap. Enter the next room and drop down to the lower floor. Attack the floating statue there to obtain the Voidwalker. Now shoot the two portals so you can reach the upper ledge.
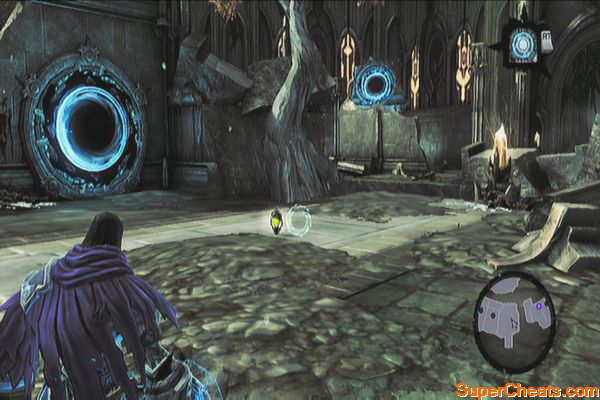
Exit the room then swing back to the previous island. Now activate the portal nearby, then the inclined overhead portal to the far northwest. Now don't go in but rather, grab a shadowbomb and throw it through the portal. This should take out the crystals in the other island.
Enter the portal and claim your loot. After getting the chest's contents, return to the southern island and activate the portal to the far east. Go through the portal then go around the wall to find a lever. Pull it then continue down the pit. Loot to the chest to the southeast, activate the portal to the northwest then release a charged bolt to the northeast portal. Enter the portal to the northwest to launch yourself in the air.
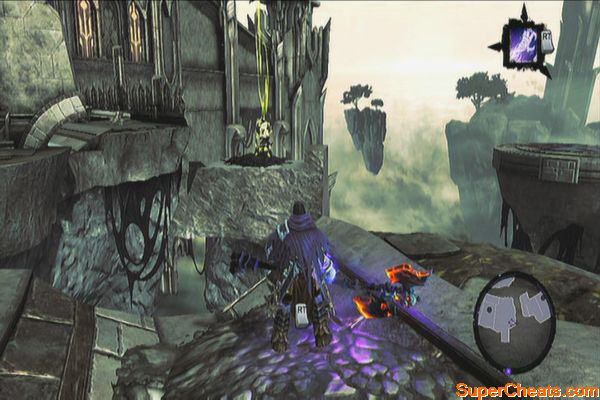
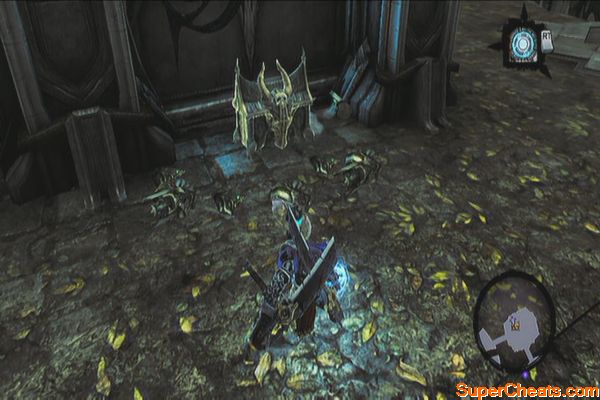
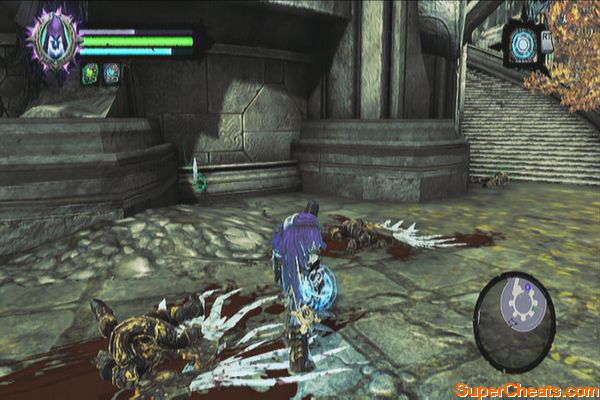
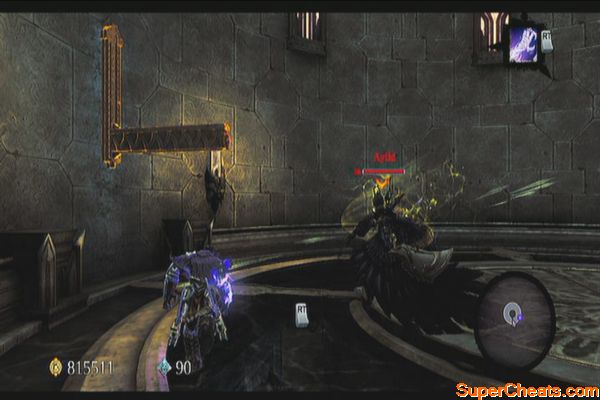
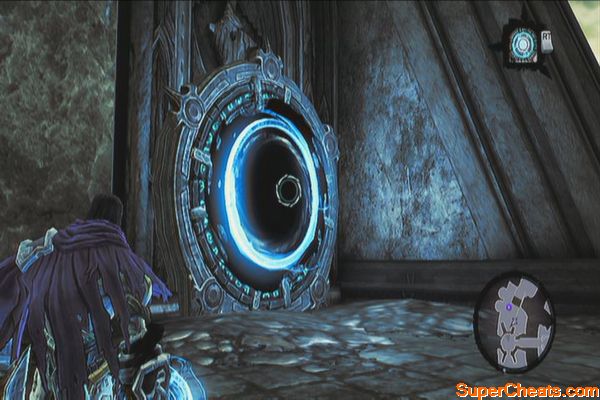
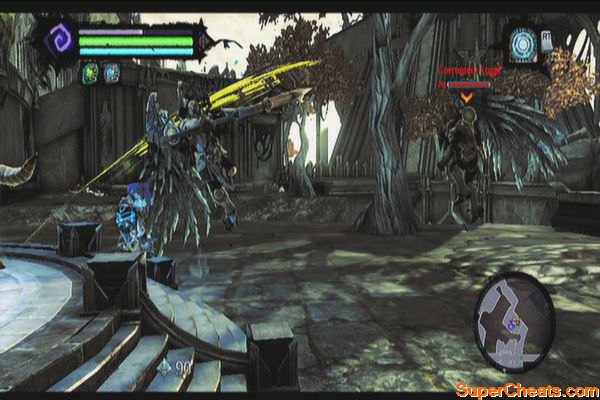
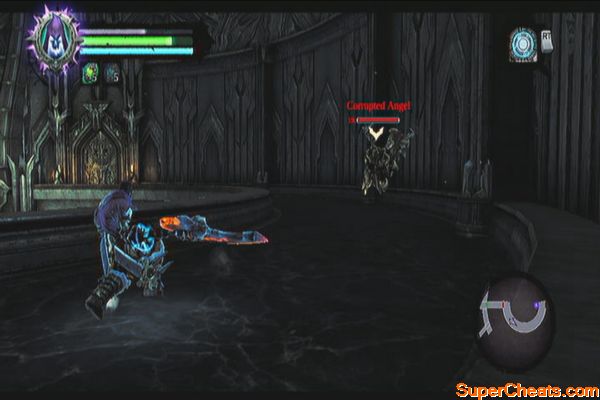
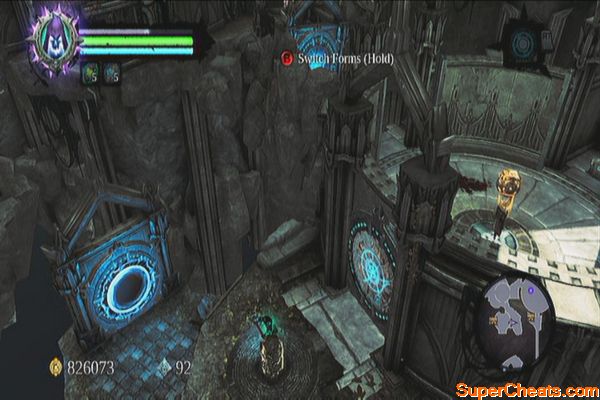
After landing, cross the grap with the help of deathgrip. Continue to the next area where you'll have to face a new type of corrupted angel: the Ayfid. Get rid of them to unbar the door then continue forth. Activate the portals to reach the next island to the north.
The Corrupted
Cross the bridge east to find a fire pedestal. Defeat more corrupted angels there then get the Boatman Coin to the northeast. Destroy the objects behind the portal beside the pedestal to reveal a secret chest as well.
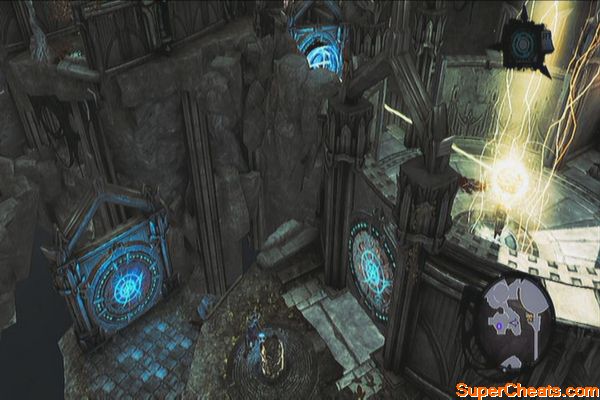
Now activate the portal near the pedestal and do the same thing to the other portal to the far southwest, near another pedestal. The two should activate and melt the black crystals blocking the path.
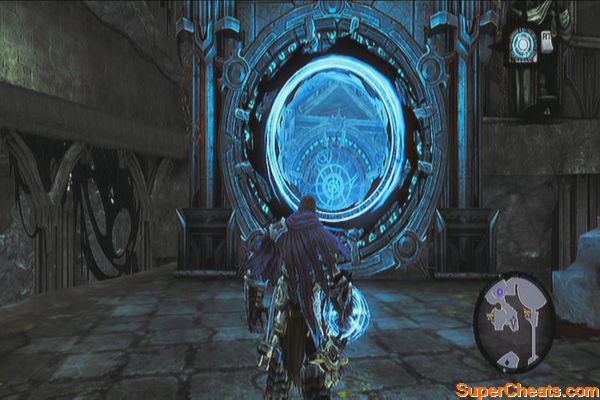
Cross the bridge and encircle around the tower counter-clockwise. You should find a hole to the left leading to a chamber with two portals. Activate a normal portal on the ground then activate a charged portal on the wall. Exit the chamber and proceed to the stairs.
Before reaching the stairs, you should find a Boatman Coin and a Stone of Mystics above the first arc of the stairs. Continue upstairs and enter the main room.
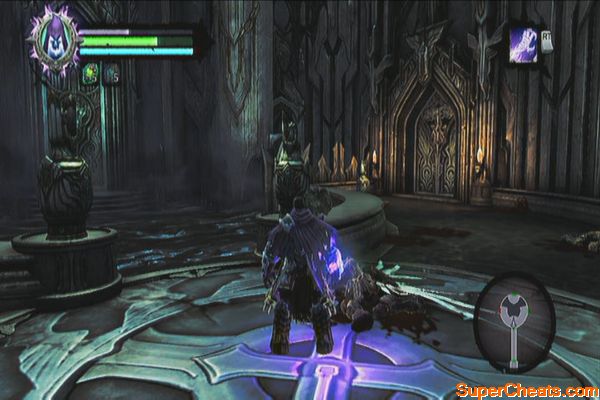
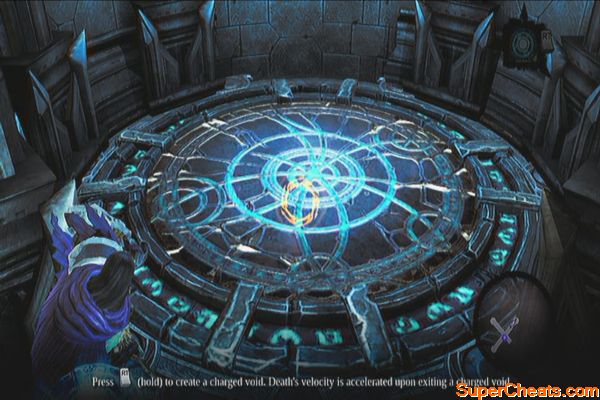
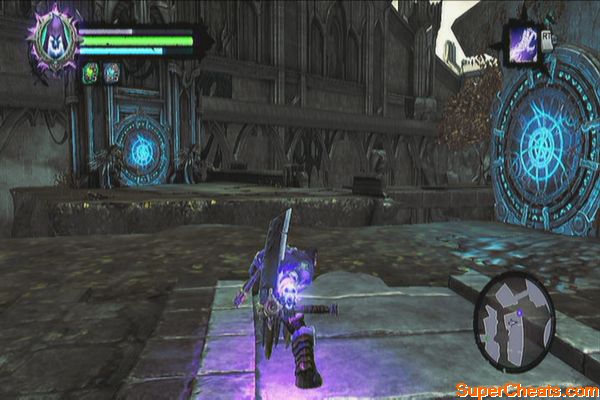
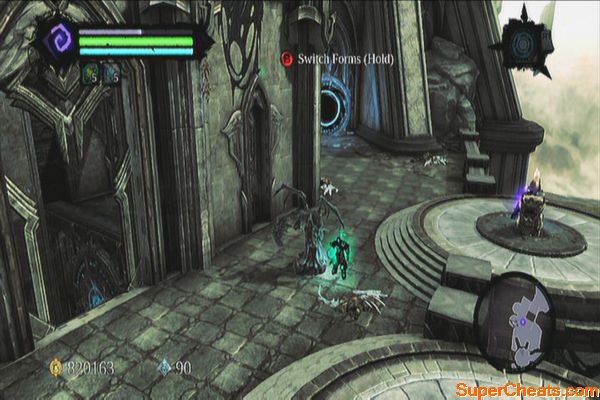
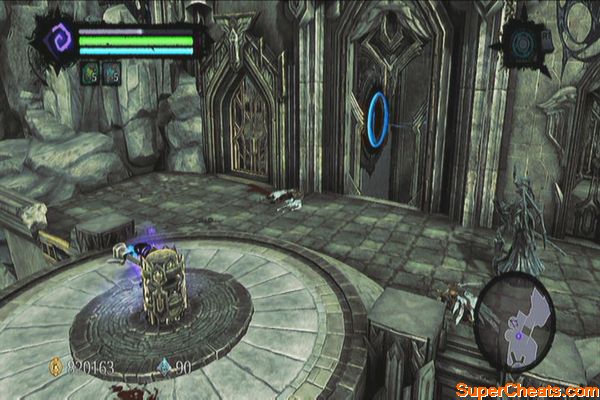
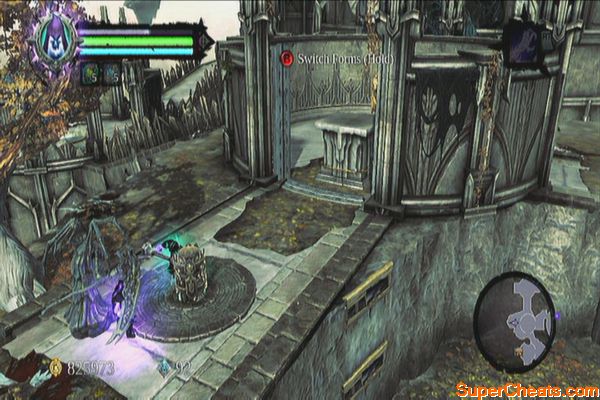
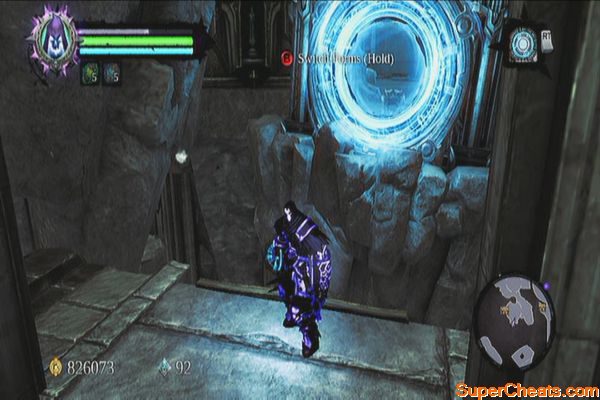
Defeat the enemies there and stand in the middle plate. Soul-split then have both souls trigger the pressure bars. If you followed the instructions earlier, your stone form should fall down the portals and the charged portal should shoot you to the gates, opening it. Scale the wall until you reach the topmost level.
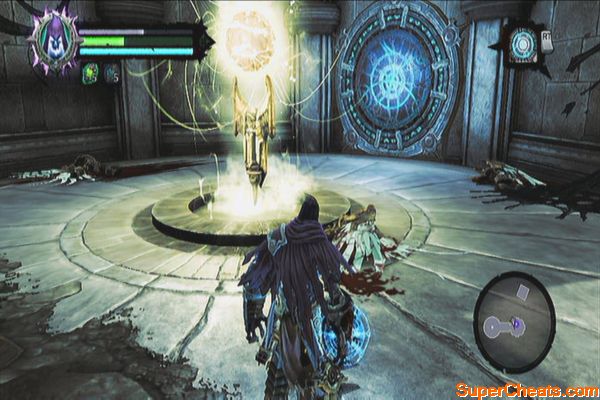
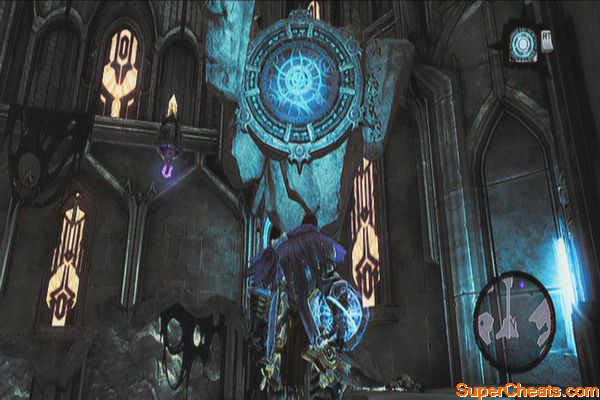
Once there, activate the portal then peek over the tower to activate the other portal near a fire pedestal. This should activate the pedestal on the tower, cleaning the murk.
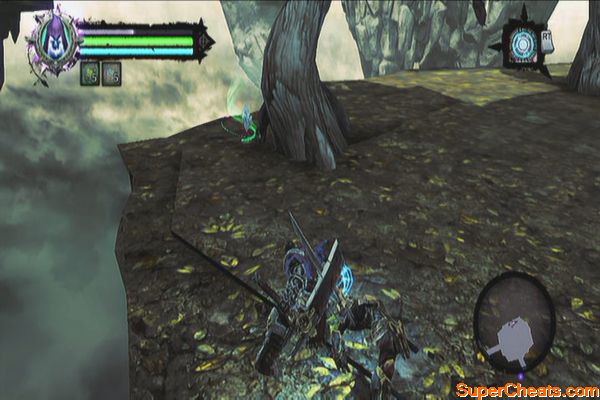
Follow the aqueduct and after the second fall, turn around to find a Relic of Renagoth. Follow the aqueduct until you reach a shadowbomb pod and some crystals. Blow them up then climb the nearby growth. Enter the next door to the west this time.
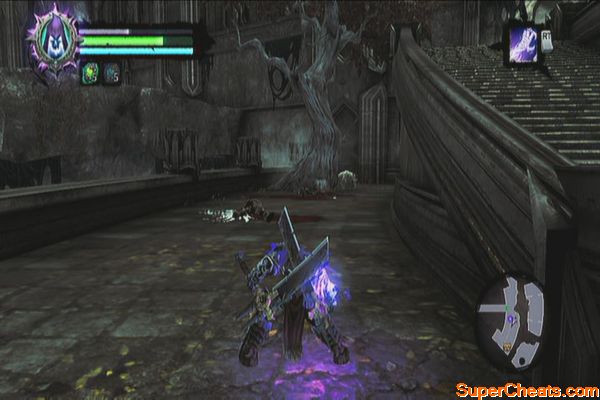
Get past the arc hallway to reach the next area to the west. Head west for now towards the locked door. Before reaching the long flight of stairs, jump to the north to find a chest below. Climb back up then drop down to the southernmost ledge afterward.
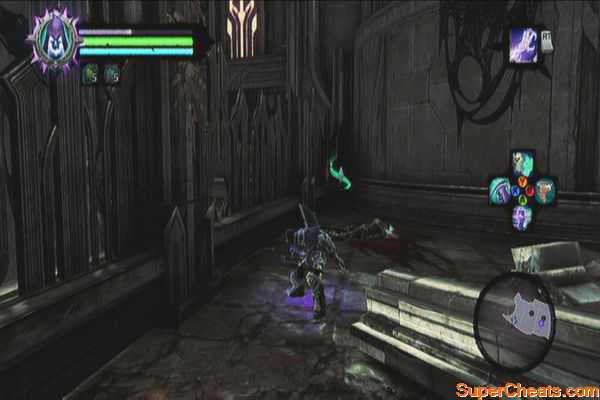
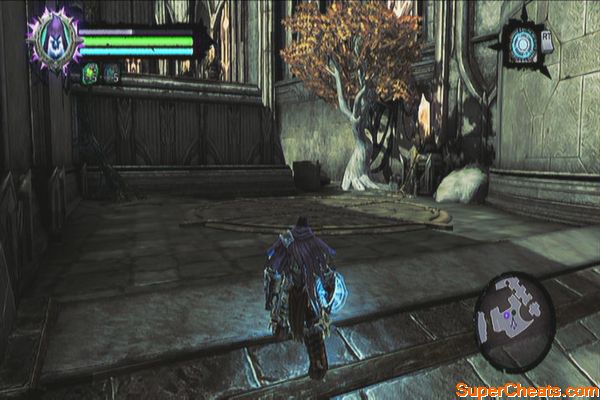
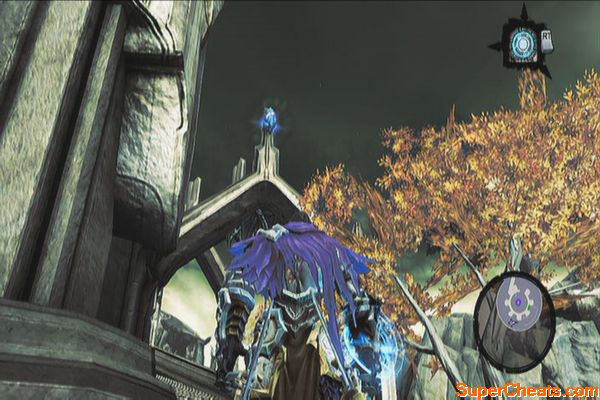
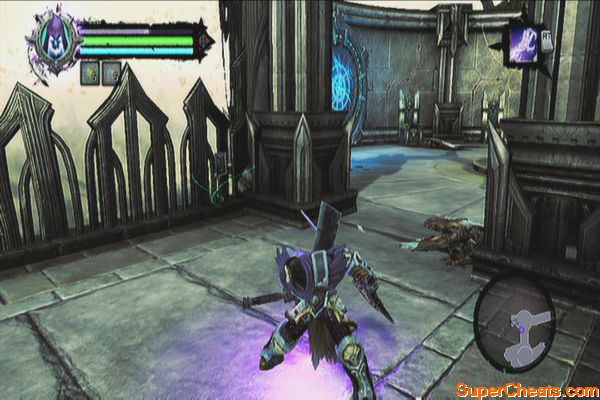
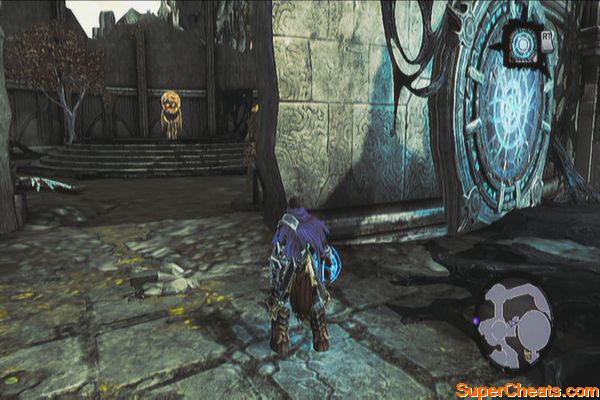
Continue forth to defeat Corrupted Champions and some angels. The path should be clear after their defeat. Continue to the north then turn west to reach the western tower. From there, check around to the left to find a Book of the Dead page there.
Corrupted Champion
Backtrack then drop down the hole on the floor then head outside, ignoring the fire pedestal and the portal for now. Defeat three enemies outside then swing to the hand-hold on the wall. Perform an extended wall-run until you reach the last hand-hold. Climb up the wall to reach the upper ledge.
Head to the southeast to find a push-switch. Before activating it, grab the Relic of Renagoth in the corner across it. Activate switch afterward so you can concentrate on solving the portal puzzle.
First activate the portal near the gate and switch. Backtrack to the turn-levers and soul-split there. Have one soul turn the upper right lever then switch. Lead the other soul on top of the lowered portal platform then activate the other one there.
Get off the platform and switch to the soul holding the lever. Release it then fire a charged shot to the portal near the switch. This will allow the charged shot to pass through and activate the other portal. Now return to the other turn-lever and turn it to lower the portal platform to the left. Hold it then switch to your other soul and return to the portal near the gate/ switch to activate it again. Go through the portal and you'll be launched to the next area. Pull the lever behind you to lower the gate so your physical form can pass through.
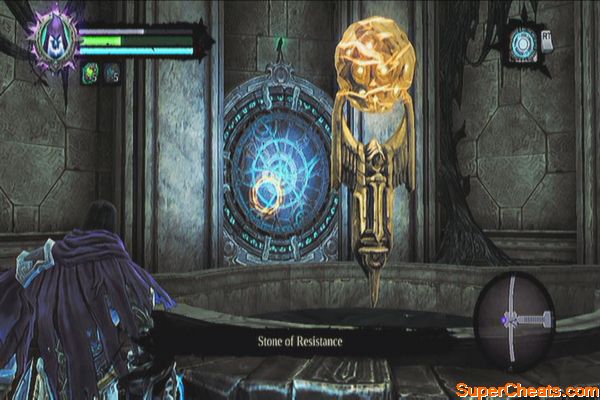
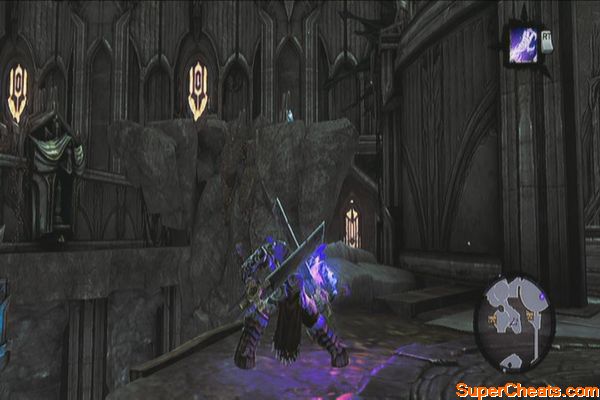
Continue forth then wall-run to reach the next area. Defeat the angels then open the chest to get the skeleton key. Climb the wall to the east then use the shadowbomb to destroy the crystals. Head to the locked door and unlock it to enter the west tower. Once inside, look up to the right to find a Stone of Resistance.
Activate the portal behind the pedestal then go through it. Now go through the gate to the south then drop down the hole in the wall so you can activate the second pedestal there. You can then pass through that portal to return to the newly cleaned aqueduct.
Follow the aqueduct south then swing to the next platform with the chest. Follow the dry aqueduct until you reach the eastern wall. Scale it BUT don't enter the door yet. Head back to the tower this time and follow the water-filled canal to the north. After dropping, turn around to find a Relic of Etu-Goth.
After jumping to the pool to the northeast, jump down to find another waterfall and a water-filled cavern. Enter it to find a GnoMAD's Gnome. Now backtrack to the top east door to proceed.
Follow the corridor until you're back in the main hall where there are multiple waterfalls you've cleansed so far. Continue along the balcony and defeat all the corrupted angels. Before entering the door, shoot the Stone of Power on the statue's chest.
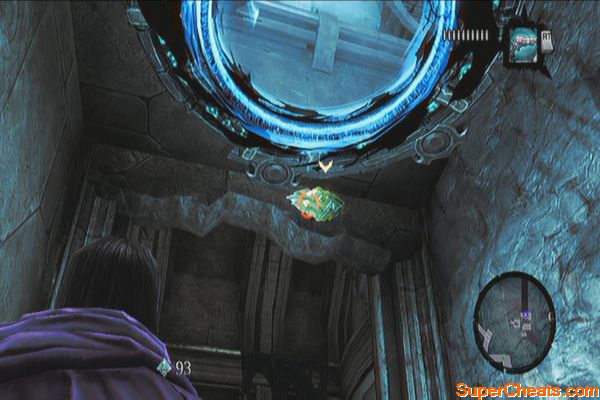
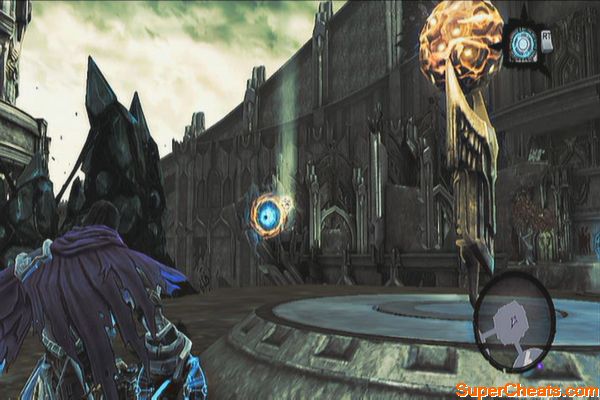
Continue outside then enter the next door. Fall down to the water below and turn around to find a Boatman Coin. Follow the path next to reach the walkway outside. Head to the northeast to find a chest along the way. Continue forth until you reach the edge of the walkway. Before swinging using the deathgrip hoops, shoot the two portals on both walls then swing to reach the ledge.
Now look above to find an unpowered portal. Power it up using a charged shot then enter the portal so you can wall-run to the next ledge. Get the Boatman Coin in the corner as well.
Now look to the northeast and you'll find two more portals; activate the one on the wall with an ordinary shot while use a charged shot on the portal on the floating platform. Wall-run to the portal and you'll be launched towards a wall where you can reach another area.
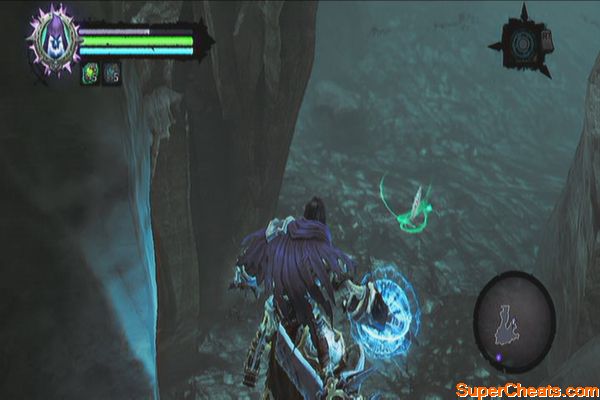
Head to the arena to fight the teleporting demons you encountered earlier called Sycophant. These are very agile creatures so you'll have to rely on your deathgrip to pull them towards you. Be wary of their lightning attacks which are usually followed up by a combo.
Fast little lightning devils
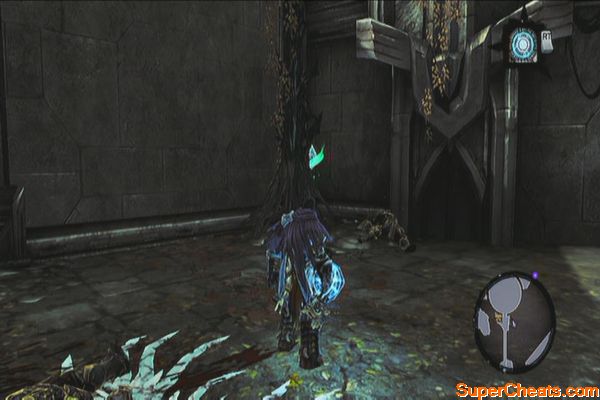
Clear the room of clutter to collect random stuff then exit. Follow the path until you reach another fire orb and portal. Go past it for the meantime and head west, to the dead end. You should find a Book of the Dead page there.
Head south to find a crank. Soul-split here then and turn the crank so you can reveal the opening of the area ahead. Switch to the other soul and pull the stone block out of the enclosed area. Return to physical form, then stand atop the platform. Split your soul again then operate the crank again and have the other soul push the stone platform back to the enclosure.
Once inside, head south to find a crank. Don't operate it yet; look to the southwest to find a Stone of Power lodged above the rocks. Next, drop down the ledge to get a Soul Arbiter's Sacred Scroll.
While there, open the nearby portal then climb back up. Soul-split then turn the crank. Switch to the other soul and activate the portal. Return to physical form and let the newly-opened portal to revert to its original position. Drop down the lower ledge and fire a charged shot to the opened portal so the charged shot passes through and hits another portal to the south.
Split your soul again and turn the crank once more. Switch to the other soul and step through the portal so it launches you to the hand-hold. Loot the chest to the west, then return to physical form.
Return to the first circular enclosure and split your soul there. Drop down the ledge to the west then climb the wall north to reach the first crank. Don't operate it; instead, look to the north and fire a voidwalker shot to the portal there. Return to physical form and go south to the second crank. Operate it to make the fire orbs react to each other and clear the black corruption crystals blocking the other portal.
Head to the newly-cleared path, activate the portal and enter the opening of the wall to find another fire orb. Look up and activate the portal overhead as well this should cleanse the murky ooze flowing south.
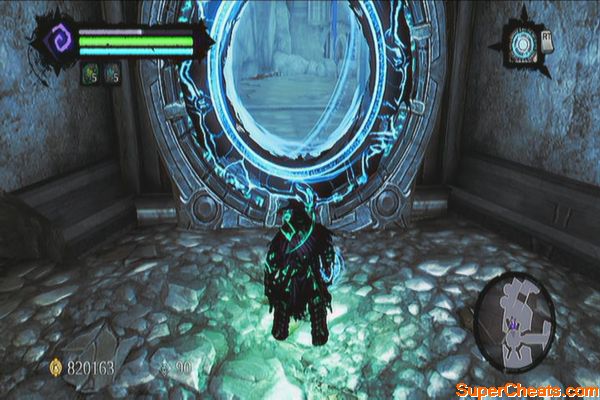
Before following the water canal, head to the east to find a Relic of Khagoth. Follow the water canal and loot the chest along the way. Continue to the south then wall-run to the other ledge with a portal. Open it then peek through the hole in the wall to find another portal. Activate it as well. Go through the portal and drop down the hole on the ground to reach the next area.
Follow the trail and jump to the pool below to find a Boatman Coin. Follow the straightforward path until you reach a corridor. At the end of that corridor is a lever; pull it to open the door and you'll be back in the main hall where the other waterfalls converge. You can now enter the main door to the north.
Once inside, check behind the statue near the stairs to find a Relic of Etu-Goth. Head north to find two portals. Place a charged shot to the portal overhead and open the lower portal. Go through so it launches you to the upper aqueducts. There's another portal overhead so place a charged shot on it and reactivate the lower portal by the stairs. Jump down and go through it to reach the door in the upper level.
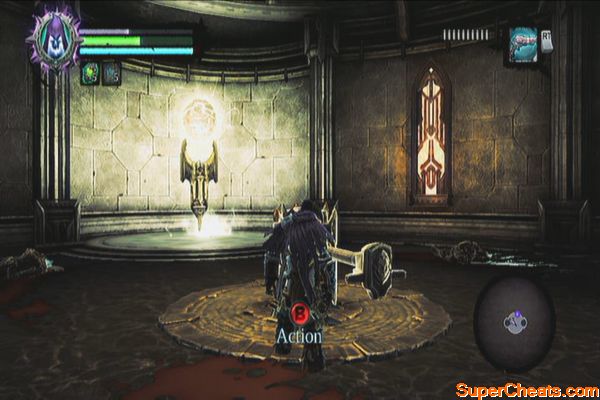
There's a chest to the west that can only be accessed with the help of a portal. Activate the portal above the chest then reactivate the portal to the south with a charged shot. Wall-run to the southern portal to reach the chest. Look above to find a Stone of Resistance as well. Jump down to ground level then reactivate the portal there. Go through it again to return to the topmost ledge. Wall-run to the northern door afterward. There's a boss waiting at the end of the stairs so make the necessary preparations before facing him.
|
|
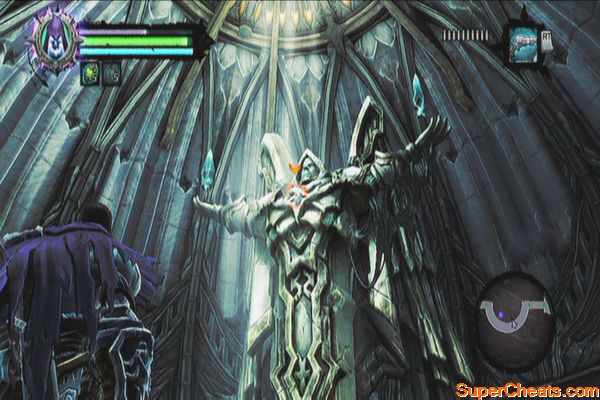
Boss: Jamaerah The Scribe
For the first part of the battle, you can fight him at ground level and he throws projectiles at you and summons corrupted angels. Eventually, he will start charging power and remain airborne, occasionally dropping down to the ground, causing a massive shockwave and damage.
Once the mirror on the floor has been destroyed, you'll find a portal there. Activate it and one of the upper portals and wait for the boss's beam to pass along the floor. Evade just before getting hit and if timed right, the beam should be redirected back to the boss.
Jamaerah The Scribe
Replenish your potions by trading with Nathaniel at the base of the Crystal Spire if you want then face the Archon.
Boss: The Archon
For the first part of the battle, the Archon will be flying around. You can't damage him while his glowing protective shield is around him. Wait for him to charge for an attack and use Deathgrip to close in and deliver some mid-air damage. Continue doing this and avoiding his attacks until the action button appears.
After removing his wings, continue fighting him on the ground, using all the skills at your disposal while evading his devastating combos. Once his HP goes down significantly, he will grow black wings, making him more agile and enables him to teleport across the battlefield. Use deathgrip as well to quickly close in and deliver damage until he is defeated.
Clipped Wings
Fast-travel to the Tree of Life and talk to the Crowfather. Head to the portal of Shadow's Edge to start your next quest.
Tip: Since you have the Voidwalker, it will be a good idea to explore a few extra locations and dungeons to collect some extra collectables and loot. See the next chapter for the list.


Now this is the guide I was looking for where all collectibles are mentioned along with screenshots along with the main campaign. This is great. Obviously this beats the text only walkthroughs but others as well. Sites where the they list the list the collectibles separately or (even youtube videos) are helpful but you can't expect guys to remember the locations even when they get there because a lot of places look the same. And if if you missed a few, you're going back to places where you collected the damn thing just to make sure you did. Thanks a lot.