Power Station
Crackdown 2 Walkthrough and Guide
Power Station
Before taking on this objective, make sure you've levelled all of your Agent's skills to at least level two. You'll unlock the Assault Rifle and UV Shotgun at Firearms level two and UV Grenades at Explosives level two. UV weapons are highly effective against Freaks. You'll be facing a mess of Freaks when you go on to defend the Beacon after activating all three Absorption Units, so the UV Shotgun and UV Grenades will definitely come in handy.
Before the Beacon can be delivered to the Power Station and detonated, you must activate a network of three Absorption Units to power it. The three units tied to the Power Station Beacon are on the northeast side of southern Hope Springs.
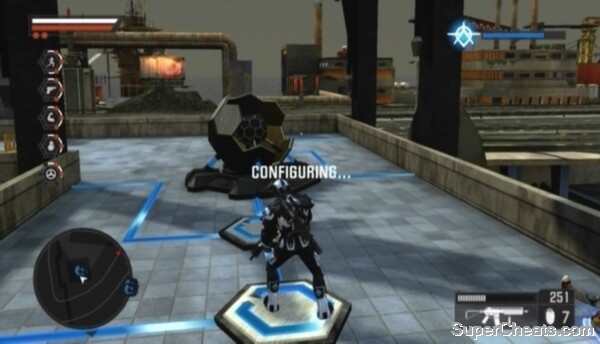 Stand on one of the platforms surrounding the Absorption Unit until the meter in the top-right corner of the screen is completely full to activate the unit. |
Your current objective is highlighted on the tracker in the bottom-left corner of the screen. To activate an Absorption Unit, you must first get to it. Absorption Units are typically high up on buildings and other platforms and surrounded by Cell soldiers. Once you've reached the unit, eliminate any enemies nearby and then stand on one of the configuration platforms attached to the unit until the meter in the top-right corner of the screen is completely full to bring it online.
Some Absorption Units can be hard to reach, so make sure your Agent's Agility skill level is at least level two (level three is ideal) before getting started.
Absorption Unit 1
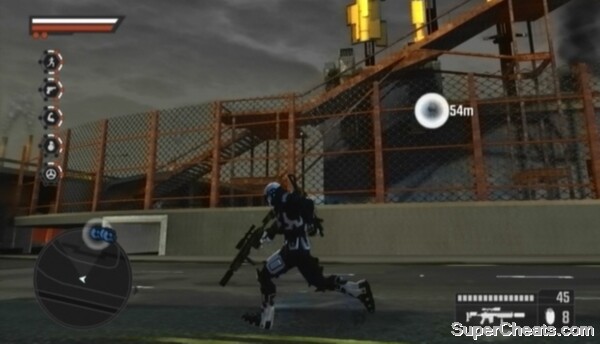
This is the east-most unit on your map. The unit is on top of the fenced-in industrial building. Pass through the opening along the wall on the east side of the building and then start climbing the stairs along the south side of the building to reach the roof.
 Absorption Unit 1 |
Jump from the stairs over to the Absorption Unit and kill any Cell soldiers nearby. Stand on one of the platforms surrounding the Absorption Unit until the meter in the top-right corner of the screen is completely full to activate the unit.
Absorption Unit 2
This unit is on top of a red industrial building. Climb up the ridges next to the windows along the east side of the building to reach the lower roof and then climb up the ridges to the north to reach the second Absorption Unit.
 Absorption Unit 2 |
Absorption Unit 3
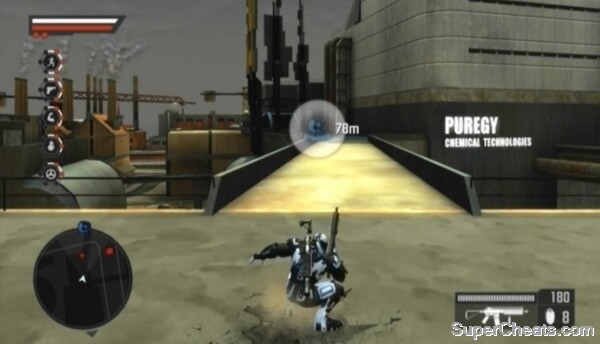
The final unit is at the end of a bridge next to the Purgery Chemical Technologies building. To reach this unit, head up the stairs along the side of the building across the street and then jump up to the platform to the west. Ascend using the column of windows to the north to reach higher ground and then cross the bridge over to the Absorption Unit.
 Absorption Unit 3 |
Power Station Beacon
Before getting started, ensure your Agent is equipped with an Assault Rifle, UV Shotgun and UV Grenades. You can switch your Agent's weapons at an Agency Landing Zone or by selecting the “Extraction” option in the System section of the Intel Screen and redeploying him.
Once you've activated all three Absorption Units and your Agent is outfitted with the appropriate weaponry, make your way to the white blip on the tracker in the bottom-left corner of the screen. Stand on the Agency symbol there and a white trail will appear. Follow this white trail and it will lead you to the entrance to the cavernous Freak Lair underneath the power station.
Continue following the white trail down the step-like platforms and then drop down to the bottom of the tower. If your Agent isn't packing a UV Shotgun, you can find one by the weapon crate at the south-most bullets icon on the tracker.
When ready, stand on Drop Point marker in the middle of the lair and press the Back button to signal an Agency Helicopter to drop the Beacon inside.
 UV weapons are highly effective against Freaks. |
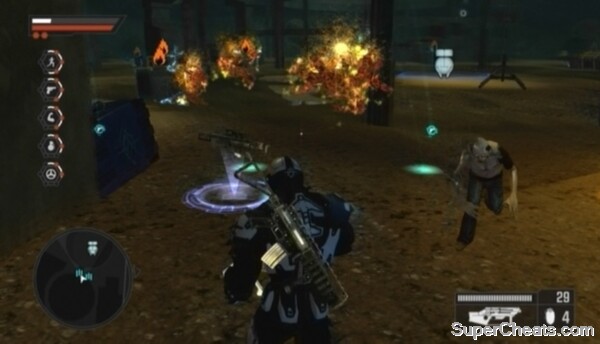
Once the Beacon is set, you must defend it until the blue meter in the top-right corner of the screen is completely full. The meter will fill overtime, so you just need to keep the Freaks off the Beacon until it detonates. The red meter below the blue meter represents the Beacon's condition. You'll fail the objective if the Freaks manage to destroy the Beacon before it detonates.
Though there are many Freaks in this lair, the only Freaks you have to worry about are those that appear on the tracker as red blips. These Freaks have a glowing symbol above their heads; they'll stand back and throw projectiles at the Beacon, damaging it. The other Freaks in the lair may make it difficult to move around, but they deal a negligible amount of damage to the Beacon, so try your best to ignore them and focus on taking down the attacking Freaks that appear on your tracker.
UV weapons are highly effective against Freaks. One shot from a UV Shotgun will destroy a Freak and any others close by. The UV Shotgun has very limited range, so get up close to your target before firing. UV Grenades work well for clearing out large crowds of Freaks (as do standard Grenades), and you can also target the explosive items scattered about the lair.
Continue sprinting around the lair and blasting attacking Freaks with your UV Shotgun to quickly put them down. If you run out of ammo, switch to your Assault Rifle and continue mowing down the attackers. If your Assault Rifle is out of ammo, look for another weapon by the weapon crates (the bullets icons on your tracker) around the Beacon.
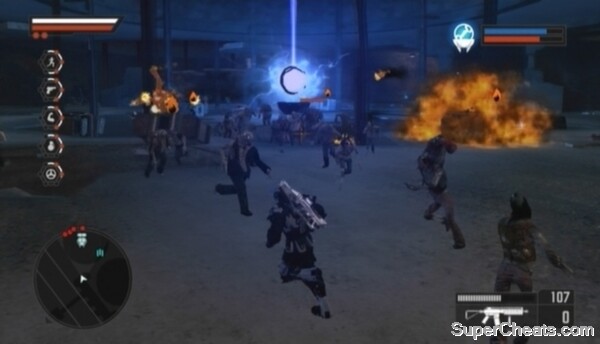 Defend the Beacon until it detonates. |
Continue defending the Beacon until the blue meter in the top-right corner of the screen is completely full.
Defending the Power Station Beacon
More Crackdown 2 stuff on SuperCheats
No comments yet. Tell us what you think to be the first.