11 - The Peninsula
Condemned 2: Bloodshot Walkthrough and Guide
Condemned 2 Guide
Mission 11: The Peninsula
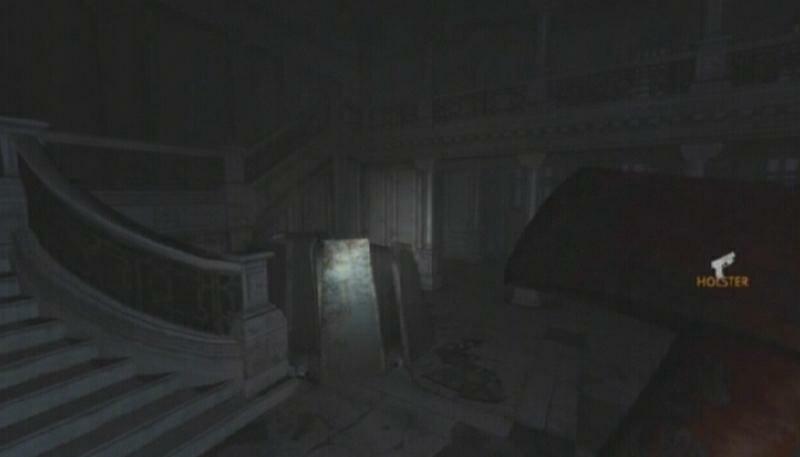
You've gained the Voice Attack ability at the end of the previous level, and it is needed to complete this mission so make sure you know how to use it. Use Voice Attack to break out of the cargo container and step outside. Careful, as there is an armed gunman outside. Hit him with a Sprint Attack followed by a string of combos, or zap him with your stun gun, and pick up his Assault Rifle once he's been dealt with. There is another fallen SCU soldier across from the cargo container you busted out of, as well as a 9mm on the nearby table. Holster the 9mm and take the ammo from the Assault Rifle. There is also a SCU storage locker nearby that contains a couple of health packs which you can use to patch yourself up after that little encounter.
 Voice Attack |
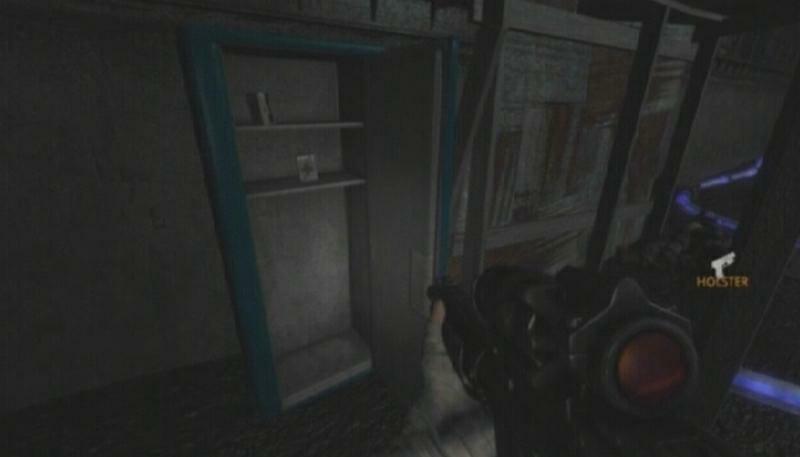 Storage Locker |
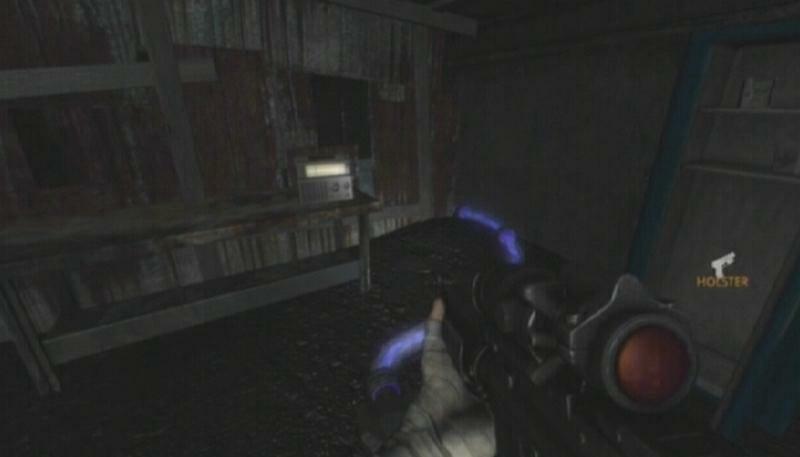
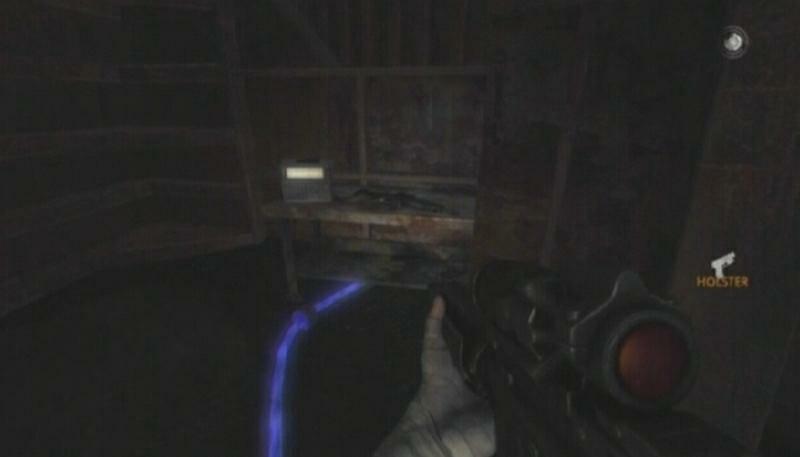
Antenna (1/2): A radio sits on the table next to the SCU storage locker. Activate it before moving on.
 Antenna |
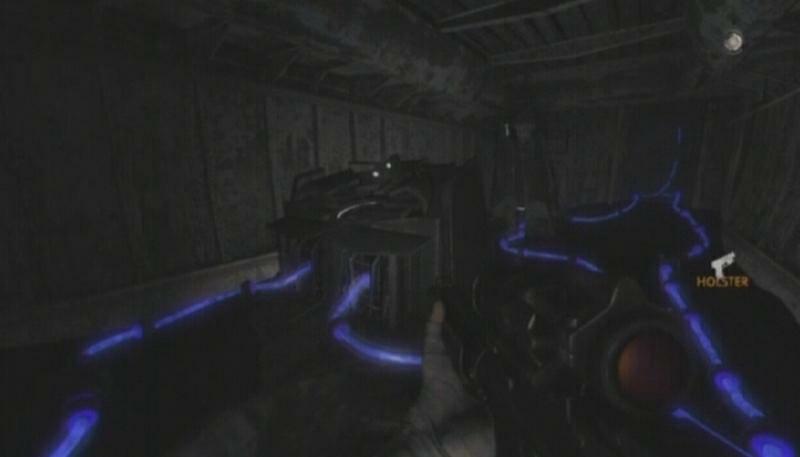
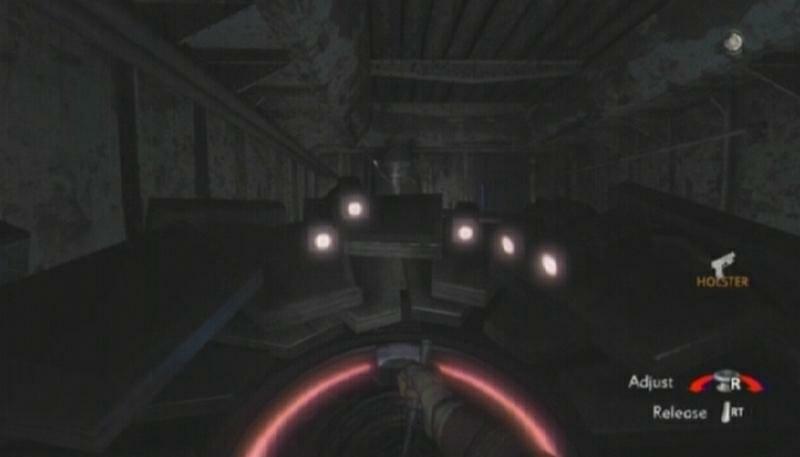
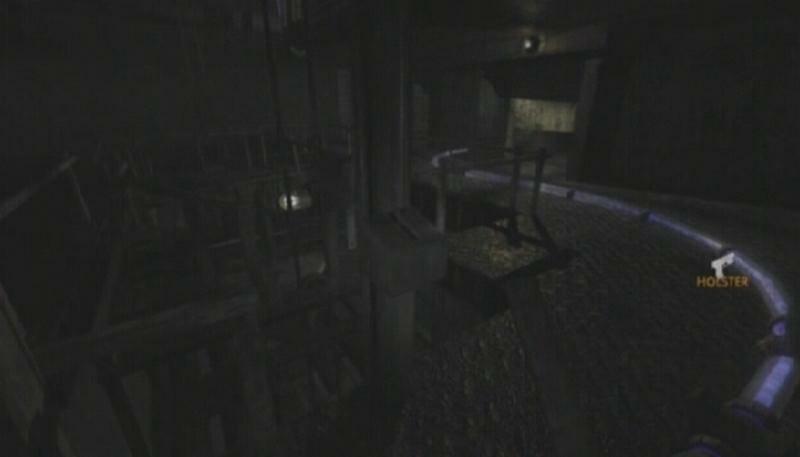
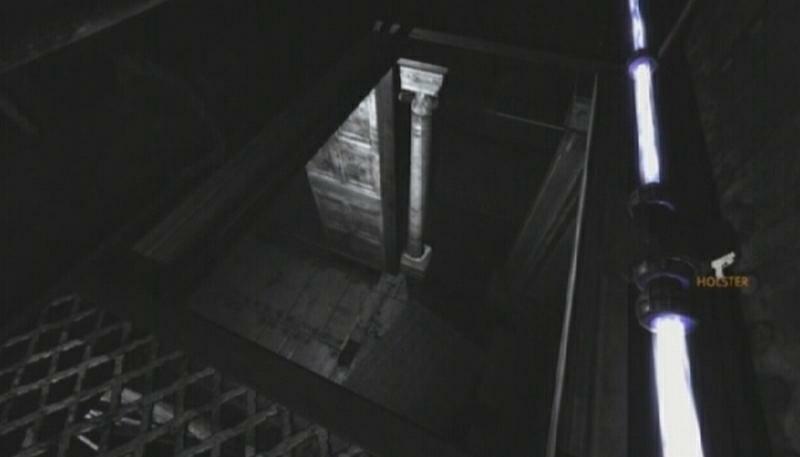
When you're ready to proceed, follow the blue tubes into the next area. There are a couple of armed gunmen around the bend, so keep to a slow pace and take them out from a safe distance. Fortunately since defeating Ethan's alcohol demon you don't need to consume any Liquor to steady his aim, so taking these guys out should be a snap. Follow the tubes down into the area below until you come to an Oro device. There are five such devices in this level, and overloading each of them is this mission's Optional Objective. To begin overloading one, first grab the antenna and then rotate it around until the white ring surrounding it shifts to a red color. Hold the antenna in this position until the ring shifts back to white and at this point, move the antenna again until it shifts back to red. Keep this up until the device overloads.
 Oro Device |
 Device Antenna |
Follow the tubes up the ladder at the end of this area. At the top of the ladder, Antenna (2/2) is the radio on the table straight ahead, and Emitter (1/2) is attached to the wall at the dead-end behind it. There is an Assault Rifle on the table next to the radio which you can use to reload your own. The next area is crawling with SCU troops, so proceed with caution. There is another SCU storage locker in the small shelter to the left that contains a couple of health packs and some ammunition for your Assault Rifle if need be. If the enemies at the other end of the area are giving you trouble, you can take them out quickly by hitting the propane tank or explosive barrel with gunfire.
 Antenna |
 Emitter |
There is another Oro device at end of the way, but be sure to take out any hostiles in the area before you start overloading the thing. Once the device has been destroyed, continue following the tubes into the next area. You will be attacked by a couple of mutants and eventually fall through the floor. Make your way to the other end of the boat and drop down through one of the larger holes to the area below. There are plenty of mutants down here, including one of the stronger variant. Hit the bipedal mutant with your stun gun when he approaches and gun him down to avoid a tough fight.
 Oro Device |
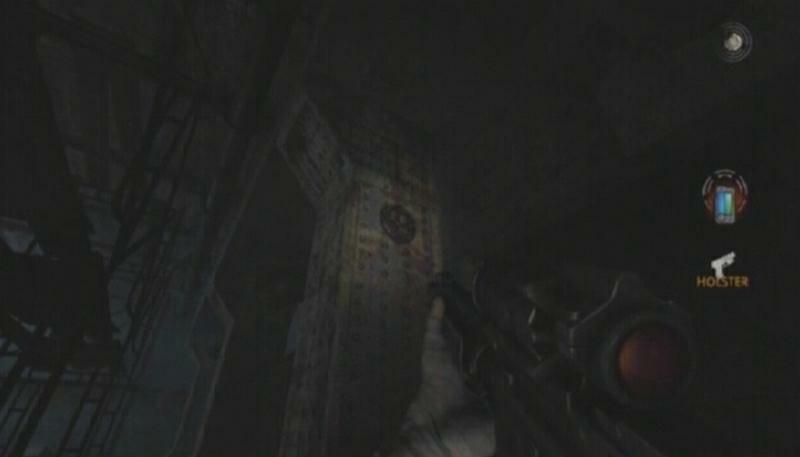
Emitter (2/2): The final emitter is attached to the second pillar nearest to the doorway that leads out of this area.
 Doorway |
 Emitter |
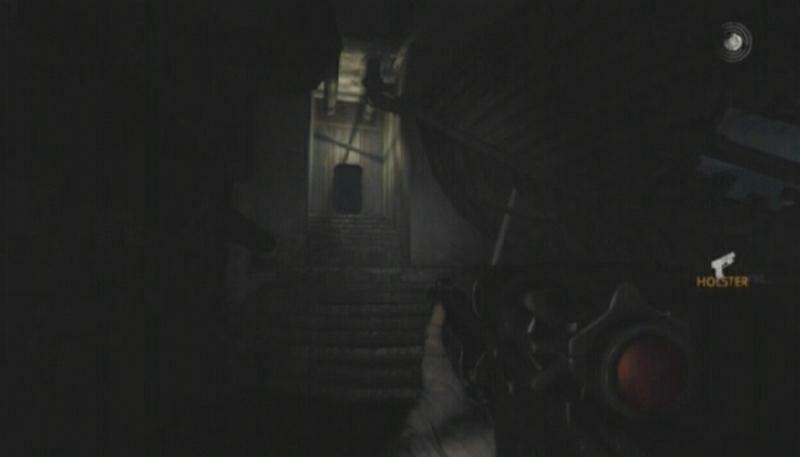
Head up the steps near the ship's front-end and proceed through the doorway at the top. Climb up the ladder at the end of the way and start following the tubes down the corridor and through the doorway.
Dorland's Helicopter
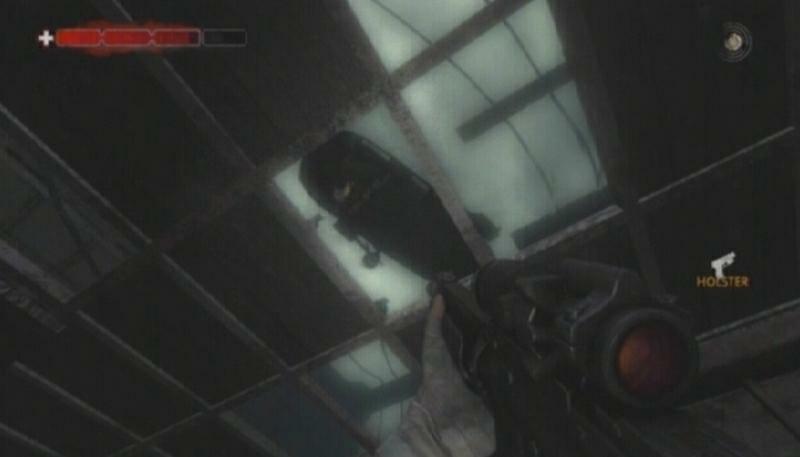
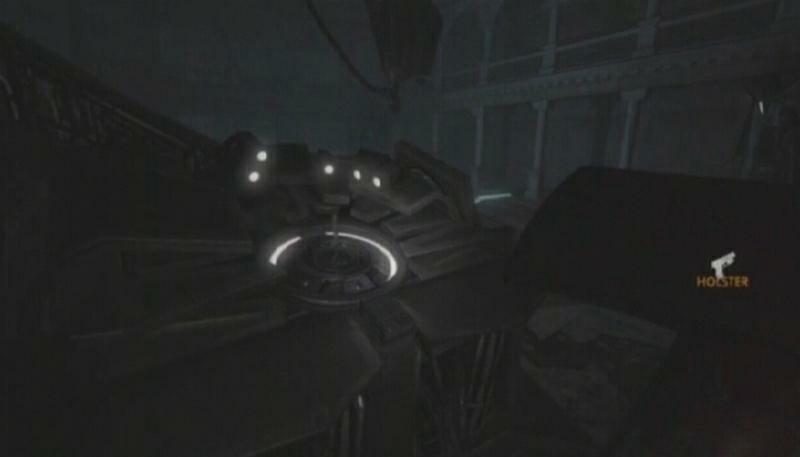
When you step into the next area, Dorland's helicopter will appear overhead and start gunning for you. The shelter that the roof above your head provides is minimal due to the amount of holes in it, so you'll have to move around a bit to ensure that you are out of his view. The only way to damage the helicopter is to hit the underside of it with gunfire. There are a couple of downed SCU soldiers here who's Assault Rifles you can use to reload your own when you are in need of ammo.
 Dorland's Helicopter |
When you've hit the helicopter a fair amount, it will briefly retreat. At this point, a group of SCU soldiers will appear and target you. There is a storage locker in this area that contains some Assault Rifle ammo and a couple of health packs; search for this locker and remain in that area once you've found it. This area provides plenty of cover from the ground troops, so use this to your advantage. Take out the SCU soldiers one by one—returning to the storage locker for health packs/ammo as needed—until none are left standing.
 Storage Locker |
Once the soldiers have been dealt with, move away from the storage locker until Dorland's helicopter reappears above. Unload into the underside of the helicopter until it loses control. If you run out of ammo during the attack, look around for a fallen enemy's Assault Rifle, or return to the storage locker to reload. When the helicopter catches fire and begins to crash, sprint back towards the storage locker to avoid being hit and killed by it when it does crash. Afterwards, make your way to the crash site just in time to spot Dorland escaping. Gun down the Oro from a safe distance, as getting too close to him results in an effect similar to that experienced when close to an emitter, and start after Dorland.
 Crashed Helicopter |
Pursuing Dorland
Slide down the ladder at the end of the way and move down the corridor. Step onto the platform in the next area and pull the lever to start ascending. You'll be attacked by a group of mutants on your way up. There are a couple of rebars attached to the side of the lift if you need a weapon. Step onto the walkway when the lift reaches its destination and make your way to the opposite end. Pull the sparking lever behind the lift and then defeat the mutants that attack. Make your way back across the walkway, step back onto the lift and pull the lever again to continue the ascent.
 Lever |
 Lever |
Head through the doorway once the lift reaches the top and enter the corridor to your right. Tread carefully here, as you will encounter a number of Oro. The first you come to is an unsettling being fixed with a jaw apparatus that allows it to emit powerful sonic waves. These creatures hang from the ceiling and will emit the sonic wave when you approach them. However since they lack eyesight and other senses you can sneak up on them and cut them down from the ceiling. If one does sense you and begins to scream, though, back away as to not take damage from it and use your Voice Attack to destroy it.
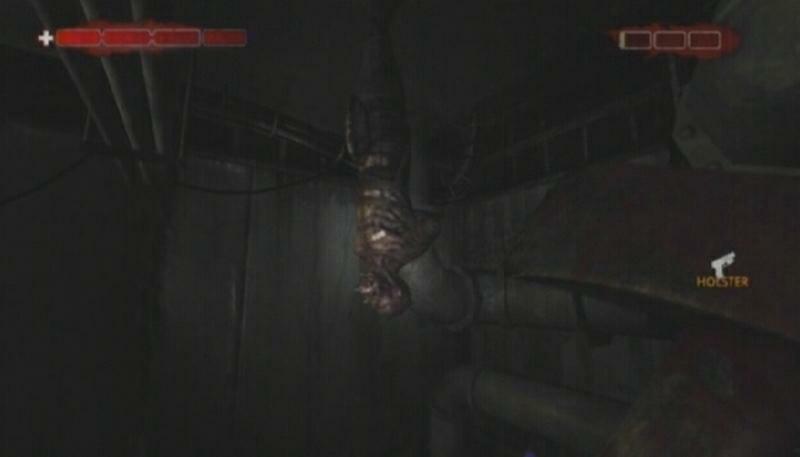 Oro Sonic |
As for the bipedal Oro, you can hit them with your Voice Attack to shatter their masks, thus removing their sonic wave effect and allowing you to get close to them. These guys will charge at you, though, so if this happens just back away until you are out of range from the sonic waves and then quickly hit them with the attack.
 Oro Sonic |
Head down this corridor—keeping an eye out for Oro Sonics—until you reach a double door. Proceed through the double door to the next area and start across the walkway. You will be attacked by a mutant partway down, so hit him with your stun gun or a chain attack for a quick takedown. There is a storage locker in the area where the mutant popped out from. There are a couple of health packs within, so use them to restore your health if need be.
Two Oro Sonics occupy the area below and will begin to approach once they spot you. Back away from them until you can manage to remove both of their masks with Voice Attacks and then move in for the kill. There are two Oro devices in the area below: one on either side of the stairs that lead down into the area. Overload them both and then head through one of the doorways on either end of the northern wall of the room.
 Oro Device |
 Oro Device |
This area is littered with hanging Oro Sonics, so proceed with caution. Move through this area until you come to a dropdown spot. Drop into the area below to confront Dorland.
 Exit |
Final Battle -- Dorland
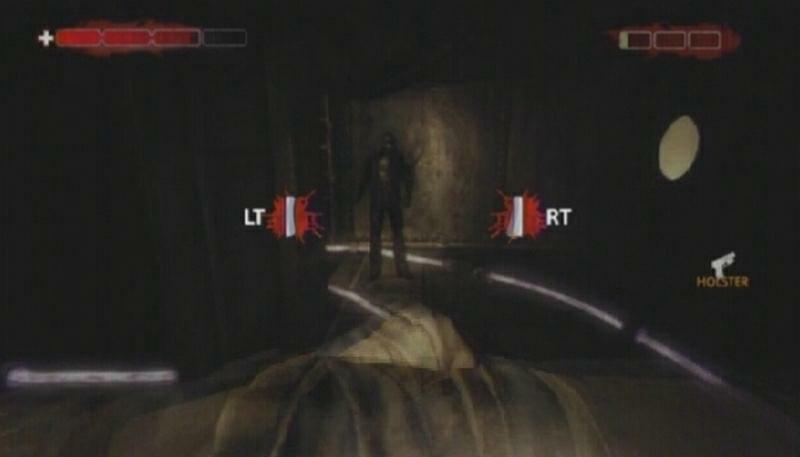
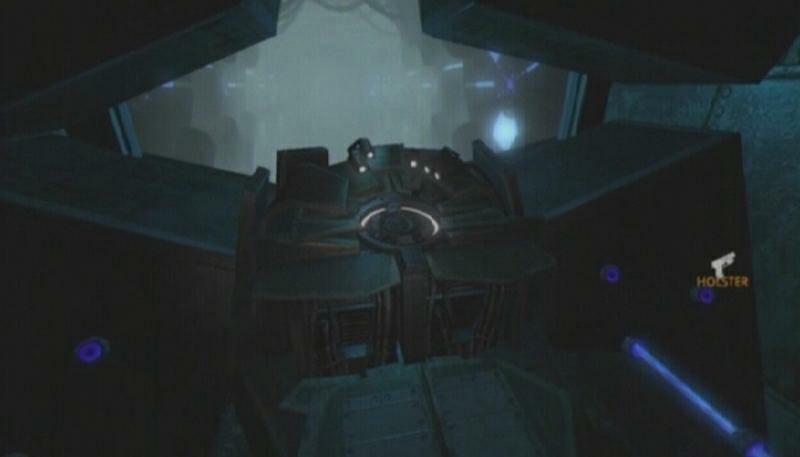
One of the two Player Response prompts in this mission occurs during Dorland's speech here, so be ready to press the button when it appears. Dorland is accompanied by two Oro Sonics who must be dealt with first, so wait until they step down from the center platform before hitting them with your Voice Attack. Once both of the Oro have been dealt with, follow Dorland across the catwalk and into the next area.
 Dorland |
 Oro |
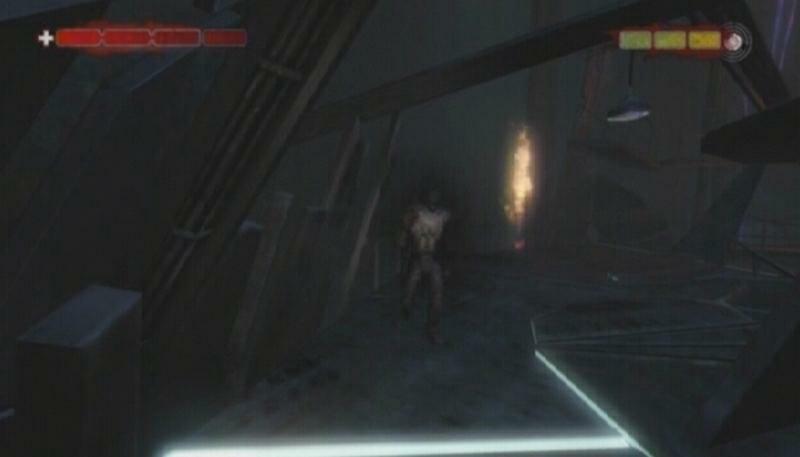
The final Oro device is at the end of this area; overload the device and then sprint back to the previous area. As far as final battles go, this one isn't very tough. The main idea here is to hit Dorland with enough Voice Attacks to remove his mask. Once that has been done, you will then enter a lengthy chain attack to finish him off. However you have more to worry about than Dorland here, as a number of mutants will jump onto the platform and target you. You can take them out with Voice Attacks too, but those are best saved for Dorland, so kill them quickly with your stun gun or chain attacks instead.
 Oro Device |
 Sonic Dorland |
Once you've hit Dorland with the final Voice Attack, you will then have to complete the chain attack to end the battle. If you mess up during this, however, Dorland will one-shot you, effectively ending the attack. Luckily the game auto-saves before you use the final necessary Voice Attack, so you can simply try again. Successfully complete the chain attack to defeat Dorland and complete the game.
Congratulations, you've just completed Condemned 2! Be sure to sit through the credits for an additional scene!
1[video][img][list]
thank you, saved my life!
You won't be using the same platform he crossed, there is one located directly under the one he crosses.
how do i get onto the platform to go accross the catwalk
how do i get the door open