Little Resistance
Call of Duty: World at War Walkthrough and Guide
Call of Duty: World at War Guide
Little Resistance
USA
White Beach, Peleliu
September 15th, 1944
Co-op: Yes
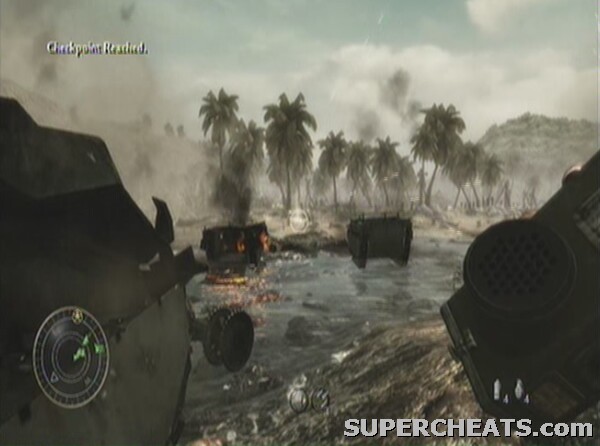
Two years have passed before this assault on the airfield at Peleliu. Like something straight out of Saving Private Ryan a daring beach attack using landing craft is the order of the day.
 A truly epic scene |
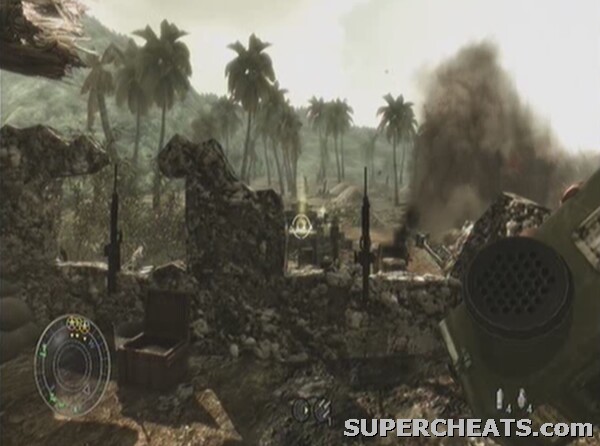
A poorly chosen landing site causes the craft to run aground, but thankfully, after being thrown into the water, Sgt. Sullivan pulls you to safety. You are then given access to a designator to pick targets for allied rocket strikes. Press D-Pad Right to select it, then Right Trigger once the targeting point is lit up and it is on the desired target to activate. In this case, use it on the Japanese infantry and bunker positions in the distance. Once the explosives rain down, the objective should complete and you can move up towards the front line of the Japanese defences.
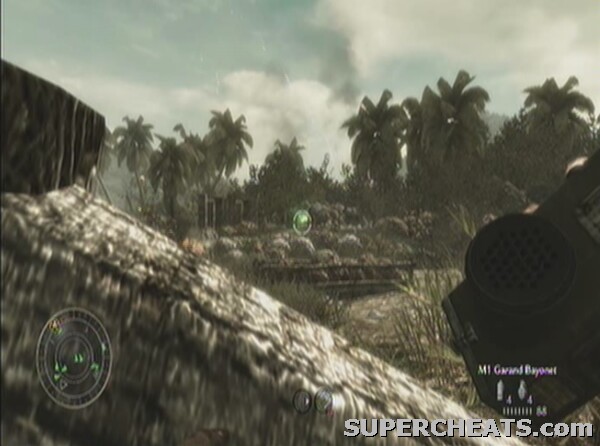
 Target the Japanese soldiers in the distance |
Sprint forwards to the palisade and let the tanks go on ahead. Feel free to use as many rocket strikes as you need, there is no limit on them, just a short recharge time. Climb over the palisade call in another strike on the bunker in the distance. Upon reaching the bunker, take out the gunner if he is still active, then move up slowly on the left hand side. Wait for your team to catch up if necessary. Pick off the plethora of Japanese soldiers that will run at you as well as those that fire from range.
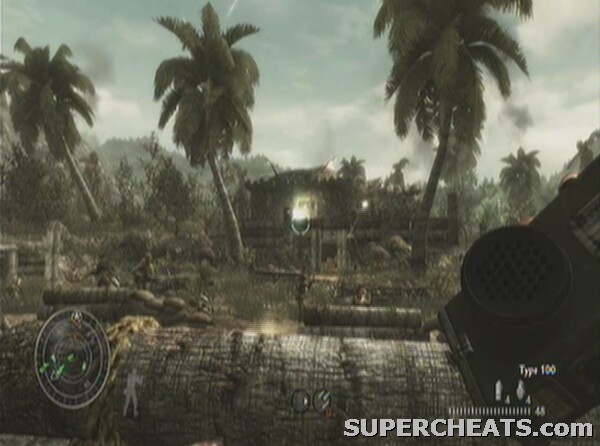
Be aware of the machine gun nest in the distance. It can hit you even from extreme distance. Using smoke grenades is not a bad idea to help you move up, but you can also simply target a rocket strike at the nest to take it out.
 Use the rocket strike to take out the distant machine gun nest |
Stay behind cover taking out enemies from range. Once they stop firing, move up on the left into the trench. You may well get charged as you move forwards, so get a gun out with a decent rate of fire or try to locate one on the floor. Inside the trench you will encounter enemies on top of the walls, so a good tactic is to use the rocket strike again and clear the immediate area out. If you see your tanks moving up on the far side you will know it is clear. Upon entering the trench there are enemies at the end who will pose a threat.
TIP: Use the explosive barrels in the trenches to make life easier.
As you move up keep a Type 10 or other quick-fire gun ready as you will get yet more Banzai attacks before the trench opens up again. At this point shoot the soldier out of the nearest tree or he will quickly take you out. After a few more Banzai charges, move up the left channel to meet up with a team preparing to enter the bunker.
Get into cover behind the truck and order in repeated rocket strikes to thin out the enemy and hopefully destroy some of the machine gun emplacements.
 Use the trusty rocket strike from behind cover |
TIP: An alternative approach is to head past the truck to the right and go into the bunker underground. It is filled with enemies, but when you emerge at the other end you are right next to the large building we are targeting with a great flanking position on the enemy! Or, just go head on with the rocket strikes…
More enemies will come streaming out of the bunker, complete with Banzai attacks from the flanks, so be prepared to fall back if necessary. Continue this until the area is clear and you can move into the entrance of the complex.
DEATH CARD: 4 of Clubs (Hard Headed)
- Find the 4 of Clubs in the far right corner of the field just before entering the building.
Once inside, stick your head up the ladder to the area above, which should be clear of any threats. Out of the side of the upper floor you will be able to see a mass of Japanese soldiers bearing down on you. Use the mounted machine gun, rocket strikes, grenades and rifle fire to rack up the kills. Rocket strikes in particular are effective here. You need to take out the two tanks moving forwards to complete the level, so aim your strikes in their direction and get rid of them.
 Aim your rocket strikes at each of the enemy tanks in turn |
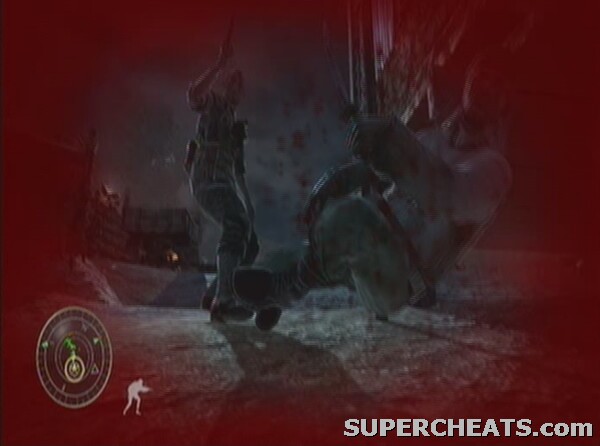
With both destroyed, follow Sullivan and co. through the door in the back wall of the room and let their little scene play out. Stand ready to shoot at the door as a Japanese surprise will come running at the Sergeant, but alas, it's too late. On this sombre note, the mission ends.
How do you call in the rocket strike?
you can save sullavan by just shooting through the door when the japaneese soldier is about to kill sullavan
I know how to get ray gun on WAW and no u cant keep it
i dont know about the ray guns but if your friend means a solider was trying to shoot sullivan and u shot the solider that was trying to shoot him that is possible
my friend said he saved sullavan from the japanese soldier, is it possible to save him and i had the ray gun can you keep the ray gun after little resistance?
how come the second tank wont blow up.. Target missed every time