Medical Pavilion
Bioshock Walkthrough and Guide
Medical Pavilion
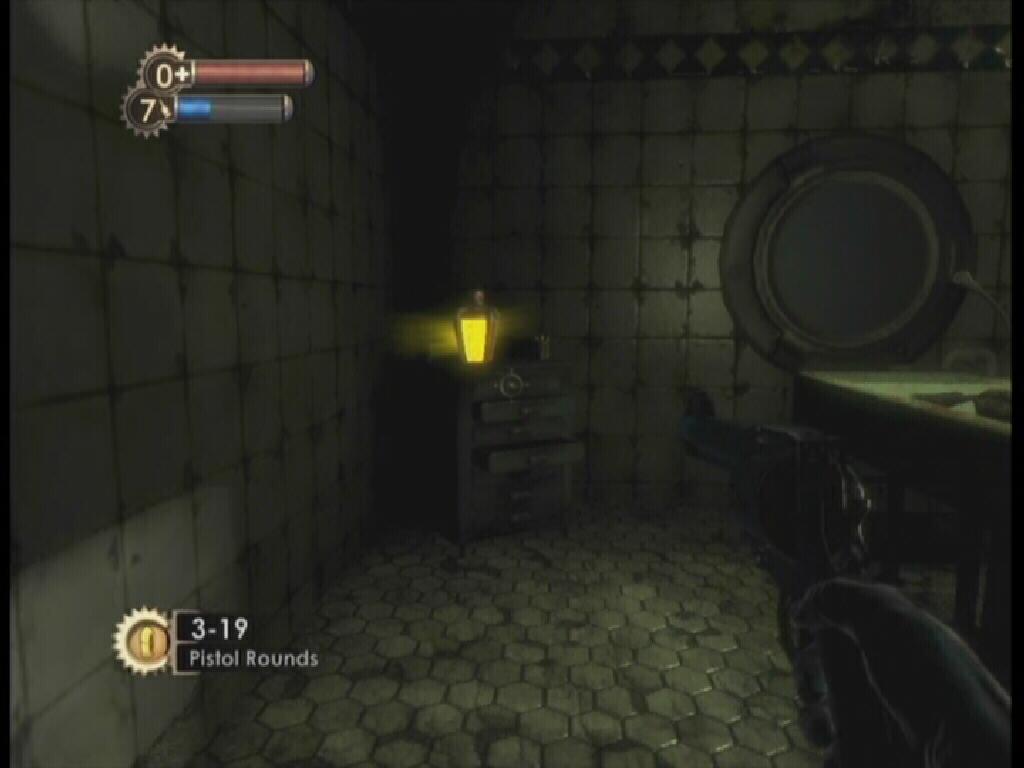
Step out of the sphere and turn right. Upon entering the Foyer, turn left. Against the wall here is a Circus of Values vending machine. This machine can be used to purchase various items, from healing items to ammo. On the opposite end of the room, across from the Circus of Values vending machine is a reception desk. There is an audio diary (Released Today) on this desk, next to the stack of books. Pick up the First Aid Kit, EVE Hypo and Pistol Rounds on the floor behind the desk.
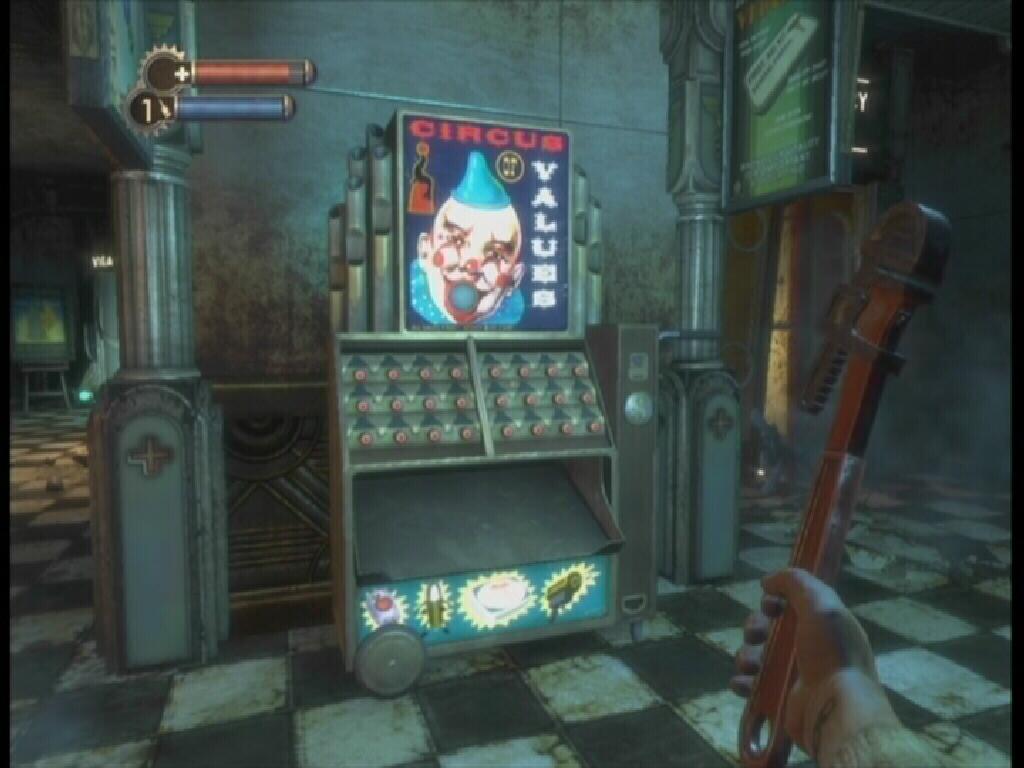
Circus of Values
The door to the right of the Circus of Values vending machine is blocked by a disabled Security Bot. Approach the bot, notice that "Hack" is an available option. Press the X button to open the hack menu. Hacking instructions appear on screen, be sure to study them. It's simple enough: Your goal is to create a connection between the starting point and the end point by using the pipes that are available on the grid. You must accomplish this before the liquid reaches the end of the line.
If a hack turns out to be a failure, the machine may short circuit and cause some damage to you. There are other consequences as well, such as alarms being activated; sending Security Bots to your position. Many machines can be hacked, including stationary turrets, Security Cameras, vending machines, etc. Hacking a security system (such as a stationary Turret) causes the object to attack your enemies and ignore you. Hacking vending machines lowers the cost of the items available and in some cases, causes additional items to appear in the inventory. There are other tiles that come into play while hacking, such as alarms and shorts; these make it a bit more difficult to hack without the use of tonics.
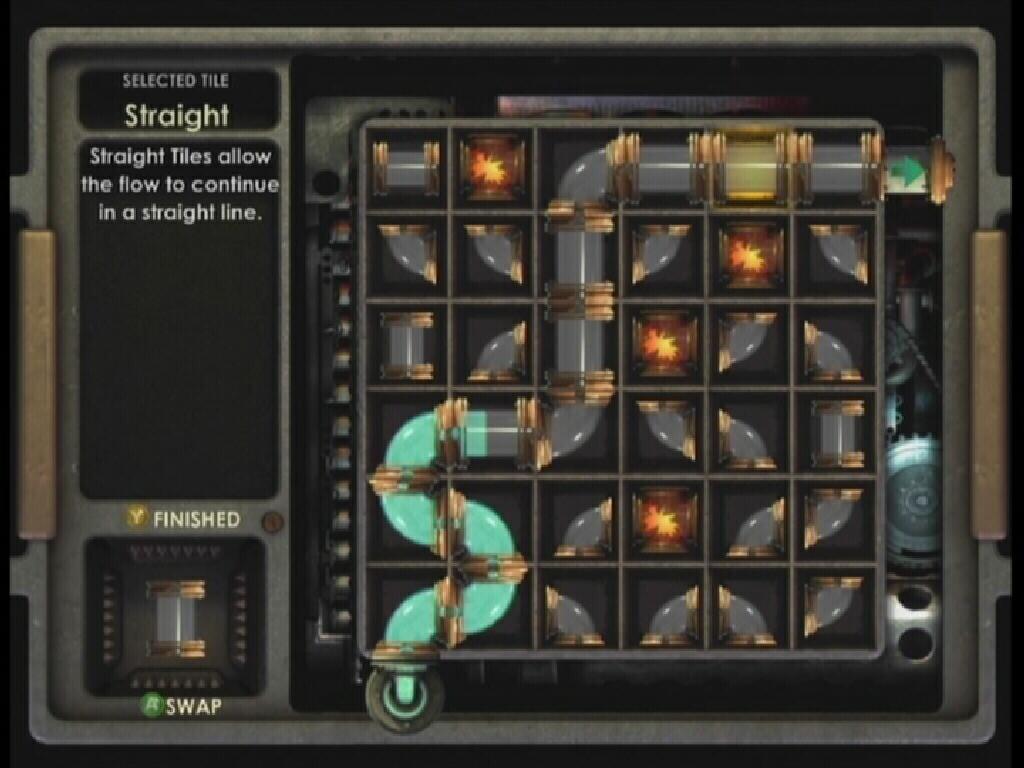
Hacking
With the Security Bot on your side, enter the "Emergency Access" area. Pick up the audio diary (ADAM Changes) on the desk straight ahead. There are some Leadhead Splicers to deal with in this area. Once they have been dealt with, head up one of the sets of stairs and attempt to activate the Emergency Access. Access denied. You'll need to get a key from Dr. Steinman, as Atlas explains.
Key From Steinman
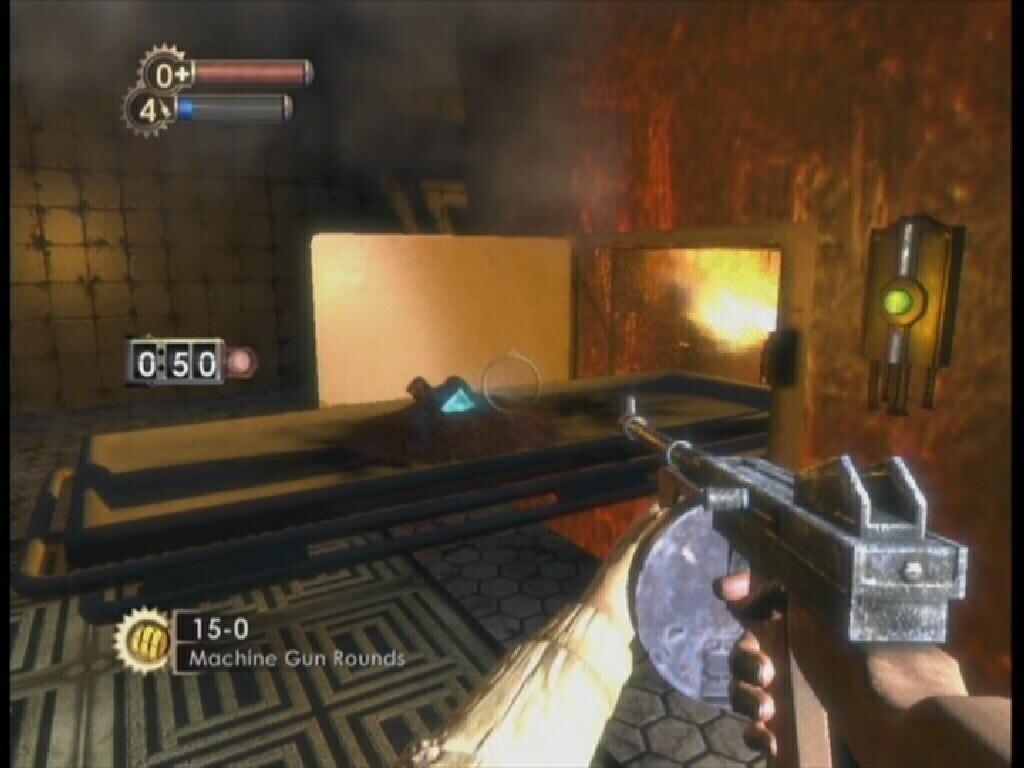
Step through the door behind the switch and use the "Electrical Override" switch. By doing this, an onslaught of Splicers attack. Prepare yourself. The Thuggish Splicers will charge right at you, wait for them to come to you, kill them, then deal with the Leadheads that are left over. The hacked Security Bot should be a great help while dealing with the Leadheads. With all of the Splicers dead, head up the stairs near the reception desk and proceed down the hallway at the top of the stairs.
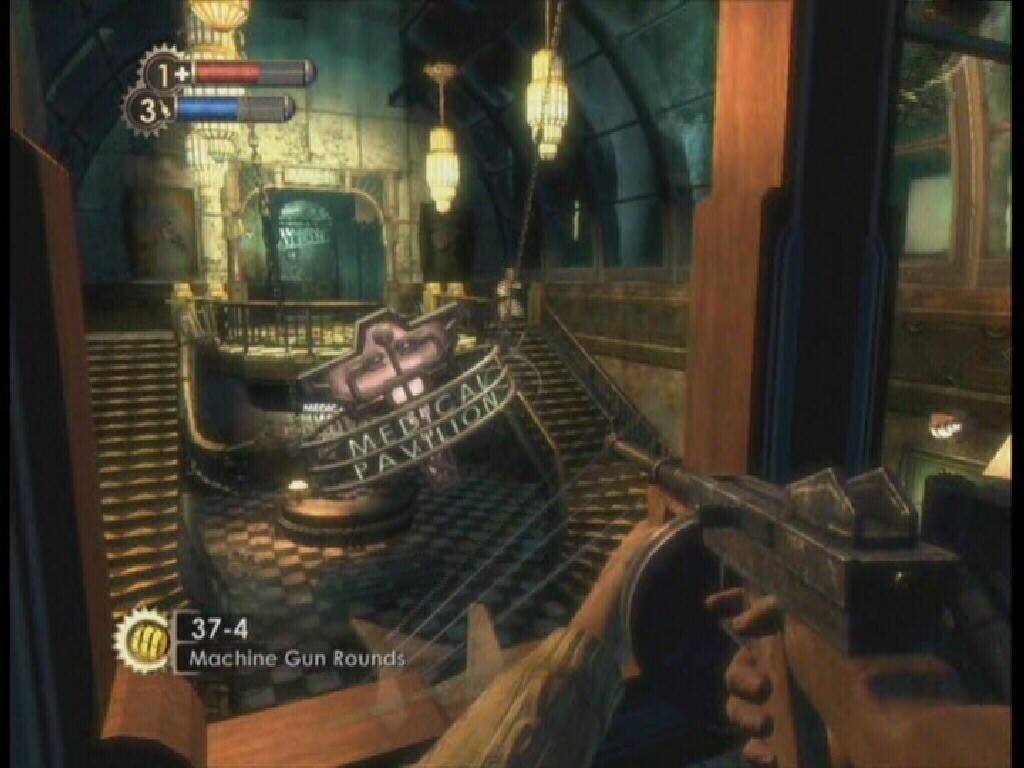
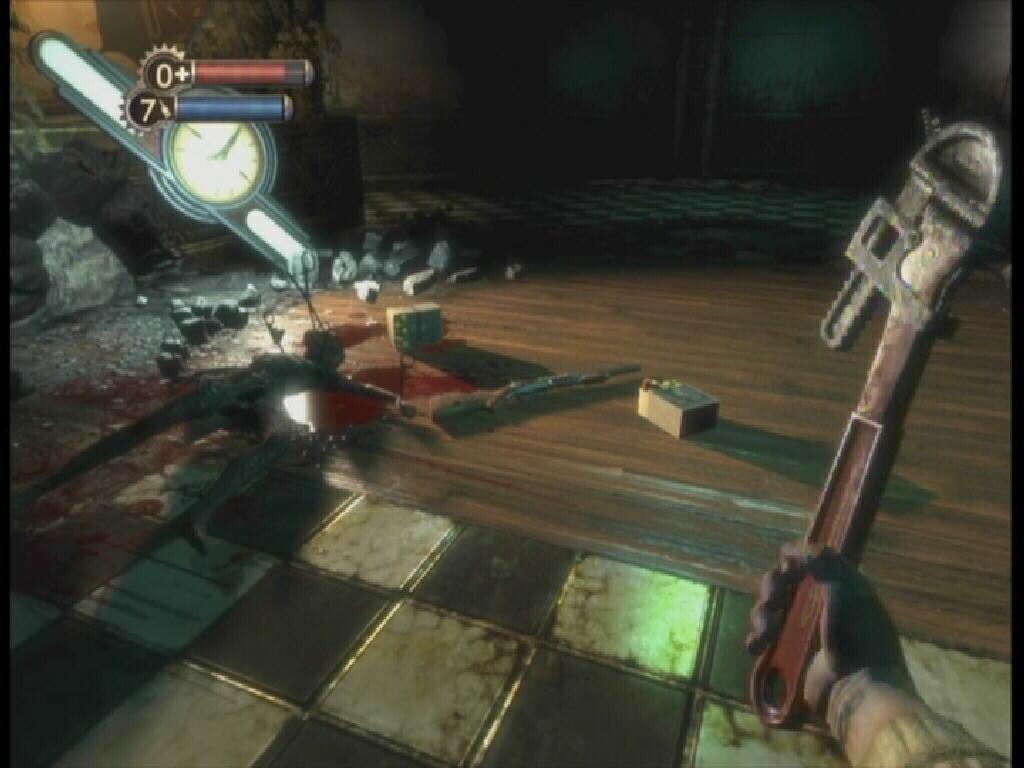
Machine Gun
In the next area, on the wall to the right of the blood-soaked hospital bed is an audio diary (Higher Standards). Around the corner, you will encounter a Turret. As with the Security Bot, you can hack this too, but first you must use the Electro Bolt plasmid to disable it. Once you have hit the turret with Electro Bolt, approach it and press the X button to begin the hacking process. While facing the turret, turn around. Pick up the audio diary (Parasite Expectations) that is on the desk.
Turret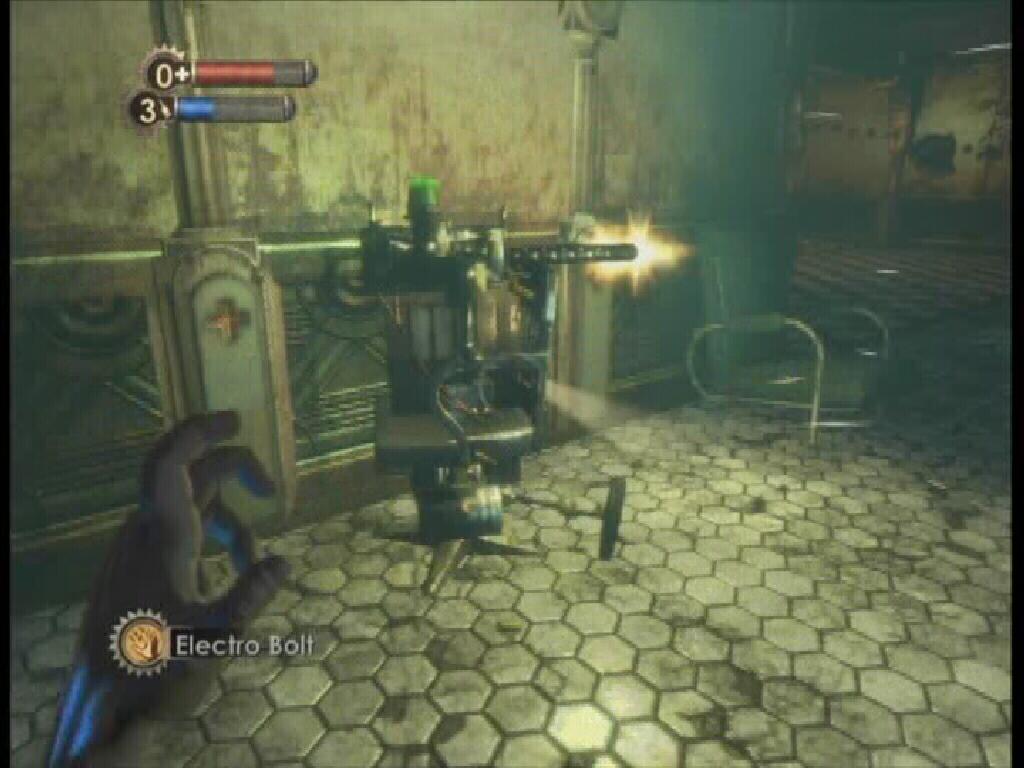
friendly turret
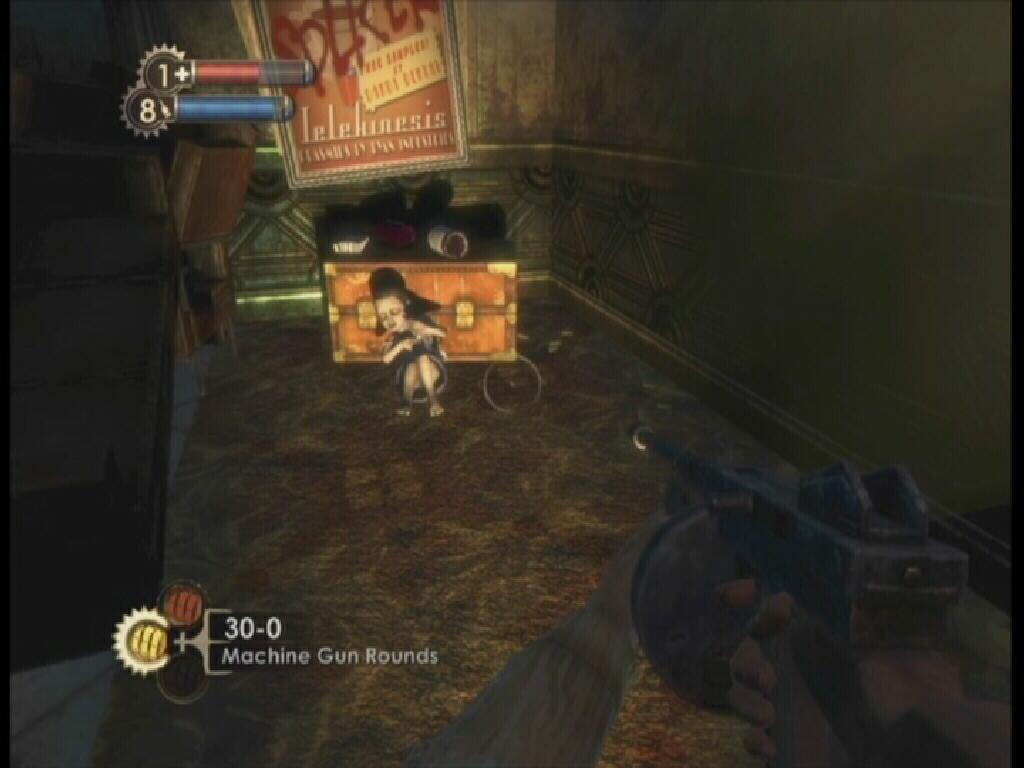
On the left side of this area, on the wall that the arrow below the "Funeral Services Area" sign is seemingly pointing to, is an audio diary (Limits of Imagination). When you have that one, turn around, move forward and turn left as soon as you can into the small area. There is another audio diary (Love For Science) on the case below the Plasmid promotion poster. From there, turn right and exit this small area.
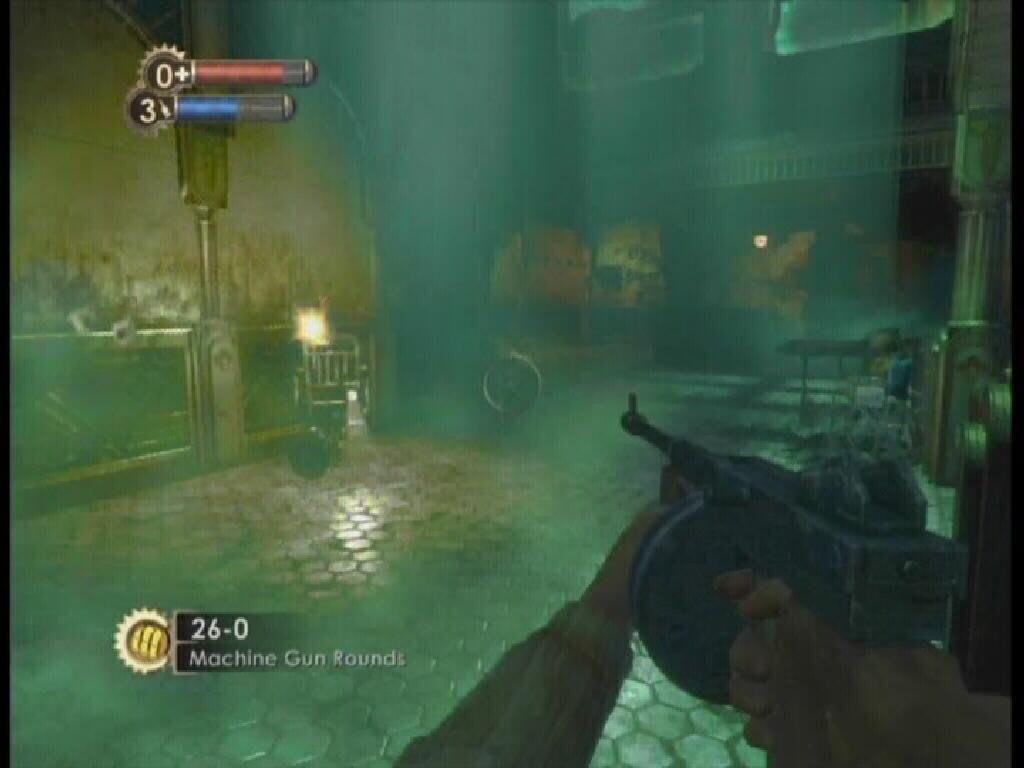
Turn left, head towards the Medical Pavilion sign, but turn right and enter the flooded room. There is a Circus of Values vending station, as well as an "Ammo Bandito," which you may not have seen before. It works the same way as the Circus of Values vending station, though its items are geared solely towards ammunition. Pick up the audio diary (Vandalism) on the chair next to the Circus of Values vending station.
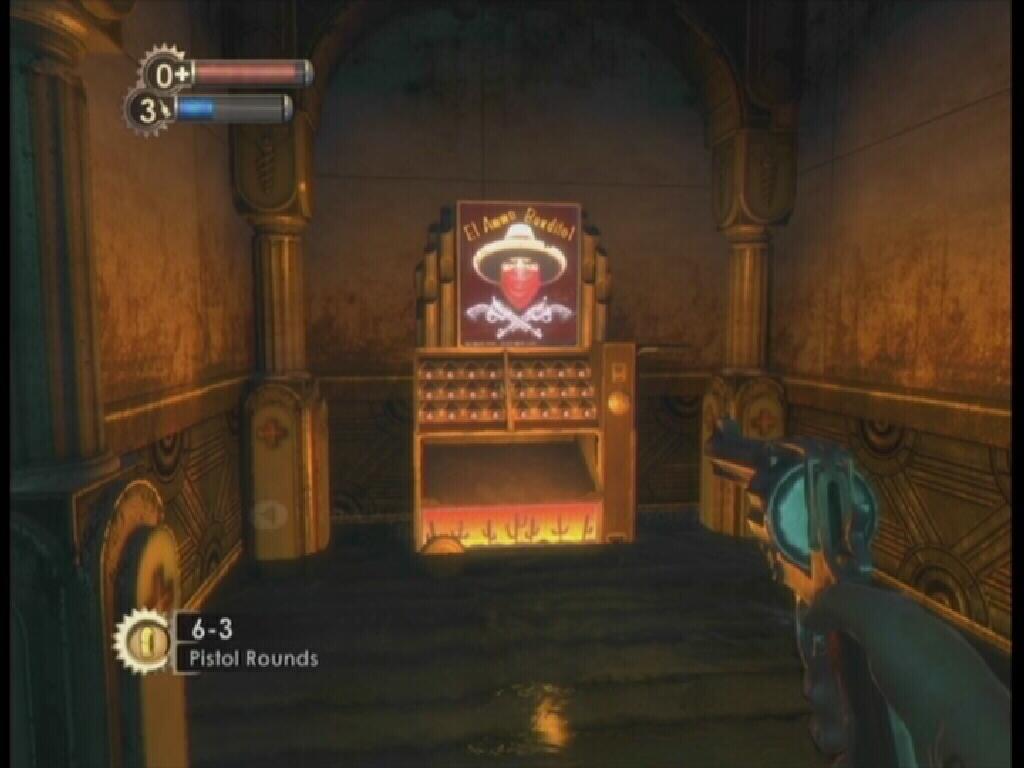
Ammo Bandito
Locate the stairs here and take them down to the lower level. Once you are at the bottom of the stairs, look down to the left corner of the frozen doorway for an audio diary (Freezing Pipes). Though you cannot progress any further in this direction, move to the area to the right of the doorway. Use the Electro Blast plasmid to open the door marked "Supply." Inside you'll find ammunition for your Machine Gun, as well as an Automatic Hack Tool. It would be best to keep any of these that you obtain for use on safes.
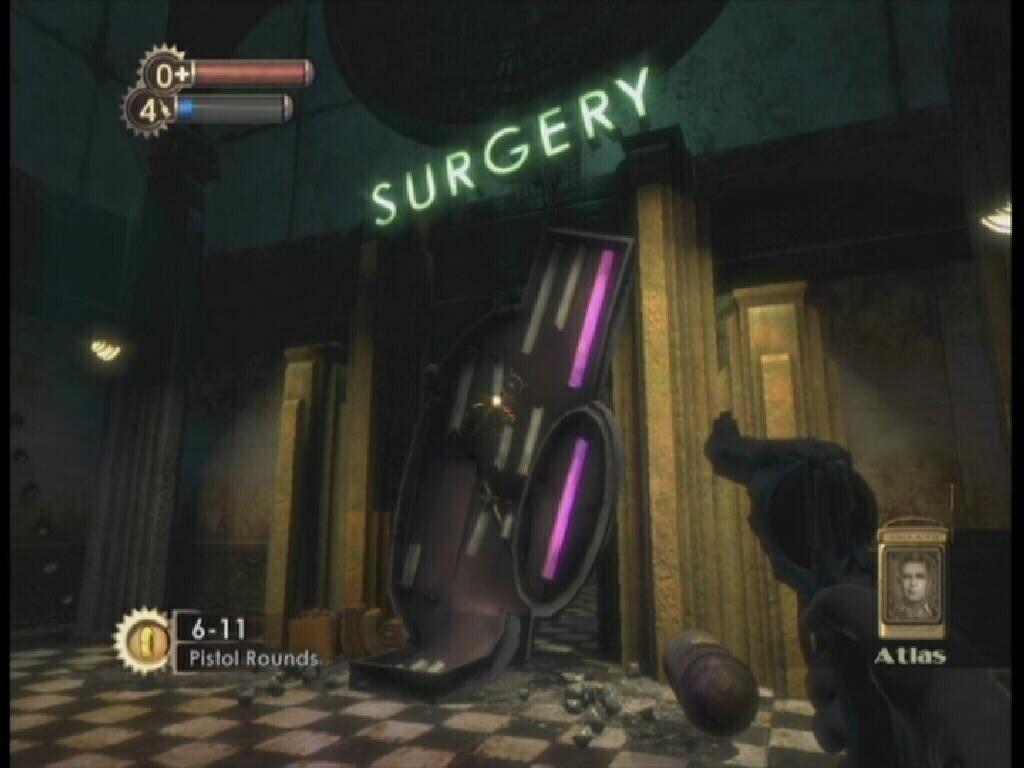
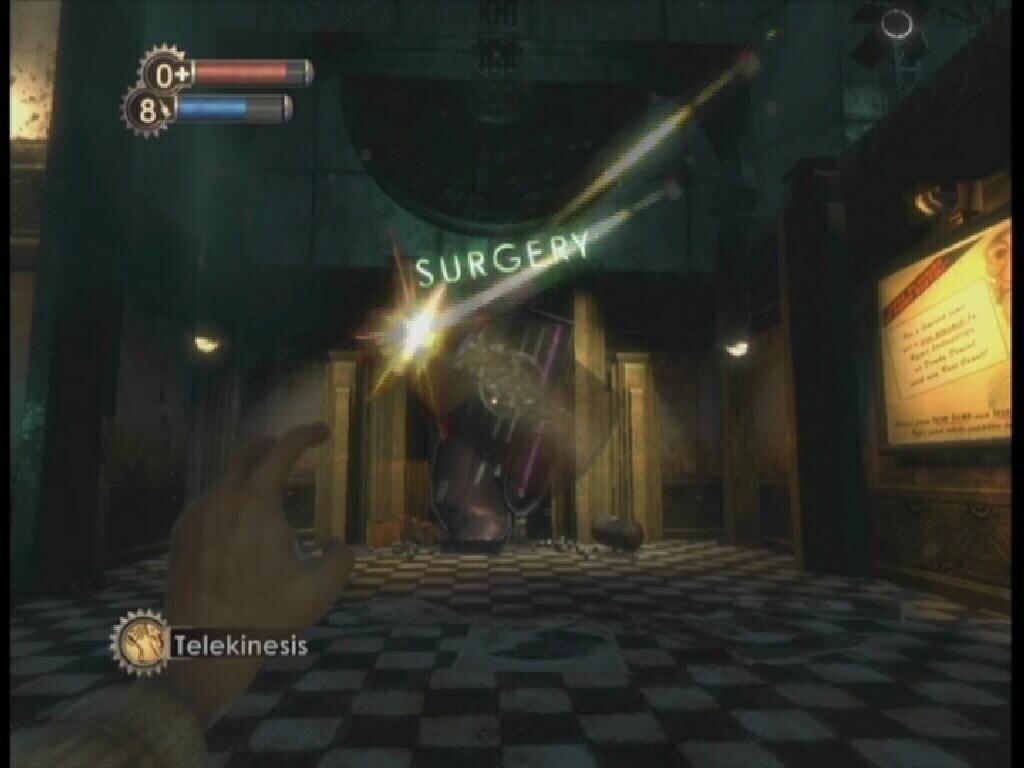
Back up the stairs, head through the Securis door below the giant "Surgery" sign. Head down the walkway and enter "Surgical Foyer." Moving on, you witness the path to Steinman that you must take being closed by a Splicer.
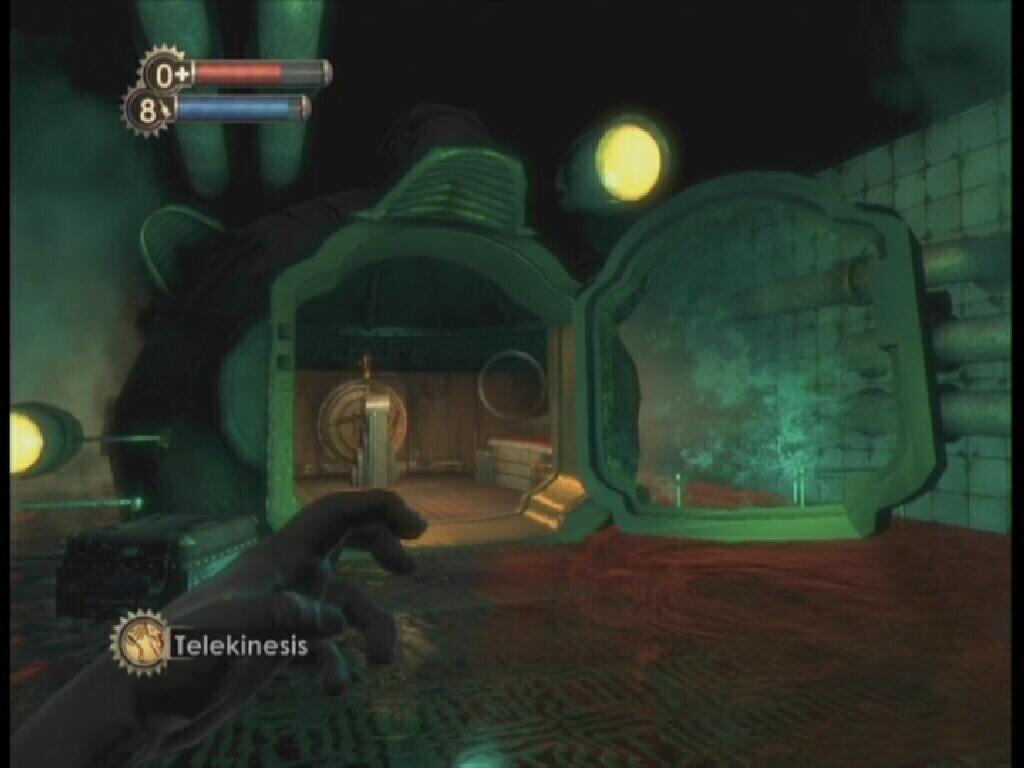
Finding Telekinesis
Nitro Splicers use bombs as weapons. A Nitro Splicer's bombs must be used to destroy the debris blocking the path to Steinman. Doing so requires the use of a Telekinesis plasmid, of which you do not currently have in your possession. There's nothing you can do here at the moment, head back down the walkway. Once you are back in the Medical Pavilion, turn right and go through the doorway marked "Eternal Flame." You'll encounter a Nitro Splicer here, be careful. With the Nitro Splicer dead, enter the Eternal Flame. Inside, turn left, an audio diary (Surgery's Picasso) is attached to the picture stand.
blocked door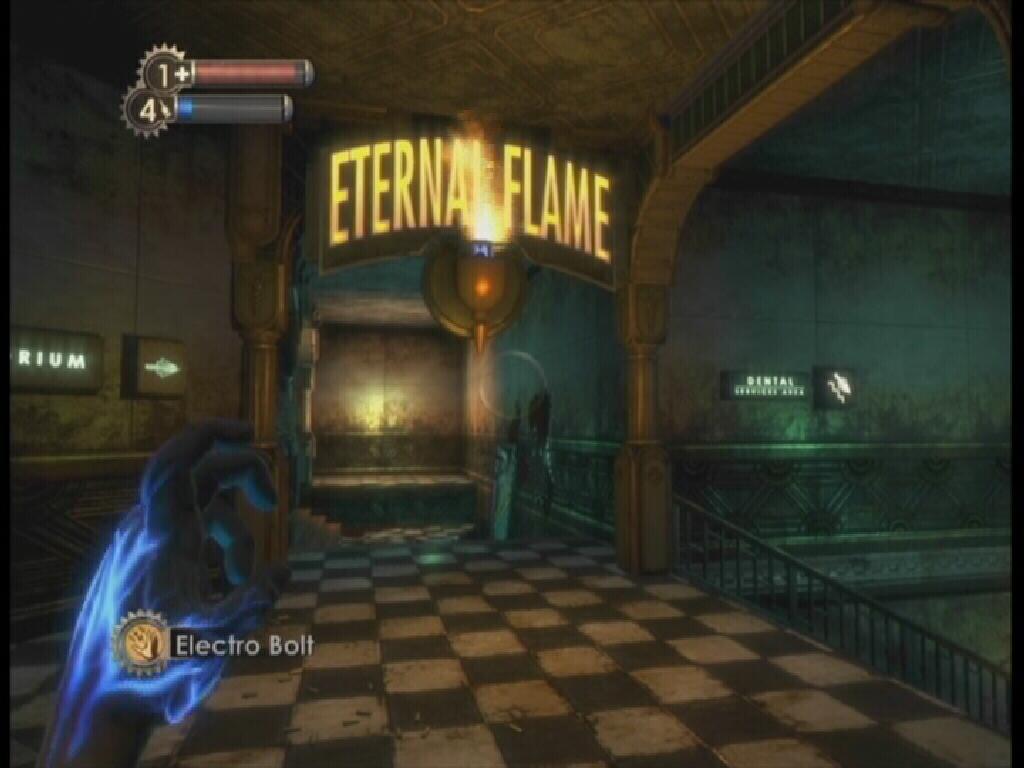
Eternal Flame
The Security Camera in the next room can be hacked like the other security stations, just be sure to stay out of the red light that it projects. If you are in the light for too long, an alarm is sounded and Security Bots are deployed to your position until the timer reaches zero. If you hack the Security Camera, it will do the same for Splicers that it catches in its light. There is a giant furnace in the middle of this area. Walk around the furnace and look for the corpse on the furnace's pan. Use the "Furnace Control" next to the pan to cremate the corpse. The "Hacker's Delight" Physical Tonic is left behind.
Hacker’s Delight
Locate the stairs and take them up into the next area. At the top of the stairs, turn left. The doors here cannot be opened, but luckily there is a small opening to the left of them. Crouch down and move through this opening. The "Incinerate!" plasmid is on the floor here. Pick it up, you'll need it shortly. When the Splicers appear outside, use Incinerate to set the oil spill ablaze. Well, that was easy. Exit the small room, search the corpses of the crispy Splicers, then head back down the stairs. Exit Eternal Flame entirely. Back outside, notice the ice covering the door to your right. Use Incinerate to remove that ice.
Incinerate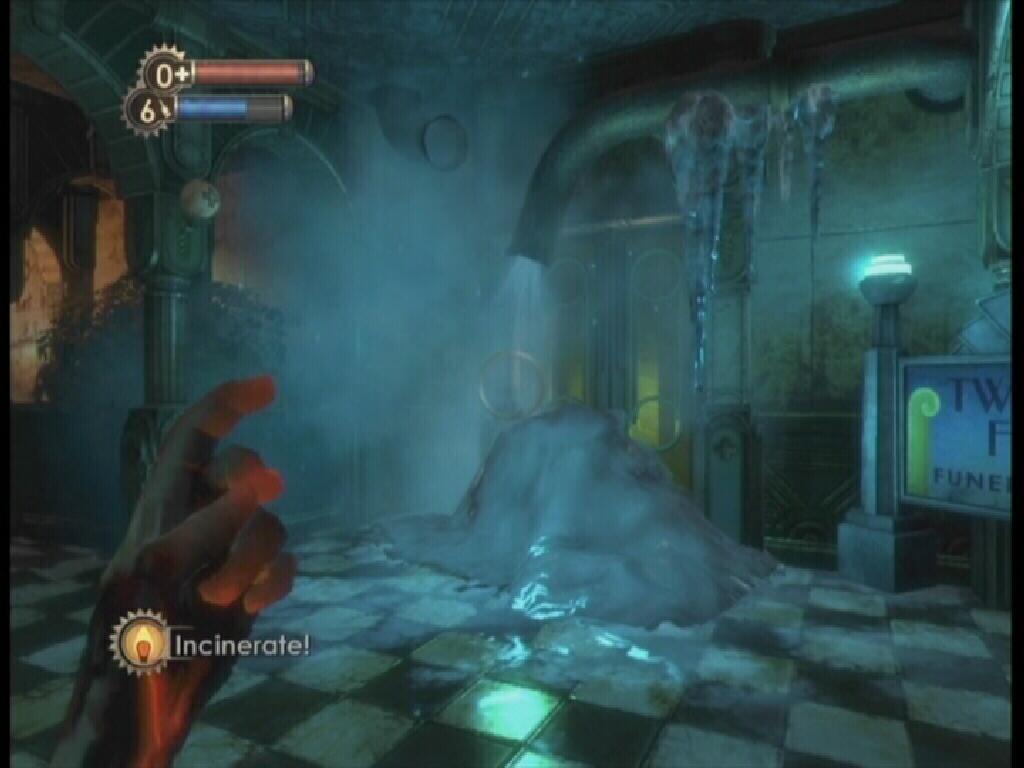
Ice-Covered Door
Enter Twilight Fields Funeral Homes. Move past the reception desk and turn right. The door here requires a code, the code is 0451, which is found on a piece of paper next to the casket across from the door. Inside, you'll find some ammunition, an Automatic Hack Tool and an EVE Hypo. Proceed through the door behind the reception desk. Turn left and enter the water. The lights go off for a moment... the shadow is gone. Creepy. The "Security Expert" tonic is to the left of the sink at the end of this area. Oh, on your way out, watch for that Splicer.
Security Expert
Now, with Incinerate in your arsenal, head down the stairs and use your new plasmid to remove the ice blocking the way. Turn left and enter Kure-All. Do not enter too quickly, an RPG turret sits in the room to your right, very deadly. Peek over the corner and shoot a Bolt at the turret while it is not firing, then quickly run towards it and start hacking. Search this room for supplies. When you are ready exit the room and enter the restroom to your right. Move straight, an audio diary (Enrage Trial) is on the floor at the end.
A safe is on the wall directly across from the chair, if you have an Automatic Hack Tool, use it to open the safe, or hack it manually. Turn around and start heading towards the door while keeping an eye on your right. Look for the small vent in the wall. Crouch down and use your wrench to break the metal grate. Move through the vent, grab the "Wrench Jockey" tonic that's on the table near the window.
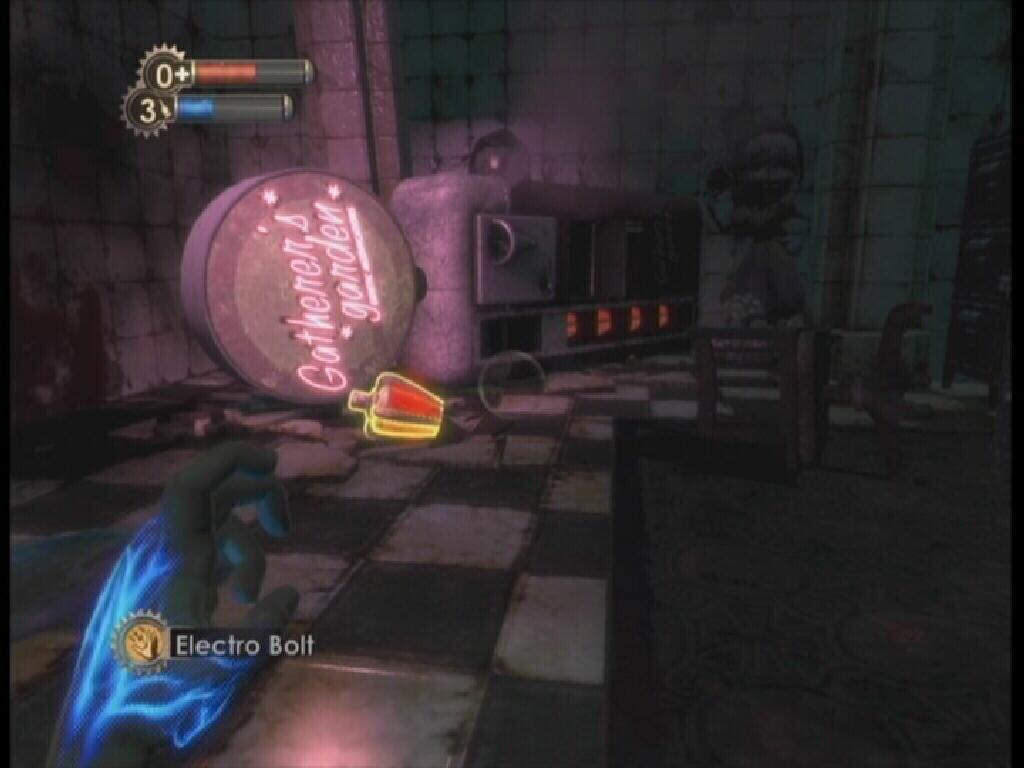
Leave Kure-All and enter the room straight ahead. A Shotgun and some ammo can be found in this small area. After picking up the Shotgun, you are attacked by many Thuggish Splicers. What a great opportunity to try out your new weapon. Continue on, look for the audio diary (Useless Experiments on the floor by the door to Dandy Dental. When ready, enter Dandy Dental. Step through the door by the reception desk and turn left. Proceed through the glass door. Pick up the audio diary (Testing Telekinesis) that is right by the door. Turn left, the Gatherer's Garden machine here holds the Telekinesis plasmid that you are looking for.
shotgun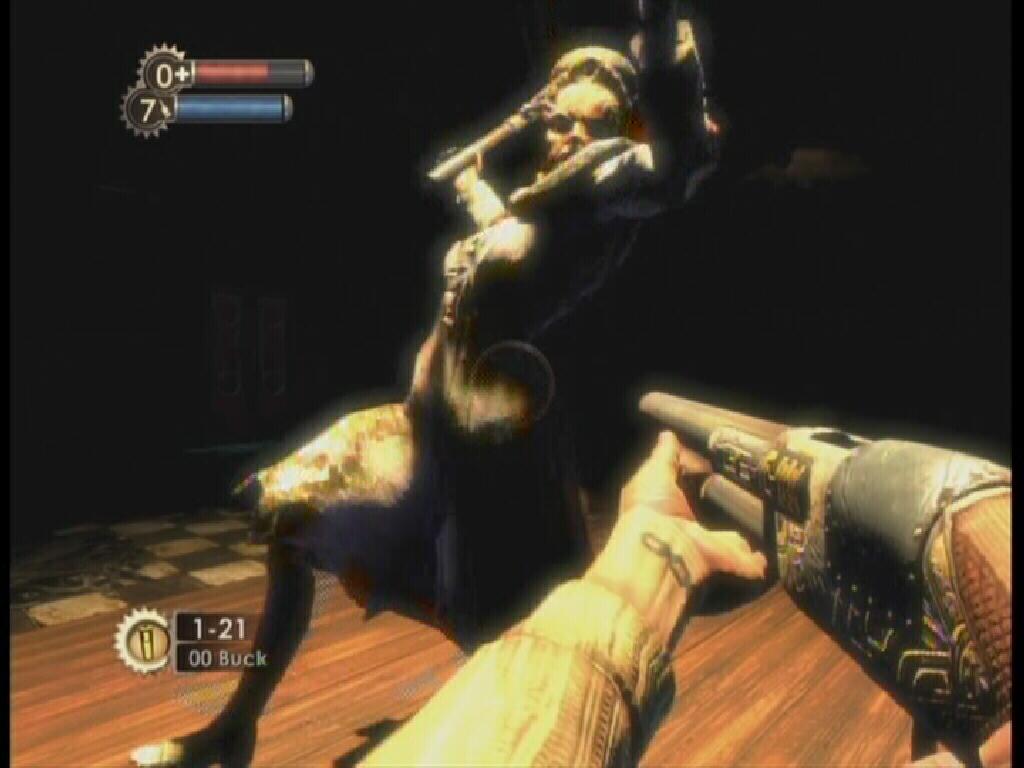
splicer
Unfortunately, at this point you are only able to hold two plasmids at once. One of your current plasmids (Electro Bolt and Incinerate) must be switched out for Telekinesis. Keep Electro Bolt, it is necessary due to the fact that you will be encountering more bots along the way. Don't worry, upgrades are available later on in the game that allow you to hold more Plasmids at one time.
We're not done here yet, exit Dandy Dental and turn left. As you turn the corner, be cautious, a turret in a "Painless Dental" room will fire at you through the window. Destroy the turret before moving on. The Painless Dental door at the end of this area cannot be opened without "Chomper's Office Key." Through the broken window, use your newly acquired Telekinesis plasmid to pull the key on the wall to you, then take it into your inventory.
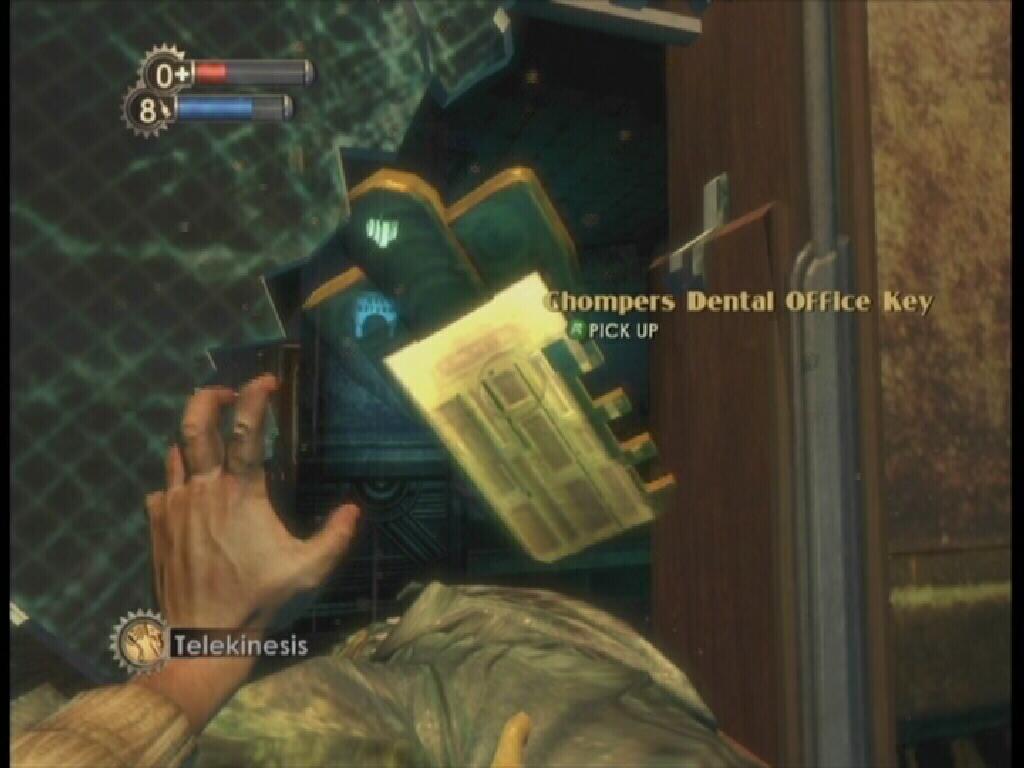
office key
security camera
With the key in hand, open the door to the Painless Dental offices. A Security Camera is on the wall near the door, destroy or hack it to avoid trouble. Nothing much here, though there is a safe in the next room that likely contains some ammunition. Destroy the camera before attempting to open the safe, though.
Leave the offices, you can enter another section of Painless Dental by breaking the windows up ahead, jumping up onto the boxes, then crouching and passing through. Enter the operating room straight ahead. The desk on the right of the room holds an audio diary (Plasmids Are The Paint) and the Speedy Hacker tonic. Turn around and kill the Splicer standing behind you. Phew. Look to the wall behind the dentist's chair for a vent. Crouch down and use your wrench to break the grate. Move through the vent, it leads to the Supply Room. Be sure to collect all of the ammunition inside.
Reaching Steinman
Return to Steinman's Surgery building. With the Telekinesis plasmid ready, wait for the Nitro Splicer to throw an explosive your way. Before it hits the ground, catch it with Telekinesis. Hold the explosive in place, turn towards the rubble and press the Left Trigger to launch the explosive. Don't move on just yet, you can thank that Nitro Splicer for the help by tossing one of his bombs back at him. Telekinesis, ain't it grand?
Bomb
There is an audio diary (Symmetry) to the right of the corpse in the wheel- chair. Press on, you'll soon reach a steel gate. Steinman is quick to send a Security Bot after you, a Turret is also present at the end of the hall. Hang back, out of the Turret's view, and allow the Security Bot to come to you. Destroy the bot, then either hack or destroy the Turret at the end of the hall.
When all is clear head down the steps. Look on the floor by the wall to your right, pick up the "Static Discharge" tonic there. Continue down the hall and enter the first room that you come to on your right. There's an audio diary (Aphrodite Walking) on the cabinet near the operating chair. Leave this room and continue down the hallway. Enter "Aesthetic Ideals."
You'll witness a disturbing scene in the viewing room. Evidently Steinman is one messed up dude. Well, aren't they all? Steinman starts attacking you now. First things first, there is a Healing Station in the back room that Steinman uses to heal himself when he is close to death. Ignore him for now, run to the back area and either destroy the Healing Machine or hack it. Hacking the machine will cause Steinman to take damage when he tries to use the station rather than recovering health. If you have any Antipersonnel ammunition in your Machine Gun, switch to this, it'll cut Steinman down real quick. If you do not have that ammo, use the Shotgun.
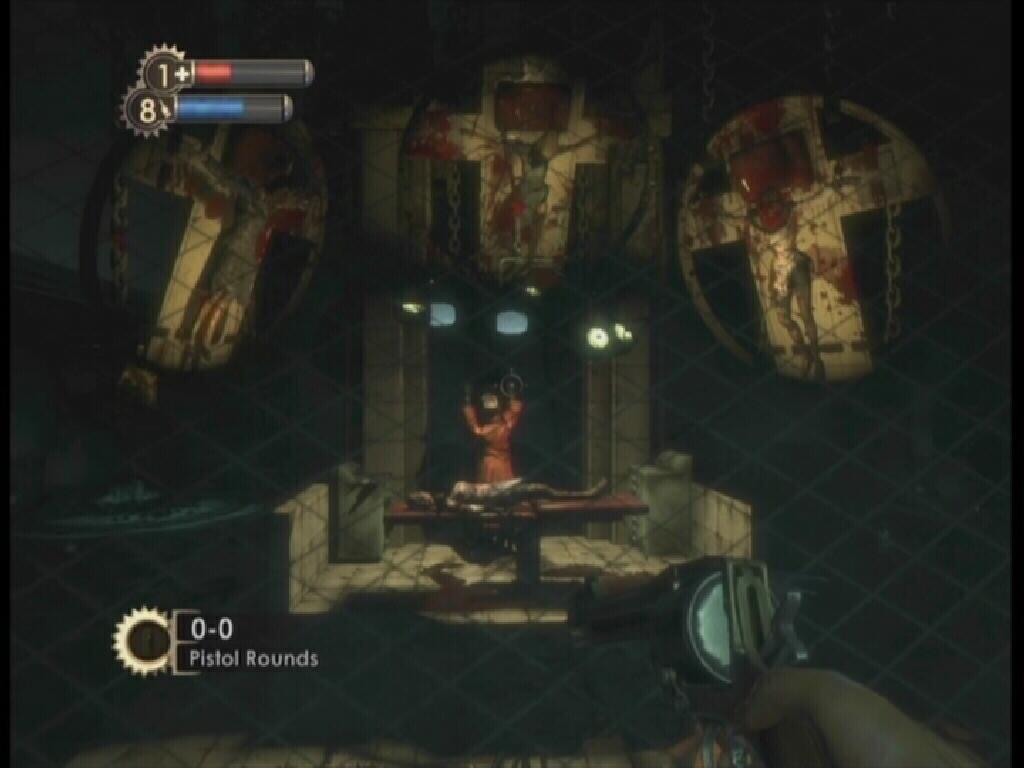
Steinman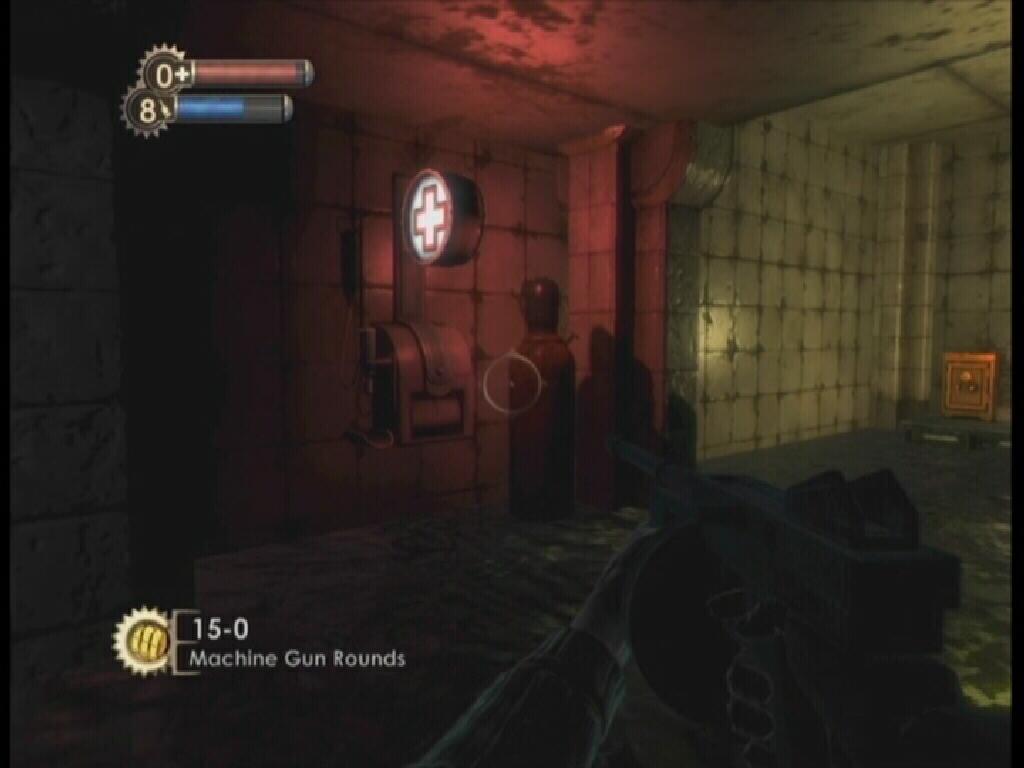
healing machine
With Steinman dead, search his body and remove the "Emergency Access Key," and any ammunition that he may have. Before moving on, search the body that Steinman was operating on before you interrupted and remove the audio diary (Not What She Wanted). Now, with Steinman's key in your inventory, return to the Emergency Access area.
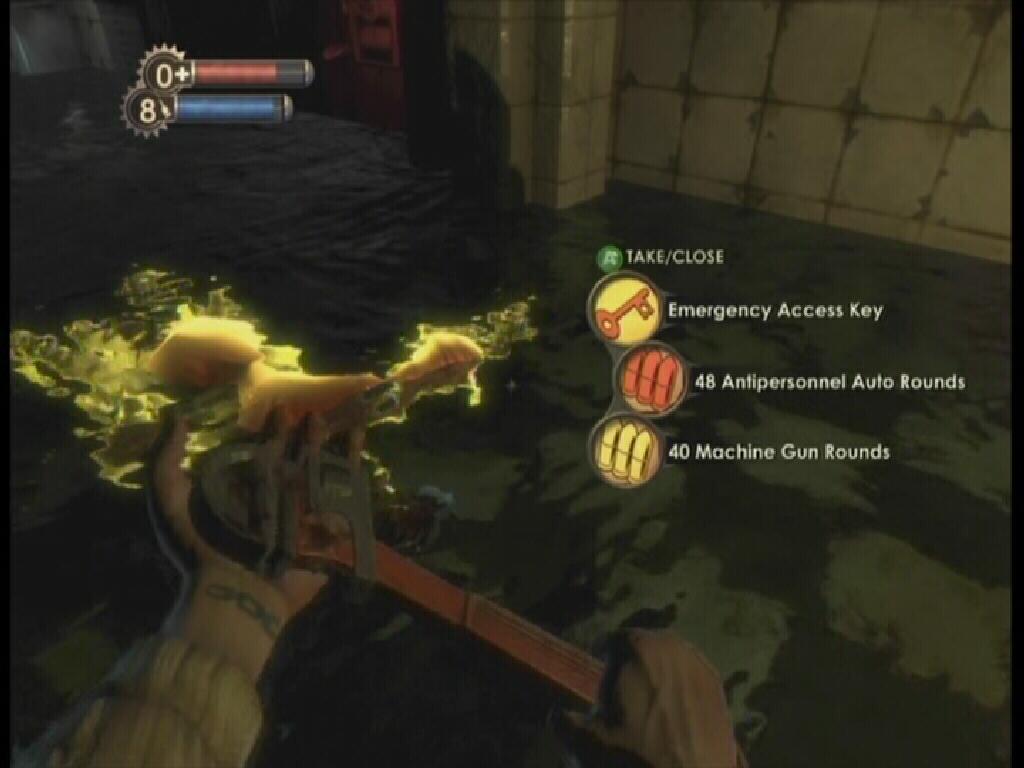
Emergency Access Kkey
Big Daddy
Leaving the Surgery area, on the way back to the Medical Pavilion, enter the first room that you come to on your left. Inside you will witness the death of a Big Daddy. The Little Sister is now without a protector, allowing you to get some ADAM. You are given two choices here: You can "Harvest" the Little Sister by pressing the X button, doing this gives you a large amount of ADAM, but the girl will not survive. Your other option is to "Rescue," doing so will give you half the amount of ADAM that you would receive for harvesting, but the girl will survive. Additionally, Tenenbaum has promised to make it "worth your while" if you don't harm them.
little sister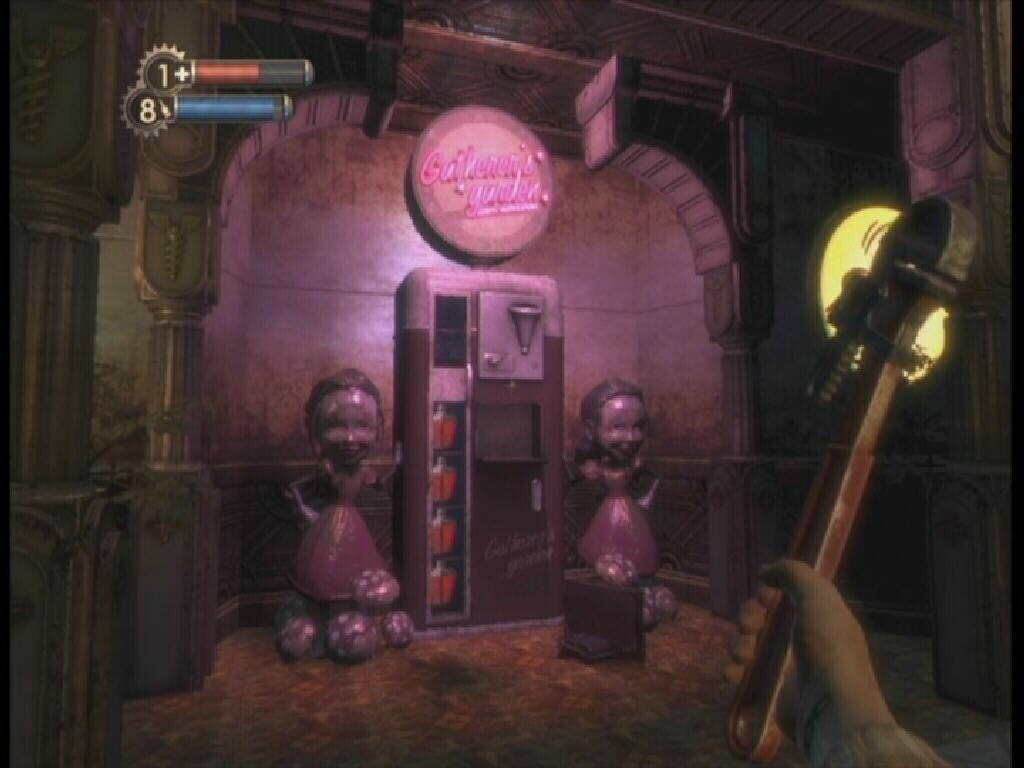
Gatherer’s Garden
In the end, it is definitely more beneficial to rescue the Little Sisters. For one thing, if you are a fan of the Xbox 360's achievement system, there is one achievement that is unlocked upon completion of the game if you did not harvest a single Little Sister. The achievement is "Little Sister Savior," it's worth 100 gamerpoints! Not only that, but once you have rescued a specific number of Little Sisters, Tenenbaum will send one to drop off a gift for you near a Gatherer's Garden station. These gifts contain a large amount of ADAM (though not as much as you would get from pure harvesting), ammunition, occasionally tonics and plasmid. So, you'll need to rescue them if you wish to earn the "Tonic Collector" achievement as well. If you chose to harvest them all, you would have a surplus of ADAM anyway. It's your call.
Approach the Gatherer's Garden station in this room, look for the audio diary (Gatherer Vulnerability) on the floor near the machine. You can use the ADAM that you acquired from the Little Sister to purchase tonics and upgrades from this machine. Though, at this point, there isn't anything overly useful in stock. It would be best to save, for now.
Step through the door opposite the doorway that you used to enter this room once you are ready. On your way back to the Emergency Access room, you encounter a Big Daddy! This one is of the Bouncer variety. Quite deadly. He is not aggressive towards you unless you attack him first, so if you are not prepared ammo wise, locate an Ammo Bandito station and purchase some ammo.
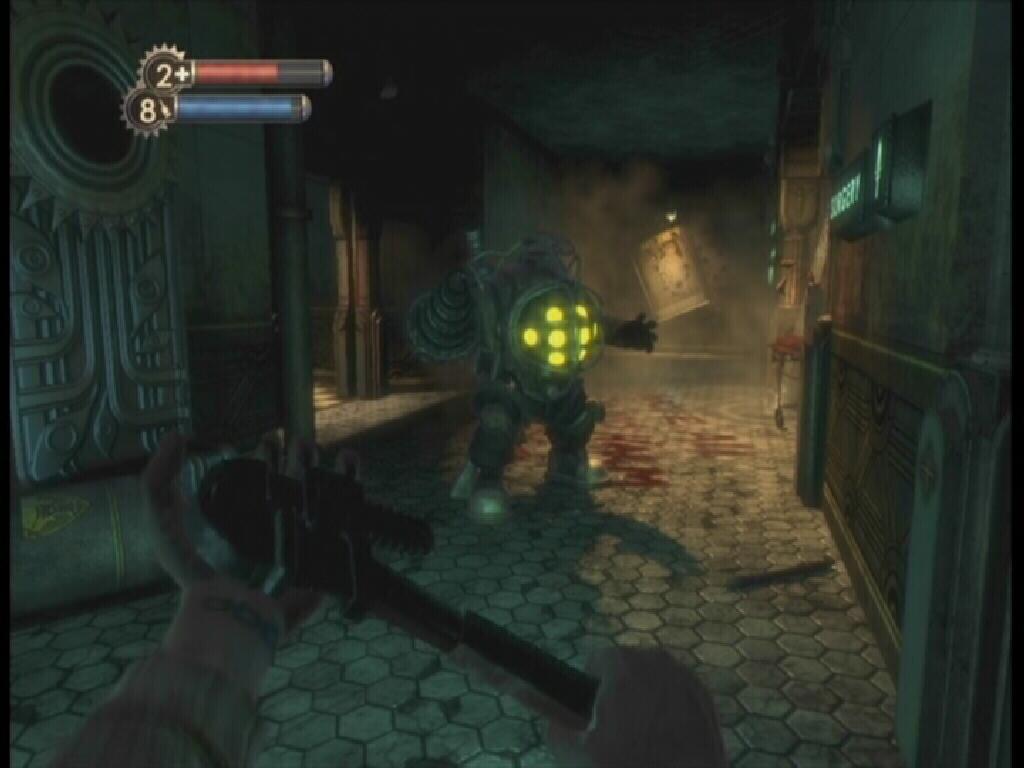
Bouncer
At this point in time, basically your best weapon against the Big Daddy is the Electric Buck ammunition for the Shotgun. This deals a substantial amount of damage to the Bouncer, though he is incredibly fast and strong, making it difficult to get consecutive shots off without taking some nasty damage. Before you provoke the Bouncer, be sure that you have an adequate amount of First Aid Kits. You'll likely need plenty. The Bouncer attacks by launching himself in your direction, at a quick enough speed to make it difficult to avoid. For this reason, do not face the Big Daddy head on. Use the area to your advantage, so run around and try to get behind him. If you run out of Electric Buck, switch to 00 Buck and finish the Bouncer off. Once you have managed to kill the Bouncer, search the body and remove any money or ammo, then deal with the Little Sister.
Once you have made it back to the Emergency Access area, climb up the stairs and use the "Emergency Access Controls." With that done, head back down the stairs, proceed through the newly accessible doorway and complete this level by using the Bathysphere to travel to Neptune's Bounty.
Bathysphere
The nitro splicer just keeps running in and out when I need the grenade. I've tried making him see me but it doesn't work. Help
if ur game is running slow turn on every thing that can go online.that just happenend to me exactly 30 minutes ago.i have a xbox and 2 computers and when i turned them on,it just started working.
there is a glitch. if you kill the guy throwing the bombs then you can't ever blast the debris. the guy doesn't ever come back and you are SOL. this is the thhird time ive have to start the game over due to poor programing.
I really need help on this i just got this game today and i cant get passed that bot that is blocking the door someone can you please help me!
I am in the part where you are supposed to kill Dr Steinman (through a few months off and various save points) and i cant find Dr Steinman dead or alive to get the key off. Any ideas?
He sits on the balcony above and to the right of the vending machines he runs in and out all you need to do is run round and wait for him to toss a grenade down grab it and throw it at the doorway once you do that grab one again and chuck it back at him
The part when you need to use telekinesis to throw the grenade, the nitro splicer is not showing up for me. Help.