4 - Par for the Course
Battlefield: Bad Company Walkthrough and Guide
Battlefield: Bad Company Guide
Level 4: Par for the Course
The US Army has decided to make use of your AWOL status and send you behind enemy lines to find the President of Sedaristan.
Reach the vista point
Collectable weapons (1/8, 2/8, 3/8, 4/8, 5/8 and 6/8):
1. VSS sniper located in the left house in the first settlement you come to in the armoured car using route 1 as part of the 'south missile launcher' objective.
2. NS2000 shotgun located in the first building on the right as you enter the missile launcher base via the river bed.
3. PKM located in a hole across the bridge from the 'eastern missile launcher' objective base and on the left.
4. M24 in an island only accessible by water, located to the north of the 'eastern missile' objective and marked with an equipment spot.
5. M16 located in the settlement northwest of the bridge across from the 'eastern missile base', as well as the gold.
6. MG3 by the fence and explosives as you enter the 'west missile launcher' base.
Gold (1/5 and 2/5):
1. On the northern island located near the 'eastern missile' objective. It will have a white X near it as it's the same area as the M24 collectable weapon.
2. Aim northwest across the bridge from the 'eastern missile' base. The gold is in the central house at the settlement.
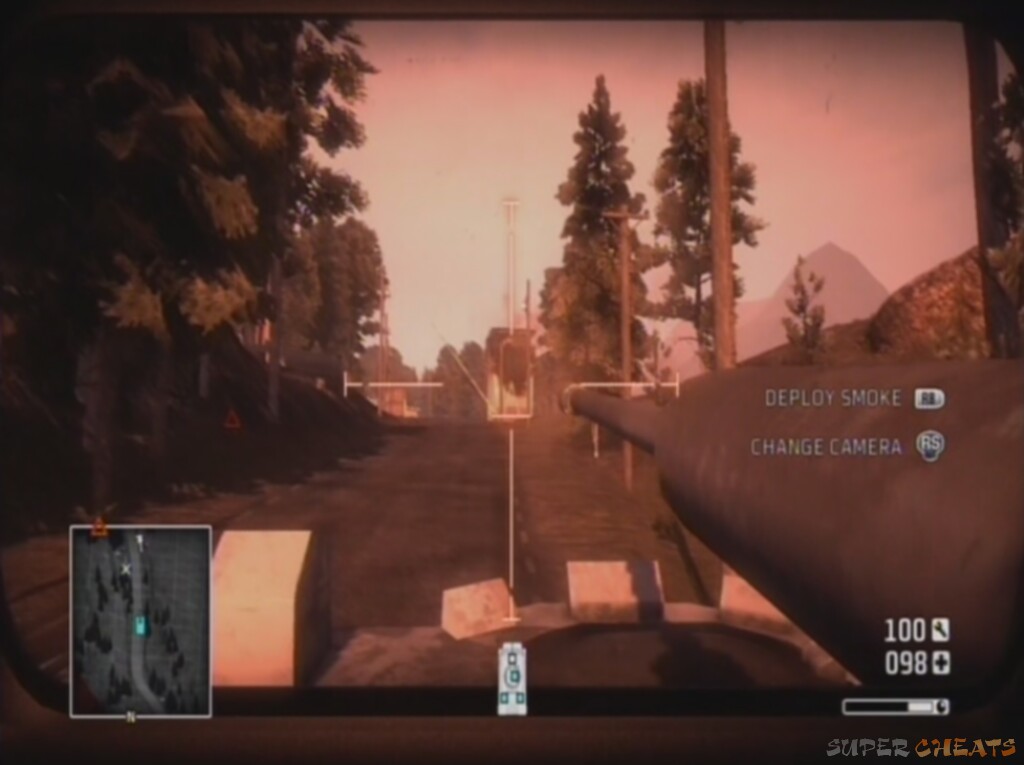
Objective: Regroup at the smoke
We need to get to higher ground and survey the surroundings (unfortunately this particular helicopter is out of use). Go to the smoke (there are no hostiles on the way) up the hill towards the objective.
As our evac chopper gets shot down, we are ordered to go and take out the SAM sites so another helicopter can get in.
Objective: Destroy the south missile launcher
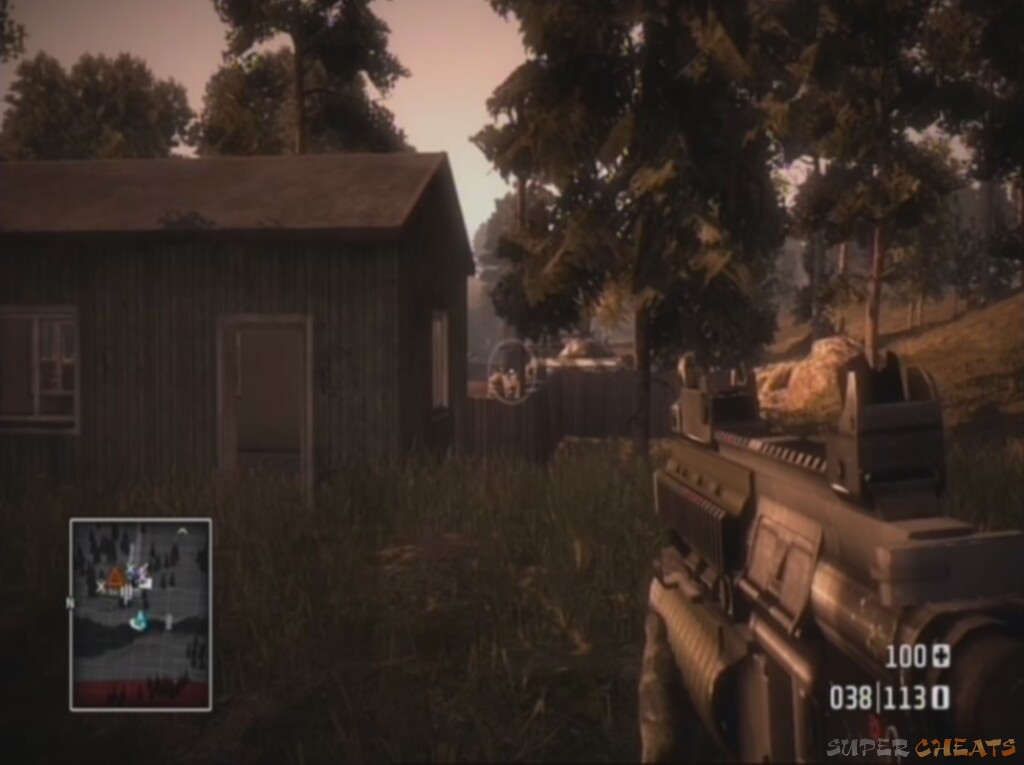
You can see this one clearly from the observation point, and there are two possible ways to take on the first target. Take the narrow path down to the right to move out with the fence on your left. Here there are two main routes on offer:
Route 1: If you want a vehicle to go into the base with, but a harder route in, take the right hand route when they split. You'll see an armoured car, but it's unoccupied. Move up to the car and get in; begin driving along the main road until you see the small settlement and vehicle blocking the path. There is an RPG soldier in the centre between the two houses. If you're quick enough you can plough into him and remove the explosive threat nice and early. Otherwise, disembark with plenty of time to keep yourself (and your vehicle) alive. Pick off enemies from distance, but watch out for explosives. If you do manage to get the vehicle in and take out the RPG soldier early, use the turret to clear the rest.
 Don't let Haggard use the turret! |
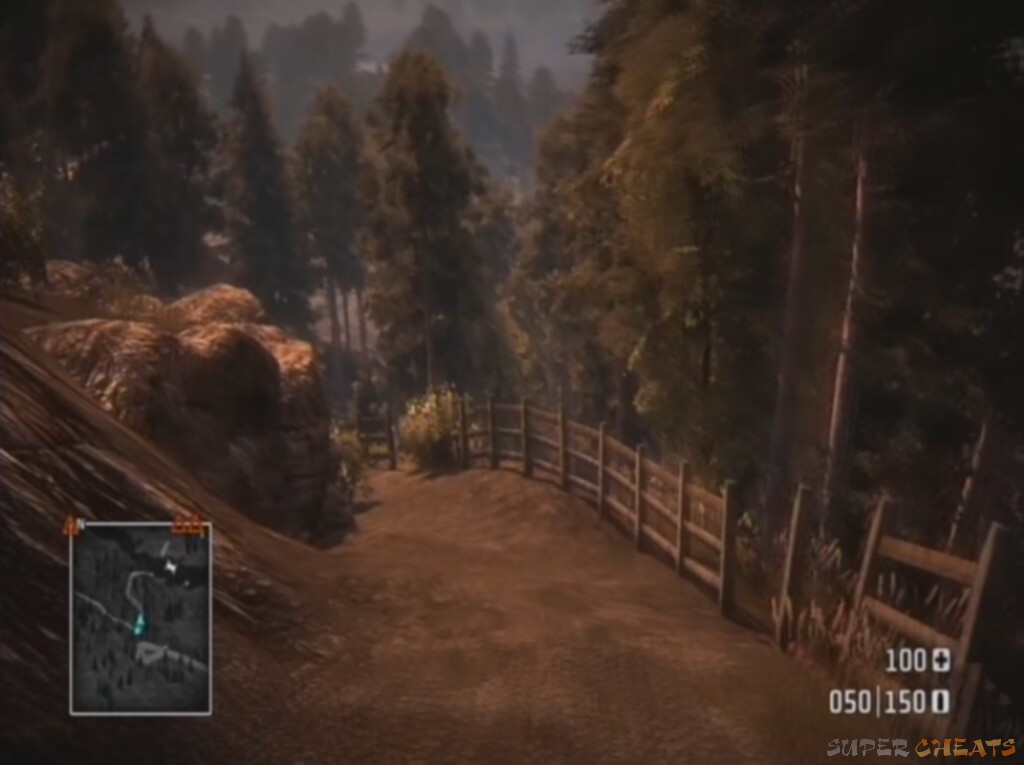
Pick up the power tool from just outside the southern house in case you need it later (there's also a collectable sniper in the other building), and move on. As you exit the settlement, keep to the right hand road and avoid crossing the main bridge. This is heavily guarded with turrets, so instead take the road that bypasses underneath it, and leads to a river crossing. There are a few infantry on the route, but you can just drive on as their bullets will do little damage to your vehicle. Follow along the shallow riverbed until you get to the base on the map.
The scenic and potentially deadly route to the base
Route 2: Take the left hand route down the mountain-side to hit the riverbed. You will encounter no resistance until the main gun emplacements of the base rip into you. Without cover, you need to spring forwards and get safe, fast.
 The direct and easy route |
Now we're in the base (follow the wooden pier), everything's the same again.
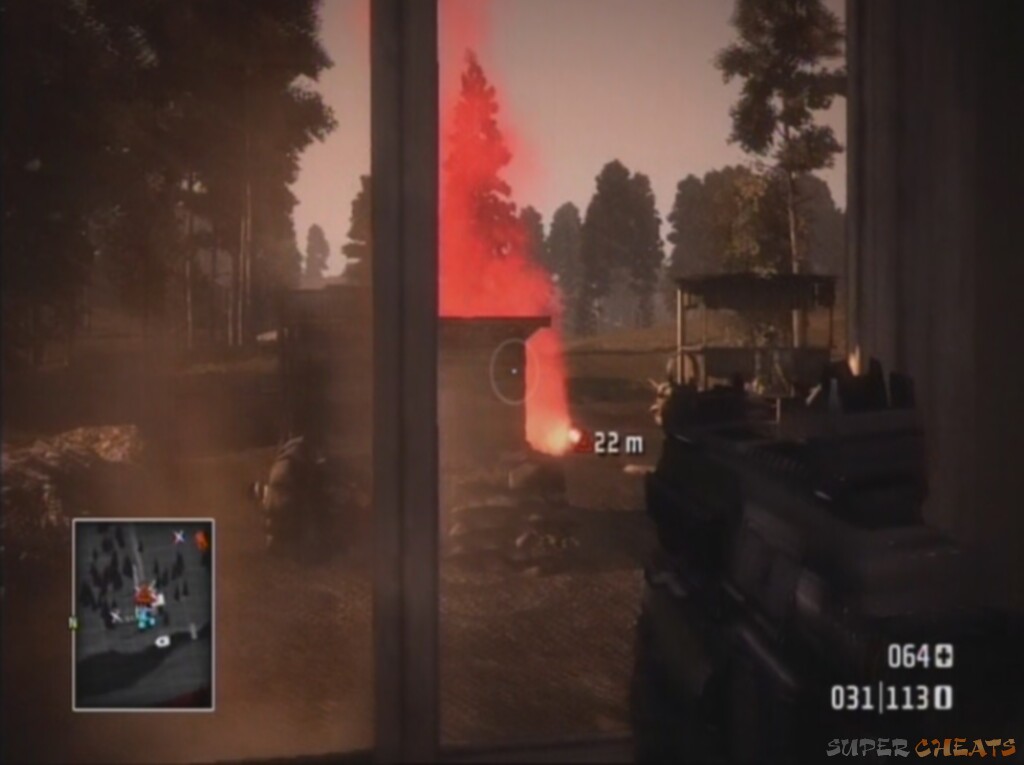
Take out the gun emplacements with whatever you have available; if you have a vehicle this is considerably easier and you can also drive right into the centre of the base using your armour for cover. Once you're in the centre use an explosive to take out the SAM site on top of the building. A grenade will do just fine if it's all you have.
 Blow up the south launcher |
Objective: Destroy the east missile launcher
Move north through the base. You'll find a mortar strike at the most westerly equipment spot, and an empty tank further north. Clear any enemies on the way, most of whom will be in the main large building, and head towards the boat in the harbour. You'll find a hornet's nest riled up as you move towards it. Use the buildings for cover. Most worrying will be the armoured car, which you can use the mortar strike or grenades to take out. Also watch out for enemies on the tops of the buildings; these are quite easy to miss.
The boat is the safest, quickest and easiest option, however you can take the tank in the hangar along the road if you wish – we'll be following the boat route however. Get in it and go down the river to the right (east). Follow the coast, ignoring any enemies on the beaches (they have RPGs, so it's best not to stop) and head underneath the bridge.
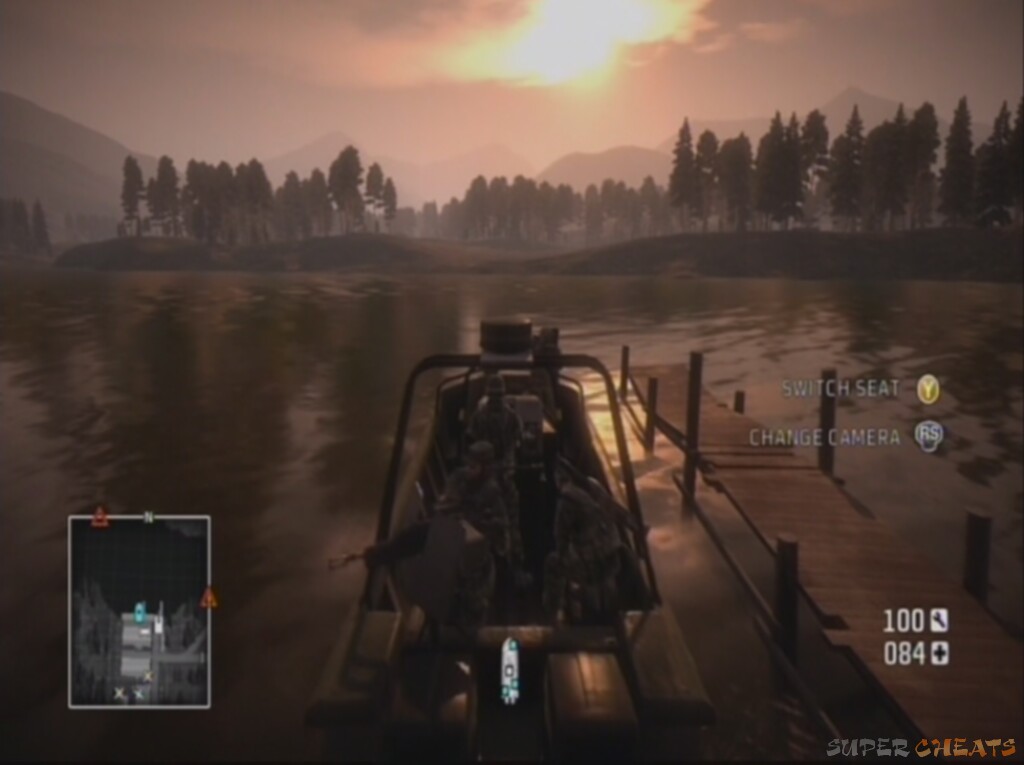 More boating |
 Follow the river |
Follow the coast round to the right and run the boat onto the beach. Kill any enemies in the immediate vicinity with the gun turrets on the boat (though be quick, as there are patrol boats in the area), before sprinting up to the concrete bunker's wall. Your team will take out many of the guards in the open, while you can get in cover and pick off the harder ones. Once against the bunker however, use a mortar strike or simple explosives on the SAM site, which is just to the left of the bunker as you look at it from the beach. A patrol boat will land on the beach and enemies armed with grenade launchers, RPGs and conventional bullets will sneak up on you. Take them out quickly.
Sprint for that bunker!
Objective: Destroy the west missile launcher
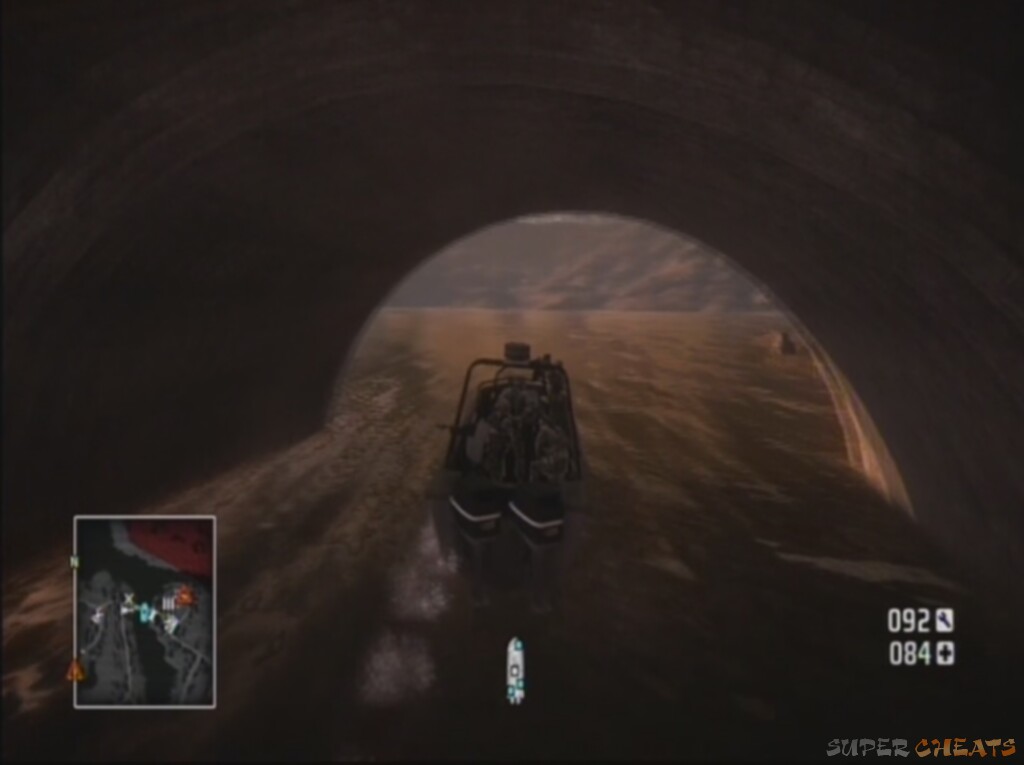
There's no need to clear the rest of the base. You could now take the unoccupied tank across the bridge, then turn left and head towards the northern launcher, but again, the easiest option is to take a boat. Head back into the water and along the way you came, passing under the first bridge and over the river crossing. Turn right at the inlet past the first launcher site we were at earlier, and follow it, through the narrow bridge, and make a landing soon after.
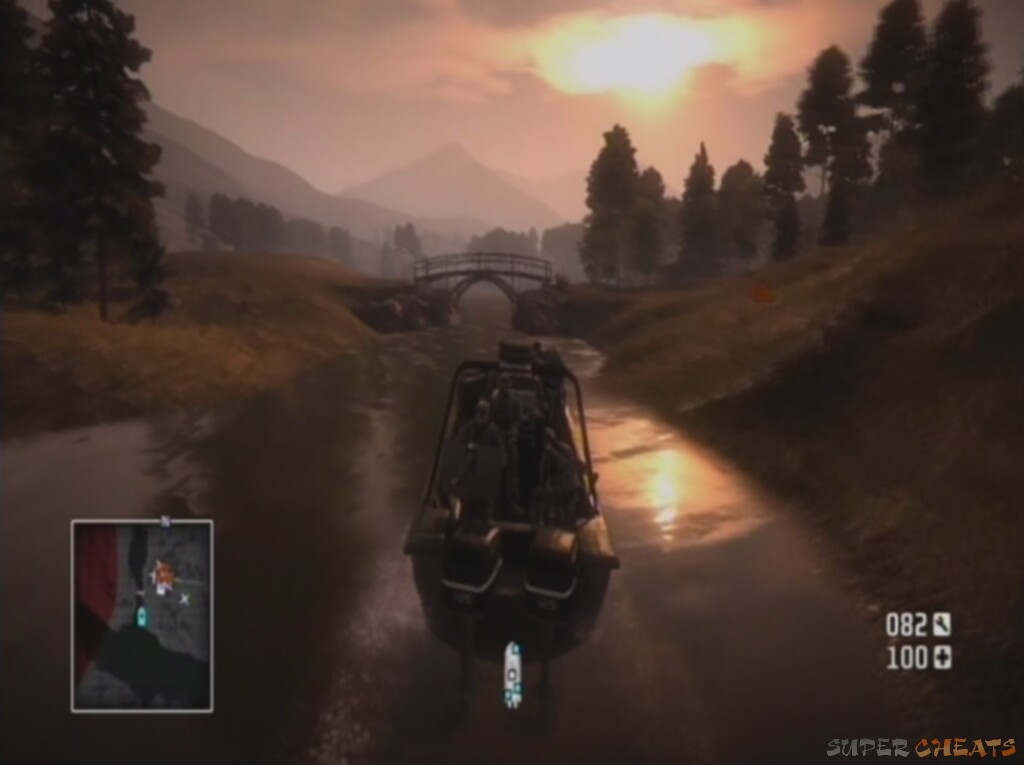 A narrow gap for a wide boat |
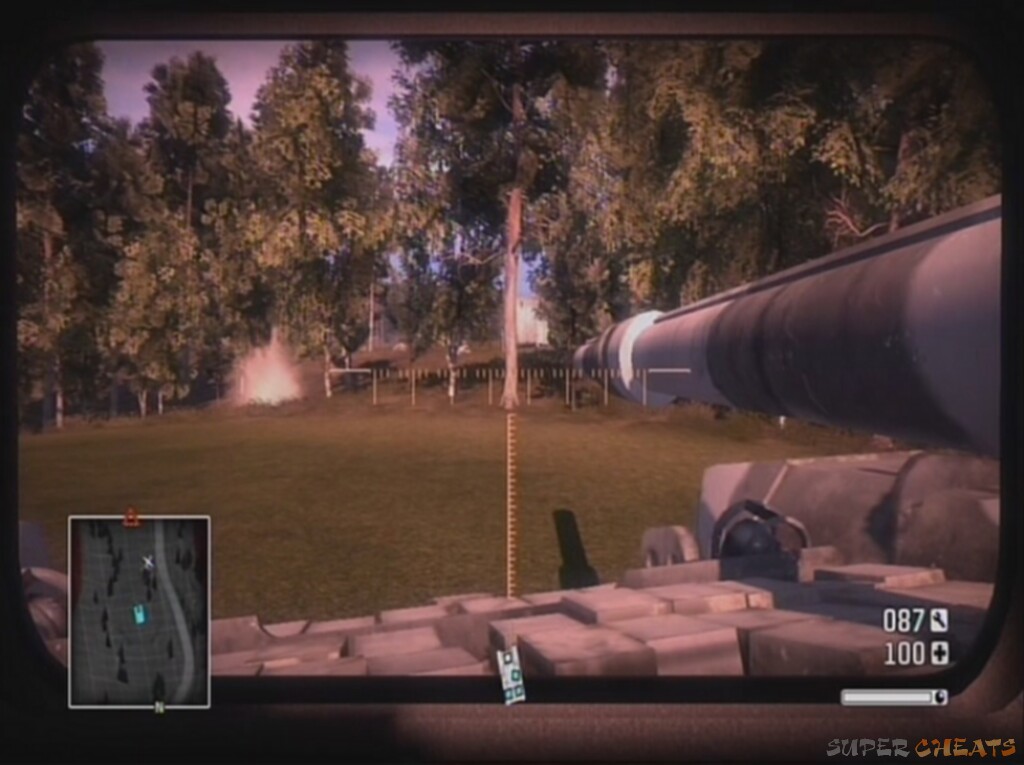
Climb up the hill on the riverbank and use the mortar strike or long range grenades to blow up the SAM site from distance. You can see over the fence and to the objective without needing to fire a shot. Use the gap in the trees to the left of the green building nearest the river to make the target.
 Approaching the base from behind |
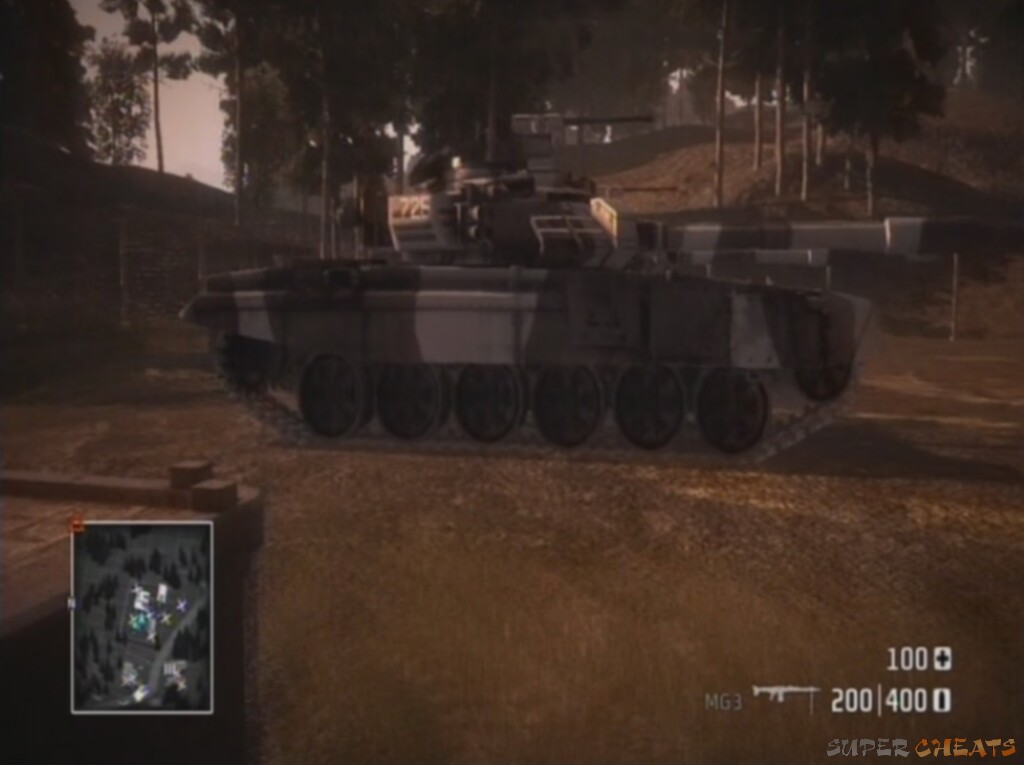
Objective: Regroup at the smoke
Your regroup site is right in the middle of this small base, but you can always sprint at the smoke to trigger the cutscene and invulnerability! Otherwise, just take your time and take out the mounted turret in the guard tower first before moving into the smoke.
 Regroup by the tank |
Unfortunately there's still no helicopter support, but Miss July has deployed a surprise at certain co-ordinates to make things easier.
Supply drop
Objective: Reach and pick up supplies
Use the tank in the base, or the one towards the river on the golf course (due east), and head along the golf course lining the river bank to the east. It's basically the route on the other side of the river to the one we took to the east missile launcher. Resistance is relatively light considering we're in a tank, though there are some RPGs. Once you hit the road at the end of the island, turn right and cross the bridge to where the east missile launcher was housed. There's a power tool by the wooden structure right at the entrance to the bridge if you need to repair your tank.
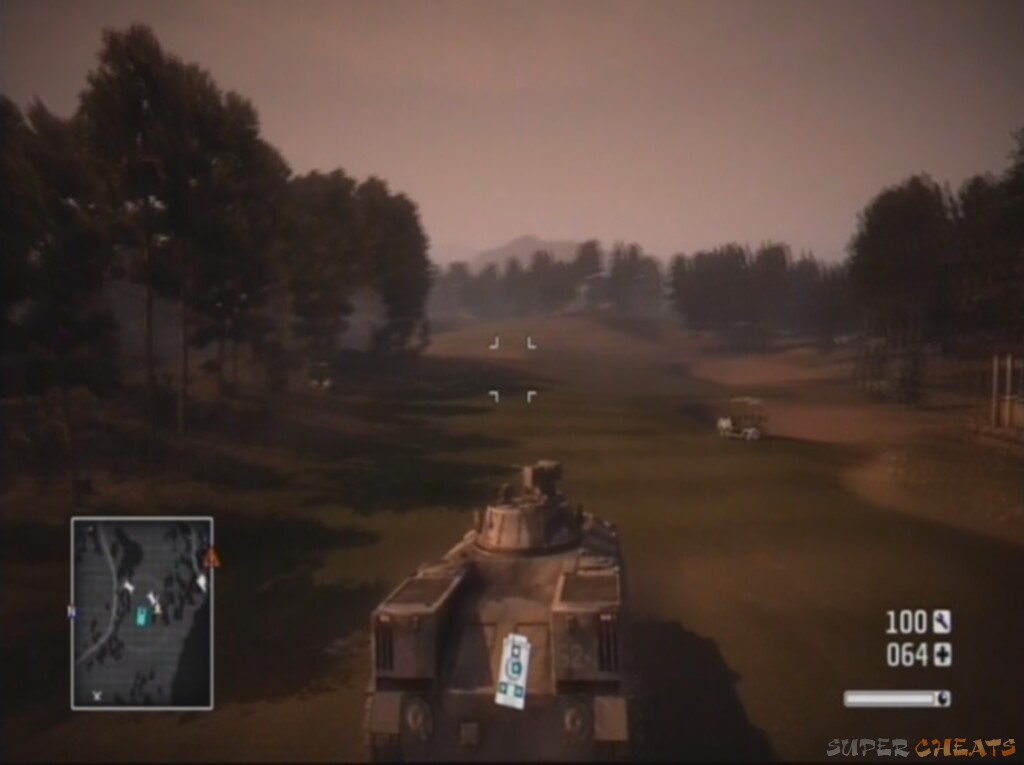 The golf courses are pretty neat |
At this stage it's probably still worth keeping the mortar strike after the repairs are completed however. Follow the road off the bridge, passing to the right of the base we were in earlier. On this side of the river there's no resistance until we trigger the objective. Just follow the road, ignoring the turning to the right and you'll arrive at a small settlement clustered around the road.
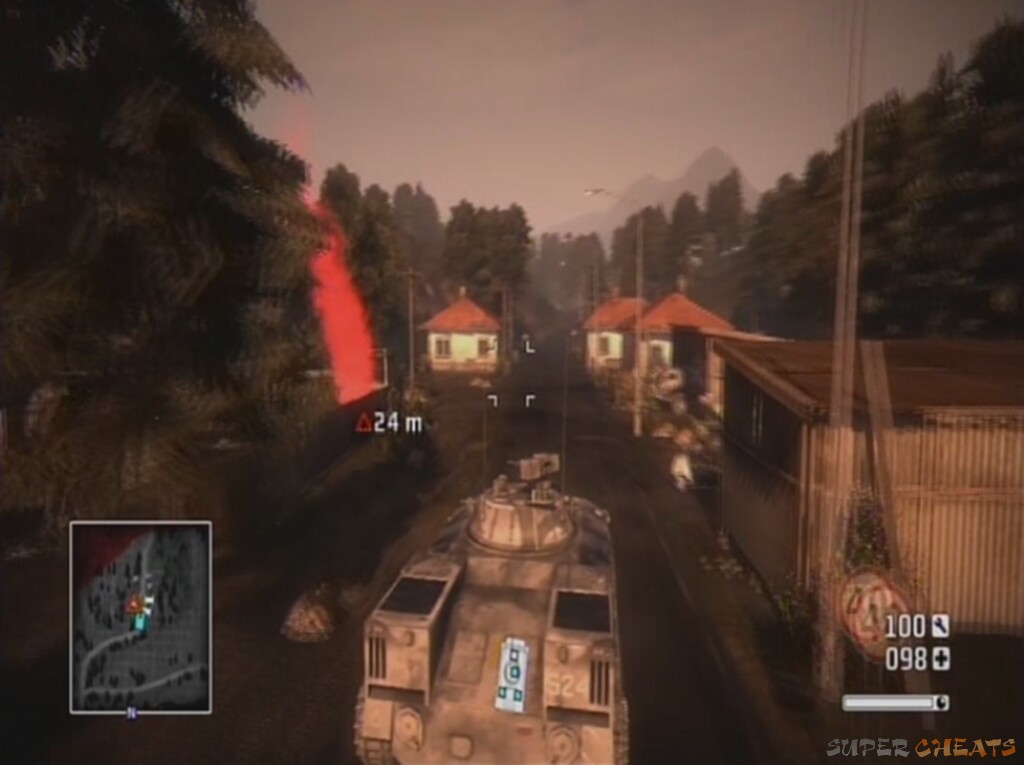 A present is nearby |
Exit the tank, move through the wooden fence and pick up the goggles in the equipment spot on the left hand side of the road. This is a laser designator, and picking them up triggers the objective. As soon as you pick them up a tank will come trundling in, so knife the fence behind them and move up the hill to get a good shot on it while relatively safe (it comes along the same road you came in on, but in the opposite direction).
Objective: Destroy the tank
Use the Left Trigger (L1) to look through the laser designator, then hold Right Trigger (R1) while focused on the tank. As the two bars move together the strike is called in. You can target any part of the vehicle, it doesn't really matter. The game then switches to a birds-eye view, similar to the artillery gun viewpoint in the opening level. You have to guide the missile in with the right stick, steering it towards the tank. You don't have to hit it, just get it pretty close and the blast should take it out.
The designator is only good against vehicles; you can't use it at all against infantry or buildings, so I would still recommend swapping it back for the mortar strike where you originally picked it up.
The tank never knew what hit it
Objective: Regroup at the smoke
Head for the red smoke near the fenced area where the laser designator was found.
All the action is going on at the President's palace, but there's so much action that we're apparently unequipped for it.
Reach the supply station
Collectable weapon (7/8):
7. PP2000 in the first house on the left in the supply base, marked with an equipment spot.
Gold (3/5):
3. By the monument north of the tanks in the car park.
Objective: Eliminate all enemies
Get back in your tank and continue along the road. You'll see a guard tower in the distance to show you're getting near. Try and shell it with the tank before moving in.
 An enemy guard tower |
There are RPG troops in the base, but the tank is useful for clearing the immediate area. Once in the centre, an enemy tank will show itself. Use your mortar strike to take it out. If you climb on the roof of the first building (the ladder is located next to the road you come in on) you get a great view of all the surroundings and any hiding enemies. Keep shooting and moving until you get the confirmation that all enemies have been eliminated.
Reach the palace
Collectible weapon (8/8):
8. The UMP found in the right guard tower before you approach the bridge at the end of this section.
Gold (4/5):
4. In the pit by the unoccupied tank as you stay left on the level near the outhouse mentioned below.
Objective: Regroup at the smoke
Take a look around, picking up any collectable weapons you want. Check below for lists of what guns are where, before moving up to the car park where the empty tanks are marked on the map. For once, the smoke is actually a long, long way away, and it's a perilous route that we have to take to get there. It's probably worth swapping out your mortar strike for a power tool at this point (you can find one in the equipment spot near the first tank in the car park). Make sure you get one of these two tanks rather than the one you came in on, as these are much better, despite having a slower rate of fire.
 A truly mammoth tank |
Drive out of the car park and turn left, rejoining the road we came in on. This part of the level is an absolute minefield, so be prepared for some fairly unorthodox maneuvers to get to the objective. Head along the road and at the sharp bend where the fence appears to suggest going straight across the corner, follow the road so as not to flip your tank. After this bend, you'll meet an armoured car and RPG units. A simple cannon to the centre should destroy them. Follow the road across the bridge. Take out the armoured car and RPG soldiers that appear on the other side. You can drive past individual infantry so long as they don't have RPGs aimed at you.
Head off the main road to the left through the fences where the armoured car came from.
 This is not proper course etiquette |
You'll find yourself on a golf course. Correct your direction once on the course to follow the map northwards. After driving for a fair distance, you'll come under long-range fire from an enemy tank. Take evasive maneuvers (it's very hard to hit it from so far away), before moving in closer, using smoke (RB/R1) if you come under heavy fire. It's a quick fire tank, so not as powerful as you, but capable of really stunning you and preventing cohesive counter-strikes. An armoured car will follow just behind the tank, but that's a breeze compared to what preceded it.
Smoke is a great ally
Get out by the monument with the two equipment spots by it to find a collectable weapon and a power tool, if you needed one. Use this period of quiet to repair your tank if you need to. Move on, now starting to turn to head eastwards, until you come under fire from the next tank, snuggled neatly on the fairway. They have amazing accuracy from distance, so you may need to use smoke and draw them in closer.
Now you'll get the chance to meet up with the main road again, but instead, turn left and join onto the next bit of the golf course just before it. You have more room to maneuver out here so it's the best option in a tank. You may well come under fire from tanks that you don't really need to engage. If they're too far away, or behind you by the time they open fire, you may as well press on. The course bends round to meet up with the road, where a tank is guarding the crest of a hill. You come up on it suddenly, so you can use smoke here while you pick it off blind.
Enemy tanks can prove very troublesome
There is another tank off the road nearby, which you can swap for if yours happens to get destroyed, as well as some gold hidden by a wooden outhouse at the back of the level.
Press on, now following the road until you get to the bend. Turn left to go up the steep hill (you can definitely make it!) and rejoin the comforts of the golf course. With trees on both sides, follow the heavily sloping fairway downwards. A tank will engage you in the distance on the road. Use smoke to mask yourself and draw it onto the course towards you. Continue along the fairway onto the green, and plough straight on through the trees in front of you to join up with the next hole.
 Trees are no fit obstacle for a tank |
There is, of course, another tank, this time hiding in the woods on your left as you break through the trees. Another will also engage you from the right, up high in the distance. Get close to the first one and use smoke to protect you. Take it out as quickly as you can, then flank the other tank so you're coming up from below it and it can't get a shot on you. It's behind sandbags so can't come down to engage you. Move back onto the road to take it out.
Follow the road towards the guard tower up ahead. Cannon it into oblivion, then forge on across the bridge. This suspiciously empty looking bridge, is in fact planted with charges, so be prepared to get out of the tank or reverse in a hurry. You can find a collectable sniper and two submachine guns in the nearby equipment spots. The sniper is best for the next bit, so I'd recommend equipping that for now.
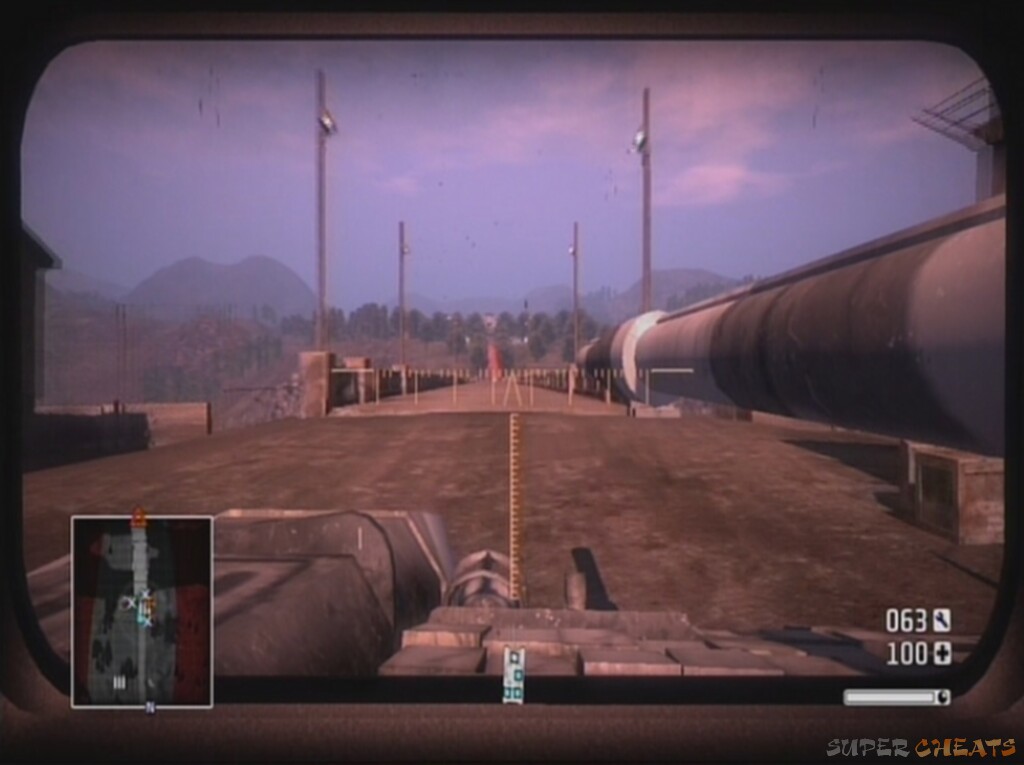 It's quiet… |
Jump over the railing and move along the metal grating that handily avoids the destroyed sections of the bridge. There are many guards both on the bridge and on the walkway below it, as well as sniping from in the distance. Move slowly without exposing yourself to too much fire at a time, and take them out one by one. As you reemerge on the other side the objective will be triggered. Phew.
Rescue the President
Gold (5/5):
5. In the back room on the bottom floor of the palace as mentioned below.
Objective: Search and secure the palace
We need to get to the President now we've made it through that hell-hole of a golf course. Move along the cobblestone path going up the hill. As it levels out, sprint for the second wall in, vaulting the first. This wall provides apt cover, and the enemy shouldn't come over it. You can easily pop up and dispatch a few, but to get the rest follow the wall round so you get into a flanking position on most of the enemies in the gardens. There are frequent machine gun nests in the centre, so be careful. If you flank to the right you'll have more chance of survival than the left hand route, as there is a good sized wall to cover against.
Once you approach the house, do another sprint maneuver to reach the main wall of the building. Shelter underneath a window, picking off any enemies who show themselves on the stairs or on the balconies indoors. Make sure you take out a good few before moving in, as some are armed with explosives, and there is a mounted gun too. Eliminate all enemies to proceed: some may be hiding in the corridors off the main room, but their resistance won't be too great, though there is one guard in the upper left room at the top of the stairs who is unusually well armed.
Objective: Regroup at the palace vault
Before proceeding to the vault collect the gold bar located in the back room downstairs. The vault itself is upstairs in the centre of the hallway.
Miss July reveals that the mission should be aborted, just as you find the President. As for evac? No chance. Luckily, despite insulting you repeatedly, the President has a way out for everyone.
No comments yet. Tell us what you think to be the first.