2 - Acta Non Verba
Battlefield: Bad Company Walkthrough and Guide
Battlefield: Bad Company Guide
Level 2: Acta Non Verba
This is the first level where you can find gold bars in secret locations for achievements and collectibility.
You start the level being airlifted in, discussing what to do with the gold bar found at the end of the last level, which your group has now decided to keep and split four ways – just to look after it for Uncle Sam. You need to go in ahead of your friendly convoy and clear any major dangers in this mission.
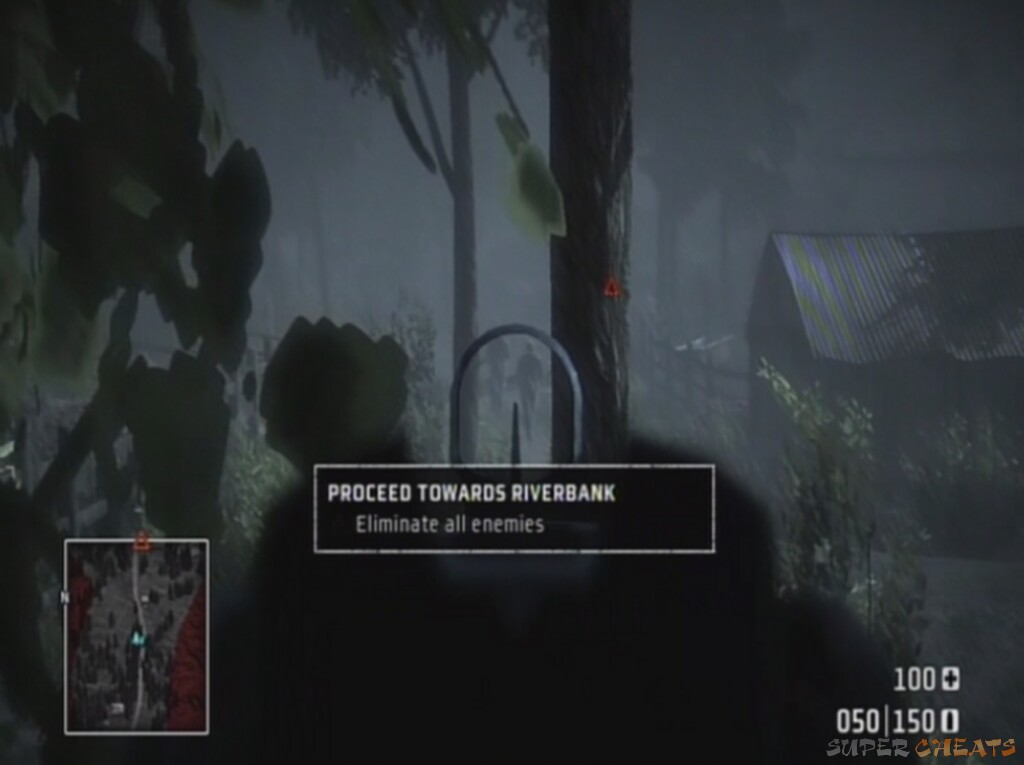
Once you are dropped in you land near a house with the Legionnaires logo and motto on it.
 The Legionnaire logo |
Proceed towards the river bank
Gold (1/5 and 2/5):
1. As part of the 'search the house' objective
2. In the large house with the mounted machine gun in the 'eliminate all enemies' objective
Objective: Search the house
Simply knife the door to enter, then locate the metal chest and press B (Circle). A cutscene will play that you will eventually become very familiar with as you locate another gold stash. There are no enemies to worry about in this section. Note that there is also some C4 in the house, to the right of the door as you go in. You may as well collect it as you start each level with no equipment except for the auto-injector. Leave the house the way you came in and regroup with your squad to trigger the next objective.
Objective: Move out
Begin to move along the road to the south of the house. Stay in the tree-line as there is a group of enemies ahead.
 Stealth is advisable |
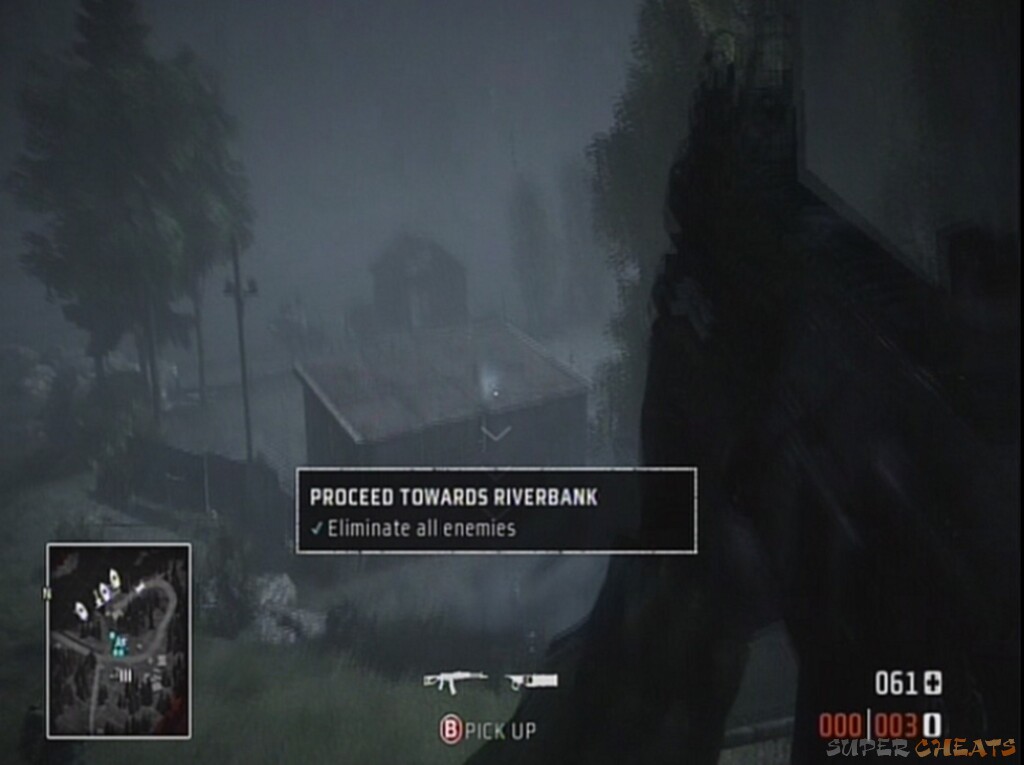
Objective: Eliminate all enemies
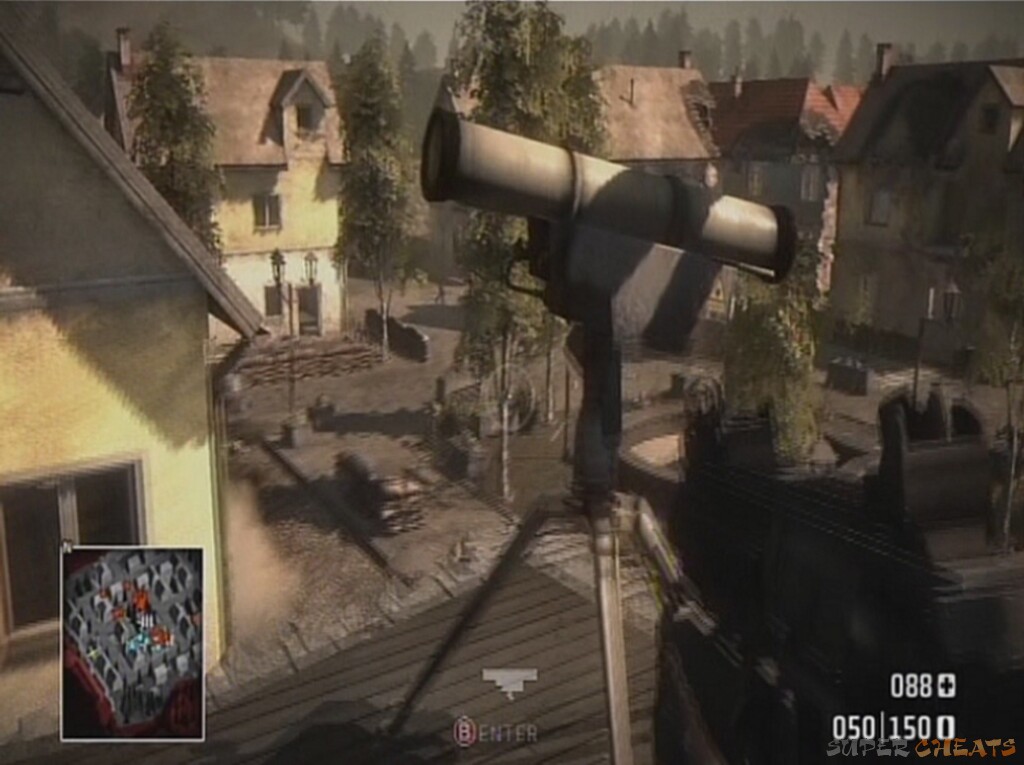
Still amongst the trees, use your iron-sights to pick off any enemies in the open. One should be walking up the road ahead. There shouldn't be more than two enemies in range before you reach the iron shack in the field in front of the houses. Note on the map that there is a mounted machine gun in the loft of the house, so keep your eyes peeled for any movement up there. A sound strategy is to sprint to the wall of the house across the garden, so as to not get caught in the machine gun fire (it shouldn't see you until it's too late). Be careful, as there is at least one Russian in the first building that you will need to shelter against. Take him out.
The noise will alert the machine gunner if he has not already opened fire. Remain in the house and pick him off, using the window for cover. There will also be two guards in the downstairs of the main house. Once you've cleared it, proceed upstairs to the first floor. There is another silver chest containing gold directly to your left as you reach the top of the stairs (looking back out to the house you covered in before). Proceed up the ladder to the next floor and use the loft as cover (blow a hole in the roof) to take out the remaining enemies by the docks to the east.
 Explosives work too |
There is another iron shack containing enemies. Use explosives to take it out and kill anyone inside.
Objective: Regroup at the smoke
Exit the house and run to the red smoke by the dock.
Operation Backfield
Gold (3/5):
3. In the construction pit detailed in the 'destroy the missile launchers' objective
Objective: Destroy the missile launchers
To get to the location of these two objectives, you have a number of choices. First however, take cover as an enemy patrol boat will come along the river. Simple bullets will take it out pretty quickly. You could also man the mounted gun facing out over the river.
So here you have a few choices. There is a collectable gun and some gold along the road to the right, heading east, from the large house we just fought in. It's only a narrow path, but you can take the armoured car that's parked on it all the way along. There are at least five enemies as well as a patrol boat with a grenade launcher on it scanning the harbour. Use your mounted machine gun where possible, before locating the shotgun near the blue, wooden building, and the gold, in the pit with the scaffolding in the middle.
You can take a boat from here to investigate the secret collectable across the broken bridge back opposite the dock you started from. Make sure not to run the boat into the ground as you'll need it to get back along the river (though you can always swim to the other side and get another one).
Otherwise, take a boat (the recommended option) and proceed down river to the objective.
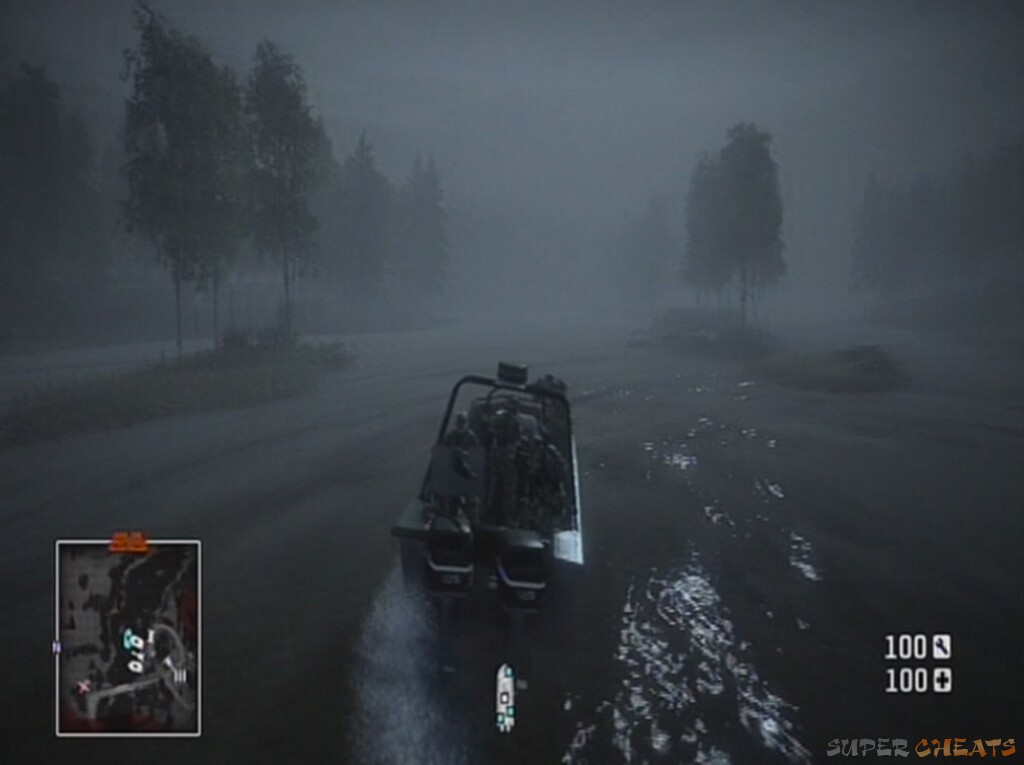 The boats are really good fun |
You may see the patrol boat along the way if you didn't go looking for the gold and destroy it then. Pull your boat up once you begin to round the corner near the first set of objectives. If you exit the boat and climb the hill to the south-west of the targets you can gain a height advantage and maintain the element of surprise. The developers appear to have expected this though, and as the factory comes into view there is a mounted machine gun in one of the windows upstairs.
Once the immediate threat is removed, move up to the factory and enter into the western side. There is at least one enemy with access to a grenade launcher, so watch out. There are crates here for decent cover, so pick off as many enemies as you can before planting the C4 we picked up earlier on the missile launchers (there is more C4 at the northern entrance to the factory). Beware as there will be more than a few enemies here, and some on the gangways above you. Once you blow the C4 more enemies will come in and your team may well still be waiting outside, so be prepared to stay in cover and deal with them on your own. You may consider using the upper floors to take out soldiers on the outside of the factory, and there is also a collectable assault rifle up there on the roof.
Many C4s for many targets
Objective: Destroy the fuel storage
Get in a vehicle, again, preferably with weapons, and take the northern road out of the complex. There is also a river crossing, should you wish to try an alternative route. This northern road however is a relatively safe way into the enemy base. Follow it as it goes underneath the bridge and curves round, before crossing the bridge itself. Drive headfirst into the set of sandbags in line with the objective markers. The wall provides great cover before moving in.
There will be one guard in the green building to your right as you look at the objective, and plenty more once you enter the complex. Blow a hole in one of the green buildings and use it for cover to move forwards. Most of the buildings have guards in. Once the area seems relatively quiet, sprint for the middle green building.
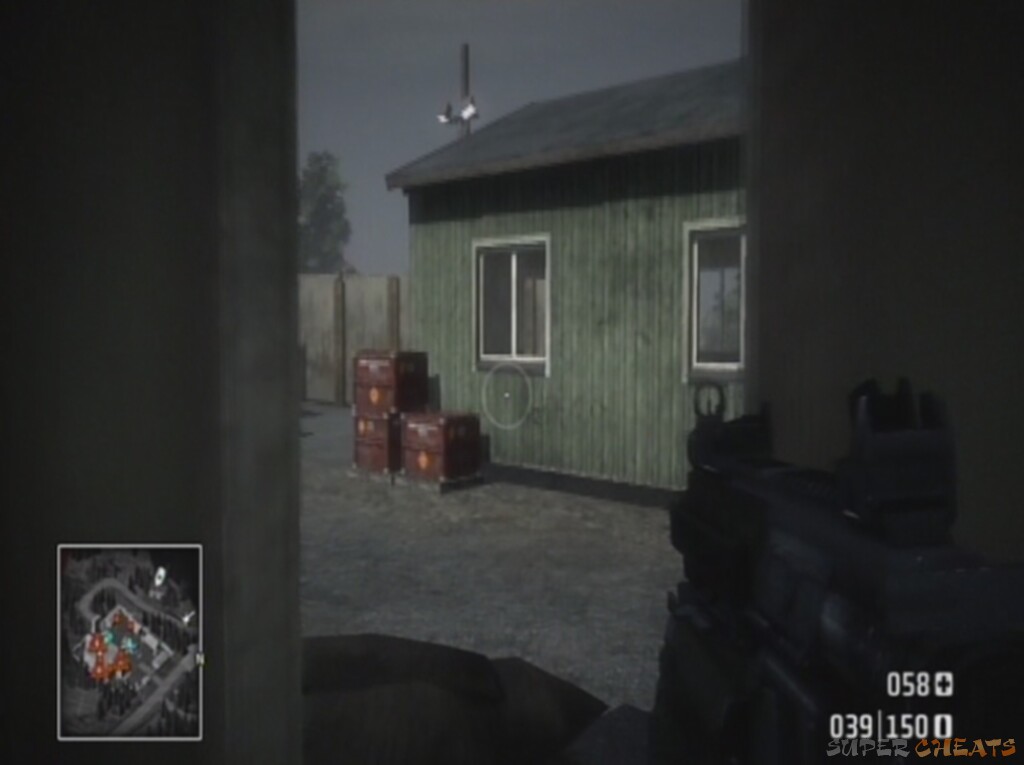 A good covering position |
This building is a very good location to take on the main building from. Watch your flanks as enemies may still be in the buildings behind you. You should be able to take out a couple of enemies through the large window on the stairs, and others will come out towards you as they hear the commotion. You can destroy the walls of the factory, so do this if necessary to get shots on the guards on your radar.
Simply shoot the red fuel storage containers located in the top corners of the factory to blow them up. You can do this from the outside if you blow holes in the right places, also possibly taking out guards nearby. For the white one on the ground floor you will probably need to use a grenade or C4. The explosion is quite large so stand back.
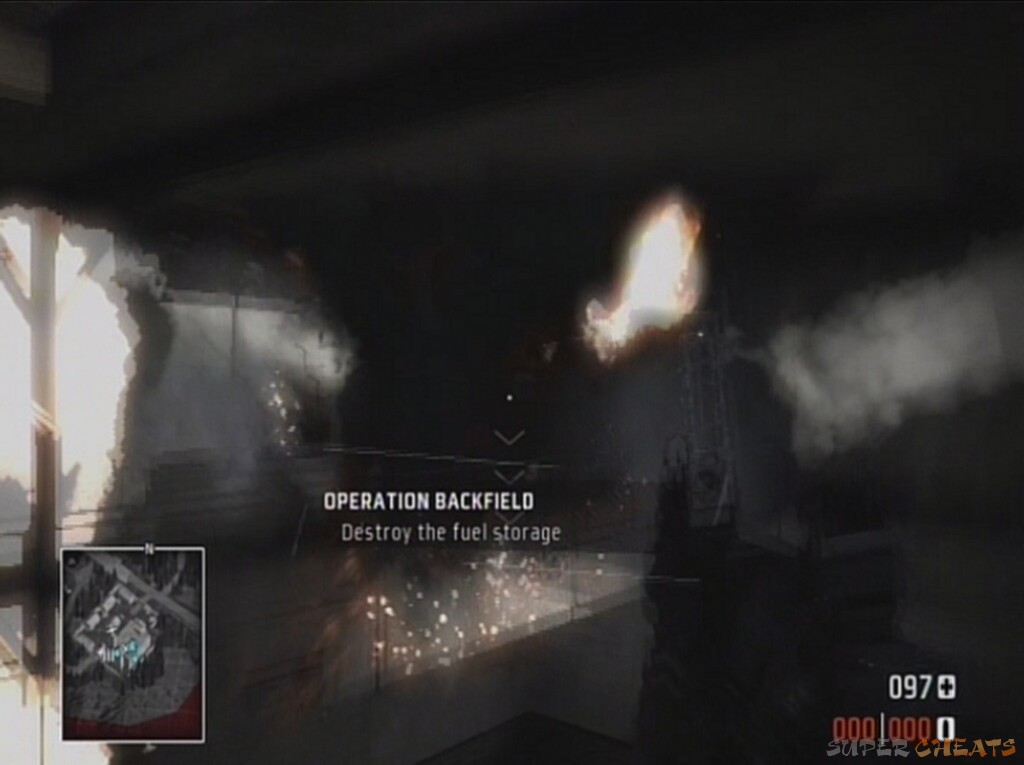 Stay clear of the blast |
The equipment in this factory is just C4, and is not really worth going out of your way for at this stage. It's on the first floor if you want it however.
Objective: Regroup at the smoke
Meet back in the central green building you took cover in.
Miss July reveals that a Russian tank convoy is on its way to your position to capture the bridge. Here you are introduced to the most useful gadget in the game, the mortar strike.
Objective: Offside
Gold (4/5):
4. Find it in the same house as the equipment spot near where the tank stops in the city during the objective 'destroy the stationary guns'.
Objective: Pick up mortar strike
Simply walk over to it and press B (Square) as usual. To be able to use the mortar strike, you only need a line of sight to the target. You can bomb anything using it: buildings, land, vehicles.
Objective: Eliminate soldiers on the bridge
If you now reenter the factory and climb to the very top onto the roof using the stairwells at either end, you can target the tanks on the bridge without much risk to yourself. Simply point the mortar strike (select it in the gadget menu) at the target and hold the fire button until the two white lines meet in the middle. Make sure it's not accidentally aiming at any trees or the short wall in front of you, as that could be pretty disastrous! You can use it as many times as you like though, there is just a short recharge period. Target the bridge and watch the fireworks. You may need to use it more than once to take out the convoy.
Hit the convoy with a mortar strike
Allies are heading into the city, so you must now head to the 'city limits'.
Objective: Regroup at the smoke
This one's quite a way away and the bridge has been destroyed, so take the bending road around the outside to find another armoured car. The one you came in on will do if it's not too badly damaged! Carry on and cross the river to the previous factory. There shouldn't be any enemies here. Take the winding road as you did before, but instead of going across the bridge head in the opposite direction: take the right at the junction. An armoured car will come up on the road below you and your gunner will open fire. It may well be worth you taking over gun duties just to finish it off quickly, but it shouldn't take much.
 Enemies en route to the city |
The ruins on your right house a few Russians, but it's also the location of the regroup smoke, so disembark and clear the area. Use the turret as much as possible beforehand. There are three enemies in the ruins; just take it slow and it's a cinch.
Our tanks are in trouble, so we need to destroy the gun emplacements that are plaguing them. There are no friendly markers in the city though, so this is a perfect opportunity to use some more mortar strikes.
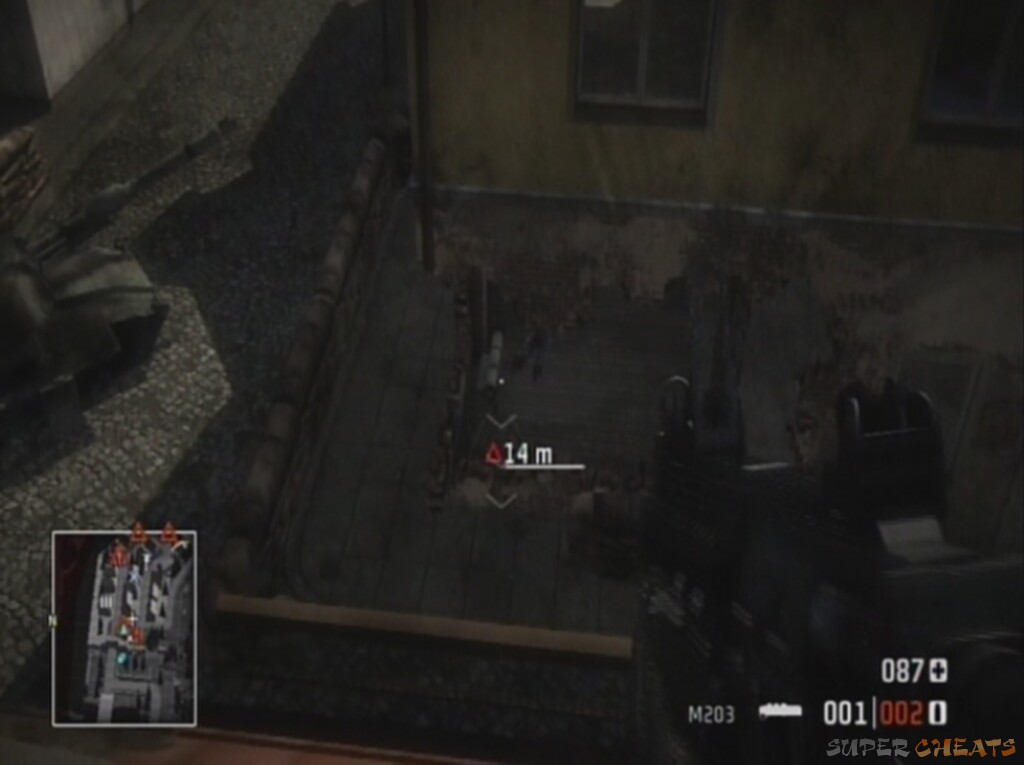
Objective: Destroy the stationary guns
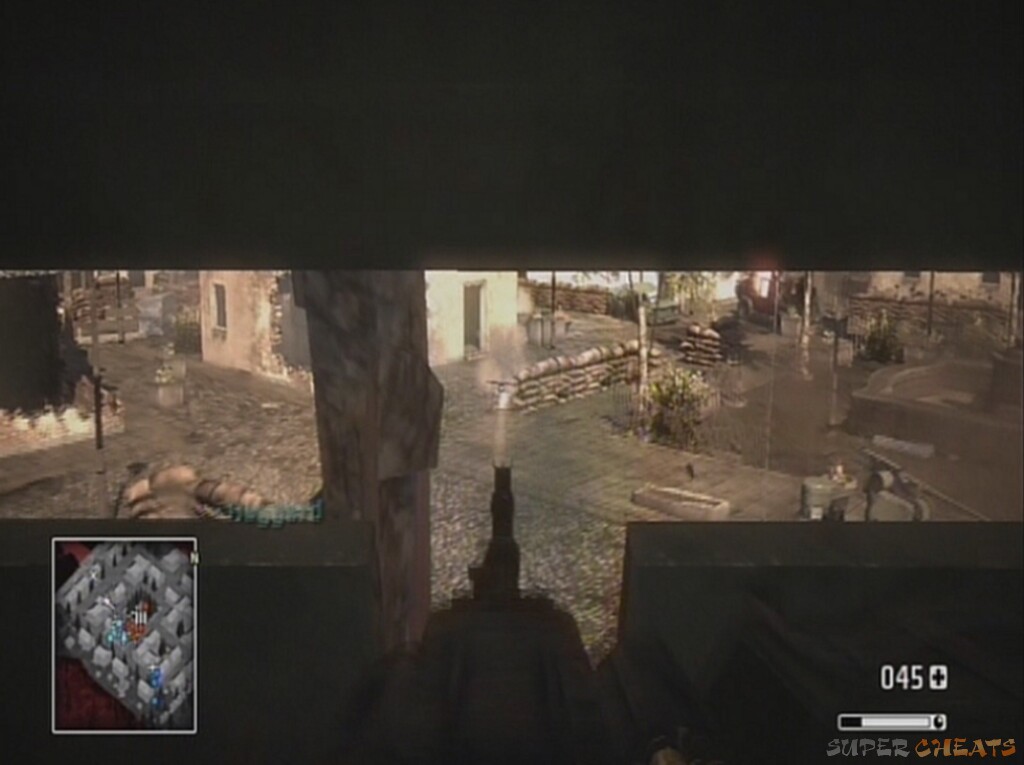
Begin by shelling the nearest building until you can safely survey the area surrounding it. Simply aim at the roof with the Mortar Strike to demolish much of the structure and upper floors. Once you've cleared a lot of the enemy cover, move up to the brick ruins at the west side of the city. You can take out many of the guns using the mortars without even getting shot at. If you come under fire use the strikes to take out enemy hiding places. Enter through the main arch, using the downed tank for cover. There are enemies with shotguns and grenade launchers, so be sure to stay behind sturdy defences and watch your flanks.
There is a collectable silenced assault rifle in the first house on the right. This is also a good cover spot, so it's worth investigating. Move higher in each house, scanning for enemies and picking off any you see. There is an enemy on one of the gun emplacements, this time a grenade launcher, who will target you if you move into the open streets, so progress through the buildings until you get a clear shot. Use more mortar strikes to take out the emplacement. There is a shelled out loft accessible by ladder in the second building on the right from which you can take out the grenade launcher. Take a run up using sprint and then jump to make it across wide gaps between the upper floors of many of the houses if you want to change position. Blowing a hole in a roof often provides a great spot for picking off enemies. You can move a long way without even needing to touch the street by traveling through the upper sections of the houses in the city.
 Death from above |
A mounted machine gun is in the roof of another building behind the grenade launcher. Use mortars to take it out. A tank will approach, but as long as you're safe in one of the lofts it shouldn't be too troublesome to call in more strikes and demolish it. You can survive a few shots on Normal, which should be enough time to aim and call in a strike.
A mounted rocket launcher is the south eastern objective, which you can again see from any loft relatively nearby in the centre of the city. The final one is behind a building round a corner, so is a little trickier. There is a house on the corner itself which you can use to call in a strike, but it is very destructible so if the emplacement sees you it may be necessary to move. Let your team draw its fire if they're in a suitable position. They're all invulnerable so no need to worry!
This final emplacement is quite well protected so shelling may not take it out completely. There is however a RPG at the equipment marker right on top of the gun emplacement on the map (the most southerly piece of equipment in the town). Use this to shoot the emplacement from long range. Apart from the RPG there is little of note in the town to go out of your way for. Some C4 and more mortar strikes, which are not integral for the rest of the level.
 A sneaky strike |
Objective: Regroup at the smoke
Head out of the town to the south, collecting any ammo on the way from the locations marked on the map. There may still be uncleared enemies in the town, so be careful.
As the convoy comes in, you're ordered to join it.
Protect the tanks
Collectable weapon (1/2):
1. M249, located in the first house on the right as the tank convoy begins moving. You will need to disembark to get it.
Gold (5/5):
5. In the southwesterly corner of the cemetery once the tank convoy section is finished.
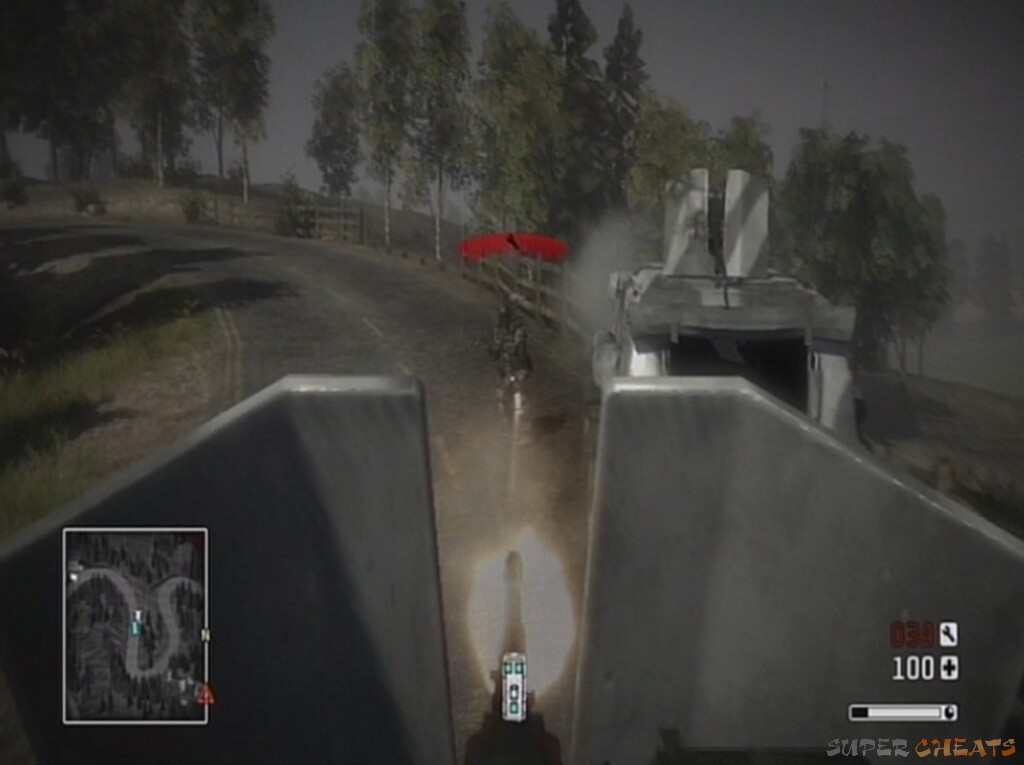
Objective: Keep the tanks alive
You only need one tank active to successfully keep the mission going, and there are two options for how to do it. You can man the turret of one of the tanks as the AI is often incompetent, to protect the one you're in, and this is the tactic I recommend. Otherwise, you can all get in a jeep and try and protect them like that. Pick up the power tool by the ammo dump as you'll need to repair your vehicle (be it tank or jeep) at least once. There will be an AI friendly driving the tank, so just keep your eyes peeled for enemies with explosives as you move along the route. Take your position in the lead tank as you can then protect the rest from this position – you can also fall back to the others should it get too heavily damaged)
The first enemies are in the house to the right. The tanks can take these out using their main guns, but just try and pick off the RPG infantry with your machine gun if you can. Two enemy tanks will then come upon you, and again, unless you personally have explosives there is little you can do in this situation so concentrate on any enemy infantry. Next will be a house on the left. Aim at the windows and take out any occupants. There are 3 RPG soldiers in this house, but be careful not to overheat your gun as you'll then be a sitting duck. If you are in the first tank, watch out for the rocket emplacement at the end of the valley. Use your turret to take out the enemy nice and early before they can do anymore damage. Bombarding such emplacements with machine gun rounds should be sufficient to clear out the enemy.
It is more than sensible to get out and repair as you're going along. The tanks go at walking pace so you should have plenty of time during the lulls in combat.
The tank's shell turret is pretty poor against infantry, so as you near the city you'll need to be even more active in taking out any RPG soldiers.
Keep those tanks alive!
Objective: Regroup at the smoke
The smoke is in the graveyard near the tank objective point. Collect the gold first, located in the southwestern corner of the cemetery. Miss July tells you that a job to get you out of Bad Company has come up – destroy enemy communications. This is another city-based mission.
Assault east Zabograd
Collectable weapon (2/2):
2. The special-ops guards outside the radio room have AKS74u's.
Objective: Destroy the radio equipment
Your tanks will do their best, but there are many infantry units in the city. Enter through the broken hole in the wall, to the left of the main arch, and proceed into the building in front of you. Go upstairs and through the window you can take out a machine gun emplacement which should be busy firing at your tanks. There is a collectable assault rifle in the next building to the north.
There is another mounted gun, this time armed with rockets in the main square. Take it out with bullets while your tank keeps it occupied. By this stage, infantry resistance should be pretty light. The radio equipment is right to the west of the main square, or straight ahead as you'll be looking from the direction we came in at. The final street is very heavily defended, with at least one manned rocket emplacement and no tank support this deep in for you either,
Stay in cover until the gun moves round (you can see on the map which way it's facing), then emerge and pick off the soldier manning it. The house with the radio equipment in can be grenaded until you have a clear shot on the objective. A well aimed grenade from your launcher will do it. More ammo is by the friendly tank if you need it. There are many soldiers in the building itself so destroying the objective from the outside is preferable.
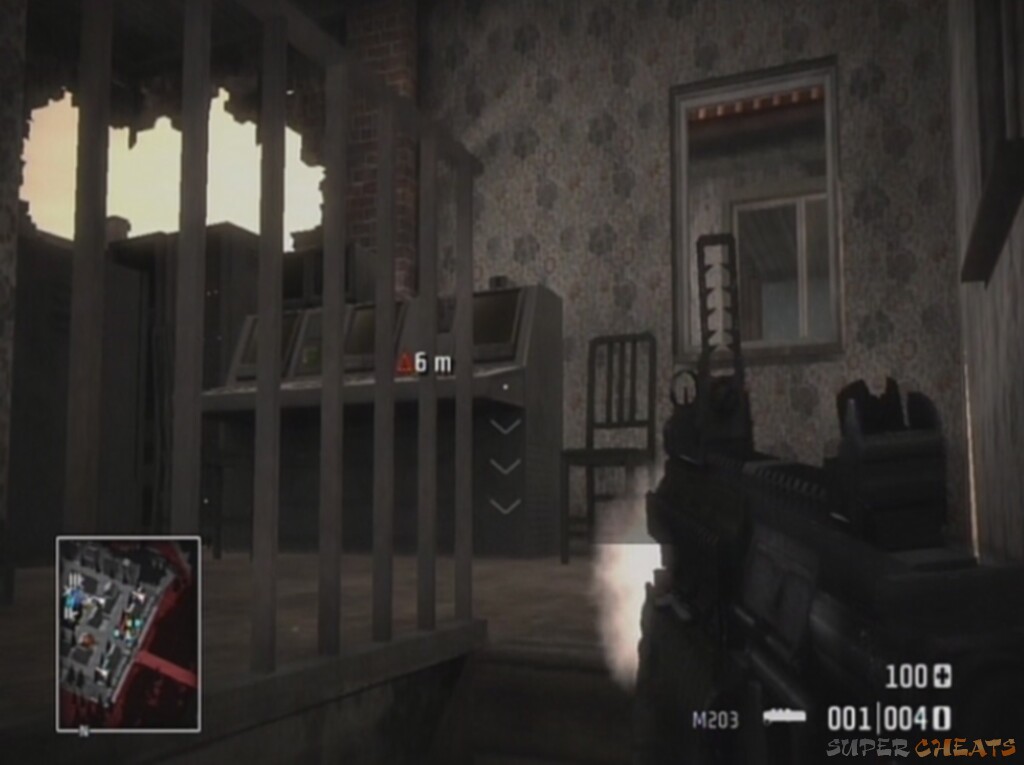 The radio equipment |
Objective: Regroup at the smoke
This is not in a great location as the soldiers in the radio house will be active and looking at you. Try and pick them off as you move into the street, though sprinting at the smoke will trigger a cut scene and let you off lightly.
It turns out they made the call anyway, so we're stuck in 'B Company' for a bit longer.
Objective: Protect the US tank
If you sprinted for the smoke the immediate enemies will be gone, but now there are plenty swarming by the tanks. Some with RPGs. The building right by the tank is a good cover point, containing a mounted machine gun you can use to protect the vehicle. There is also a mounted rocket launcher in the building directly west of the tank, on the top floor. There is a mortar strike gadget just outside the tank building too. You can use it to take out the vehicles that will be coming in, as well of course as the aforementioned emplacements. You will need to be able to quickly drop any equipment for the power tool as well so as to keep the tank's health up.
 A rocket turret |
 A machine gun turret |
Move down to street level to heal the tank if its damage indicator gets too low (you can see it by looking directly at the tank, underneath the objective's distance meter).
With their vehicles down the enemy infantry are sitting ducks. Pick them off and clear the final wave.
Objective: Regroup at the smoke (in the central courtyard)
Secure harbour
Objective: Reach harbour
The final part of this mission involves simply moving to the harbour – there are no enemies on the way so feel free to relax. Get a vehicle and head out on the northern road to get to the harbour. You will come to an unmanned roadblock, so get out and move up the path on the right.
 Dead end! |
Move into the red smoke to compelte the objective.
The allure of the gold proves too much, and the orders from Redford are to take out the trucks in the harbour.
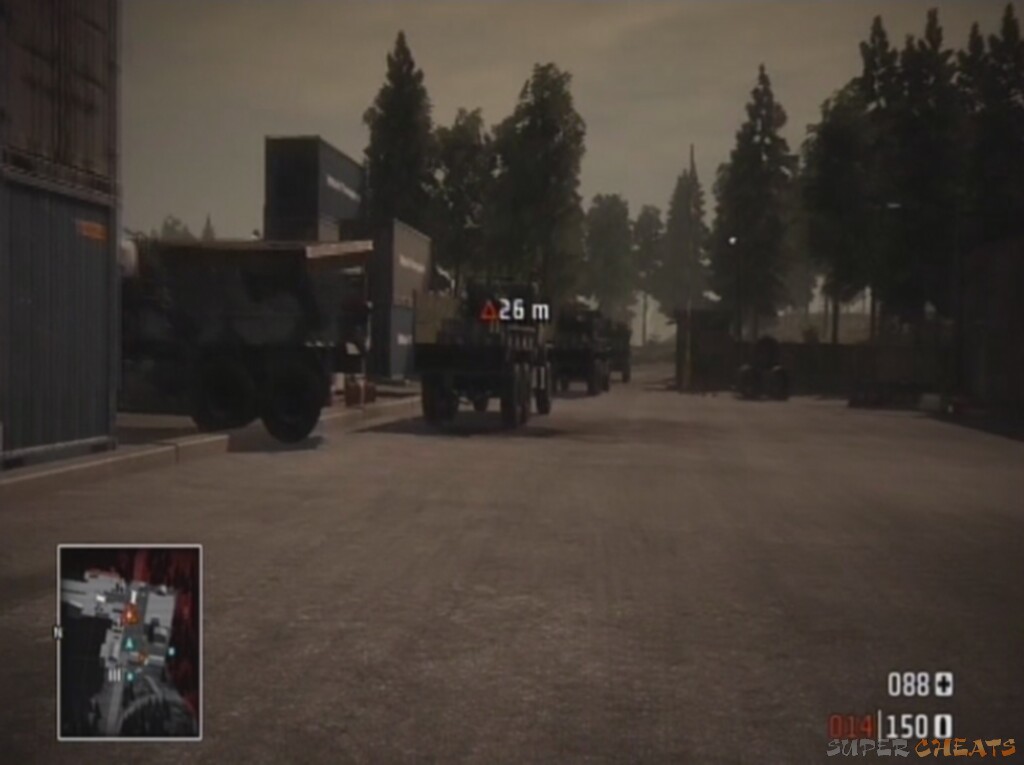
Objective: Reach trucks
Use mortar strikes to destroy the nearest two buildings as you move down the hill. The enemy will come up at you as soon as they spot you, so keep your eyes peeled. Move through the buildings and reach the trucks in the middle. They're pretty mortar resistant, so don't worry about that...You can sprint at them to trigger the mission completion without having to kill all the enemies in this section too.
 All that gold, so close! |
No comments yet. Tell us what you think to be the first.