7: Heavy Metal
Battlefield: Bad Company 2 Walkthrough and Guide
Level 7: Heavy Metal
Story:
The data recovered gives B Company much information on the secret weapon. It is what is known as a scalar weapon, capable of creating a very powerful electro-magnetic field. The plan is to use it to destroy the US power grid, paving the way for a Russian invasion. All this is being masterminded by Arkady Kirilenko, the high-value target we spotted during the Cold War level.
Aguire has set us up with an armoured US convoy to get close to Kirilenko.
Collectibles:
MG3
M-COMS:
2
Walkthrough:
We are investigating Kirilenko’s last known location in a largely vehicle-based mission.
Rendezvous with 1st Armoured CAV:
As in previous missions, you are driving a tank and controlling the weapons. Keep up with the convoy until the objective indicators come on screen.
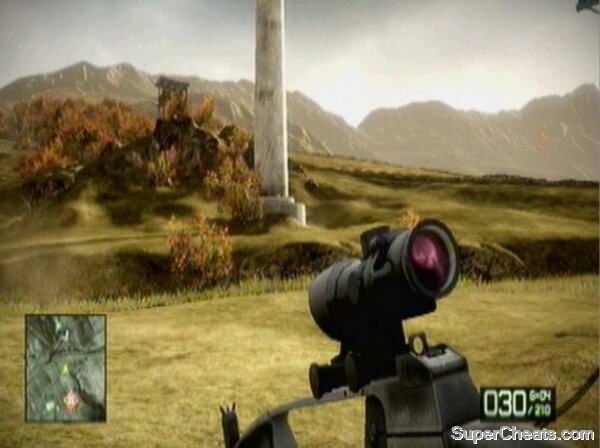
Eliminate Both ECM Radar Arrays:
We need to take out some radars to allow air support into the area before moving on. The tank’s turret has an optics package on it, allowing you to zoom in drastically closer than normal. You have to fire well above the target at range to stand a chance of hitting it, but it means you can often be safe from enemy shots. Move down the hill until you come alongside the radar arrays and can see them if you are struggling to get a shot.
 The radar arrays are visible once you get close enough. One shot should do it. |
The right hand one requires moving down the road to get closer, though enough bombardments will destroy it. With both destroyed, you can move on.
Proceed with US Forces:
Continue up the road to the next objective marker.
Kill Enemy TOW Launchers:
The TOW launchers that you can see are on the rooftops, so begin a bombardment as soon as you like. You can then move in closer, but note that if you are hit full on, your tank will be destroyed. The trick is to get into a good position where you can accurately hit all the buildings, but where you have space to roll forwards and backwards, avoiding the TOW shots as they come in. The missiles are slow in the air, so you should have time to adjust your positioning.
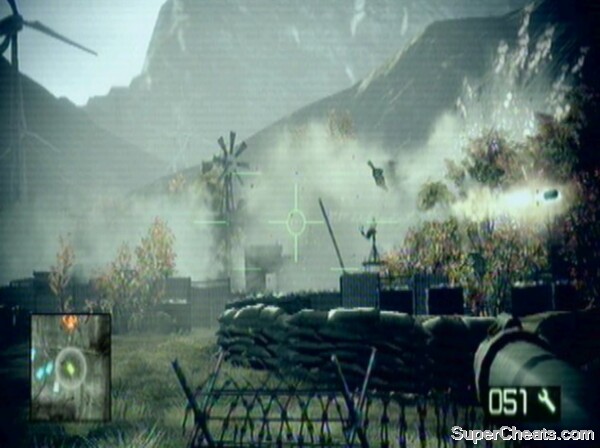 Move your tank to avoid the TOW missiles. |
With the TOWs down, you can move into the area they occupied. Push right into the objective marker to activate the next task.
Secure UAV Station:
We need to use the UAV to take out some more TOW launchers and BMD-3 Bakhcha AA tanks.
M-COM Station #1: Before getting on the UAV, you should access the first M-COM station. To do so, cross the road you were travelling on, moving towards the windmill. The M-COM is just beneath the lookout post.
 The lookout post next to the windmill watches over the M-COM station. |
With the M-COM destroyed, look for the objective marker and man the UAV station.
Eliminate all BMD-3 AA Vehicles and TOW Launchers:
This is an easy section as long as you don’t fly too low or remain still for too long. Fly above the targets and call in missile strikes. You can change the trajectory after the missiles have been launched, so don’t worry about the UAV drifting in the air. One shot can take down a building; again, there is no need to be too accurate.
Tanks are clearly marked with their usual icon, while the TOW launchers have regular objective markers.
With all objectives taken care of, a cut-scene will trigger.
Proceed with US Forces:
Rejoin the convoy and follow it along the road.
Before long, an enemy tank will come towards you. Use your turret to destroy it and continue along the road.
TIP: Bombard enemy tanks as early as possible, and try to get around the side of them to take them out in one. Similarly, try to ensure they only fire at the front of your vehicle.
The next tanks will be off road to your left, and this is a good opportunity to hit them in the side.
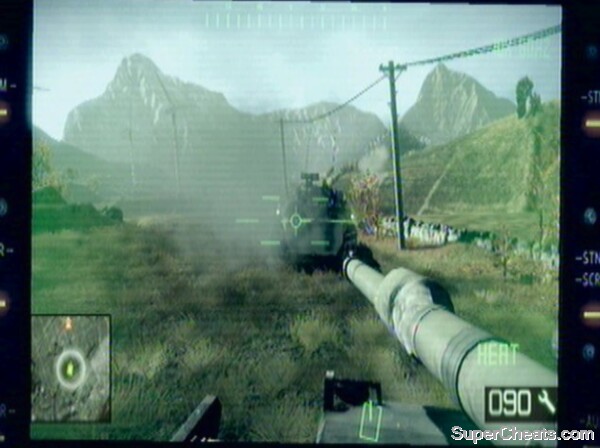 You soon get used to these tank battles. |
As you near the terracing below the windmills ahead, tanks will roll over the top. They are difficult to hit from range, so try to get around the side of them for easy kills.
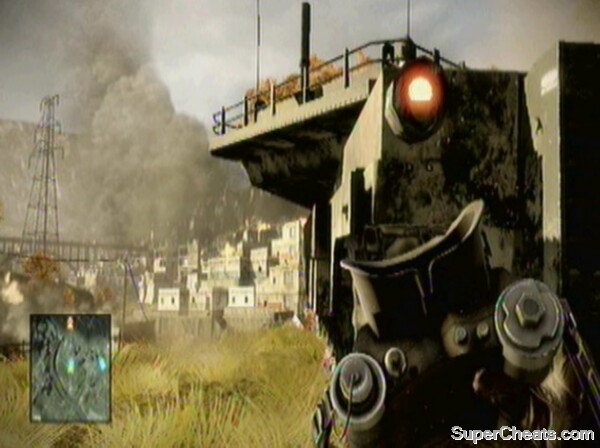
Continue along the road until new orders are given. The town ahead is full of TOW launchers. They are too dangerous for our tank, but thanks to our clearing of the anti-aircraft units, we now have air support to assist us. Get out of the tank once you reach the objective marker by the house.
Use Laser Designator Binoculars to Airstrike Target Buildings:
This is a surprisingly dull section, due to the fact that the binoculars, equipped with Back/Select, take an age to recharge for each new shot. The tactics for this are relatively straightforward. Duck behind the tank or the slight bump behind it and use the gaps towards the town to pick out a building to attack. One shot takes everything out, so don’t worry about being too precise.
Once the shot lands, get back and wait for it to recharge. The only way to tell when it is charged is by the ‘System Online’ or ‘System Offline’ message on the sights of the binoculars themselves.
 Shelter behind the tank as you wait for the strike to recharge. |
Once each of the four buildings has been destroyed, we need to move into the town to look for Kirilenko.
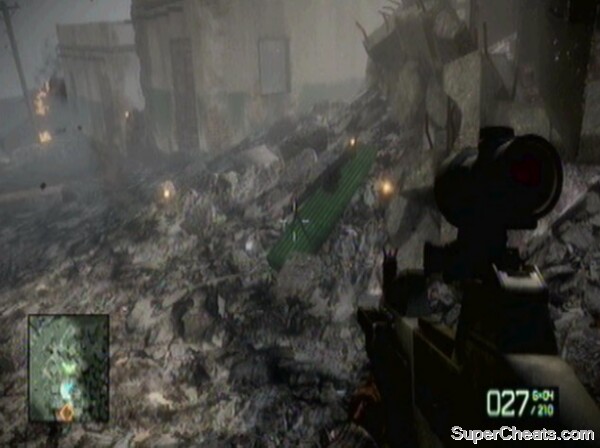
Investigate Targeted House:
You have allied support for this infantry section, though you won’t notice them much. Cross the river and enter the town. Attack the enemies at the top of the slope before moving on.
Collectible: MG 3 – this can be found at the first gun icon you come to in the town.
 The MG 3 is located early on in the town section. |
The road will soon open into a square section. There is a mounted machine gun turret on a rooftop.
Get inside a building for cover, before using 40mm grenades to destroy the emplacement.
M-COM Station #2: This is inside the house with the red paint to the left of the square.
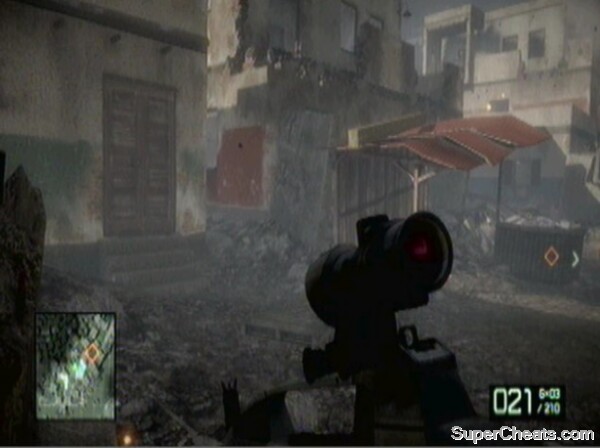 Find the second M-COM in this building with the red around the window. |
With the area clear, move through the square, defeating any infantry that reveal themselves en route. Follow the path downhill to trigger a cut-scene.
No comments yet. Tell us what you think to be the first.