Atacama Desert
Battlefield: Bad Company 2 Walkthrough and Guide
Atacama Desert
Overview:
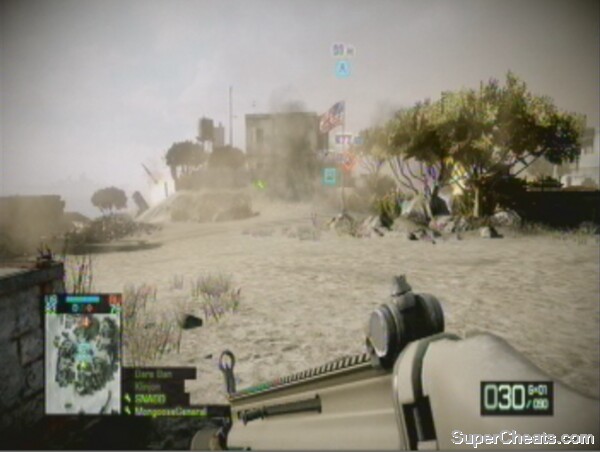
Atacama Desert is one of the largest Conquest maps. It still only sports three bases, but allows for long-range sniper combat and plenty of vehicular action. The two spawn points are virtually identical, with no advantage gained from being at particular one. The next bases on from each spawn are small villages, with lots of cover for infantry in the form of buildings, but easily navigable roads passing through for the plethora of tanks and vehicles on the map. The central base is the most hotly contested. There is a stranded ship with the UAV on, a haven for snipers, and a smaller vessel with an anti-tank launcher and one of the few anti-aircraft guns in Bad Company 2. This is the easiest map to spawn kill on (whether you condone it or not, it will happen in online games), due to the fast paced nature of vehicular warfare. As the anti-aircraft guns suggest, there are also a pair of helicopters available, one at each spawn.
Controlling the small boat with its anti-tank and anti-aircraft launchers is vital.
Class Recommendations:
1) Engineer: Due to the large numbers of vehicles on this map, having a strong compliment of engineers on your team is vital. Since the server patch and the increased speed of the tracer dart, it is now more possible to successfully tag a helicopter, making the engineer class even more valuable here.
2) Recon: The long range nature of Atacama Desert makes snipers inevitable. As such, your team will need a good few Recon soldiers to cover the engineers and slowly sap the enemy's tickets. Motion balls are very important for Bravo base, where enemies can come from any angle. Additionally, control of the main ship must be a priority, as this houses the UAV and an overwatch position facing Bravo.
3) Assault: It is possible for engineers and snipers to stay alive for long periods on this map, as there are many areas with easily defensible positions. In particular, however, the engineers will need their RPG ammo topping up, making the assault class an important third cog in any successful team in the desert. While they will struggle against tanks, the Humvees and quad bikes can be downed with 40mm grenades, and the range of most of the assault rifles allow the assault class to hold their own against some snipers.
4) Medic: It is difficult to recommend the medic too much on this map, though as always they can help maintain your ticket numbers. Due to the spacing of the bases, taking a great amount of time to move between each one, medics will struggle to help anyone outside of their own squad. In short, if you are used to having a medic in your squad, don't feel the need to change for Atacama Desert. If you like to play as a lone wolf or ‘Rambo Medic', you may struggle to stay with the rest of your team.
Deployments:
RU Deployment:
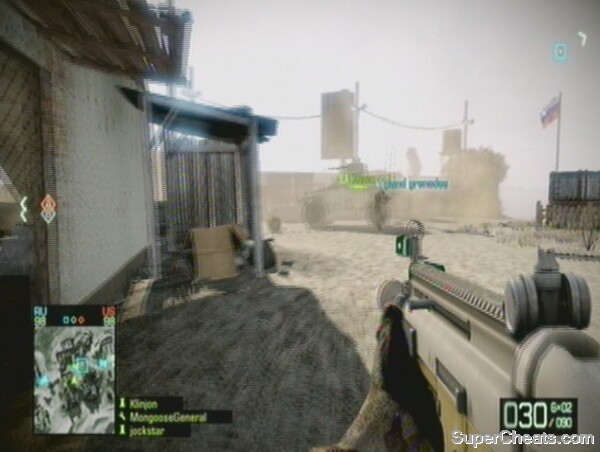
At RU Deployment there are two T-90 tanks, one Cobra 4WD, two quad bikes, and a MI-28 Havoc. The most important thing is to secure Charlie, and then the team can focus on Bravo. It only really takes a single quad bike to secure the first base, unless the US Apache gets it, so the tanks should push onto Bravo. As for the Havoc, the crew piloting this should try to destroy the enemy tanks that will undoubtedly push onto Bravo too. Like the US base, there are a variety of defensive emplacements to use, including two anti-tank emplacements, a mounted LMG and an anti-aircraft gun. The AA gun should be manned straight away, as the enemy Apache can be targeted even at extreme range. These are primarily to guard against spawn-killing.
US Deployment:
At US Deployment there are two M1A2 Abrams tanks, one HMMWV 4WD, two quad bikes, and an AH-64 Apache. Players should focus on taking Alpha, because if this is not done successfully the enemy have a base close to your spawn from which to spawn kill. The tanks can push on to join the battle for the centre of the map. Due to the fact that this map is one of the worst/best for spawn killing, there are two TOW missile launchers, a machine gun emplacement and an anti-aircraft platform to help in its defence.
Bases:
Alpha (Western Island):
This can almost be written off as a US base, but if it can be successfully taken it is a real coup, enabling the Russians to flank Bravo and push on to the US spawn. It is very similar to Charlie, featuring various tall buildings that accommodate snipers, while their lower floors allow defenders and attackers to camp while watching the flag. Alpha's flag is much more exposed than that at Charlie, but there are rocks and bushes next to it that can be used to hide in if capturing the base on foot. It is overlooked by a variety of buildings. Defenders can sit in the surrounding buildings and watch the flag point. There are two main buildings overlooking Bravo, and snipers can use these to attempt to control the centre of the map. A M1A2 Abrams also spawns here.
 Alpha's flag is exposed, making vehicles the best way to capture it. |
Bravo Base (Stranded Ship):
Bravo is flanked on both sides by ships. On one side is the large piece of wreckage which houses the UAV and a couple of separate gangways that tend to be exploited by snipers. On the other is a smaller segment, with dark internal rooms and ladders leading to the roof, containing a vital anti-aircraft gun and an anti-tank launcher. You are able to capture Bravo from inside the cargo containers around the flag, as well as from inside the hull of the smaller vessel. This makes it a very tough base to defend, as it can seem as though no one is in the area yet you will be unable to capture the base. Throw grenades inside the cargo containers near the larger boat, and at the smaller one. Use the two ‘walls' near the flag for a little cover. Being the centre of the map, it is popular with tanks. Anti-tank mines should be deployed and the anti-tank launcher used if you get into difficulties. Beware of snipers watching the top of the smaller boat where the gun emplacements are, although sometimes the risk is a necessity to protect this vital base.
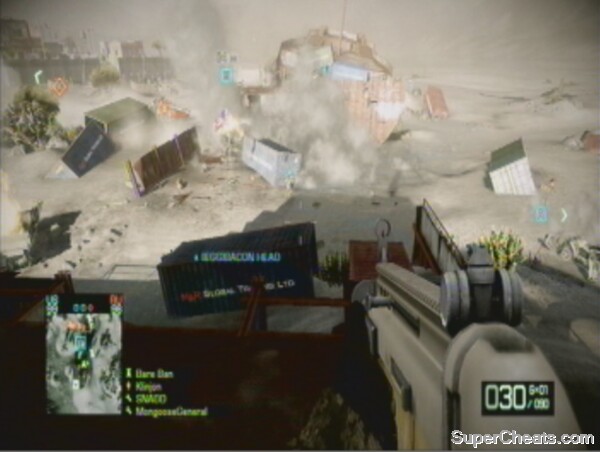 Bravo is very exposed and attacks can come from all angles. |
Charlie Base (Eastern Island):
Charlie has smaller buildings overlooking Bravo when compared to Alpha, but its flag is in a better position, surrounded by crates and fences. The main Russian tank, the T-90 MBT, spawns here. It is relatively easy to attack, as there is an array of buildings at the front of the base towards Bravo, allowing players to fortify a position inside them and then launch an attack on the flag. Also, while the cover around the flag can help defenders, it also benefits attackers, as they have a position in which to hunker down while capturing the flag. By contrast, Alpha's flag is on its own, so defenders can see any attackers attempting to take it. Despite this, there are only a few buildings that overlook the flag effectively.
 Charlie's flag has plenty of defensive cover. |
No comments yet. Tell us what you think to be the first.