S3 M6: The Verebatan Cistern
Assassin's Creed Revelations Walkthrough and Guide
by CMBF ![]()
Sequence 03, Memory 06 -- The Verebatan Cistern
As you watch a pair of Templar Guards are lounging around eating their lunch and bitching about the job that they have searching for the key. Do not hold this against them -- when I was in the service this particular pastime was nearly universal among the flight crews and I am pretty sure that it is also a standard behavior in the other services... Hey, if you spent day after day doing things for reasons that were never fully explained, you would bitch too!
You are supposed to explore the area -- but to get 100% Synchronization you cannot be detected so, you know, do not get detected?
What you want to do is jump the beam ahead and then again, walking the beams to the left and then ahead again until you are given the instructions on how to do a long-jump. What that is basically is jumping to grab the hanging light fixture and then quickly pressing 'B' BEFORE you jump from it to initiate a long-jump. Easey Peasey Lemon Squeezy!
Next you continue forward swinging off of the short beam to the ground, where you will find three treasure chests to loot -- may as well do that now, as they may have ingredients you can use... Nearby you is a bomb-crafting table -- check your bombs now and be sure that you have the basic toolkit of the Assassin already -- Datura, Smoke, and Cherry Bombs that are all made with impact fuses -- if you do NOT, you need to use that table to at the bare minimum craft some Datura (poison) bombs -- you will understand why shortly.
Navigating the Cistern Undetected
-- Wall Jumping --
You can see the marker on the map and you should be able to figure out that it is pointing at that platform above -- the problem is you have no access to it. Or do you? In the corner of the room is a scaffold and, if you climb up it while you cannot jump directly from it to the platform, if you stand at the end nearest the platform, run up the wall and then carefully push the Joystick right and hit 'A' to jump you will execute a perfect wall-jump and arrive on the platform! Well done! You are a bloody acrobat you are!
Step into the marker here and jump out to the beam and drop to the ground, then go around the corner and loot a few chests and use the Bomb Table if you need to. When you step around the corner you get a very brief CS and now you have a problem -- the man you just saw has reminded the guards to pay attention...
You are going to need to take them out all Ninja, but you can NOT be discovered in the doing of it or you will blow the full synchronization... If you DO blow it, as far as I know the only way to fix this is to replay the memory from the start... So please do not blow it.
I found that the best way to deal with this was to use my trusty crossbow and poison darts to eliminate the bad guys one at a time and discretely. YMMV.
When you kill the marked target -- who is probably an officer since he has the Cistern Gate Key -- you obtain the key automatically -- and once you have that you can simply go to the marker and exit the area once you take out the rest of the Guards -- remember those Datura bombs I had you make? Yup, use them to take the bastards out from a distance so you do not get discovered!
There are chests with ingredients around you can loot and, when you have cleared the way, you can head through the gate now that you have the key. You do not need the Bomb Table that is in the next area unless you used all of your bombs of one type -- you should not have -- but check your supply using RB and make replacements for the ones you have used just so you do not run out, right?
-- Through the Cistern Gate --
In the next area (past the gate) and loot the chests then hit the next two markers to trigger a CS for the next large chamber. Like the previous one we want to Ninja through and take the Guards out without being discovered. This should be second-nature to you by now!
Use Eagle Vision to study their patrol routes and then take out the nearest pair and use a Datura bomb on the pair in the right corner. The radar map is not much use to us at the moment because the blips are on different levels, so you will need to eyeball this. Head along the right and take out the target there then backtrack all the way to where you entered from, and head along the wall to the left, mind the gap and go up the stairs, killing the Guard at the top to the right. Now simply put a crossbow bolt into the officer on the far scaffold from here to gain the key.
 Obtaining the Key and the Map |
We will need to discretely take out the remaining guards -- but you can do that easily if you take your time and go careful -- so head up the next set of stairs to the right and use a throwing knife to kill the Guard who is digging here... No sense in wasting a crossbow bolt on him. Follow the path and you will see a pair of the Guards with pikes -- honestly they should be cake for you because they each patrol away from a center point, and if you kill the one to the right nearer to that point you can lure the other one close and, when he walks away, shoot him in the back!
At this point I should probably remind you to keep an eye on your kit -- there are no shops to replenish from down here! You should be looting the bodies to replace the consumables that you have been using up, and if you have not been doing that, do it now. Work your way back to the ground and head for the marker where you will head through another gate.
The Final Chamber of the Cistern
-- The Third Chamber --
After you unlock the gate and enter this area you will Checkpoint -- and see a Bomb Table icon on the screen -- even if you do not need to make bombs go ahead and open it, since doing so can net you some ingredients for the finding of it.
There is a single Guard ahead of you but approaching him close enough to kill him is problematic since you do not want to blow your undetected status, so use a Cherry Bomb to lure him onto the walkway and then shoot him with your crossbow when he turns his back to return to his post. Voila! Dead Guard!
Now head for the center of the room -- be sure to loot that Guard -- and you will find the spot you need to climb from is a column with wood bracing on it. At the top is a perch, and some beams to cross and then you can easily jump to the marker!
-- The Final Chamber --
At the marker you Checkpoint -- move a little forward for a CS of the nervous guards. There are WAY too many for you to handle and remain undetected, so it is once again time for Mondo Ninja Action (MNA).
Use Eagle Vision to ID the officer, and then staying on the beams above, get close enough to dart him so he is poisoned and you get his key. Now if you really really want to you can try to take out the rest of the Guards -- it is your call -- the smart thing to do and the safe thing is to just get the hell out after you score the key but then, I am sometimes not smart and often very unsafe!
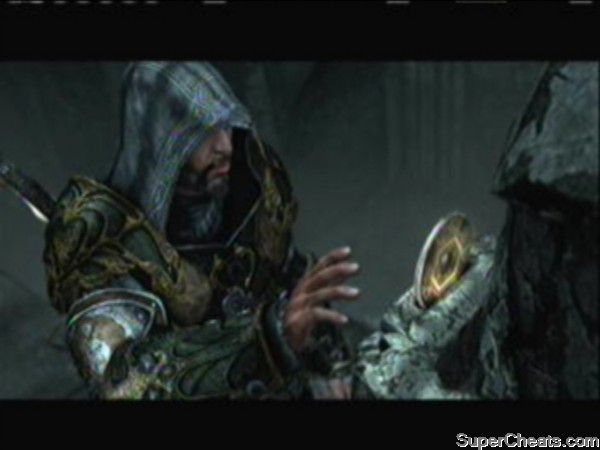
So using my trusty Datura Bombs (and crafting more as I use them) I went ahead and eliminated all of the Guards as I made my way to the marker, and through the final gate and then, using Eagle Vision located the chests and the false wall. After you empty the chests -- or not -- go through the wall for a brief CS and you score the Key that everyone has been looking for -- and you also find a map when you interact with the statue. That is 1 of 5 keys, a map, and 100% Synchronization -- well done mates!
No comments yet. Tell us what you think to be the first.