- Games
- Guides
- Complete Guide to Monopoly GO!Palworld Walkthough GuideThe Walking Dead: Survivors Beginners ..Ravenlock Walkthrough
- Warzone 2 GuidesHogwarts Legacy Walkthrough and GuideFar Cry Primal Walkthrough and GuideVirtual Villagers Origins 2 Puzzles an..
- Fire Emblem Engage Walkthrough GuideLego Star Wars: The Skywalker Saga GuideSurvivor.io Walkthrough and GuideChained Echoes Guide
- Latest
- More
- General ForumsChat and have fun Video Game ForumsFind friend, get help Achievements & Trophies'chieve lists and hints to help
- Pokémon HubFind it all PokédexAll the stats ModsMods and and-ons
- Action Replay CodesAR Codes and cheats GameShark CodesGS Codes and cheats CodeBreaker CodesCB Codes and cheats
Submit Your Stuff· Send in your cheats, hints and codes
· Need help? Ask a question here Help a gamer Can you provide the answers for fellow gamers questions- Forums
- Pokemon
Log into your account here:
Not registered? Sign Up for free
Registration allows you to keep track of all your content and comments, save bookmarks, and post in all our forums.
-
PlayStation 5
PlayStation 4
PlayStation 3
PlayStation 2
PlayStation
PS Vita
PSP
-
Xbox Series X
Xbox One
Xbox 360
Xbox
-
Switch
Wii
Wii U
3 DS
Nintendo DS
Nintendo 64
Gameboy Adv.
Gameboy
GameCube
SNES
NES
-
Roblox
iPhone
Android
PC
FaceBook
Mac
Dreamcast
Arcade
- General Forums
- Video Game Forums
- Teams Forums
- Pokémon Hub
- Pokédex
- Technical FAQ's
- Achievements & Trophies
- Hall of Fame
- Enter a game name to find below:
-
- Or click here to search for specific content.
- All Our Full Guides More Game Walkthroughs Cheats, Hints and Codes Questions and Answers Recent Guide Updates
- Complete Guide to Monopoly GO!Palworld Walkthough GuideThe Walking Dead: Survivors Beginners ..Ravenlock Walkthrough
- Warzone 2 GuidesHogwarts Legacy Walkthrough and GuideFar Cry Primal Walkthrough and GuideVirtual Villagers Origins 2 Puzzles an..
- Fire Emblem Engage Walkthrough GuideLego Star Wars: The Skywalker Saga GuideSurvivor.io Walkthrough and GuideChained Echoes Guide
The Basics Controls Active Reload Weapons Enemies
Campaign Walkthrough Act 1: Ashes Act 2: Nightfall Act 3: Belly of the Beast Act 4: The Long Road Home Act 5: Desperation
COG Tag Locations Achievements
Gears of Wars - Act 5: Desperation
Skip to Sections...
Special Delivery
Train Wreck
Pale Horse
Special Delivery
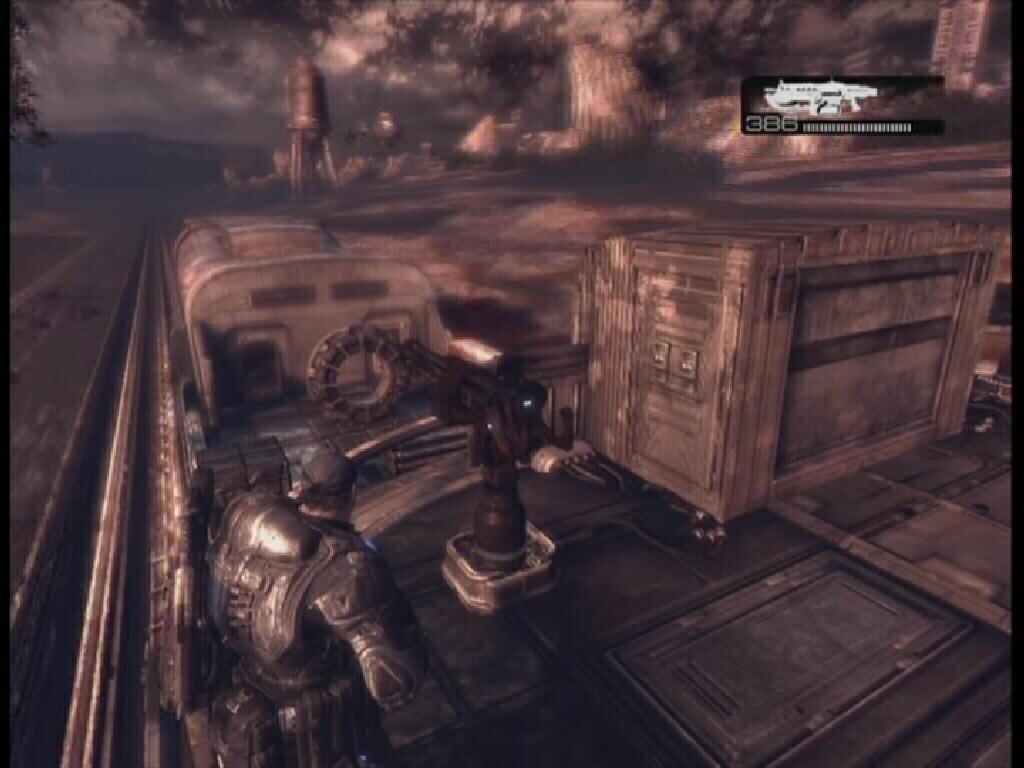
Snipers on the bridge! Get behind some cover quickly. Use your own Longshot to kill them, preferably by headshot. From the left of your starting position, some Wretches are around the corner. An Emergence Hole also opens to your left, behind the overturned van. There are some Frag Grenades near the downed COG soldier, to the right of the statue by the dumpster. Even more Emergence Holes will open up once you have plugged up the first one. Possibly more than you have the frags for, but at least close up a few of them to make things easier on yourself. As soon as you have closed the one that opens to the left of your starting position, turn around and go to the right of your starting position, by the train. Another one will open up there, so be ready with a Frag Grenade.
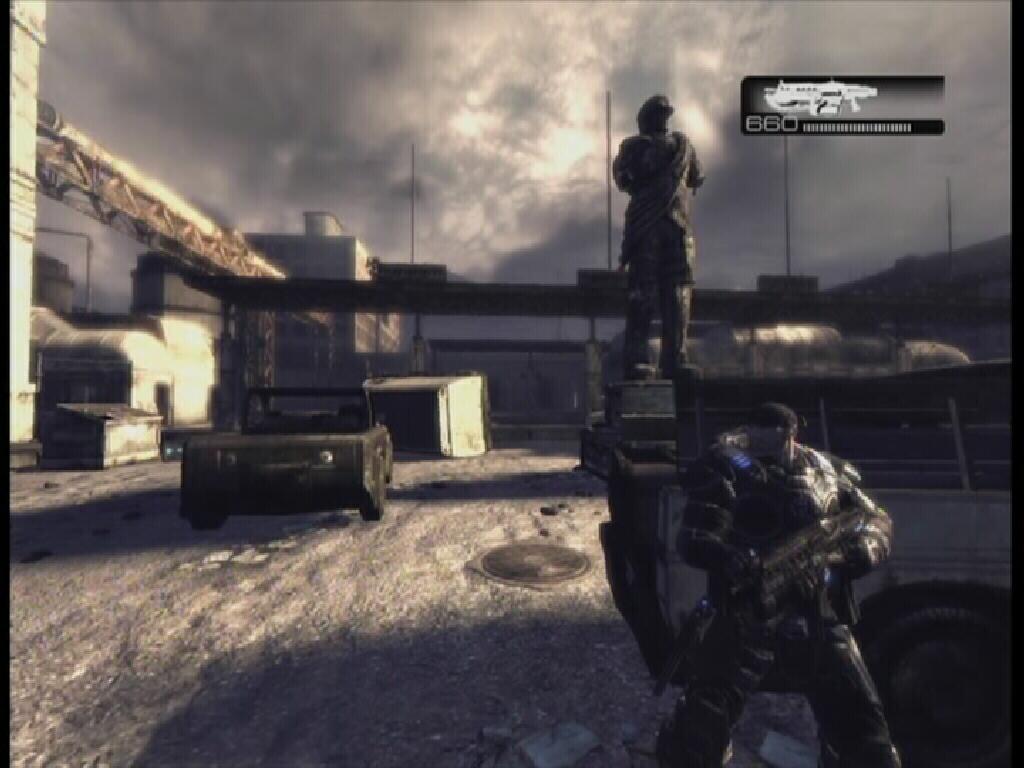 Snipers |
 Emergence Hole |
Train Wreck
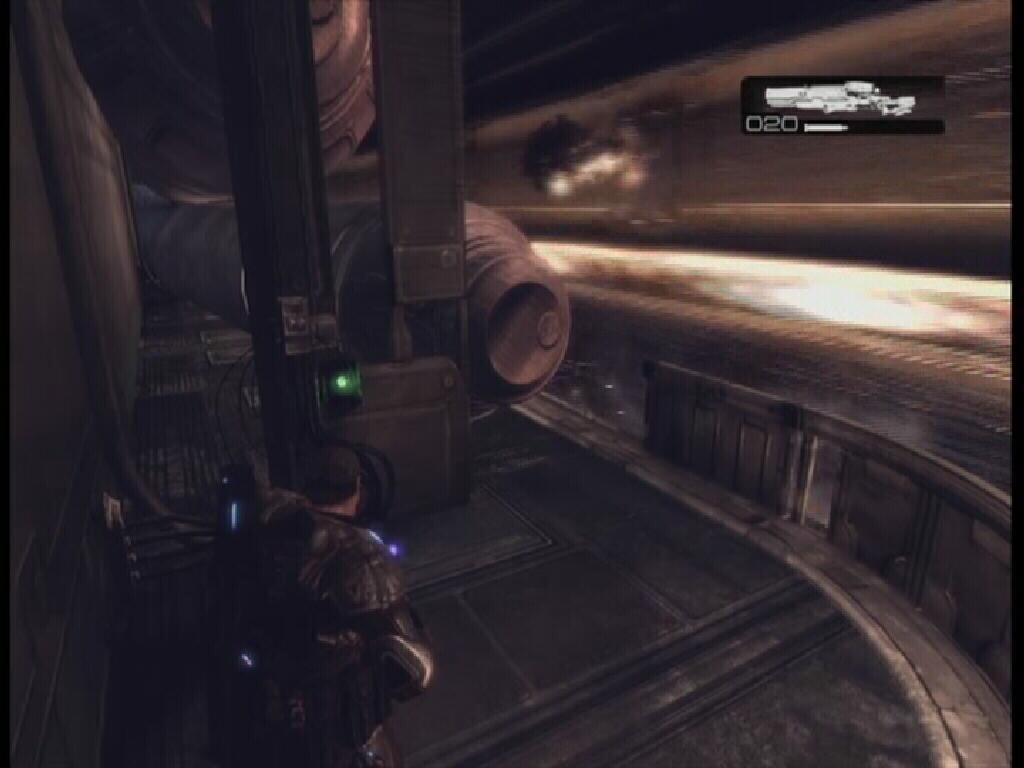
There's plenty of cover for you to use on the freight train. You have to make your way to the train cars but Drones and Theron Guards stand in your way. Don't stay out in the open while Theron Guards are around (remember: they are the ones with the Torque Bows). If you notice that one is charging their bow, do not leave your cover. They can only hold the bolt in place for so long, so once they are forced to let it fly, inevitably missing you, leave cover and attack them. Grab a Torque Bow if you don't mind parting with one of your current weapons, just be sure to keep the Longshot. The Drones here have Lancers, and they seem to charge and jump cover quite often. If they get too close, fallback.
 Torque Bow |
BOSS BATTLE: Berserker
Berserker number three. You don't have a Hammer of Dawn this time, but you can still be rid of this beast. There are three ways that you can go about doing this. (Don�t forget the Berserker is blind and relies on scent and sound to move around, so you will have to guide her.) One way that you can kill her is to lure her to the cart past the green button. When she is standing on that cart, roll back to the previous cart and press the green button to detach the cart she is on, killing the Berserker in the process.
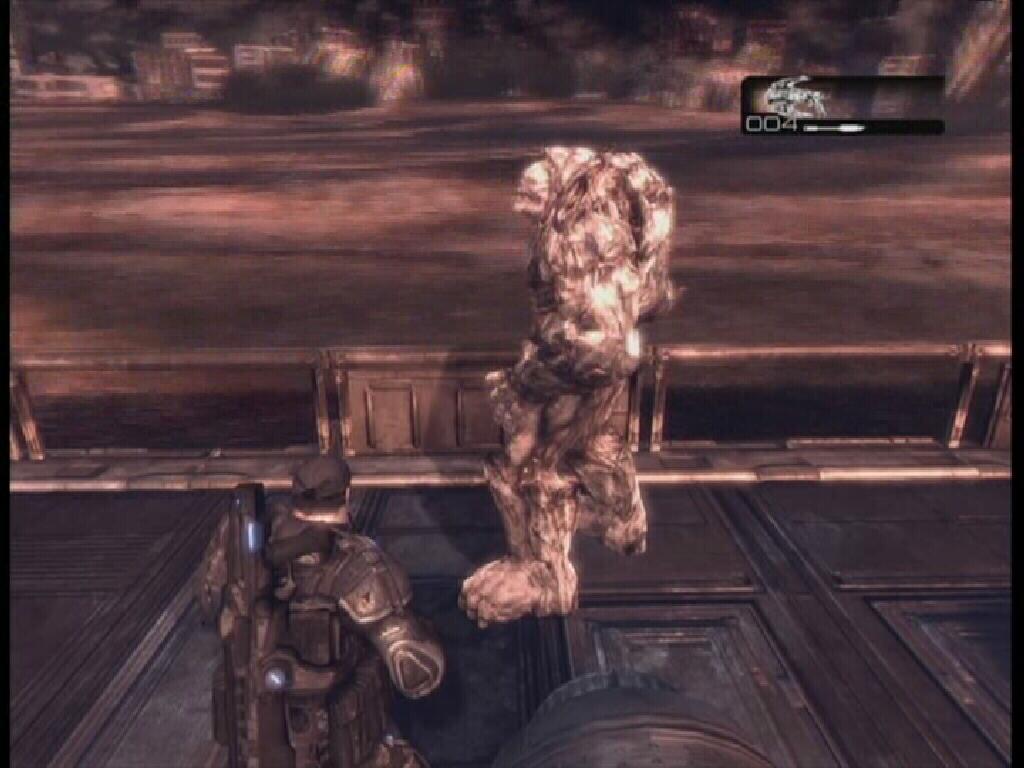 Berserker |
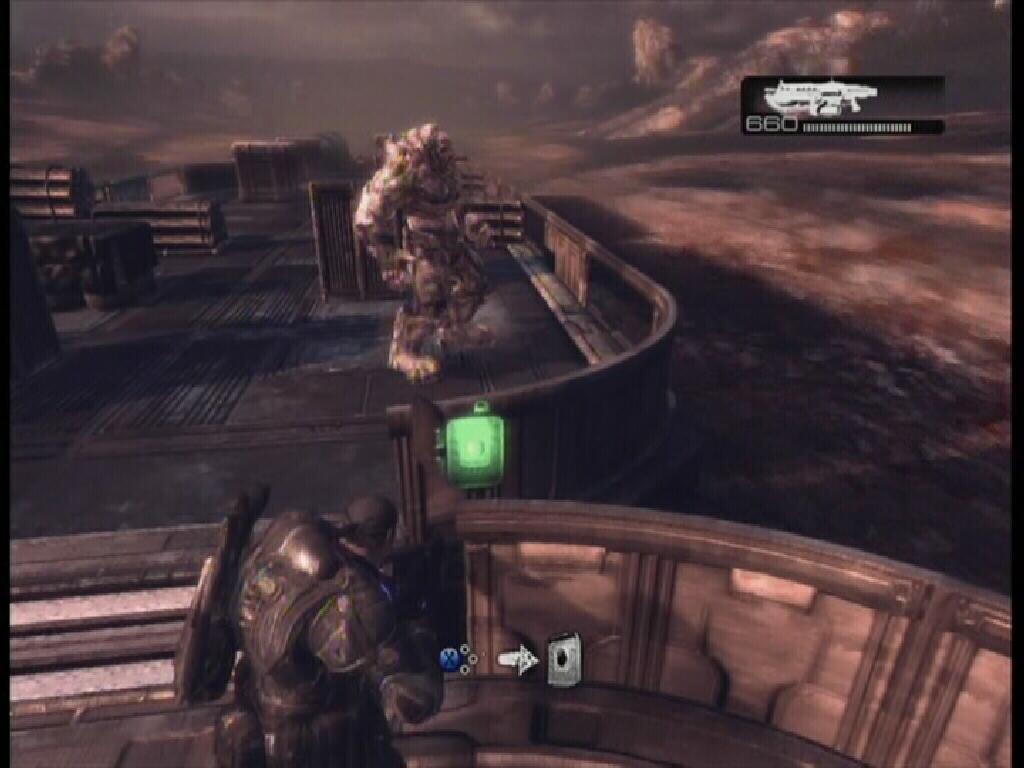 Button |
Way number three to kill her is to detach the cart with the green button or fuel tank, then stand before the train's end. Have the Berserker charge towards you, roll out of the way and she will fall off of the train.
|
Launch in external player Berserker Video |
Now that she's out of the way, you can proceed into the train cars.
COG Tag 28: Go through the door that Jack opened and immediately turn to your left. The COG Tag is in the corner here.
 Crimson Omen |
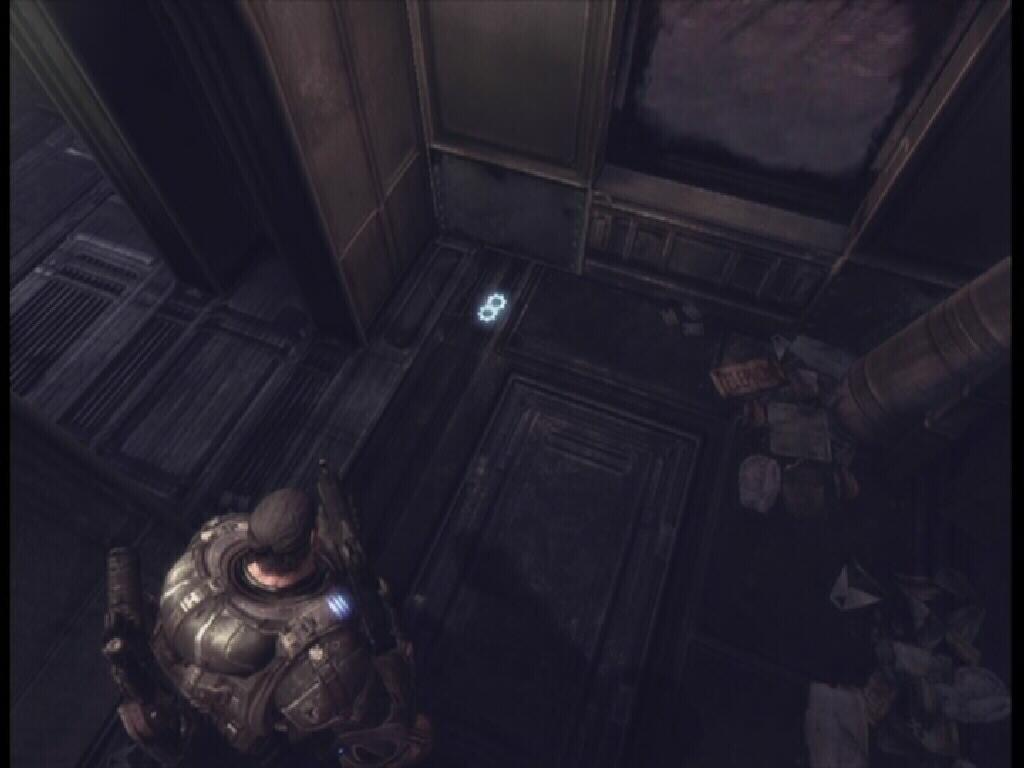 Cog Tag 28 |
COG Tag 29: When you pass by a metal divider on the right, turn right and look in the corner for a COG Tag.
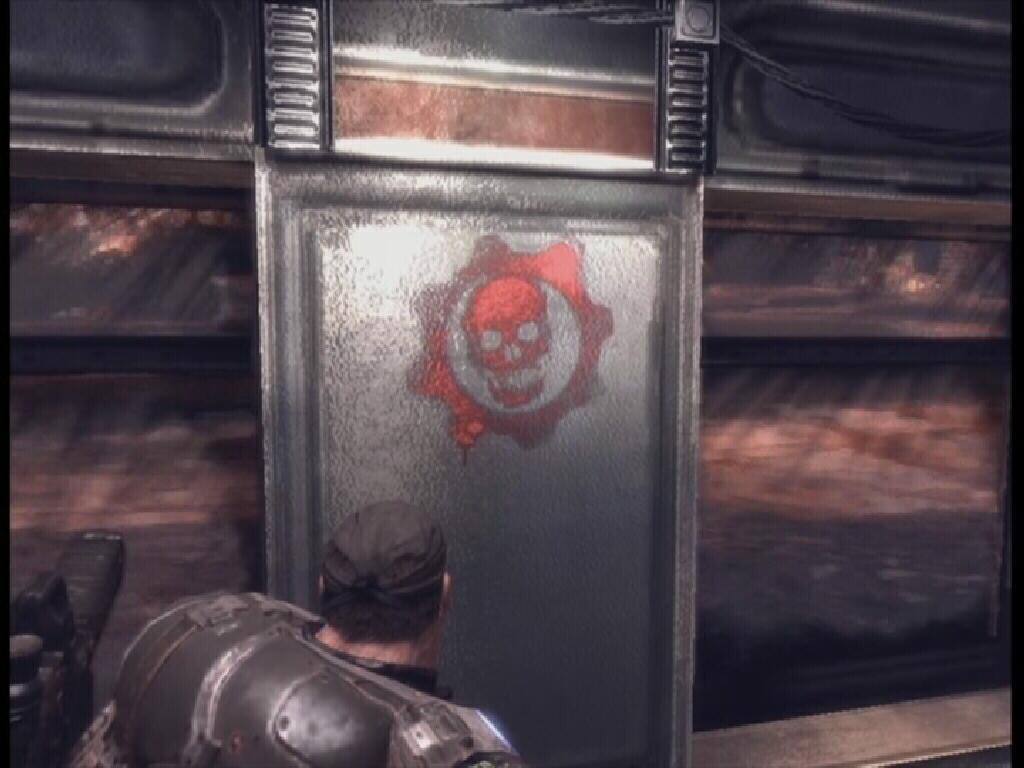 Crimson Omen |
Cog Tag 29 |
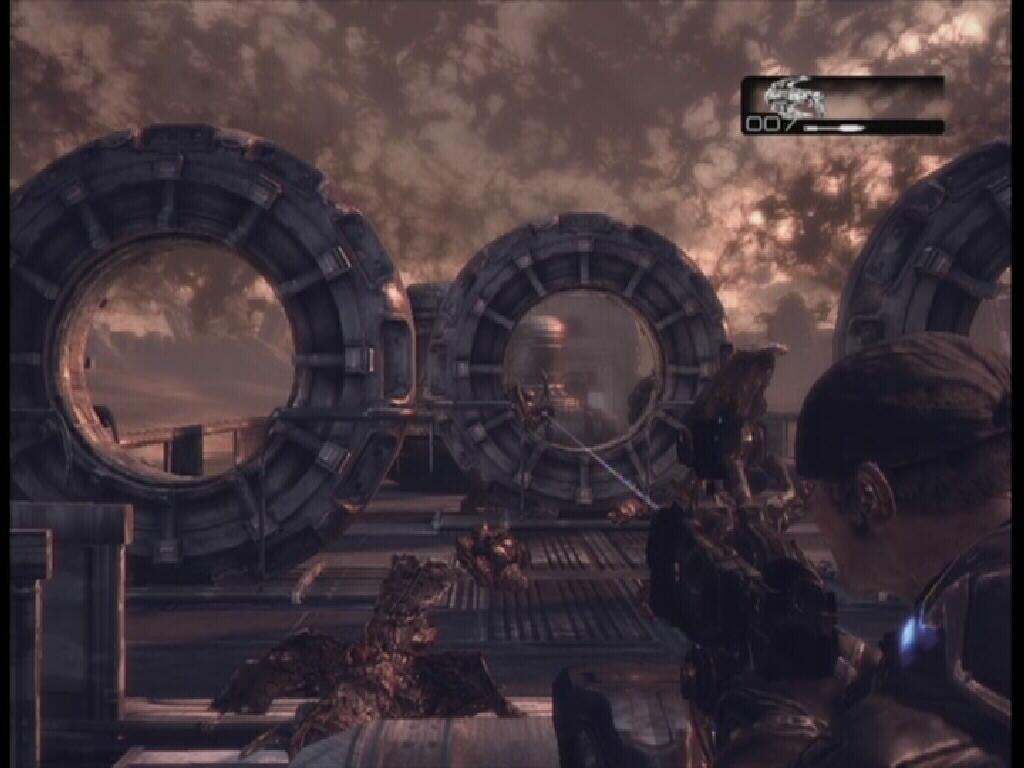
When you have exhausted the Torque Bow, either switch to the Chainguns or switch to your Longshot. The Longshot is only really effective if you can manage to get perfect reloads each time. In order to kill both the Reavers on the right and the Reavers on the left, you'll have to switch from chaingun to chaingun to get a shot on them. With all of the Reavers surrounding the train gone, head back down the ladder and follow Dom through the door.
 Chaingun |
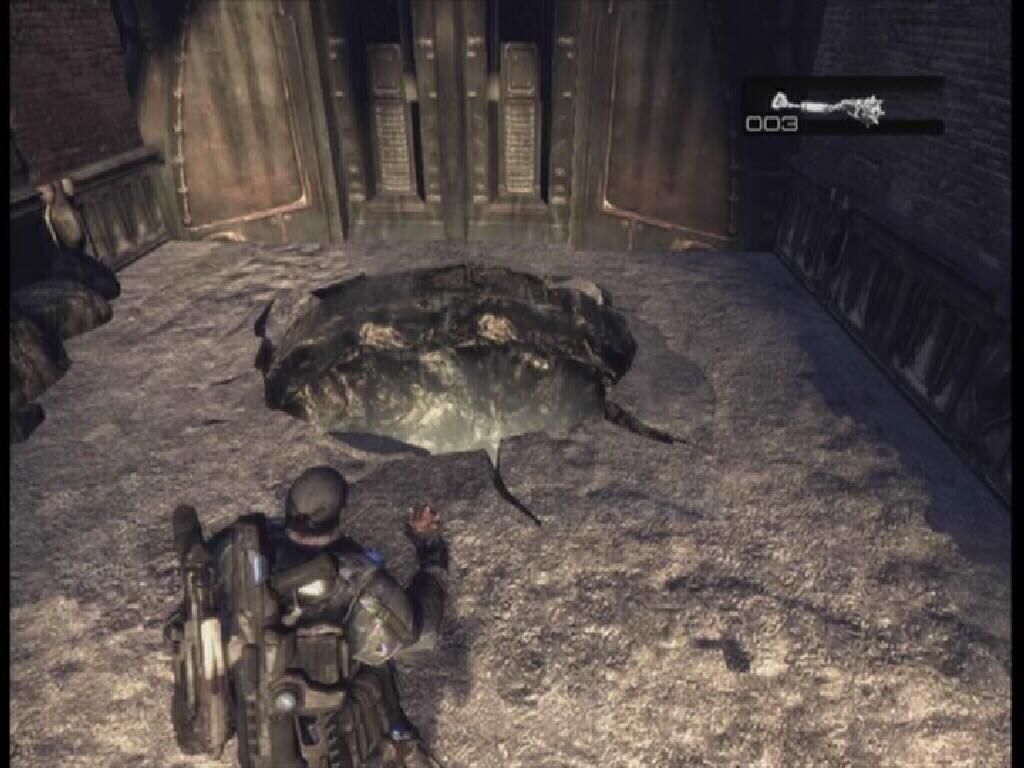
Press the button to release the four fuel tanks. Travel along the side of the train and go through the door. Run to the end of this car and try to open the door. Jack will need to open it for you, but in the meantime you will be facing an onslaught of Lambent Wretches. This part may prove difficult, but lucky for you, you just hit a checkpoint. Try to keep your distance from them, though that can be a difficult thing to do because of their speed. If they die right in front of you, roll backwards to avoid taking damage.
 Tanks |
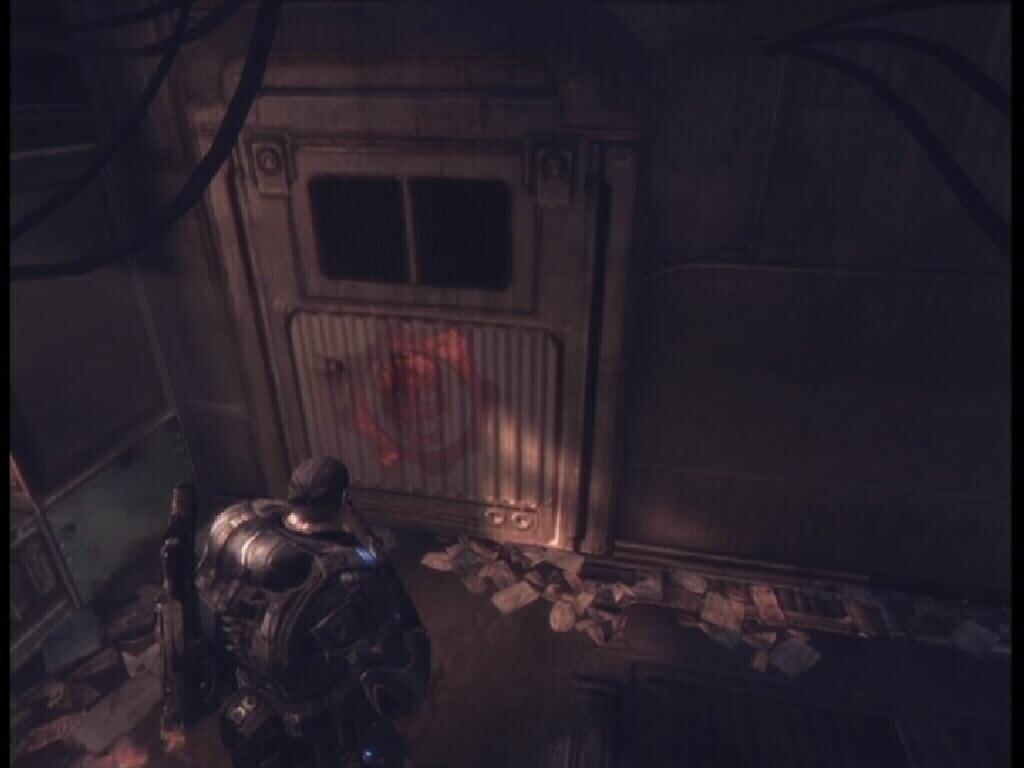
COG Tag 30: You know what that Crimson Omen means. Go left as soon as you turn the corner. Left again to go through the doorway here. Travel this path all the way down to the switch activated door. Inside you will find the final COG Tag.
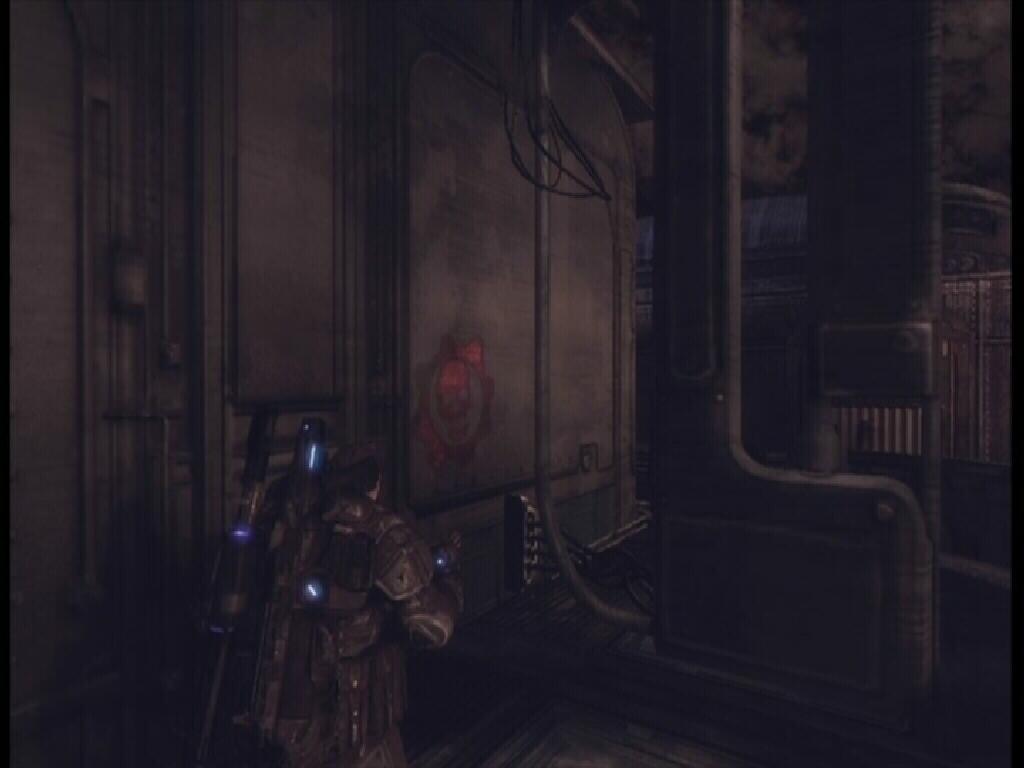 Crimson Omen |
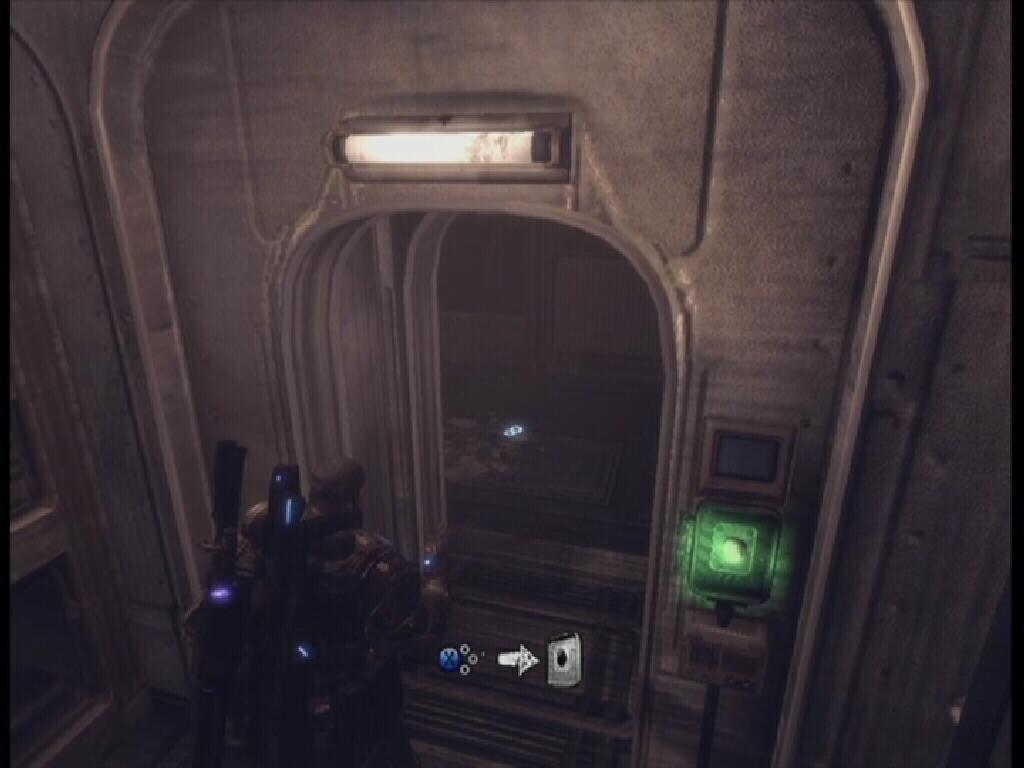 Cog Tag 30 |
Stock up on everything that you can get your greedy little hands on. First of all, be sure that your Longshot is fully loaded. Frag Grenades, you'll need them, too. If you still have Torque Bow ammo, that's wonderful.
Alright, once you're ready, take a deep breath and open the door for the final showdown!
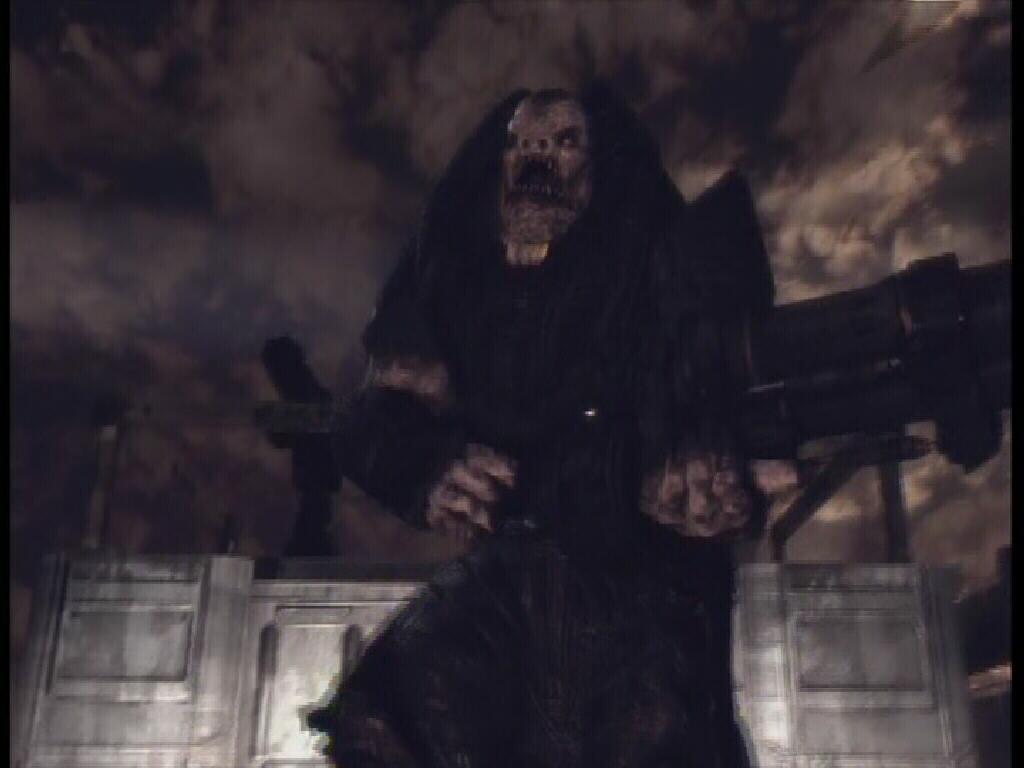
BOSS BATTLE: General RAAM
General Raam is one scary looking Locust. And that is a Troika that he's holding! There are also Kryll flying around him. Sure, he�s scary, but fortunately he isn't as tough as he looks. The Longshot is your best friend here, even more so if you are able to achieve perfect reloads 90% of the time. Raam is invulnerable while the Kryll are surrounding him. They will disperse occasionally; this is the time to deal damage. You can force them to separate from Raam if you hit him with something explosive, such as a Frag Grenade or Torque Bow bolt. Torque Bow bolts work best, but if you do not have any with you, you will have to make due with frags. It is easy to blind throw and hit Raam as he is walking slowly towards you.
 General Raam |
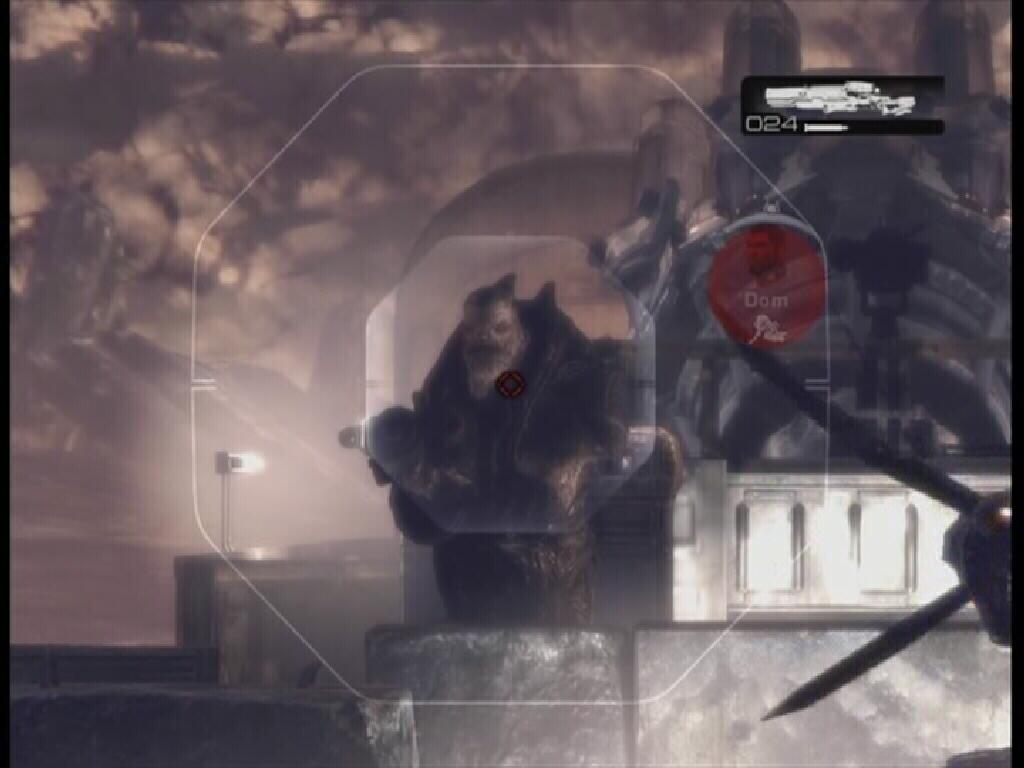 Kryll Dispersed |
Raam will slowly walk towards you. When he reaches your location (that is standing right in front of your piece of cover), you'll have to run to the opposite side of the cart and seek refuge behind an identical piece of cover. This is dangerous because Raam will be shooting at you, and with Kryll about, you cannot step into the darkness. That is why you must move fast. Roadie Run and roll, do whatever you must do to get yourself safely behind that piece of cover.
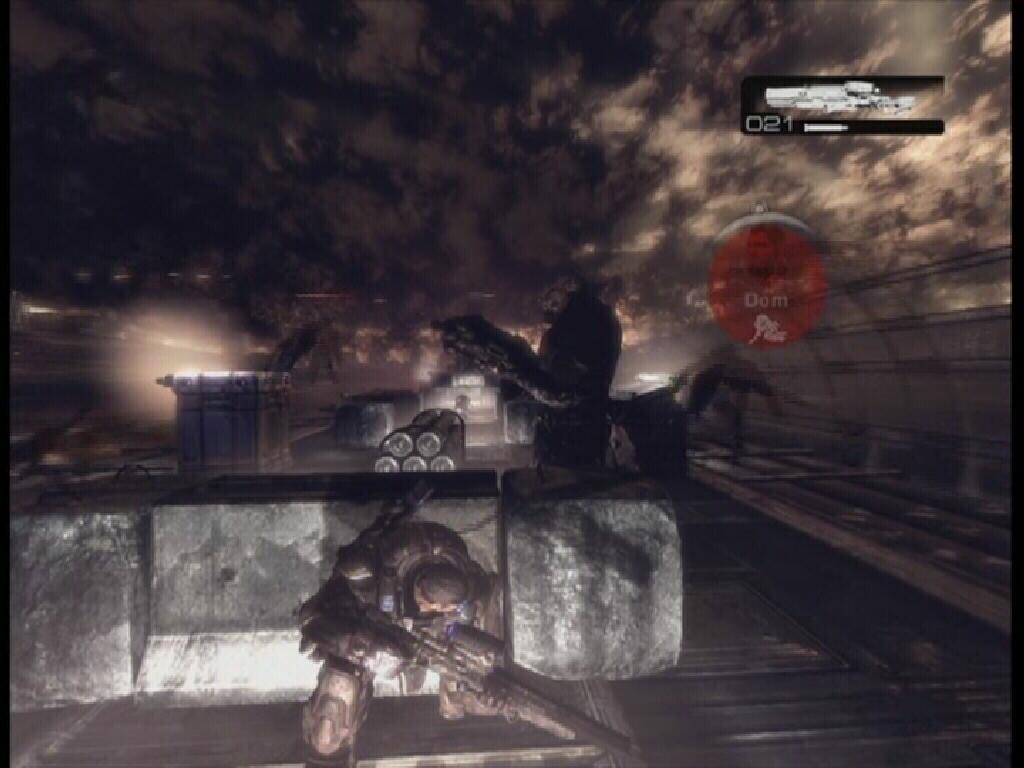 Cover |
That's it, you�ve completed Gears of War! Congratulations on a job well done. Think you're up for Insane? This guide is copyright 2007 SuperCheats.com, no part of it may be reproduced without permission.
© Web Media Network Limited, 1999 - 2024. This site is not affiliated in any way with Microsoft, Sony, Sega, Nintendo or any video game publishers.
Privacy Policy | Terms of Service.
Super Cheats is an unofficial resource with submissions provided by members of the public. These are not usually tested by us (because there are so many), so please use them at your own risk.