Revisiting the Facility
Trei’kuran Dunes
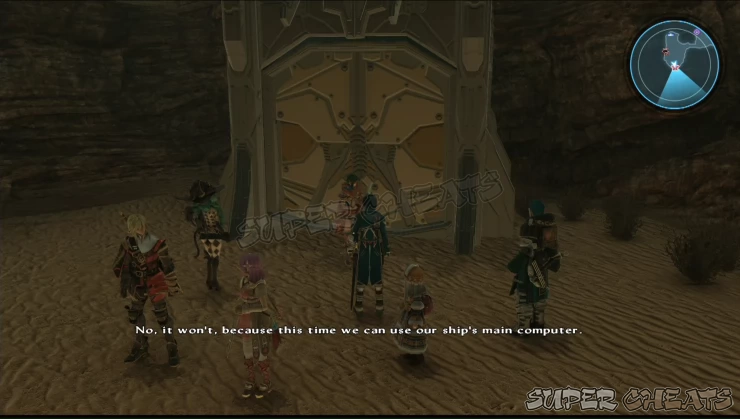
Approach the facility’s entrance and after Anne successfully hacks the mainframe and gains access once again to the facility, you’ll be transported to B3F.
Symbological Facility Prime
B3F
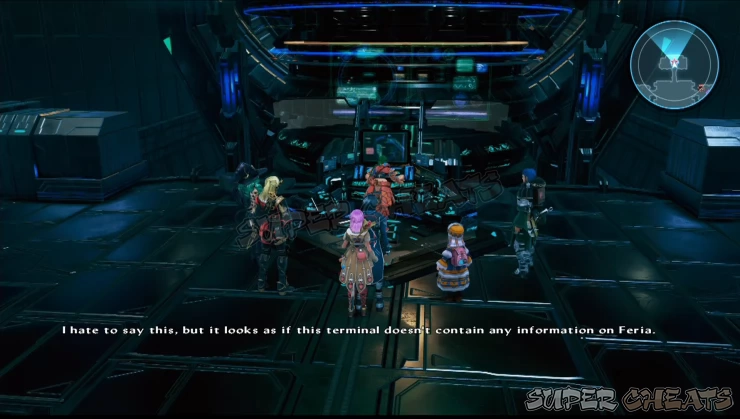
Approach the large terminal in the middle and after Anne tinkers a bit, the facility’s welcome party will arrive. Take them out then head to B4F. Save your game from the nearby savepoint.
B4F
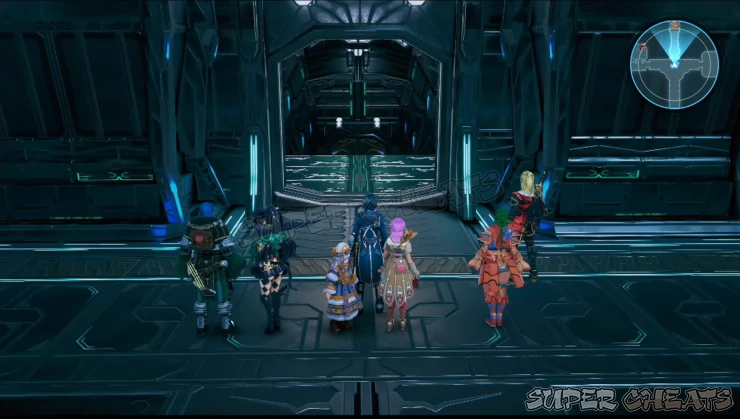
The doorway in the middle north that was previously inaccessible should be accessible now. It should take you to B5F.
B5F
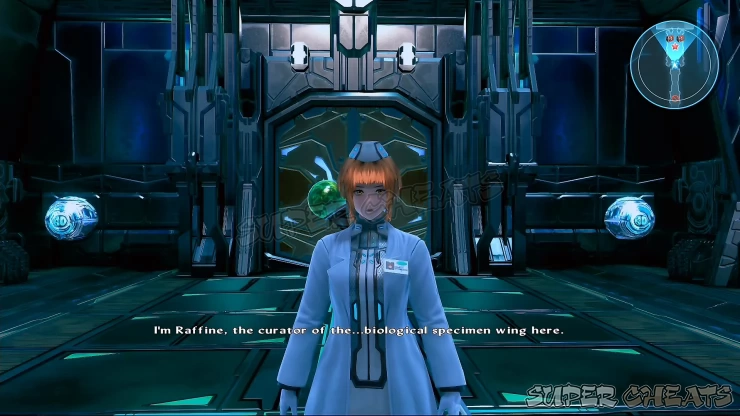
After arriving, you’ll be greeted by Raffine, the curator of the “biological specimen wing” in the facility. She’ll offer her assistance and will take you supposedly to Feria. Once she temporarily joins your party, loot the CQC Program Delta and Swordsman’s Manual VII from the containers.
In the following rooms, you’ll be facing a couple of enemy groups. The first one are Fafnirs, an upgraded version of the spider drones you faced during your first visit in the facility. The second group of enemies you’ll need to dispose of are plant symboforms called Welwitschia. They aren’t difficult to deal with so take them out and heal up your party in preparation for the real boss battle ahead.
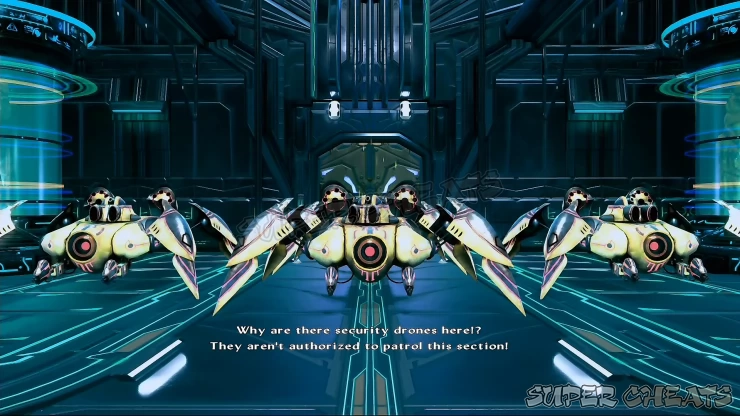
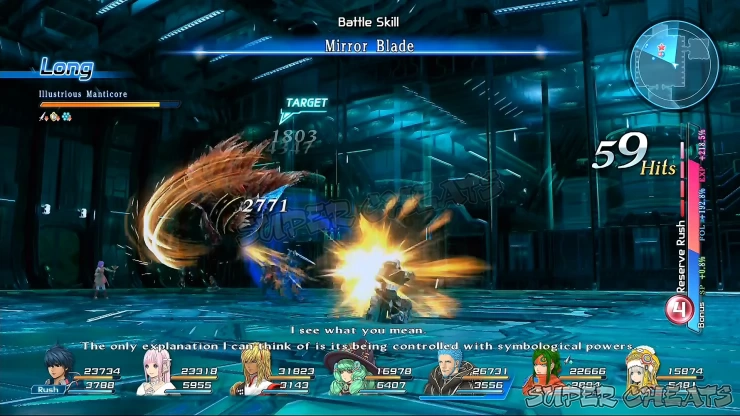
Continue forth until the last room where the Illustrious Manticore appears. It can’t be killed initially since it keeps on fully healing itself. In addition, it will also target Fidel exclusively. You have to focus on healing Fidel and keep Miki safe. If you’re pretty much leveled up at this point, you don’t have to worry that much in keeping him alive since Miki’s EX Healing or Faerie Light should be enough to keep him alive. Keep playing on a defensive until Relia finally activates her power and disables the manticore’s healing abilities. That’s the time that you should be able to take it down for good.
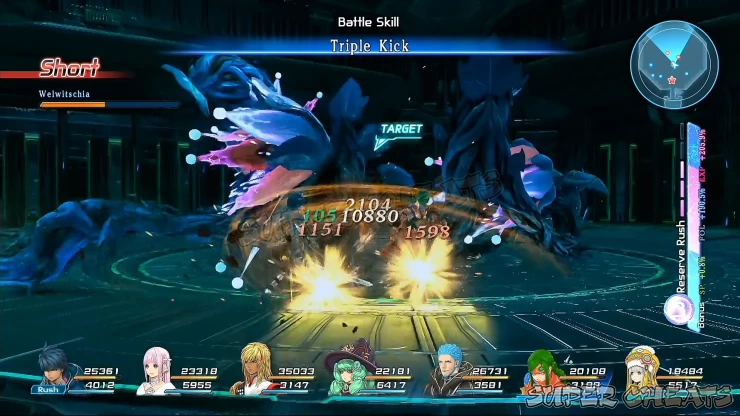
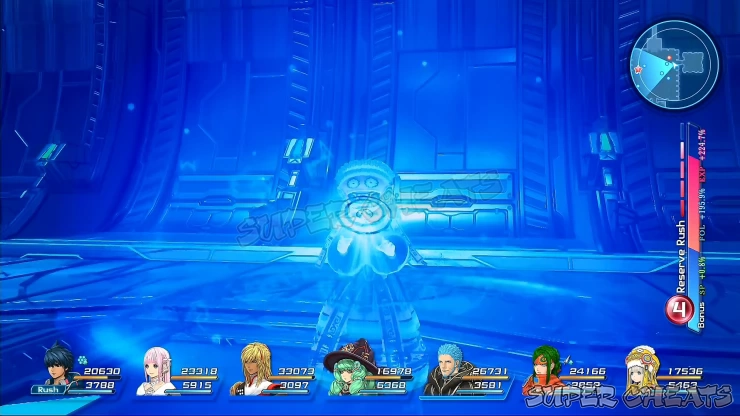
Tip: There are instances that the battle will rage on without Relia doing anything. If the battle drags on to more than 3 minutes and Relia still haven’t done anything at all, reset the game and try again. Relia should be triggering this ability
The manticore has a nasty short-range, aoe attack where it stabs the ground with its tail, creating a small shockwave around it, then it will twist around its body while spiraling upward, dealing additional damage to anyone nearby. It will also aggressively fly around while swiping its massive claws or dash forward with its sharp tail pointed outward. The boss is quite mobile and annoying so using “quick” attacks and signeturgy should allow you land hits on it accurately. Your melee fighters may have to chase it around and will most likely have to endure getting damaged first before they land their hits. Keep Miki safe and her healing spells should keep everyone alive and kicking until you finish off the boss.
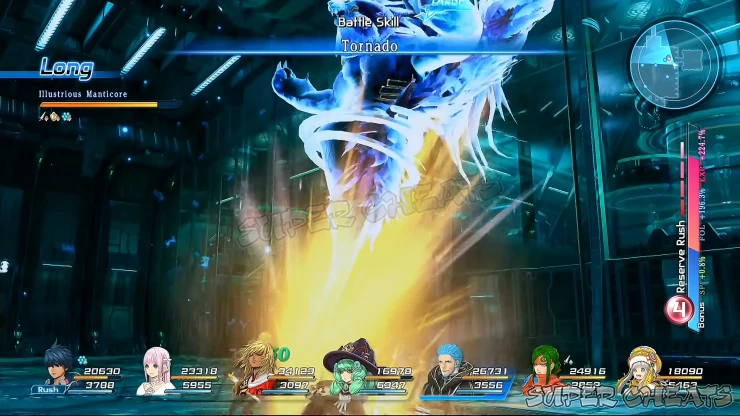

During the cutscene, you’ll learn of your next destination: the Signeselica in the Northern Territory of Sohma.
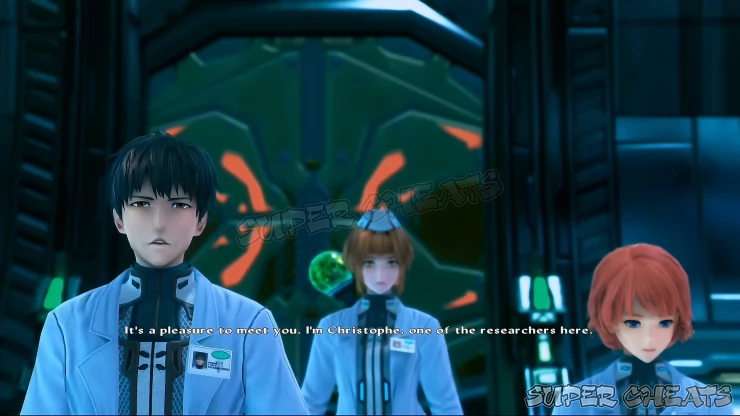

Charles D. Goale G
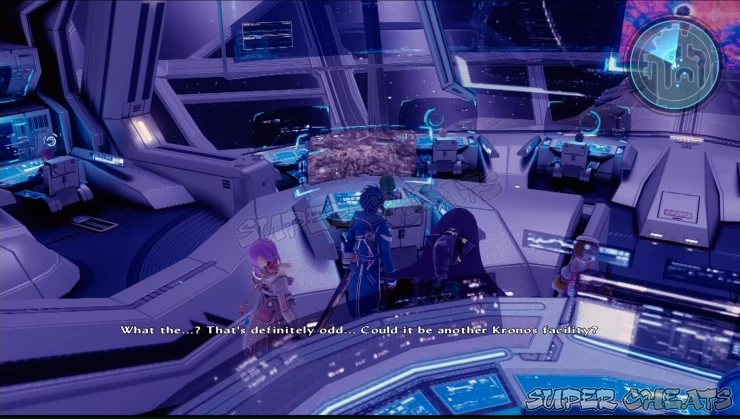
Return to the ship and head to the bridge to have Anne and Emmerson check with the ship’s instruments. After Emmerson is done talking, approach Anne to find out that the ship can’t even scan the Signeselica. Emmerson will then announce that it will be your next destination. Once this is done, you should be able to access the new set of optional tasks at this point.
Optional
You’re almost near the end of the game and after the completion of the last story mission, more sidequests and Private Actions will become available at this point:
Tip 1: The Northern Territory of Sohma should be available as one of the transporter options.
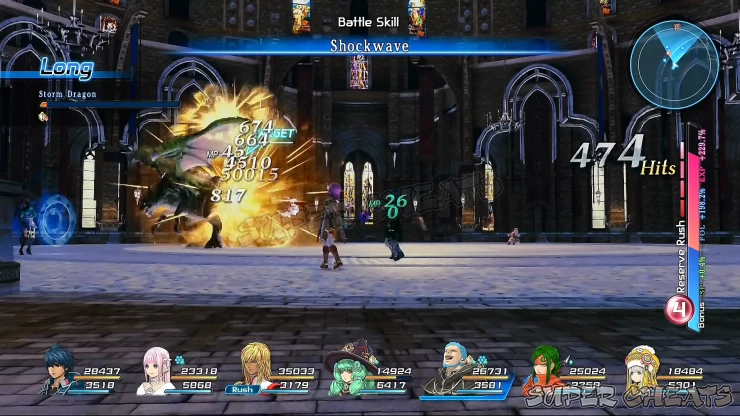
Tip 2: The Cathedral of Oblivion instances will now feature more rooms and a new boss, the Storm Dragon. It’s a really powerful foe but if you’re fairly leveled at this point, you shouldn’t have any problems defeating it. It has a tremendous amount of HP and uses Tornado a lot so as long as you keep Miki, Fiore, and Emmerson spread out and as long as your main attackers can soak some of the damage without getting wiped out quickly, you should be fine. Some of the great Weapons you can get for free can be acquired from chests in the last iteration of Cathedrals so it will be worth your while in getting them.
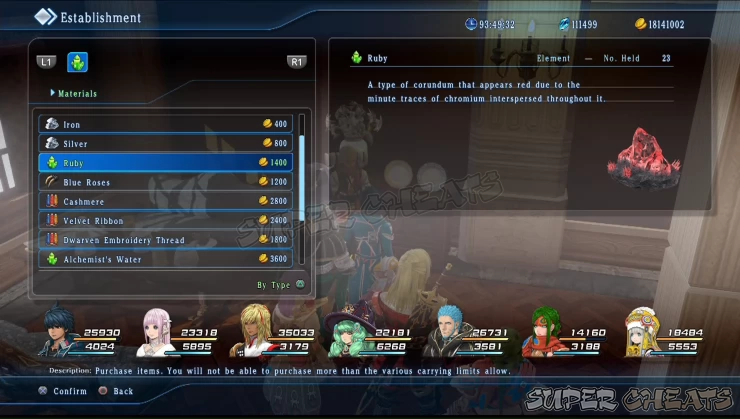
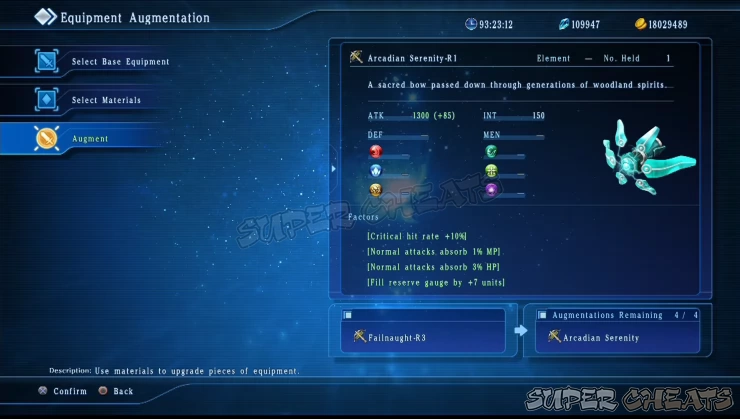
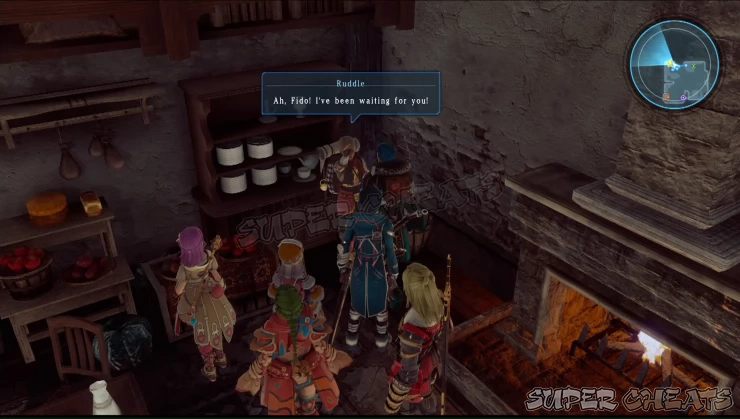
Tip 3: Ruddle’s at it again. Select the sidequest “That Darn Ruddle” from the bulletin board in Eastern Trei’kur. Completing this quest will make Ruddle open a shop inside the inn of Central Resulia. His inventory contains most Materials that you can only obtain by farming. His shop is very convenient if you’re planning to craft some of the rarer items and materials in Item Creation.
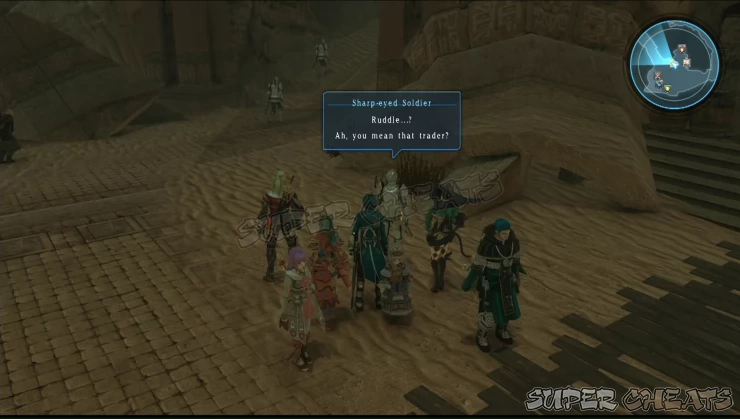
- After getting the quest, enter the inn and leave again for the soldier who will give the first clue to appear near the inn’s entrance. He will tell you to check out the inn in Myiddok.
- Go to Myiddok’s inn and talk to the inn steward to learn that Ruddle has gone to Santeroule.
- In Santeroule, talk to the kind elder in the city square to learn that he has gone back to Central Resulia
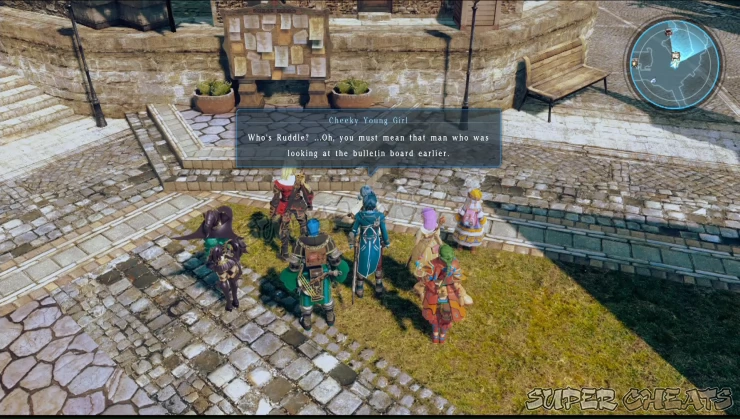
- In Central Resulia, talk to the cheeky young girl in front of the bulletin board. She’ll tell you that Ruddle left for your village, Sthal, next.
- Finally head to your house in Sthal where you’ll finally catch up with Ruddle. After talking to him, return to Eastern Trei’kur to complete the quest.
Anything missing from this guide?
ASK A QUESTION for Star Ocean 5: Integrity and Faithlessness
Comments for Revisiting the Facility
Add a comment
Please log in above or sign up for free to post comments- Basics
- Walkthrough - Chapter 1
- Walkthrough - Chapter 2
- Walkthrough - Chapter 3
- Walkthrough - Chapter 4
- Walkthrough - Chapter 5
- Walkthrough - Chapter 6
- Walkthrough - Chapter 7
- Walkthrough - Chapter 8
- Walkthrough - Chapter 9
- Walkthrough - Chapter 10
- Walkthrough - Chapter 11
- Walkthrough - Chapter 12
- Sidequests
- Maps
- Optional
- Battle Skills
- Roles
- Specialties
- Creation Menu
- Item Creation
- Encyclopedia
- Trophies
 Join us on Discord
