From Dusk Till Dawn
Trei’kuran Dunes
While you only have until sunrise to rescue Relia and Daril, there’s really no urgency or the immediate need to rush to the next destination. Until you complete the next story mission, time will seem to stop at dusk. This is a rare but interesting chance to see various locations and trigger Private Actions in an evening setting.
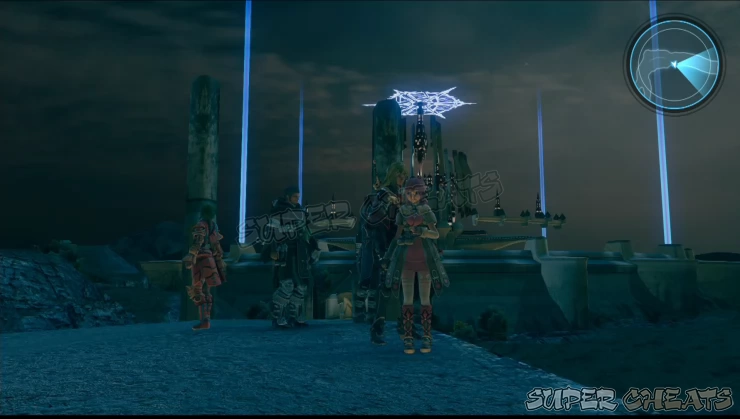
You can continue exploring and doing some of the optional stuff you need to do. However, all Private Actions are locked until you at least visit the Treikur Slaughtery. You don’t need to complete the entire location for now; you just need to reach its entrance (up to the savepoint and healing point before the main door) to “unlock” the private actions then you can go on your way in exploring and completing the sidequests at your leisure. The bulletin board in Central Resulia for instance, has several new sidequests.
Tip: Welch’s Sidequest
Head to Myiddok to tackle yet another sidequest from Welch called “Behavioral Study”. You can find the Sanddozer she wants you to hunt down in the Trei’kuran Dunes. Completing this will unlock the Authoring specialty, which allows you to craft signet cards and Skill Books.
After completing all optional tasks at this point and you when you want to continue with the story, go to the Trei'kur Slaughtery to rescue Daril and Relia.
Trei’kur Slaughtery
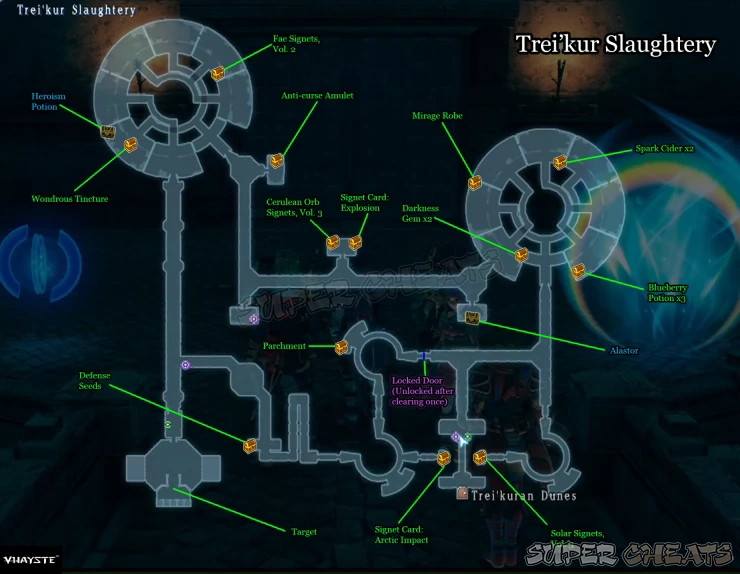
Your destination is the room in the southwest corner of the map. However, since there’s a locked door heading west near the entrance, you have no choice but to go around the entire map starting from the southeast.
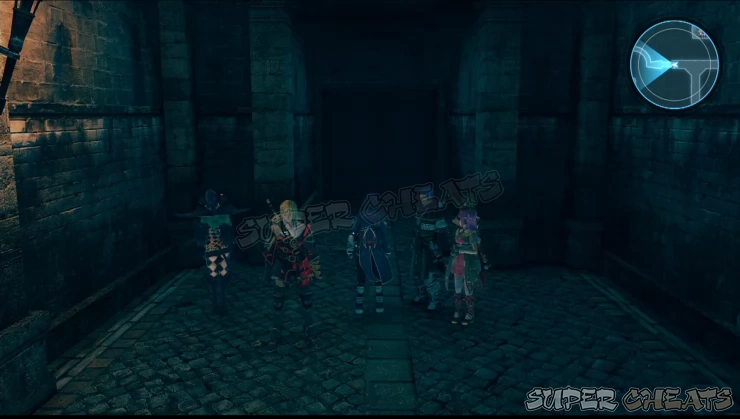
From the entrance, head to the right until you reach another corridor. Go upstairs to the south first to reach a circular room. Follow the straightforward path until it leads you to a chest containing Solar Signets, Vol. 3. This teaches Miki the Sunflare or Fiore’s Tornado battle skills. Backtrack to the previous corridor then head north this time.
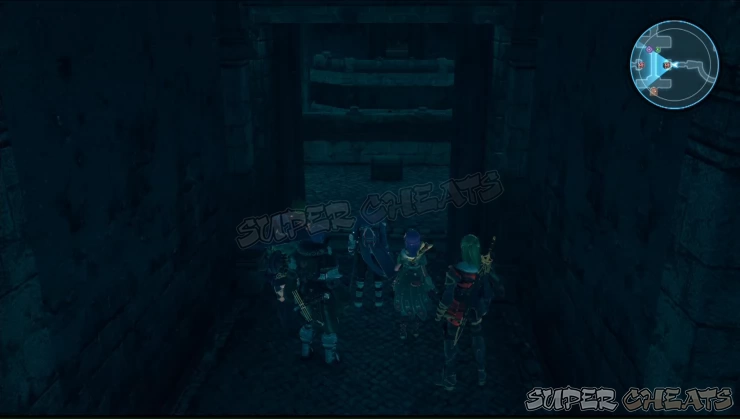
Upon reaching the larger circular room to the NE, grab the Darkness Charm x2 from the chest to the immediate left. This room also contains Zurtails, enemies you need to hunt for a Subjugation sidequest. (You can also farm Signet Card+ from them, an uncommon Authoring specialty material at this point) Next, go downstairs to the left then clear the prison cell and loot the Mirage Robe from the chest in the corner, near the pile of crates and barrels.
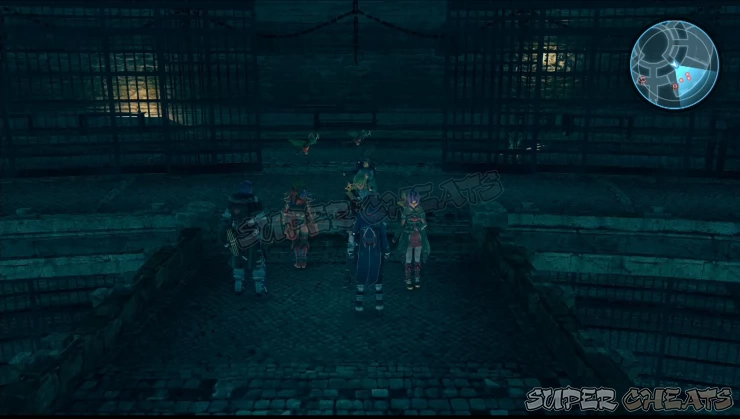
Next go upstairs to the northeast then grab the Spark Cider x2 from the chest right outside the open prison cell. Clear the enemies inside then head to the next room to the south. Cross two bridges to reach the last cell in the southeast corner and loot the Blueberry Potion from the chest.
Backtrack to the short circular hallway in the middle then go upstairs to the north to reach the higher floor. In the middle north, there are two walking armors that you can defeat. They can’t be staggered and they have a wide angle of attack, capable of knocking down your attackers. Since the area is small, keep Fiore and Miki at a safe distance. After defeating them, continue to the left.
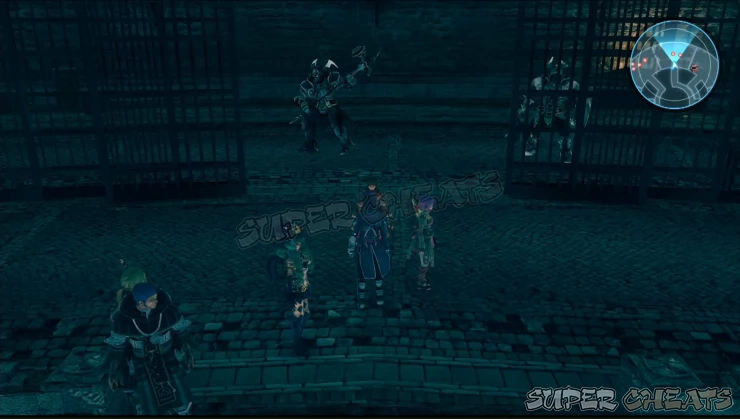

Follow the path until you exit the area. Clear the enemies outside then open the small room to the south to find a locked chest. If you can open it, you’ll obtain the Alastor inside. Continue along the pathway then clear the next group of enemies in the middle of the path. Once done, loot the two chests inside the small room in the middle that contain Signet Card: Explosion and Cerulean Orb Signets, Vol. 3. (Teaches the battle skill Terra Hammer to Miki or Artic Impact to Fiore)
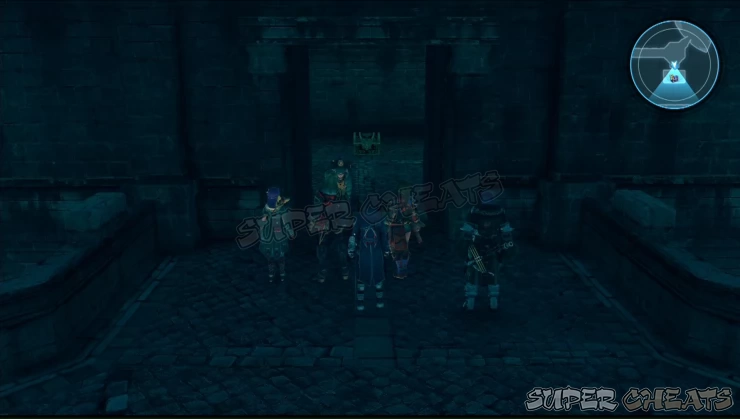
Continue west then use the savepoint to the south. Once done, head north then grab the Anti-Curse Amulet from the small room to the right. Enter the next large circular room then go downstairs to the left. Defeat the enemies inside to loot the Wondrous Tincture from the normal chest and the Heroism Potion from the locked chest.
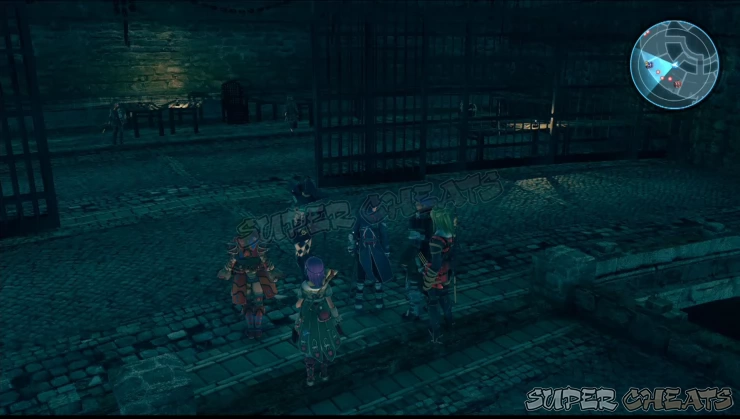
Backtrack then go upstairs this time. Defeat the enemies inside the prison cells then grab the Fae Signets, Vol. 2. Cross the bridge to the middle platform and go upstairs to the north then clear the next two prison cells. Cross another bridge leading to the middle platform again then follow it until you reach the southern exit. There, two more walking armors and several enemies are waiting along the path. Take out the softer foot soldiers first before concentrating your attacks on the armors. Area-of-effect signeturgy from Miki and Fiore should be enough to get rid of them.
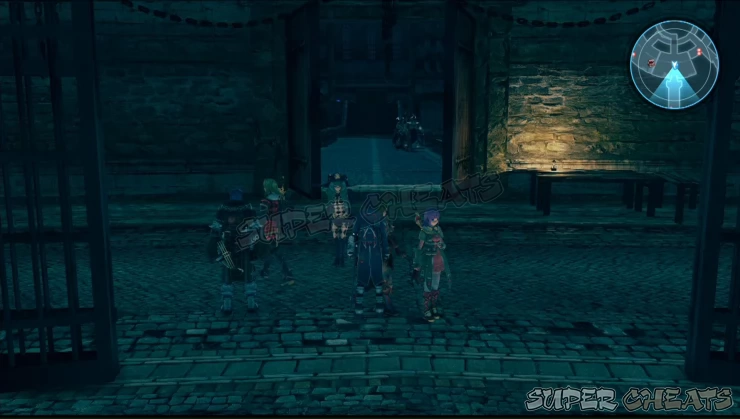

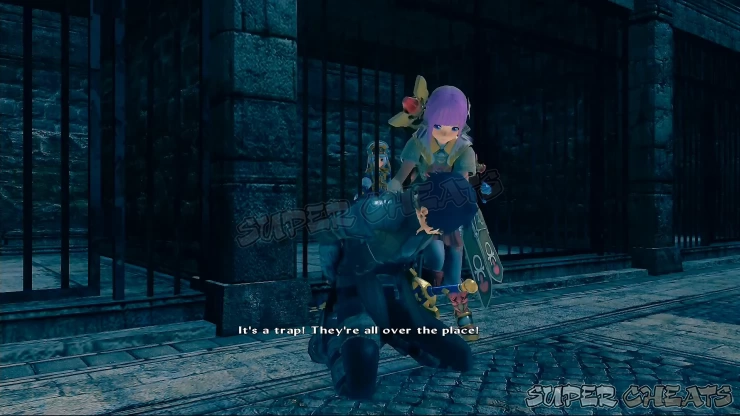
Once done, continue north and use another savepoint if you want. Before heading further south, you can go downstairs to the east and grab the Defense Seeds from the chest by the locked door. Backtrack and continue to the last room. Use the healing point along the way then go through the door to find Relia and Daril. After the short conversation, enemy units will ambush your party. These are normal foot soldiers and archers so you shouldn't have difficulties facing them. After defeating them, watch through the next cutscenes.


Anything missing from this guide?
ASK A QUESTION for Star Ocean 5: Integrity and Faithlessness
Comments for From Dusk Till Dawn
Add a comment
Please log in above or sign up for free to post comments- Basics
- Walkthrough - Chapter 1
- Walkthrough - Chapter 2
- Walkthrough - Chapter 3
- Walkthrough - Chapter 4
- Walkthrough - Chapter 5
- Walkthrough - Chapter 6
- Walkthrough - Chapter 7
- Walkthrough - Chapter 8
- Walkthrough - Chapter 9
- Walkthrough - Chapter 10
- Walkthrough - Chapter 11
- Walkthrough - Chapter 12
- Sidequests
- Maps
- Optional
- Battle Skills
- Roles
- Specialties
- Creation Menu
- Item Creation
- Encyclopedia
- Trophies
 Join us on Discord
