Clan of the Cave Raccoon
Thank you for printing this page from www.SuperCheats.com.
Remember to come back to check for updates to this guide and much more content for Sly Cooper Thieves in Time
Follow this guide to hear about updates
Last Updated:
bottles: 30
Treasures: 12
Safes: 1
Masks: 11
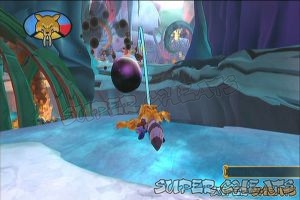
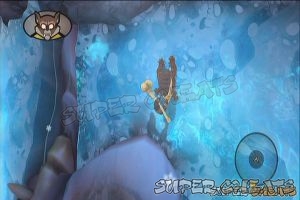
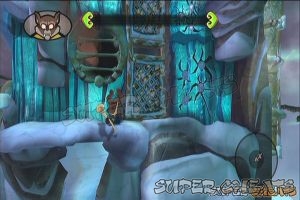
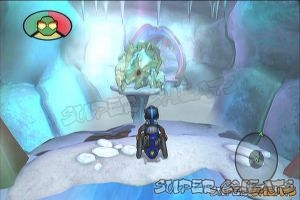
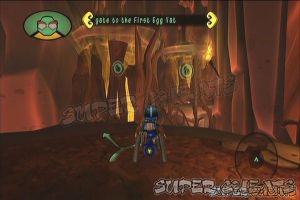
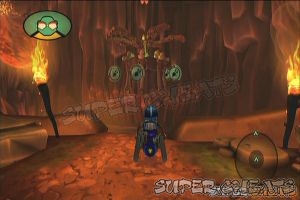
Stone Age Reconnaissance
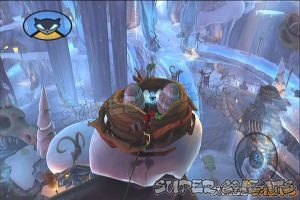
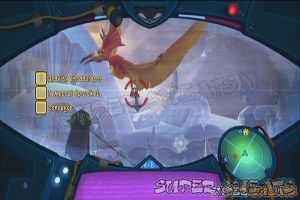
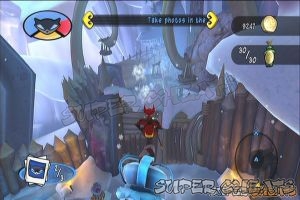
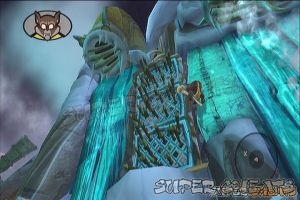
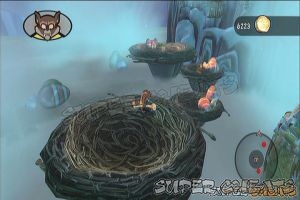
Climb the nearby post outside the hideout and stand on top of a giant nest to start the job. Then, head to the marked locations in any order to take a photo of the parts. The Temporal Sprocket is carried by a flying pterodactyl, the Gravity Encabulator is carried by a penguin and the conveyor is inside the artificial structure inside the ice fort. The last two parts must be viewed from a higher angle. For the encabulator, the ideal viewing point would be on top of the nest in front of the caverns while the conveyor can be viewed from the top of the ice statue in the fort.

Finally, head to the next vantage point and take a photo of The Grizz to complete the job.

Unexpected Ties
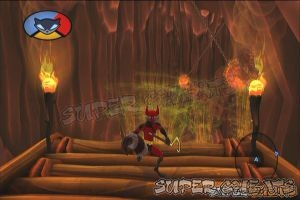
After starting the mission, head to the crack on the wall and press circle to enter. Once inside the lair, go past the boiling tar pond and kill the guard in the next landing. Enter the crawlspace
Continue to the lair's entrance by taking out the guards or evading them. Follow the trail to the left and make your way up to the bridge. After the scene, cross the bridge and continue forth until you encounter a geyser. Use the paraglider to gain height and reach the next cliff. From there, enter the lair.

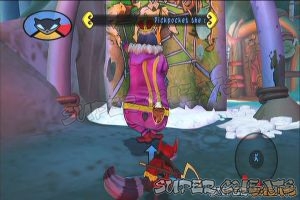
After entering the lair, pickpocket the key from the Grizz then take the sabertooth skin from the bed to unlock the Sabertooth Tiger costume. Go behind the bed as well to find a Mask. Take the other path to perform a Cyclone pounce and reach the post across.
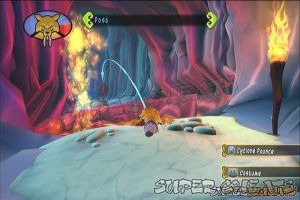

Follow the straightforward path and take out enemies along the way. You'll finally reach the exit with some bubbles emanating from the ground. Take note that you have to time your pounce at the enemy to avoid getting hit by the bubble. Next, use your Cyclone Pounce to take out the enemies in the nearby pedestals.
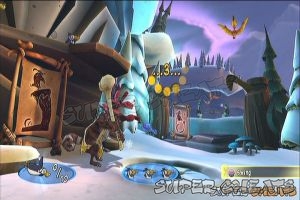
Getting Stronger
Head to the starting point and talk to Murray afterward. You have to undergo training and you can freely choose which challnenge you want to tackle first.
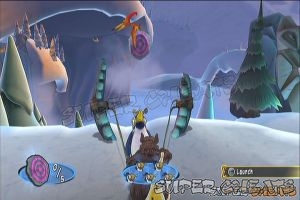
Going Up
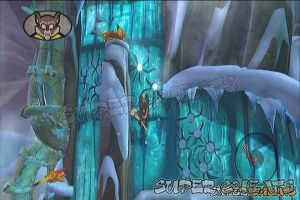
First clear the group of guards then have Bob climb the walls afterward. Continue climbing and head to the next cavern to find yet another ice wall. This time, you have to avoid getting hit by the falling pterodactyl eggs and spike traps. There's also a Mask on the top right of the first set of falling eggs.

Wall Mask

In the second part of the job, you have to climb the ice wall again and take care not to alert the baby pterodactyls. They will wake up occasionally so just stay put in a safe location once you see the “zzzzz” disappears from their heads. Like before, you still have to be wary of the spike traps, vents and falling eggs. Keep heading to the top to finally get the part.
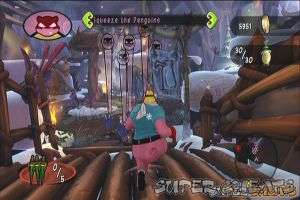
Starving, Starving Hippo
Find the penguins and chase them. You have to grab and squeeze them until you collect all the parts. Collect them all to complete this simple job.
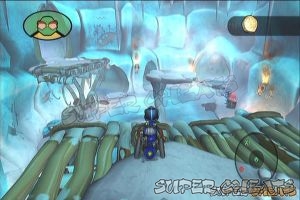
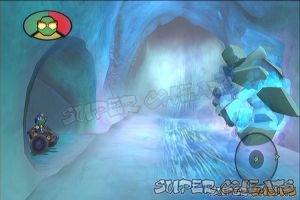
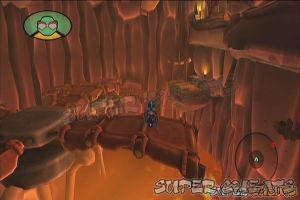
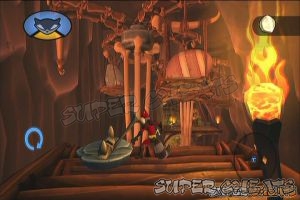
Ice Ice Bentley
Once inside the ice cavern, you can use the thermo vision to find Brizz's footprints and breakable obstacles. Follow the footprints then once you reached the higher platform, kick a bomb towards the pile of debris in the middle platform so you can hover there and reach the next tunnel.

Follow it to reach the next room with a large painting. Use your binocucom and shoot the bling, penguin and apple with your dart to open the door. Head to that tunnel and destroy the debris in the platform.

When you enter the next tunnel, move forth while avoiding the eggs. Use the alcoves on the wall to avoid being crushed. Once you've reached the end of the ramp, blow the wall open and continue forth. In the next hall, you have to pick the gems from the specific guards. Use the thermovision to identify the guards you need to target. After getting the gems, head to the gallery door and open it.
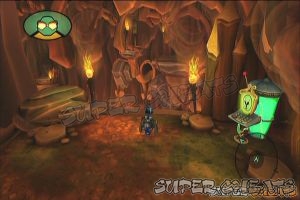
Continue to the next tunnel where you need to get past rolling eggs and geysers. Once you've reached the end of the tunnel, you'll find two breakable walls. The one to the left leads to your objective, the other one contains a Mask.

Follow the tunnel to the Grizz's tunnel and tag him three times. Aim for the path on his pants and make sure to plant the darts before the time runs out. You have to change platforms to successfully do this.

Bear tag!
Duty Calls
Follow the Grizz without getting spotted. Stay on the high ropes and posts while taking out a few guards along the way. Continue tailing him until he returns to his base. The job will be completed afterward.

Operation: Jurassic Thievery
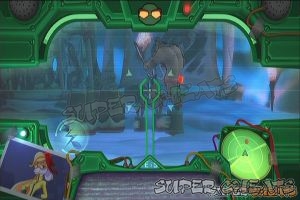
Head to the base entrance and operate the pedestal. Once inside the base, hover Bentley past the floating lava bubbles then kill the guard ahead. Next, use the bombs to destroy the branches holding the stone blocks. Use those blocks to reach the other side. Destroy the next set of branches then jump on the rotor blades then make your way to the lift.
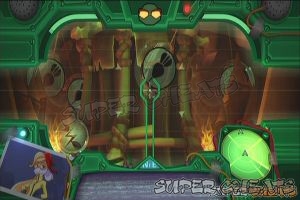
Disembark from the lift then clear the area of enemies. Continue until you see the vat. Use your binocucom then shoot the targets using your dart. Continue forth until you reach the pedestal. Complete the brief hacking sequence to activate the moving platforms.


Lava hacking
Jump on the moving platforms. Just jump to the next platform as the current platform you're in starts shaking. Once you reach the last section, destroy the moving targets using your dart. The control will now switch to Bob.
Climb the wall and avoid the fire jets and spikes. Reach for the first valve and turn it open. Head to the second valve and rotate it open. Before heading to the right, continue further down to find a platform containing a Mask. Continue to the third valve and open it.
The control will now switch to Sly. Use pounce to reach the first guard and activate the lever. As the egg lift starts rotating, wait for a ring to rotate nearby then hang on it. Wait for the second ring to get close then transfer there. After reaching the next platform, you have to paraglide and use the hot air below to get past the pendulum obstacles.
There's another Mask in a separate platform to the left so glide there first to reach it. See the video below for more details.

Lava Mask
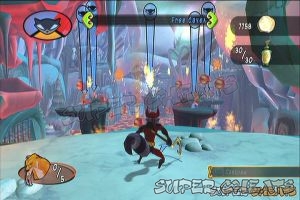
Finally, head to the switch and take out the guard to complete this sequence. The control will switch to Murray. You'll have to fight the Grizz in his ice skating rink. This battle is divided into three parts. The pattern is pretty much the same for every phase, with the increased frequency of attacks.
First, you have to keep evading the Grizz's attacks until he deploys a rock circle with some ice blocks. You have to keep punching the ice blocks before the formation breaks. Once you punched all the ice blocks and they hit the Grizz, you'll have to defeat him in a ski rhythm battle. Just press the same button combinations as the Grizz does it.

Bear skating
The second phase of the battle will introduce you to Grizz's faster charges, icicle drops and triple shockwaves. These can be evaded easily by double-jumps and running around. The Grizz will also send ice blocks around him. After evading the series of attacks, he will surround himself with rock and ice blocks. This time, there will be two ice blocks per side. You have to punch the rock in the middle to hit the two ice blocks at the same time. During the ice skating sequence, you have to follow the same pattern as the Grizz but some buttons on your end will have a question mark instead.

Hippo skating
Finally, the third phase will just allow Grizz to use faster attacks and surround himself with three blocks. Quickly punch the blocks in the middle. If your HP is still high, soak a few damage to punch the ice blocks. Defeat him in the final round of ice skating to complete the job and finish the episode.

Hippo and Bear skating battle
Anything missing from this guide?
ASK A QUESTION for Sly Cooper Thieves in Time
Comments for Clan of the Cave Raccoon
Add a comment
Please log in above or sign up for free to post commentsTable of ContentsClose
Guide Updates
Get notified of updates to this guide
Many of our guides get updated with additional information. To get an email when this guide is updated click below.
 Join us on Discord
Click to close
Such a great game. Why did Sanzaru have to end it with such an awful cliffhanger if they had no plans to make a sequel? :(