The Face of True Evil
Thank you for printing this page from www.SuperCheats.com.
Remember to come back to check for updates to this guide and much more content for Shin Megami Tensei IV
Follow this guide to hear about updates
Last Updated:
| Client | Reward | Task |
| Lilith | 9000 Macca | Inspect the facility beneath the Hills Building in Roppongi |
Tsuki Hongwanji – Shelter Ruins
You’ll continue exploring the ruins underneath the Ring of Gaea temple. There are some traps along the way but there are no Demons you’ll encounter yet. Go around the path to the west to find a chest containing a St Incense and the other side of the wormwood barrier that you can destroy. Take the ladder in the middle north to reach the next corridor.
Continue forth and follow the path. Like the room, go around to the west to find another chest (Summon Stone) and the other side of the wormwood barrier. Take the ladder to the northeast to continue.
In this room, go around the corridor and grab the Bead Chain from the chest and destroy the barrier if you want. Open the door to the north to reach the Main Temple.
When asked where you want to go, exit to the main building then take the portal to return to the entrance. Exit to the city map next. Return to the Ginza Underground District .
Ginza Underground District
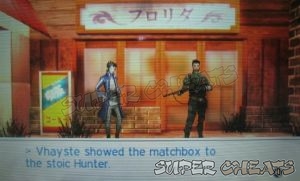
Head to the fountain and you’ll meet Hikaru and Walter there. After the conversation, you’ll obtain the Matchbox and the quest will be updated. While you’re at it, you may want to visit the Tavern in Mikado first to get a couple new Challenge Quests: I Require Ample Weaponry, Heavy Weapon Recovery. Travel to Shinjuku next.

Shinjuku Underground District
Head to the Hunter Association to get two new Challenge quests. (RxW Smacktacular XIII, Serial Kidnapping + Arson) From there, head to Shinjuku East Entrance Main Street then exit north to Kabuki-cho.
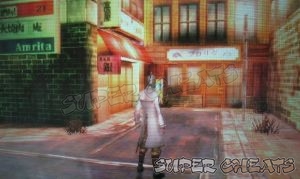
Kabuki-Cho
Head to the café to the northeastern corner of the area. Show the matchbox to gain entrance. Inside, you’ll find Hikaru, Skins and Fujiwara himself. After the conversation, head back to the underground district and take the terminal to Shibuya.

Shibuya
Exit the underground district and make your way back to the city map. Head east past Tayama’s tower, save your game and enter the next accessible building to find a demon inside.
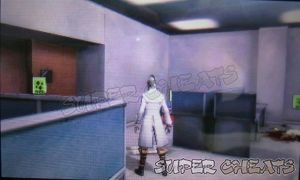
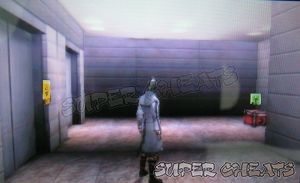
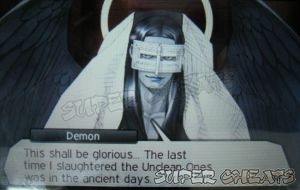
Roppongi-Midtown 1F
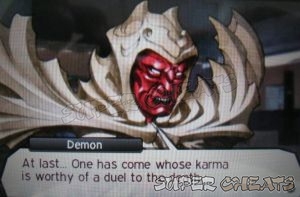
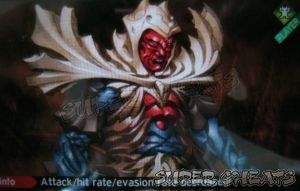
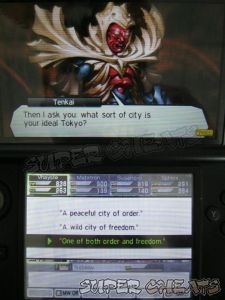
You have to defeat Tenkai in order to proceed. This LV44 Famed demon has resistance to phys, gun and all elemental attacks and can nullify both light and dark. It uses Megido to deal almighty attack to your party and will even increase its resiliency further by using Rakukaja. Heal as necessary and compensate with Tenkai’s natural defense by using buffs and debuffs. If possible, use your own almighty attacks.
After dealing around 600+ damage to him, he’ll ask you a question about your ideal Tokyo. Select the answer that best describes your Alignment. Continue dealing damage and he’ll ask you what you’ll do if you learn about Ashura-kai’s secret. If you happen to answer that you don’t know, Tenkai will just become stronger.
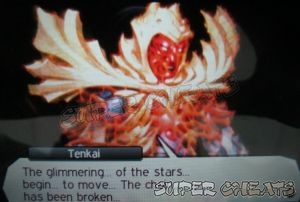
Continue dealing damage to him and he’ll eventually tell you to defeat him. This means his HP is critically low and just push forward with more damage and he’ll go down.
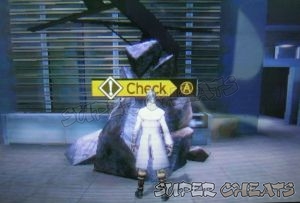
Tenkai will leave behind a slab of stone after he’s defeated. Take note of it since you’ll have to pick something up from that stone later on. Head north instead and check the northeast corner to find a chest containing a Bead. Backtrack to the stone and follow the corridor east. You can’t go further because of the barrier but you can go through a vent around the corner.
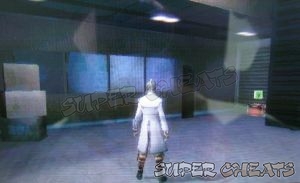
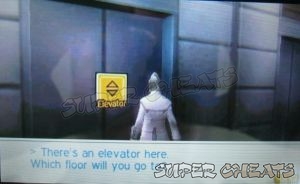
This will take you to a closed balcony with a chest containing a Balm of Rising inside. Go back to the vent and take the elevator to the east, near the barrier to reach the 33rd floor.
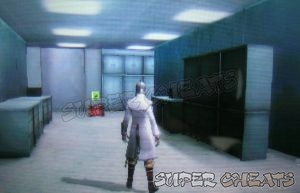
Midtown 33F
Go to the west first then check the door to the southwest. You’ll obtain a St Incense from there. In the same office room, check the cubicles to the east to find a hunter corpse, a 10-point card from the chest and a relic spawn point by the large door.
Run to the north and follow the hallway to the east. Enter the room around the corner to get a Dx Incense. South of that room is an open vent and another relic point. Get the relic and enter the vent to reach the chest in the western room to get a Sleep Harpe from it.

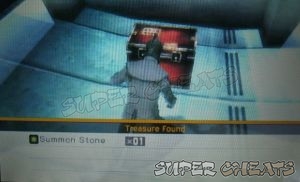
Head east and destroy the wormwood barrier in the corridor to the south. Follow the path northeast to reach the next elevator. Don’t forget to get the Summon Stone from the chest in front of the elevator. Use the elevator to reach 43F
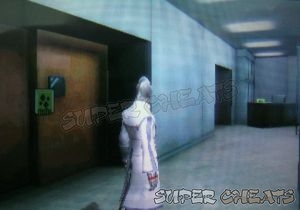
Midtown 43F
After exiting the elevator, head to the southeast to find a chest containing a Chakra Pot. Backtrack a bit then head west this time. Pick up the relic from the door along the way then go around the corner to reach the next room. There are two more spawn points by the doors along the way.
Go around the dividers and examine the room to the southwest. You’ll get an Ag Incense. Follow the path until you reach the elevator lobby. Don’t take the elevator yet. Instead, go north and destroy the wormwood barrier. Enter the room nearby to get a Ma Incense. Return to the elevator and use it to reach the 54th floor.
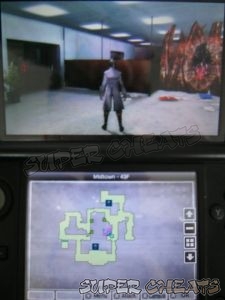
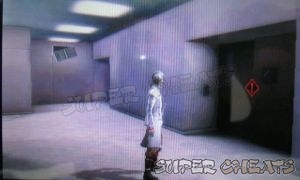
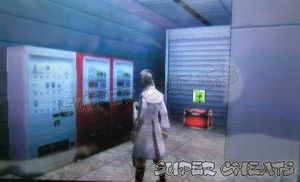
Midtown 54F
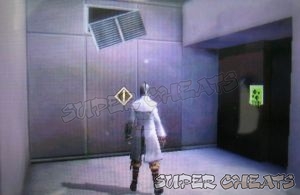
Head to the south and check the corner beside some vending machines to get a St Incense. Enter the nearby security room to a Lu Incense. Head to the north and examine the door there. Burroughs will warn you about a strong demon ahead. Don’t worry about it since you won’t fight it.
After the conversation with Mastema, he’ll take down the barriers. You’ll be outside the room after this so head to the east and use the elevator to reach 1F. From there, take the stairs nearby to reach the next area.
Midtown – Employee Passage
This is just a short area so just follow the path until you reach the trapdoor leading to the area below.
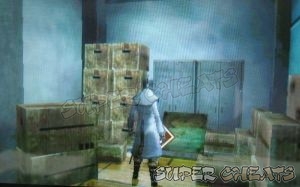
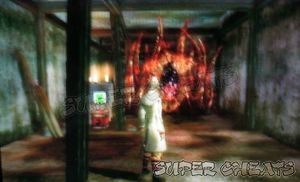
Midtown – Former Army Shelter
Go straight ahead then turn to the first right to find a chest containing a Chakra Pot. Return to the main path and follow it until you stumble upon a hunter corpse. From there, you’ll come across another intersection a few steps to the west. Head north then west to find a chest containing a Bead Chain. Make your way to the south and follow the path until you reach the door. Exit to the next area.

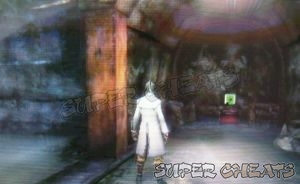
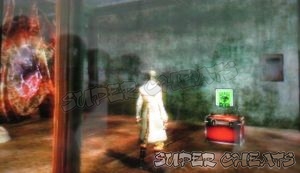
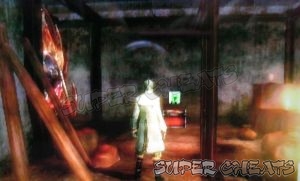
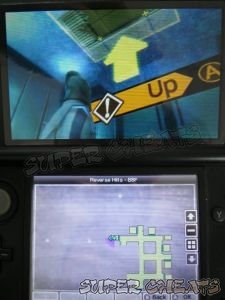
Reverse Hills – B7F
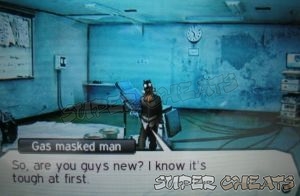
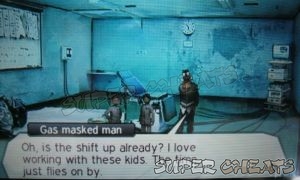
There are smaller rooms here that contain gas-masked men and their victims. Just ignore them if you want and enter the room with the glass door to the southeast corner to find a Chakra Pot from the chest. Take the path in the middle and destroy the wormwood barrier there. Head to the northeast corner and destroy another wormwood barrier there. The glass door’s switch seems to be broken so ignore it for now.

From there, head west for a bit then enter the next small room before reaching the glass door in the northwest corner. You’ll find a gas-masked man here that will give you Key #2. Head to the elevator to the south and use the Card Key there. This will give you access to floors B8F and B9F. Go down to B8F first.
Reverse Hills – B8F
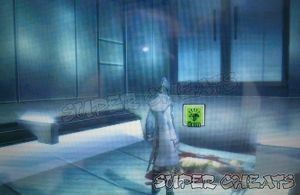
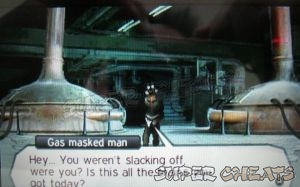
This floor has the same layout as the previous floor. Enter the glass room to the southeast corner to find a chest containing a Bead. Head to the room in the middle-north to find a gas-masked man teaching a couple of kids. He’ll give you Card Key #3.
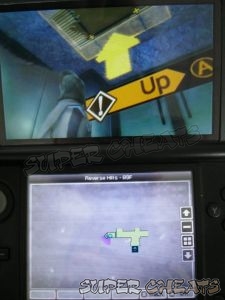
Enter the glass room in the northwest corner and go up the broken vent up in the ceiling. This will take you to the enclosed glass room in B7F. Loot the Gold Bulldozer from the chest there. Go back down and head back to the elevator. Go to B9F this time.
Reverse Hills – B9F
Check the glass room to the southeast and you’ll find a hunter corpse inside. Next, check the glass room to the southwest corner and open it. Go up the vent opening on the ceiling and do it once again to reach the enclosed glass room in B7F that has a chest that contains a Great Chakra.
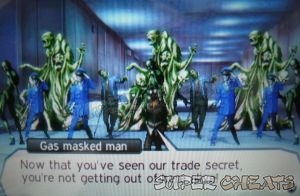
Return back to B9F and go around the middle hallway. Destroy the wormwood barriers and make your way to the northeast corner glass room. Open the door and climb the ceiling vents to reach the chest on B7F containing Gouma Rounds. Continue to the northwest and destroy the other wormwood barriers. Go to the corner glass room this time and open the door. Loot the Summon Stone from the chest inside. Finally enter the room beside the glass room to find a gas-masked man in the middle of an extraction.

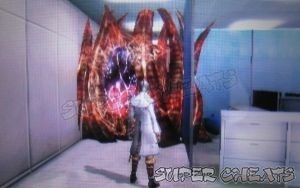
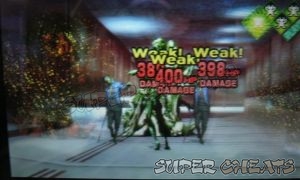
You’ll have to fight the demon horde he’ll send at you. This horde isn’t that difficult. It’s weak against fire so use an all-party fire attack to decimate the horde quickly. You’ll obtain a Brown Bottle and Card Key 4 in this room. Head to the elevator to the north and use that Card Key to reach the next floor.
Reverse Hills – B51F
From this floor, just go downstairs to the south and enter the door. After the dialogue, the Quest will be complete.
Head north towards the elevator for another scene. Just go through a few more scenes and another main Quest will become available.

Anything missing from this guide?
ASK A QUESTION for Shin Megami Tensei IV
Comments for The Face of True Evil
Add a comment
Please log in above or sign up for free to post commentsNo comments yet. Tell us what you think to be the first.
Table of ContentsClose
Guide Updates
Get notified of updates to this guide
Many of our guides get updated with additional information. To get an email when this guide is updated click below.
 Join us on Discord
Click to close