Temple of Time
The Legend of Zelda: Twilight Princess Walkthrough and Guide
by SPV999
Zelda: Twilight Princess Guide - Temple of Time
Path to the Temple
The side-quest leading up to this temple is probably the shortest in the game. We have a couple things to wrap up on Snowpeak, then we're done here forever. Warp to Snowpeak.
--== Snowpeak ==--
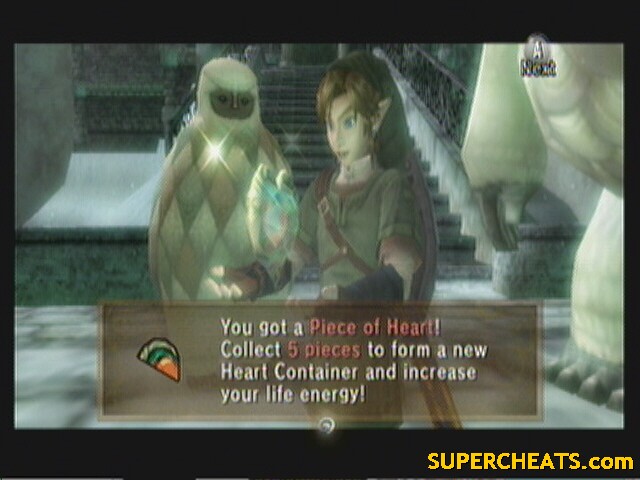
Climb up to the tree and talk to Yeto. He'll challenge you to a board race. Accept and beat Yeto with a time of 1:30 or better. After beating him, warp back to the top and talk to Yeta. She'll then challenge you. She is much faster and takes a shortcut that is impossible to beat unless you take it as well.
The shortcut is here:
 Jump up on this ledge |
To beat Yeta, you have to finish with a time of 1:15 or better. After the race, they give you a Heart Piece.
 H31, 14 1/5 |
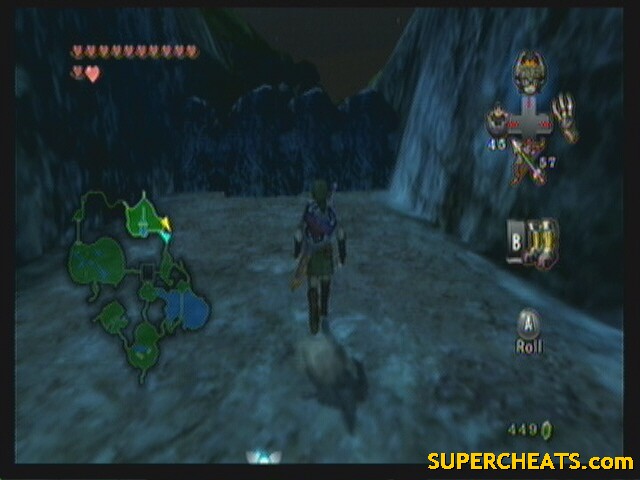
Warp back to the peak. In the cave that leads to the area, there is a Poe incased in ice. Break the ice with the ball and chain.
 Poe #47 |
Also, you can get some rupees if you light both the candles in here.
And that's it. We are done with Peak Province, Zora's Domain, and Zora's River (unless you want to go fishing, which doesn't really get you anything).
Places left to finish (on map, not dungeons): Hyrule Field (Lanayru & Eldin), Lake Hylia, Castle Town, Hyrule Castle, Faron Province, Cave of Ordeals, and Kakariko Village.
--== Kakariko Village ==--
Go into the graveyard and meet with the Hero's Spirit to learn the Jump Strike. It sounds and looks cool, but it's really useless. It takes to long to charge and most enemies will either attack while you're charging, run out of range while you're charging, or hit you in mid-air after you swing.
--== Castle Town ==--
Warp to Castle Town. If you haven't bought the Magic Armor yet, now's a good time, as you wont be needing your Rupees for anything else for a while (or ever).
Anyway, go to Telma's Bar and look at the map to learn Rusl has went searching the Faron Woods. Warp there.
--== Faron Woods ==--
Talk to Rusl and he'll give you a Gold Cucco, which you'll need to reach the woods without Midna's help. Jump off aiming for the platform ahead.
 Here |
 Then here |
 Finally here |
Use the Gale Boomerang on the bridge ahead to turn it around then jump to it with the Cucco. Turn it again to get off. You'll need the Cucco to get past the swinging logs as well. Enter the forest.
--== Sacred Grove ==--
Well, here we are again. And so is Skullkid. >_<
This time, Skullkid DOES wonder around randomly, and if you don't find him fast enough, he'll move to a new area.
They made it a little easier though, as now you can watch for the glow of his lantern as well as the noise. However, now that you have a bow, he can be up in trees and other unreachable areas, forcing you to look high and low.
In one area, there is a Poe. This area was one of the areas Skullkid hid last time: on a hollow stump that the only way to get there is through a water fall that comes up behind it.
 Poe #48 |
Well, happy hunting. After he takes around 3 hits, he'll retreat deeper into the woods for the final battle (again).
 Skullkid |
This time it's much easier as he stays out of sword range, but wont run when you try and attack. Pull your bow and you should be able to hit him all three times without even having to get close to his puppets.
After the fight he'll open a new passage and day will break, ruining the chance to get a Poe in the next area :/
--== Sacred Grove Part 2: Sacreder ==--
In this new area, push the block on the left down.
 This block |
Jump down onto it and follow the cave it fell in. There should be a Male Snail on the roof of the cave.
 Male Snail |
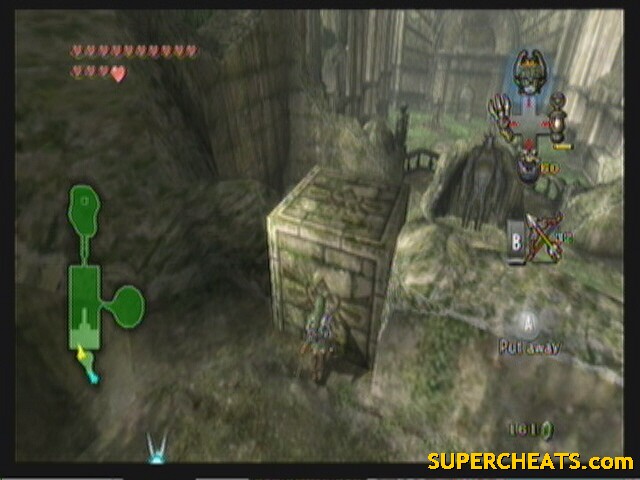
Go to the north end of the area where you got the Master Sword. Place the sword back in the pedestal to move a statue that was blocking a door (you could have done this sooner, but you wouldn't have been able to reach the door).
Walk back out to be attacked by some Shadow Beasts, opening a warp point. This is good. Climb back up the block you pushed down to get to the door.
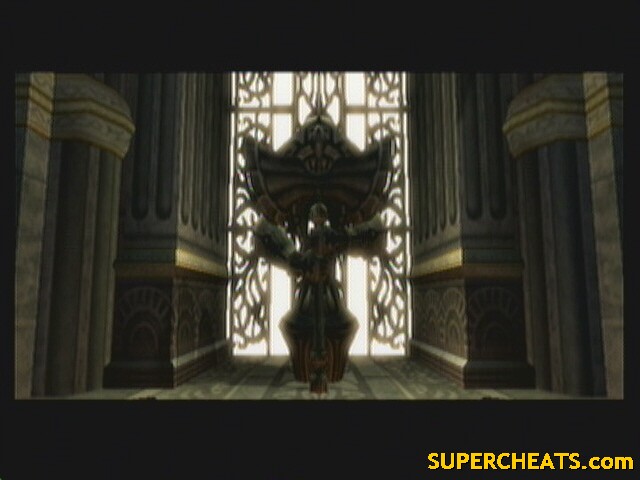
 Door of Time |
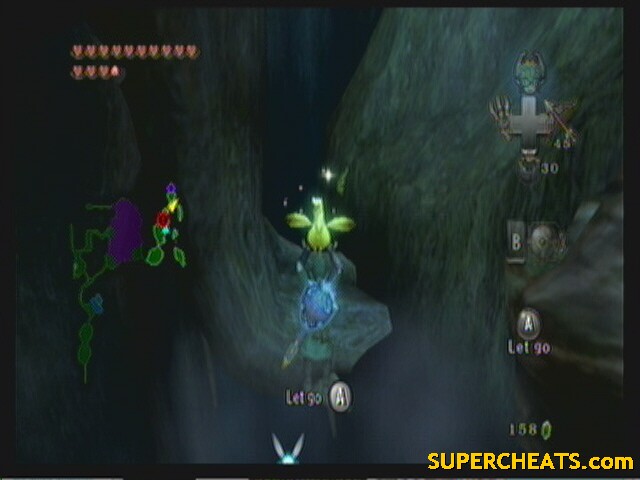
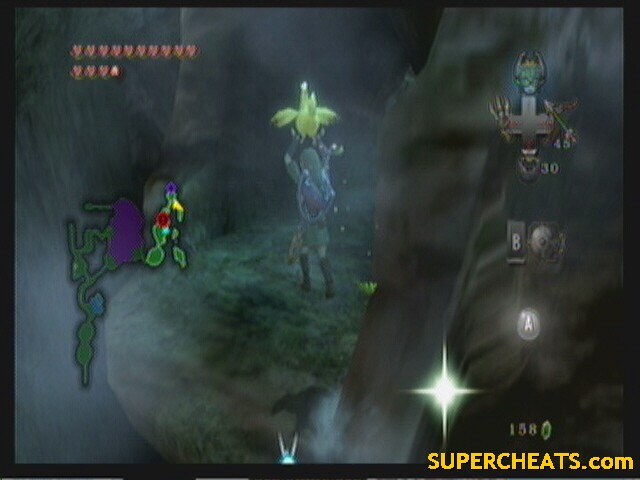
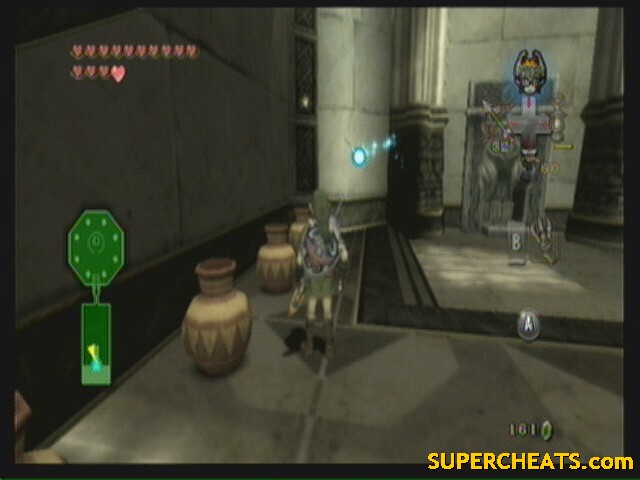
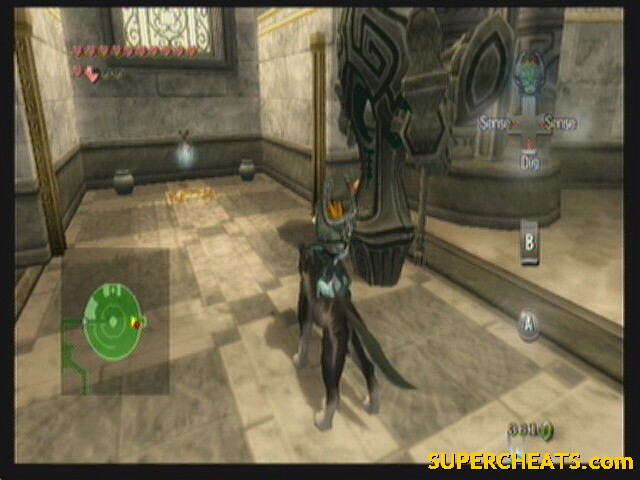
Stepping through sends you back in time, when this place was more then just ruins. Not to ruin this epic moment, but there is the last Golden Bug on west side of the stairs.
 Female Snail |
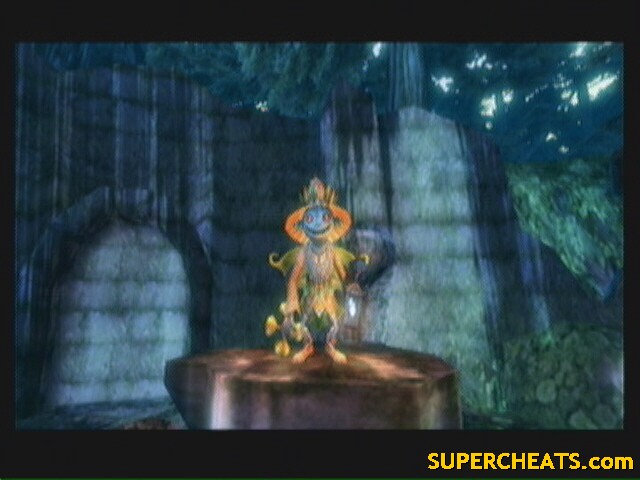
Final Golden bug! Go to the north end of the room and place the sword back in the pedestal again. It will open a staircase further into the area. Ooccoo beats you up the stairs.
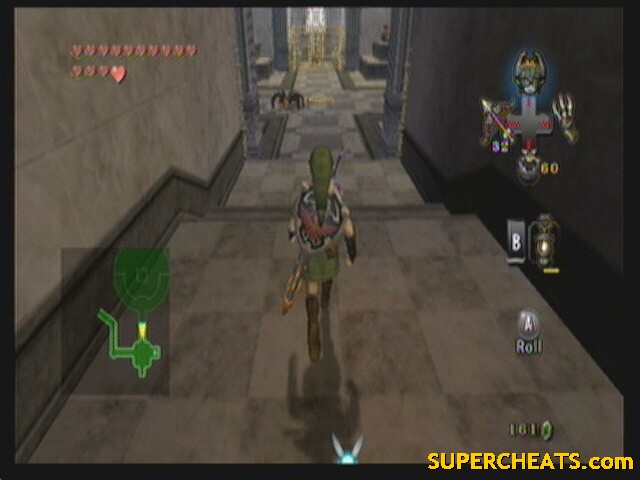
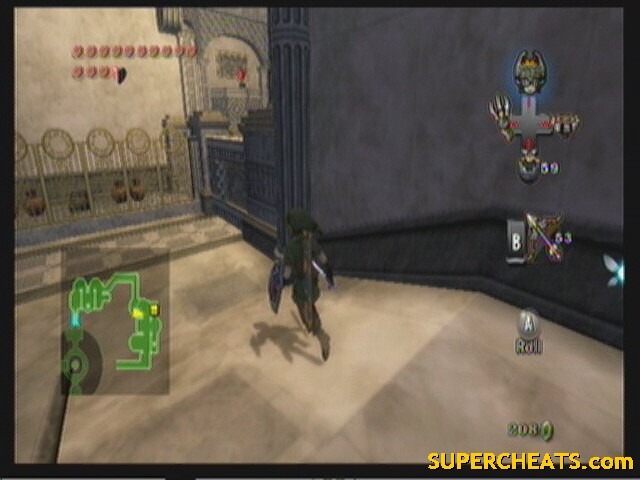
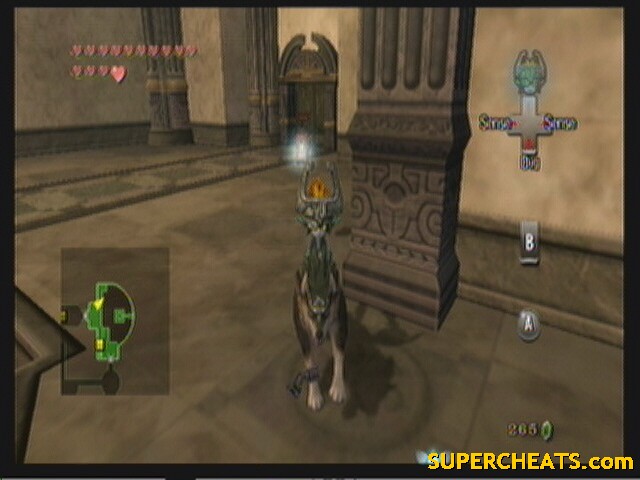
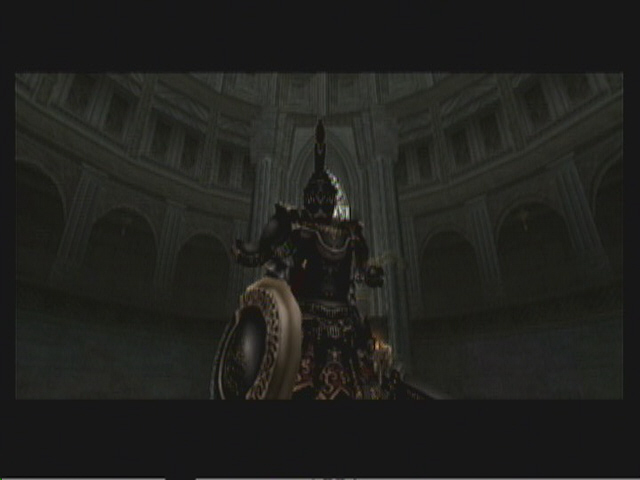
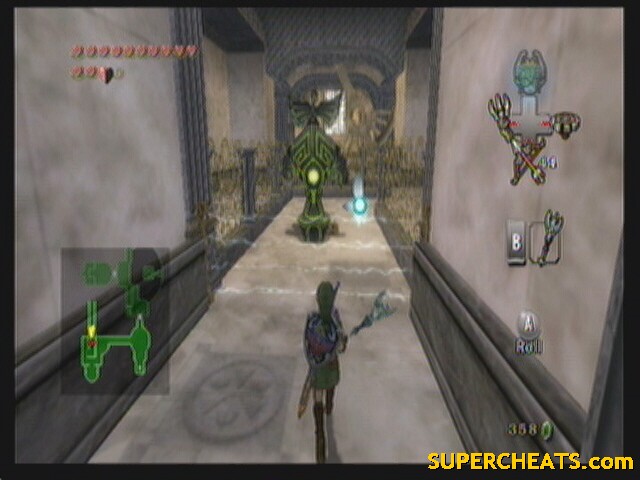
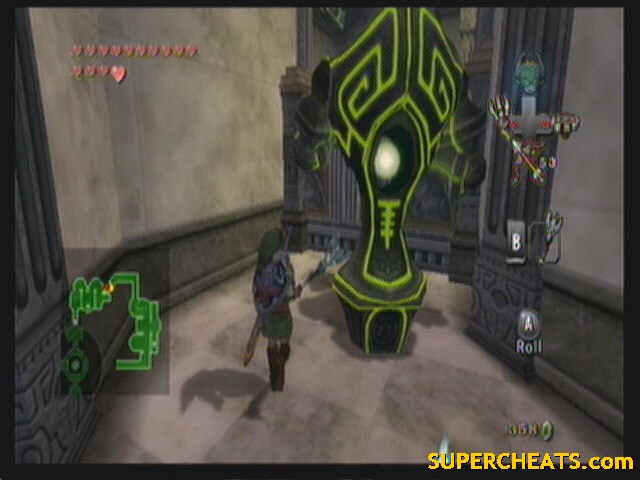
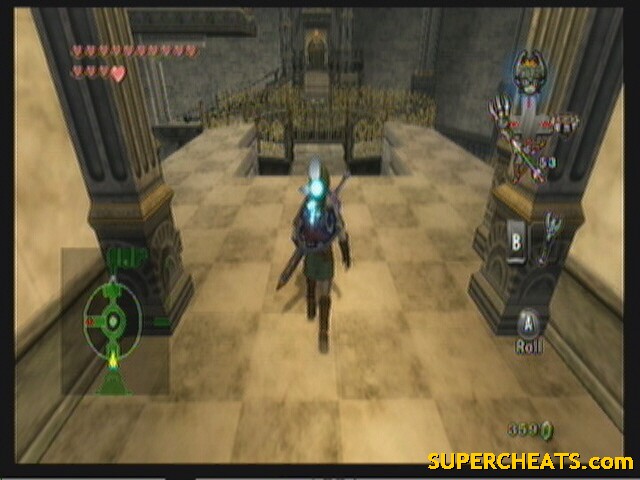
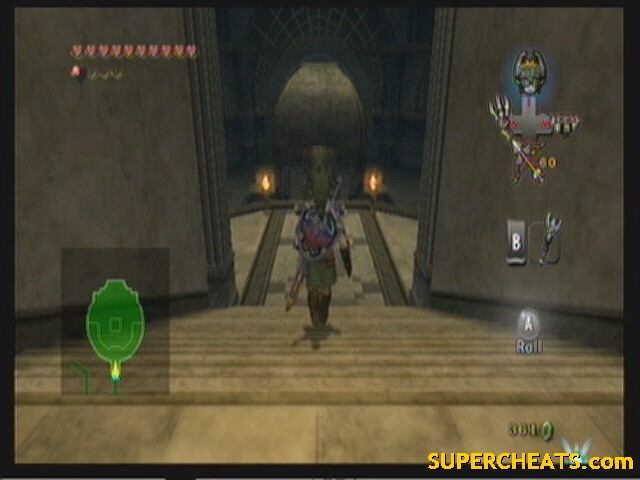
Temple of Time
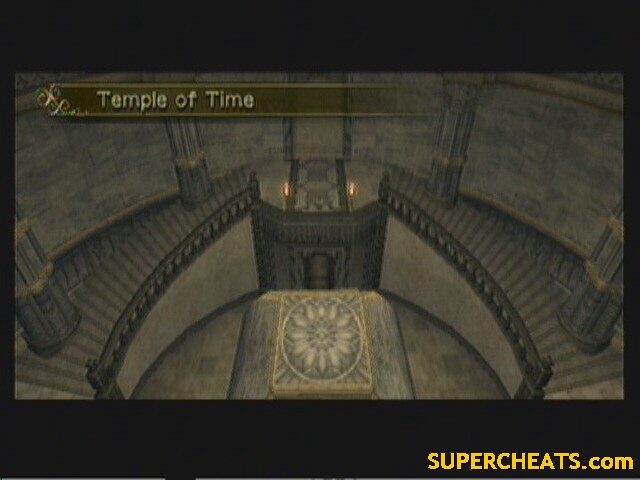 Temple of Time |
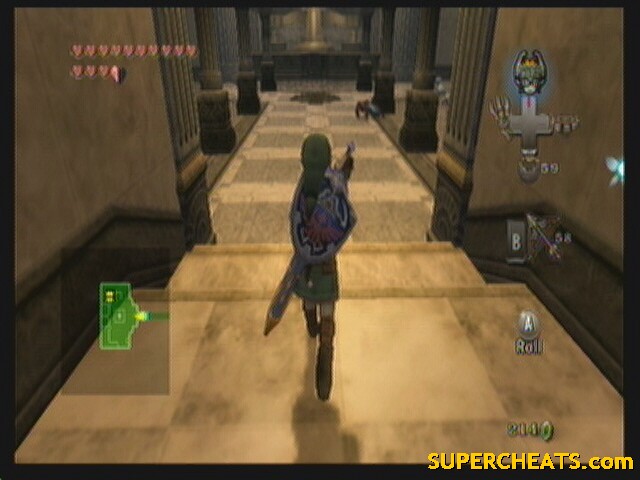
Temple of Time looks small on paper, but you have to play the entire temple twice (work your way to the top, then back down lugging a statue), but it's still about the same length as Snowpeak. It's based largely on weight and scale puzzles.
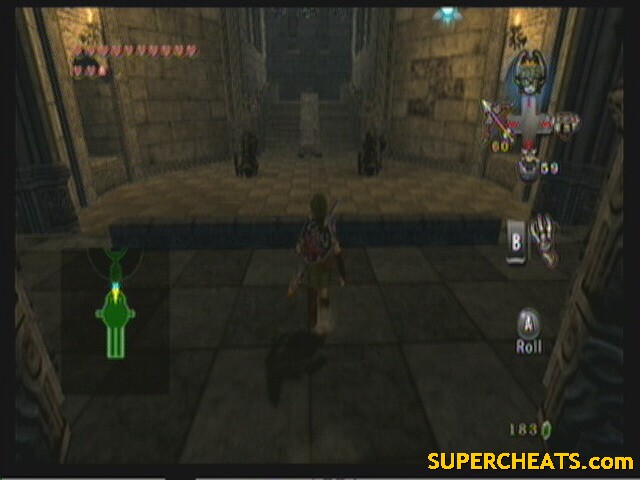
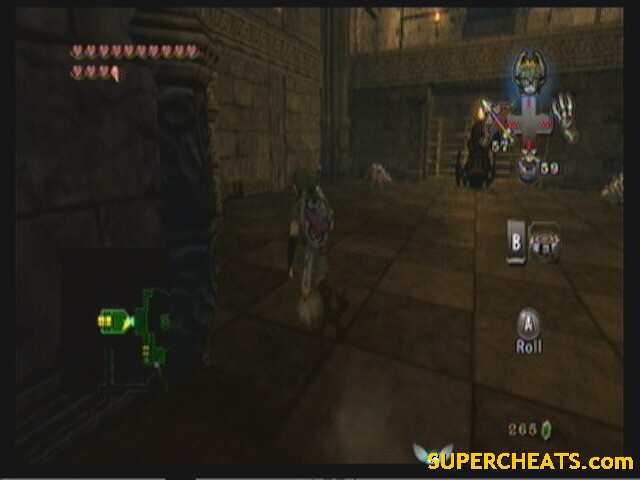
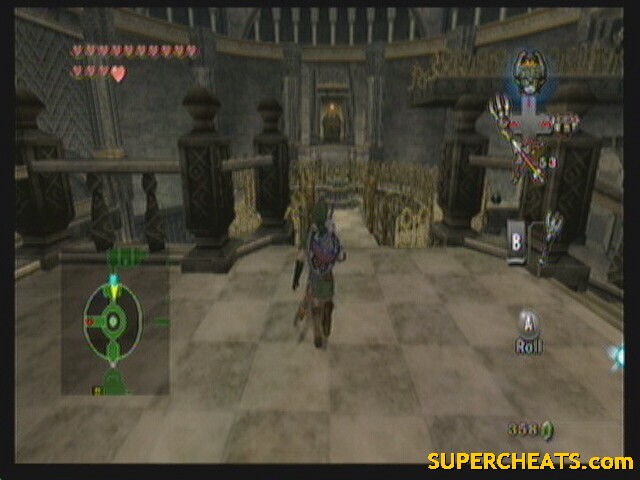
--== Room 1: Entrance Room ==--
Enemies: None
Chests: 1 (small key)
Quest items: 2 (small key, Ooccoo)
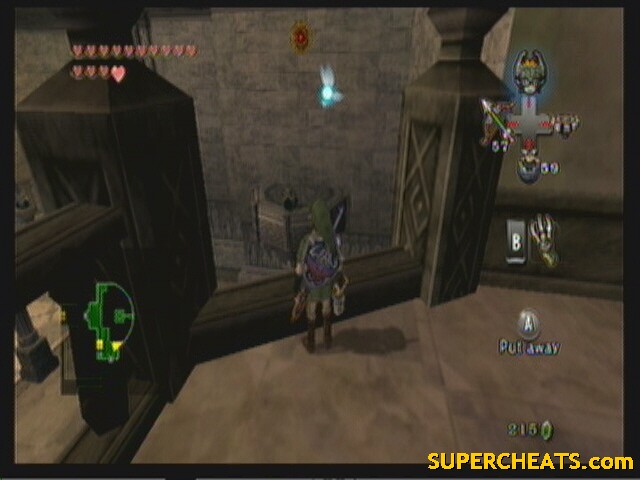
Going to the north end of the room, Midna will comment on how there is suppose to be two statues. Use your senses to confirm. Just behind you there is a switch on a pedestal. Set one of the jars on it to raise a section of floor in the south. Use that to get up on the stairs.
Follow the stairs clockwise. You'll meet up with Ooccoo at the top. Keep going down the other side. Light both torches here to reveal a chest with a key. Go back to the top of the stairs and use the key to get through the door.
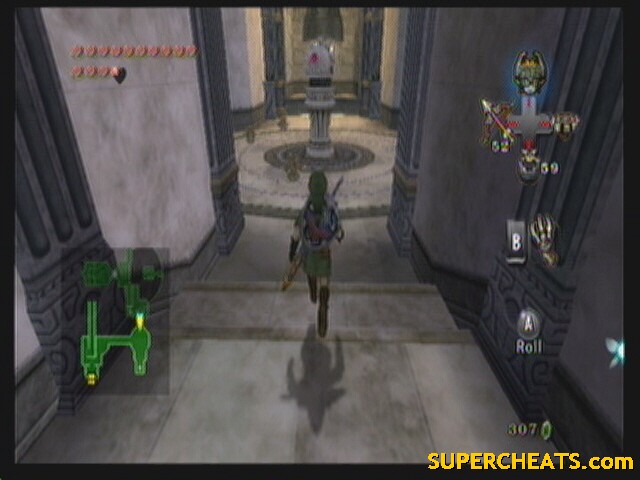
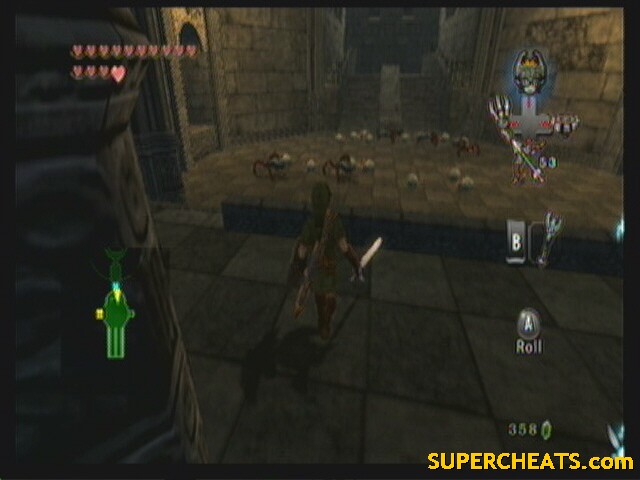
--== Room 2: Long Hall ==--
 |
Enemies: Gohma Larva, Lizalfos, Armos, Keese
Chests: 3 (Arrows, Map, 20 Rupees)
Quest items: 1 (Map)
In the first room, take out the Gohma and set a jar on the switch. Run through the gate that opens (the other gate contains the arrows), then, between the gate that opened and the one that closed, take out your bow and shoot the jar. This will open the second gate.
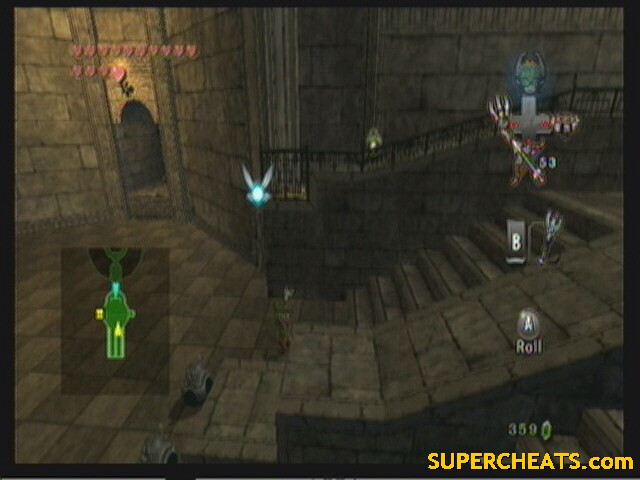
Up the stairs, down a long hallway.
Next room, kill all the Lizalfos in this room. During the fight, you'll probably activate the Armos (if not, just walk in front of it). There are several ways to destroy and Armos, but the easiest is to walk counterclockwise around it with your bow drawn (locked on), once you get kind of behind it, unleash as many arrows as you can. Your target is the jewel on its back. Hit it three times and he explodes.
A chest will appear with the Map. Also in the room is the small chest with rupees in it. It's on a ledge.
Grab some jars or statues and set them on the two switches to open the gate. Continue north to the next room.
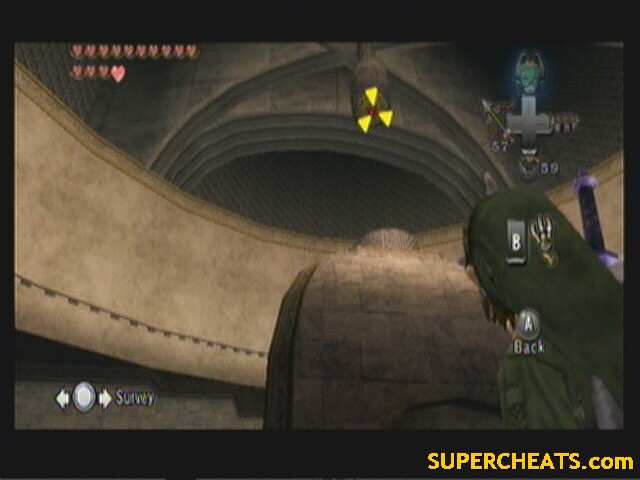
--== Room 3: Manual Elevator ==--
 |
Enemies: Baby Gohma, Lizalfos, Beamos, Blade Trap
Chests: None
Quest items: None
First in, circle clockwise around the room and kill all the Lizalfos (as well as the Beamos just to the left of the entrance), taking the stairs you find up.
When you reach a gap, use the spinner on the left wall to continue up. At the top, face south. Watch the blade traps and go straight to the center of the ring. Push the fin clockwise to lower it. At the bottom, grab the statue and place it on the elevator, then push the fin counterclockwise to raise it back up.
Pick up the statue again and take it to the southern door. Set it on one of the switches, then head back into the ring. This time take the western route. You'll see another statue on a small platform outside the ring. Pick it up and set it on the other switch.
 The second statue |
There is a delay between setting the statues and the raising of the platform. Use that time to get on the platform before it raises. Enter the door.
--== Room 4: Twin Armos ==--
 |
Enemies: Armos
Chests: 3 (20 rupees, small key, 1 not reachable)
Quest items: 1 (small key)
You must defeat both Armos to reveal a chest with a small key. The 20 rupees are in a chest at the far south of the room. Taking out two Armos at once isn't that hard, considering how slow they are. Just be sure to only focus on one at a time, as you don't want both of them going at top speed.
Exit out of here (Room 3) and go back across the ring (dodging the blade traps) and use the key on the door opposite you.
--== Room 5: Arrows and Beamos ==--
 |
Enemies: Beamos
Chests: 1 (Compass)
Quest items: 1 (Compass)
Destroy the Beamos. Get up next to it, then turn around and shoot the crystal to move two walls. Go through the new opening.
Stand in the middle of this area and shoot through the hole to hit the crystal again, opening the next wall. Destroy the Beamos, and before shooting the crystal again grab the compass from where the northern wall was. Shoot the crystal through the hole and continue up the stairs.
 Compass |
--== Room 6: Half a Room ==--
 |
Enemies: Lizalfos, Armored Dynalfos
Chests: 1 (not reachable)
Quest items: None
There is no door between these two rooms, I used the hallway as a split.
Anyway, shoot the red crystal up on the pedestal across the room. Run through the open passage, kill the lizalfos (helm splitter works on the Armored ones) and shoot the crystal again. You'll have to do this one more time to get out.
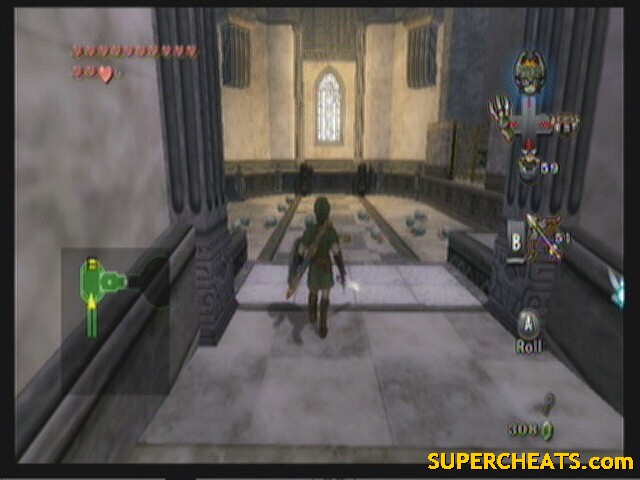
--== Room 7: Scale of Light ==--
 |
Enemies: Gohma Larva, Baby Gohma
Chests: 2 (20 rupees, 50 rupees)
Quest items: None
Take out all the Gohma first. The clawshot is a nice ammo-free weapon to use on the babies. A chest will appear with 50 rupees in it.
Climb the stairs and walk on the scale. It will tip, obviously. Pick up the statue on your scale and throw it onto the other one. They'll level out and allow you to get across.
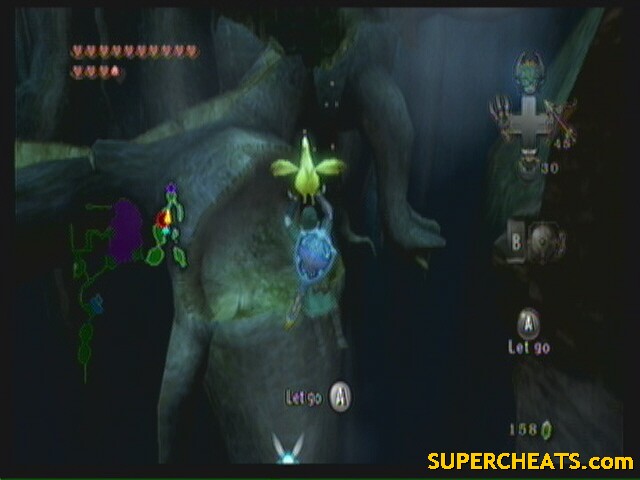
We're not done yet. To the left of the door is a clawshot target on a wall. Grapple over and let go to land on a platform with another statue on it. Pick it up and haul it to the scale.
 Third statue |
Walk on the scale and throw the statue to the other scale (it should now have three statues on it). This will raise your scale even farther, allowing you to reach a clawshot target in the center of the room.
 Target |
Grapple up, then use the spinner on the track to get up to a higher ledge. Jump off and there should be a Poe near the door.
 Poe #49 |
Enter the door behind it.
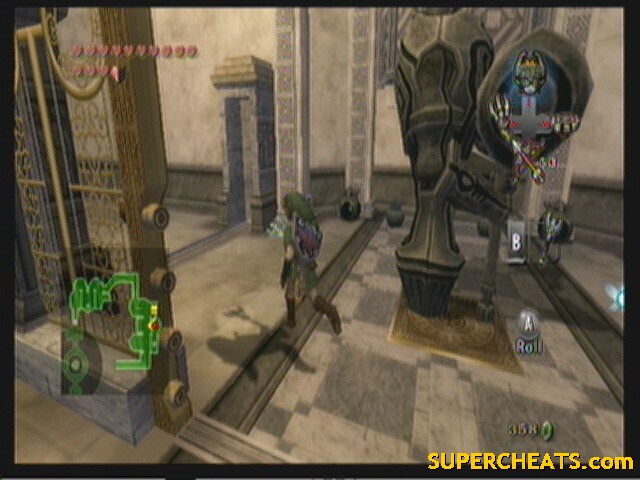
--== Room 8: Unique Weights ==--
 |
Enemies: Armos, Helmasaur
Chests: 2 (20 rupees, Big Key)
Quest items: 1 (Big Key)
Take out the Helmasaur using the clawshot to snatch off their armor. Take on the Armos to open the gate higher up. Grapple to the point on the ceiling. Open the chest for some rupees. Set the two statues on two of the switches, but what to use on the other two? Look over the ledge and clawshot the Helmasaur armor up to you and use that on the other two.
The gate opens, grab the key, and exit out.
In room 7, walk along the ledge south to find more rupees. Exit via the southern door.
--== Room 9: Mundane Traps ==--
 |
Enemies: Beamos, Blade Trap, Lizalfos
Chests: 1 (small key)
Quest items: 1 (small key)
Use an arrow on the Beamos, then navigate the Blade Traps west.
This area, kill the Lizalfos before trying the traps. The first is a spiked log. Wait for it to roll west, then quickly climb to the ledge with the pendulum, timing it so you can get past the pendulum. Open the chest for a small key. Jump back down when the log is in the east and travel west to the next log. Go straight north and grab the statue. Wait for the second log to be in the west and travel east to the new walkway. Set the statue on the switch to lower the energy field. Up the stairs.
--== Room 10: Gateway ==--
 |
Enemies: Baby Gohma, Gohma Larva, Armos
Chests: 1 (50 rupees)
Quest items: None
Killing all the Gohma reveals the chest. Killing the Armos opens the gate. Well? Get to it. Past the gate is your door.
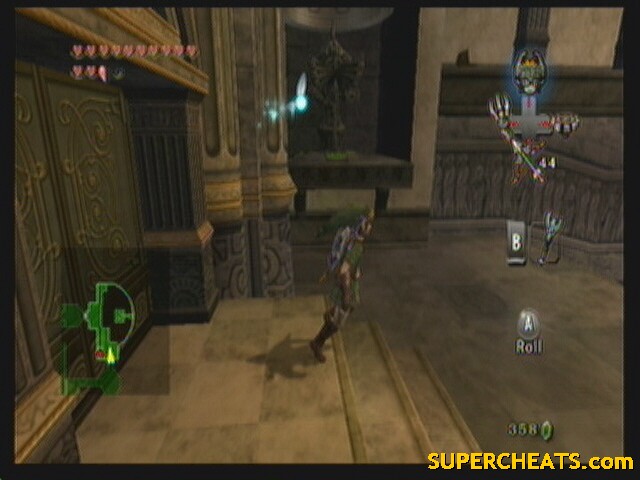
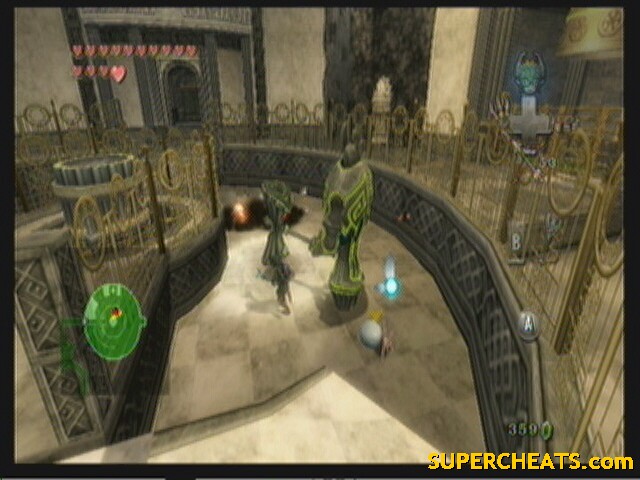
--== Room 11: Miniboss: Darknut ==--
 |
Enemies: Darknut
Chests: 1 (Dominion Rod)
Quest items: 1 (Dominion Rod)
Walking forward starts the fight with the Darknut.
Darknuts are probably the hardest enemies in the game. Not the most annoying or deadly, but just hard to take down.
 Stage 1 |
Stage 1:
The Helmsplitter is almost the only attack you have that will work consistently. The Backslice works from time to time. When he lunges his shield, as soon as you recover dodge away or you'll meet his sword. He doesn't attack much, but his defense is near perfect. He is open after every swing, so long as you don't attack his shield.
 Stage2 |
Stage 2:
Breaking off most of his armor, he throws is shield and large sword in favor of a smaller (yet still huge) sword. He is much faster in this stage and tends to keep a distance. He likes to hold back, then jump forward for a couple quick swings. He is also able to block almost every attack you have. Try to get in close and use the backslice, it breaks his guard with a successful strike. Once his guard is down, hack away till he gets back on his feet. Repeat till down.
At the end of the battle, claim your prize of the Dominion Rod.
The rod allows you to take control of a statue. The statue mimics your every move, except jumping. If equipped with one, a statue can also swing a weapon by pressing B. To stop controlling, press A again.
Use the rod on the large statue at the top of the room. Guide it down and onto the glowing platform beneath the bell. These bells with transport the statue from room to room.
--== Room 10: Gateway ==--
 |
Enemies: Armos
Chests: None
Quest items: None
Entering the room, the bell reveals your statue. Take control of it and use it's axe to destroy the yellow gate.
 Can we keep him, mommy? |
Also use him to destroy the Armos if they activate. Set him near the white platform in the south, then set a jar or something on the switch in the middle of the room to lower the platform. Walk him and yourself on it, then move the jar to raise the platform and your statue.
Walk him down the hall.
--== Room 9: Mundane Traps ==--
 |
Enemies: None
Chest: none
Quest items: None
Walk the statue through the barrier and have him set on the switch to deactivate it. After, use him to demolish the room, getting past the logs (which he can destroy) and the Blade Traps (which he can destroy).
Smash the Beamos to reveal a switch. Use the rod to take control of another statue near the bell and walk it onto the switch. This lowers a white platform. Move your statue onto it, then de-activate the switch to raise the platform. Walk your statue onto the bell.
--== Room 7: Scales of Light ==--
 |
Enemies: Gohma Larva, Baby Gohma
Chest: None
Quest items: None
Walk your statue onto the scale. It will tip. Go onto the scale and toss the small statue that is on it over to the other scale.
Get back off and grapple over to the ledge with the other statue on it (remember?). Grab that statue. The Gohmas are back and there's too many to just avoid. After you finish them off, go up the stairs and toss the statue onto the scale.
Still not enough. Look on the wall beside the scale to see more statues. Use the rod to get all three down, then toss all three onto the scale.
Yay! It worked. Use the rod to get your statue onto the next scale. Pick up all the small statues and toss them to the other scale to raise this one back up and get your statue down the stairs.
The bell is in the center of the room.
--== Room 6: Half a Room ==--
 |
Enemies: None
Chests: 1 (heart piece)
Quest items: None
Use the rod on your statue through the fence. Use him to smash all the movable walls. Put him back on the opposite side of the electric barrier and set him on the switch to disable it. Walk through to the chest to get your heart piece.
 H32, 14 2/5 |
Alright, get on the outside of the fence and move your statue through the hall.
--== Room 5: Arrows and Beamos ==--
 |
Enemies: None
Chests: None
Quest items: None
Use your statue to small both movable walls, then set him on the bell and continue.
--== Room 3: Manual Elevator ==--
 |
Enemies: Blade Trap, Baby Gohma
Chests: None
Quest items: None
Grab the fin and turn it counterclockwise to find your statue. Guide it over onto the elevator and turn it clockwise to go down one level. Set your statue on the switch that leads to the southern door (after destroying the blade traps, of course). Go back onto the ring and grab the other small statue and set it on the other switch. Get on and enter the door.
--== Room 4: Twin Armos ==--
 |
Enemies: Gohma Larva, Baby Gohma
Chests: 1 (heart piece)
Quest items: None
First defeat all the Gohma.
Grab a statue and haul it to the southern end of the room. Throw it on the western ledge behind the fence. Use the rod to walk it down north till it falls on a switch. Go back up and do the same on the east side (there is already a statue there) to reveals a chest with a heart piece.
 H33, 14 3/5 |
Go back to Room 3.
--== Room 3: Manual Elevator ==--
 |
Enemies: Blade Trap, Baby Gohma
Chests: None
Quest items: None
Your statue is back up on the upper level. Get in the elevator and turn counterclockwise to get it back on the elevator. This time, go all the way down to the ground (turn clockwise twice). Here, kill all the Baby Gohma to open the electric barrier.
 Numbers makes up for size, right? |
Walk your statue past where the barrier was. Go to the east side of the room and have him smash the gate, revealing a Poe.
 Poe #50 |
Get your statue again and break the gate in the north to access the bell. Exit the room west.
--== Room 2: Long Hall ==--
 |
Enemies: Armos, Keese
Chests: None
Quest items: None
Use the clawshot to get over the gate. Grab your statue and walk him all the way down. Use him to smash the gate, then set him on the bell.
--== Room 1: Entrance Room ==--
 |
Enemies: None
Chests: None
Quest items: None
Full circle, man. It would have been annoying if it wasn't so much fun smashing stuff.
Grab your statue and walk him into his proper place beside the door. The gate opens, granting passage. Say goodbye to one of the best sidekicks in a Zelda game. We'll miss you, sir smash-a-lot.
--== Room 12: Torture Hall ==--
 |
Enemies: Beamos, Gohma Larva
Chests: None
Quest items: None
It may look sort of menacing at first, but it really isn't. The traps are placed far enough apart that you can easily get by them one at a time.
Take out your bow and use it on the Armos. Near the end of the hall is a couple pendulums around a switch. Just behind you is a small statue. Use the rod to get the statue between the pendulums and set it on the switch, opening one gate but closing another. Get through the first, then turn and move the statue off the switch.
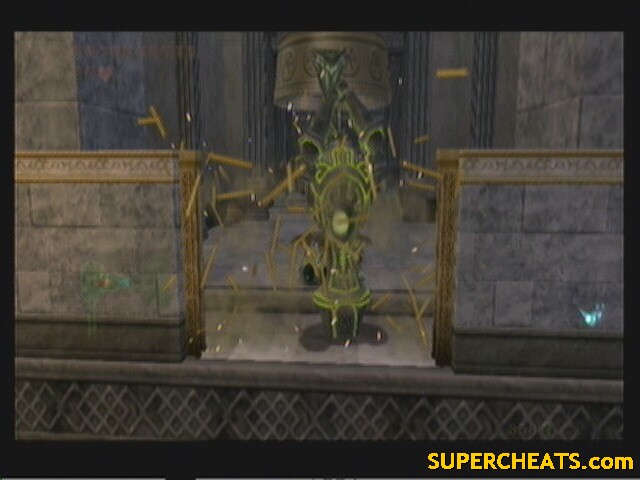
--== Room 13: Boss: Twilit Arachnid – Armogohma ==--
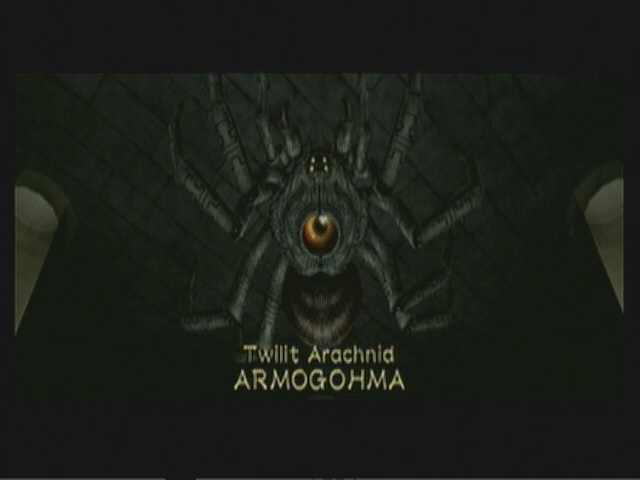 Armogohma |
Enemies: Armogohma, Baby Gohma
Chests: None
Quest items: None
This battle is really easy. Armogohma has two attacks: Spawning Baby Gohma and firing a laser beam out it's eye.
When she spawns baby gohma, take them out with spin attacks (they are more aggressive then before, making it easier). The laser is easily dodged by running zig-zag or in circles.
Keep your bow out and aimed at Armogohma's eye. When she stops, wait for her eye to open and shoot it with an arrow (it doesn't matter if she is already firing a laser out it). She'll fall from the ceiling conveniently in front of one of the four large statues. Use the Dominion Rod on the statue and press B to have it pound the spider. Do this three times, and you win!
...Well, kind of. The eye then comes to life and runs around with a bunch of Baby Gohma. Hardly a “stage 2” as it doesn't even attack you. Target it with your bow and fire a few rounds into it.
Get your heart container and mirror shard and get out of there. Only one place left to go and Midna spoiled it, so no clever puns here.
Onward, to the City in the Sky!
Where do you buy the magic Armor?
i cant believe there are 8 floors... anyways thanks i didnt know how to open the boss door and now i feel stupid
Actuly on the mini boss the ball and chain works pritty well on the first fase
Something that I discovered: when racing against Yeta, she will something somehow sneak beside you and go in front of you. If you take out your sword and hit her with it, she'll spin around and slow down. Not fair, I know, but it works!!
I couldent even figure out how to get in to the door i now feel like a moron
thank you so much
I actually frogot the boss key, so I had to go back for it. When I got back to room #5 (arrows and beamos) The thing had closed me off. I already took the statue back so i could not break the gate that blocked me. I had to use Ooccoo to leave
i cant put the sword in the stone that i first got it from what do i do ?
great cheats they are very detailed only for us directionally challenged about north, south, east and west its a trial and error
Tanx a million....I was in the right place anyways just wasn't sure if I was actually mean't to do the same thing all over again!!
where do i get oil from its driven me crazy!!!!!!
[size=12][/size] Thanks it helped.
I had no idea what to do before I read this thx.
-horse lover 4142
OMG! this was so helpful, b/c temple of time is one of the most confusing of them all
thx
-supergurl