Snowpeak Ruins
The Legend of Zelda: Twilight Princess Walkthrough and Guide
by SPV999
Zelda: Twilight Princess - Snowpeak Ruins
Side questing
We do have a couple side quests to wrap up before heading to the next temple: Magic Armor and Heart Piece 17. Not all of this is a side quest, however.
Warp to Castle Town. Give the priest the remaining money for heart piece 17 (use Agitha).
 H17 12 1/5 |
Next, stock up on all the rupees you can hold and warp to Kakariko Village. While we're here, go to Telma's Bar and check the map in the back room to learn that Ashei has gone to Zora's Domain.
If it's night out, we can have a couple little things we can do before the Magic Armor. If it's daytime, skip to the Magic Armor and do this later.
Warp to Castle Town and run north to the northern part of the field. Look for a ramp that leads east. Blow up the rocks at the top.
 Here. |
You should see a spinner track on the left wall. Ride it up, jumping whenever the track is about to end. At the end of the track is a heart piece.
 H27 12 2/5 |
Warp out to Zora's Domain. Use the Zora Armor and Iron boots to sink to the bottom of the pond. We're going to blow that huge rock we used to melt the ice. Plant a water bomb at it's base to destroy. A Goron pops out. Talk to him to get another bomb bag (you did get the letter about the new type of bomb, yes?)
 Third Bomb Bag |
Swim down the waterfall. Go into the red dot on your map that you got from Telma's Bar. Talk to Ashei to get a drawing. Show the drawing to the Zora guard outside the cave you just came through. He'll tell you the fish is a Reekfish, and that only the prince is able to catch them... you know, the prince that owes you his life.
Is it day yet? Good. Warp to Kakariko Village.
First comes the prince. Go to his mothers grave at the back of the graveyard. He'll be there. Show him the drawing as well to get an fish hook made to catch reekfish.
Magic Armor
Donate money to the Goron in Malo Mart. The want 1000 rupees to fix the bridge. Don't give them a rupee over 1000, however. Once you've donated it, talk to the old Goron outside the store. He'll ask you to take a barrel of spring water to a waiting Goron in Castle Town. Say yes and prepare to run.
Out in the field, don't run straight for Castle Town! The Leevers will hit you and break the barrel. Rather, hug the edges of the field, stopping every time you see a Bolblin archer to put down the barrel and snipe him really fast (you should only run into 2 total). Once you get to Castle Town's entrance, the Goron is waiting and tells you to throw the barrel on him Z-Target and throw it.
He'll be reenergized and open up shop in Castle Town, dropping a heart piece as he passes.
 H28 12 3/5 |
Go into Castle Town. Go down the main ally south. The Goron has opened shop and sells Hotspring water. Buy a jar and quickly exit town south. At the southern end of this area, there is a Goron by a rockslide. Talk to him while the water is still hot and give it to him to clear the rocks.
He wont clear them right away, so we'll have to come back later. Go back to Kakariko Village with around 300 rupees. Go into Malo Mart to learn the next donation lowered from 2000 to 200, so give them that to open shop in Castle Town. Next, go see Barns and sell all the bombs in whatever bag is lowest (not the water bombs) and fill it back up with Bomblings.
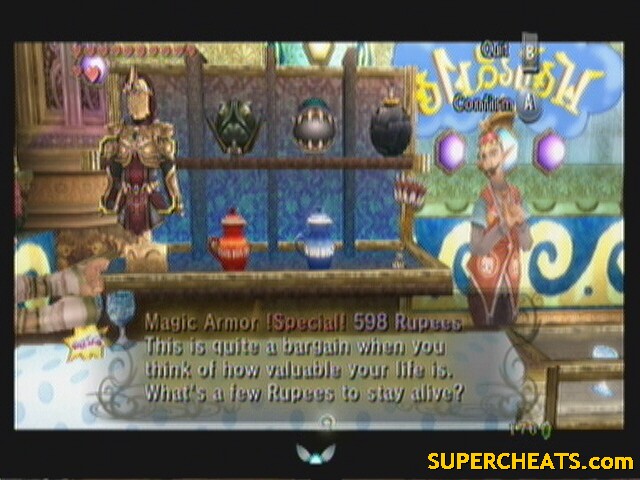
Warp back to Castle Town. Go to the Overpriced store in towns center to find that it has been taken over by Malo Mart. The Magic Armor costs 598 rupees, just under what you can currently carry. You don't need it right now, but if you feel so inclined, you can sell off the rest of your bugs and buy the armor.
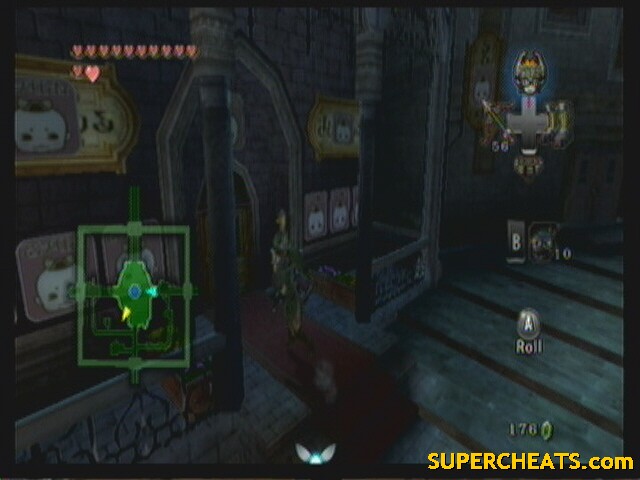 The Overpriced shop is no more |
 Quest complete |
Path to the Temple: Peak Province
We've already completed most of this (Drawing, Reekfish Lure) all that's really left is the actual road leading to the ruins.
We need to catch a Reekfish, or else we wont be able to make it up the mountain. Take out your rod (the lure should already be on) and fish on the western bank in Zora's River.
 Here |
It should take no time at all to catch a reekfish. Remember, when the bobber sinks below the water, pull up on the Wii remote and hold it there so long as it says Fish On!. When the fish is on land, transform into a wolf and sniff it.
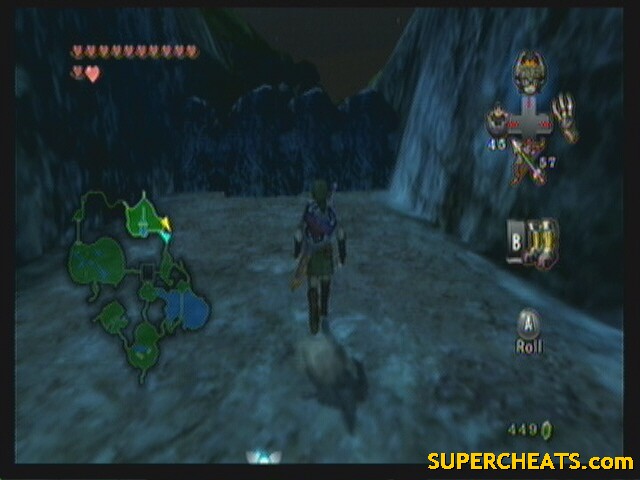
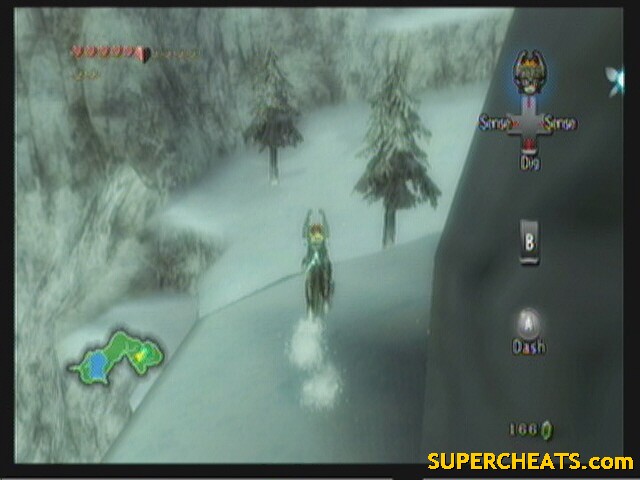
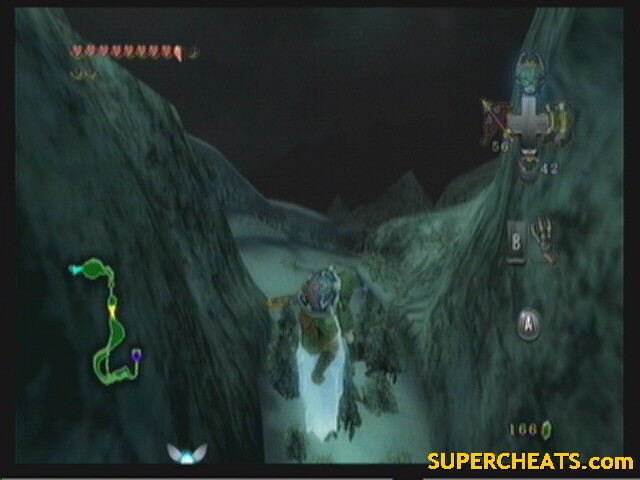
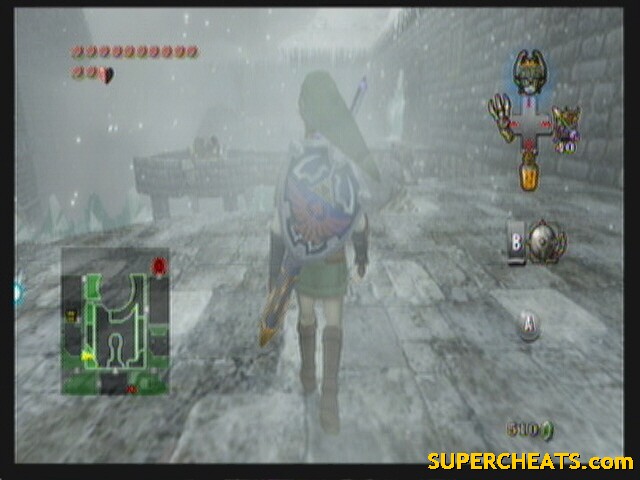
Go back to Peak Province where you met Aeshi. Jump down and start making your way up the peak. Engage your senses and follow the scent.
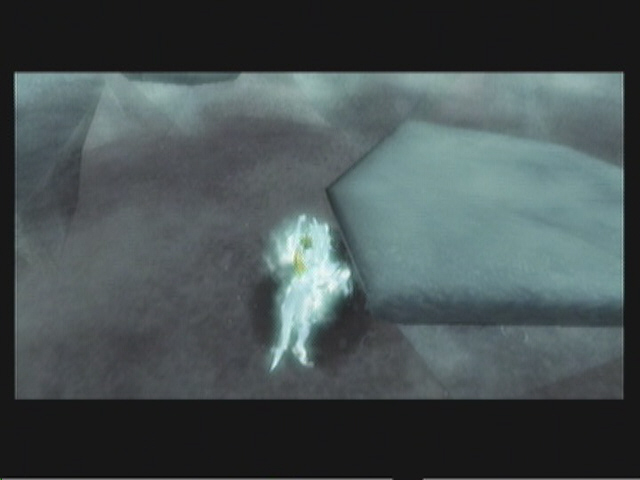
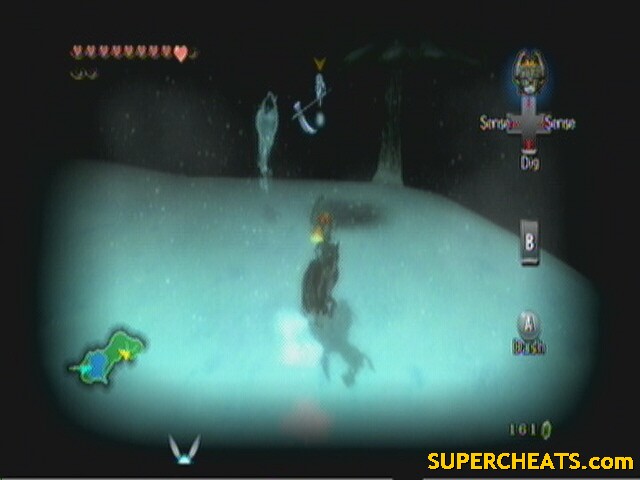
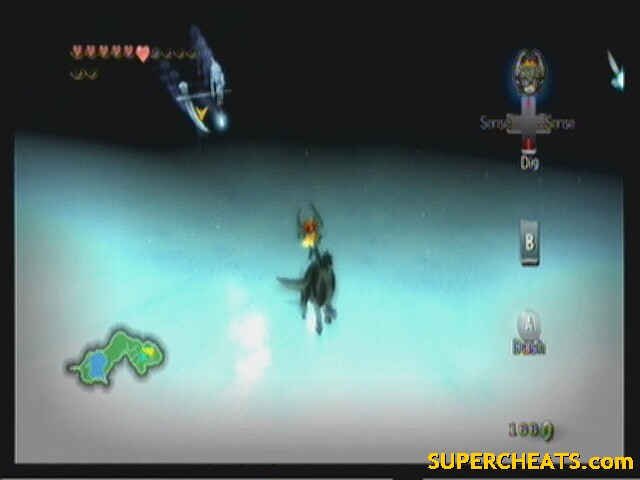
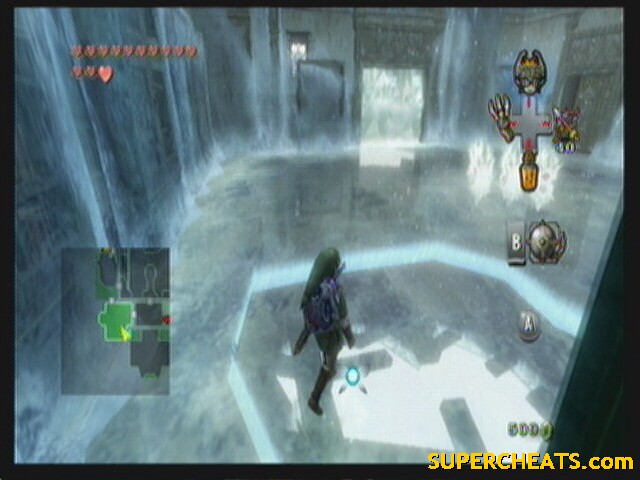
The first obstacle is a frozen lake. Touch the water, and you freeze. You'll have to make it across using the ice platforms.
Mmm, Linkcicle. |
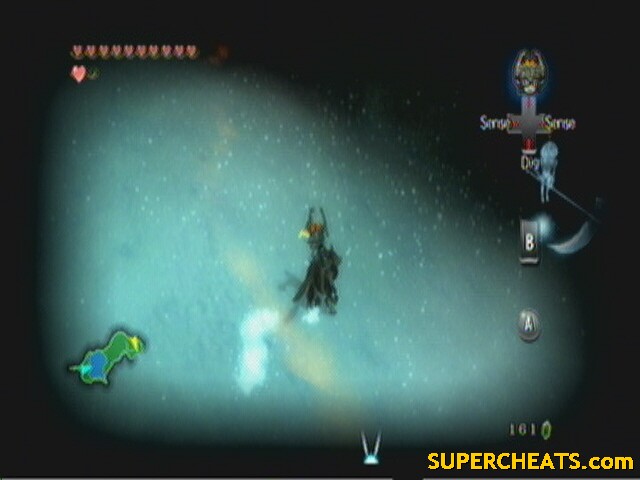
There are a lot of White Wolfs in this area, but don't bother with them. They have a hard time hitting moving targets. If you stray too far from the scent, you'll be warped out back to the start of the area, so stay close for now.
Just passed the small valley with rocks on either side is a Poe.
 Poe #40 |
Keep following the scent.
Past the last Poe, you'll come to a rock wall. The scent will lead left to a place where you have to climb some ledges. Instead, to right following the wall. You should come to a Poe near a tree.
 Poe #41 |
Go back and follow the scent up the wall. At the top, you'll have to break away and go right up a ramp (the scent goes up a sheer cliff). Once you're around and back on track with the scent, look across north to see a small grove with some trees. Another Poe hangs out here.
 Grove |
 Poe #42 |
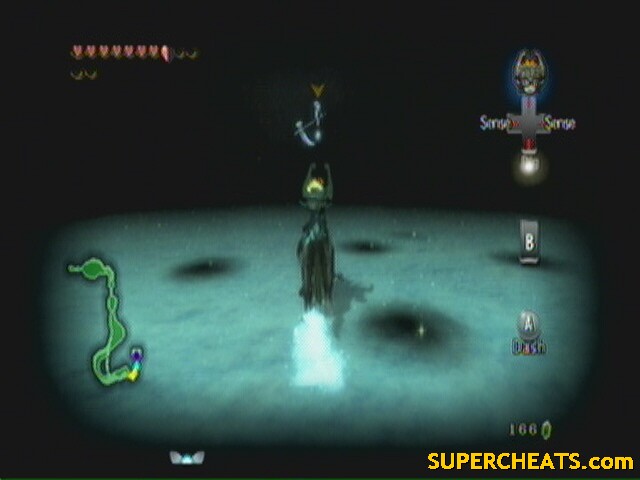
Should be a small path in the west that leads back to where you were. Keep on the scent. It leads to an area just above the grove that appears to be a dead end. Dash into where the scent leads to cause a collapse of snow.
Higher up, the scent should lead you RIGHT to a Howling Stone.
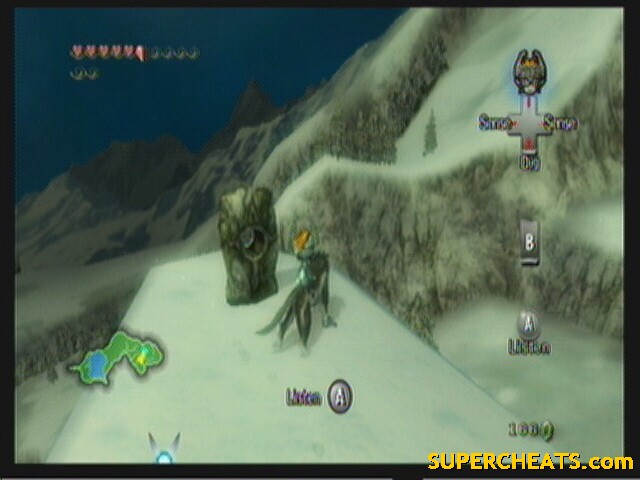 Howling Stone #5, Jump Strike |
 Pattern |
Song is Wind's Requiem from Wind Waker
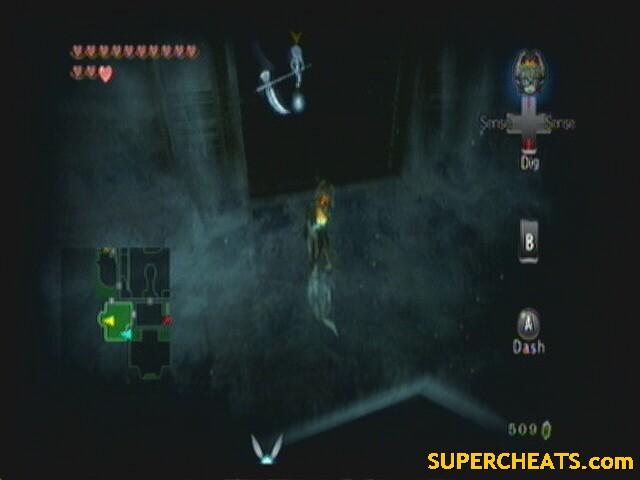
The scent will then lead to a dead-end. Dig in the dirt to enter a secret cave. You cant do anything in here now, so just pass through (you'll need to be a human to climb the ladder).
Exit the cave to be attacked by some Shadow Beast. This is good, as after the battle you can warp to Kakariko and learn your new skill, though you don't really need to. The Jump Strike isn't that useful.
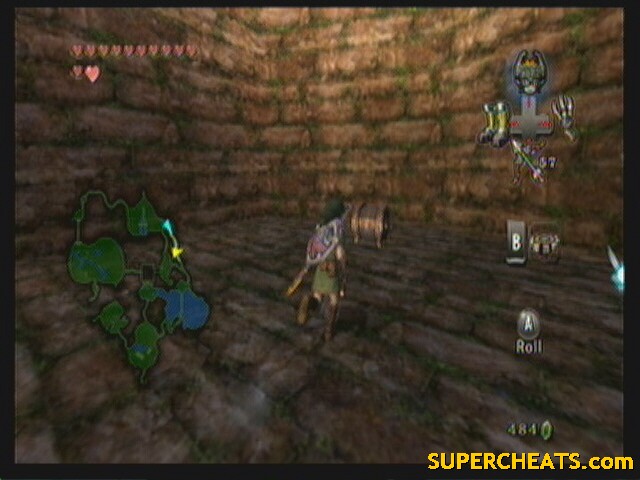
Anyway, talk to Yeto at the peak (you must be in human form). He'll open a new mini-game: Snowboarding. Roll into the tree to get a board. You have to do it this once to get to the ruins, but later you can come back and earn a heart piece.
 Killer air, dude! |
Controls are simple:
Joy stick = movement and speed
A button = crouch and jump (longer you crouch, the higher the jump)
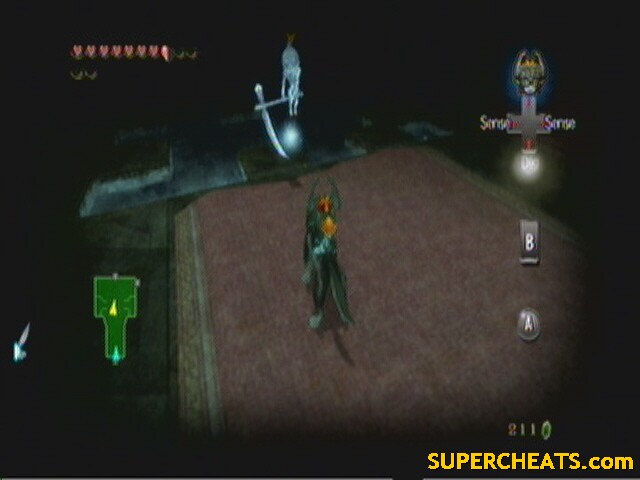
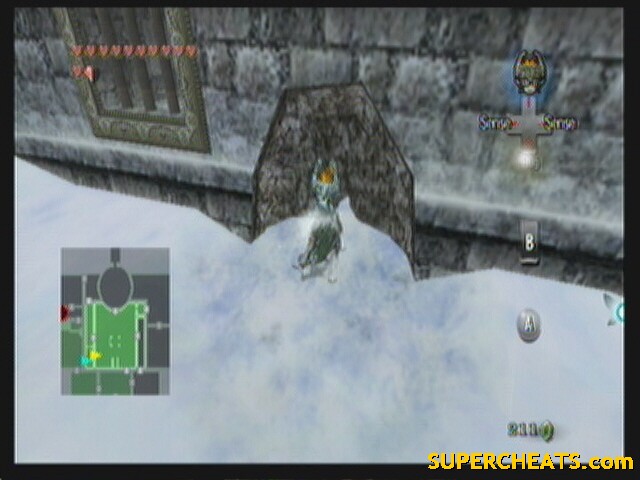
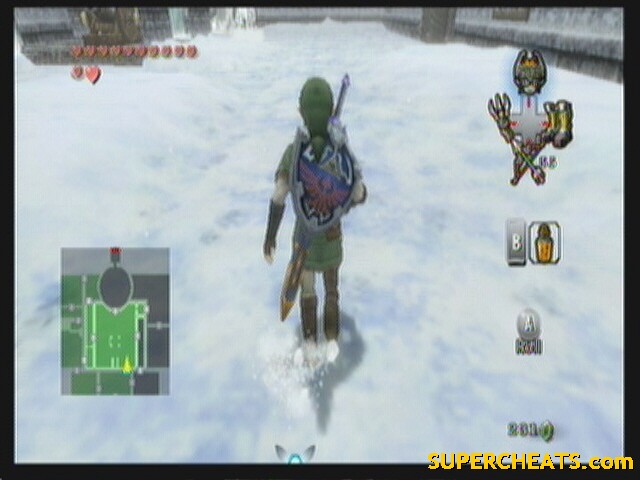
Basically just don't run into anything and don't fall off the edges. Survive to the end and you're at the ruins. Before you enter, however, there is a Poe lurking outside.
Turn into a wolf and walk back through the snow. You should see a spiral path leading up a round rock on the right side of the path. Carefully climb the path (It's a narrow path, don't fall off.) at the top is the Poe.
 Poe #43 |
You can also dig around in this area for a bunch of Rupees.
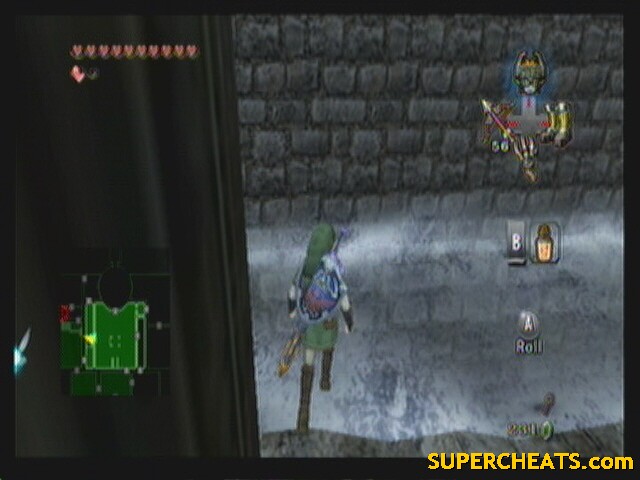
Jump down and enter the house at the top of the stairs.
Ice Temple: Snowpeak Ruins
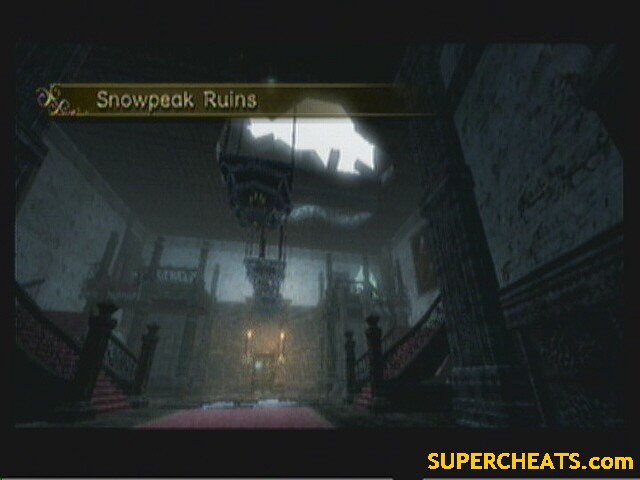 Snowpeak Ruins |
Snowpeak Ruins isn't like the other temples: it's just a decaying house, not an ancient temple built to conceal a century-old evil power. As such, the puzzles are more based around enemy encounters and platforming then mind-boggling highly-advanced mechanics.
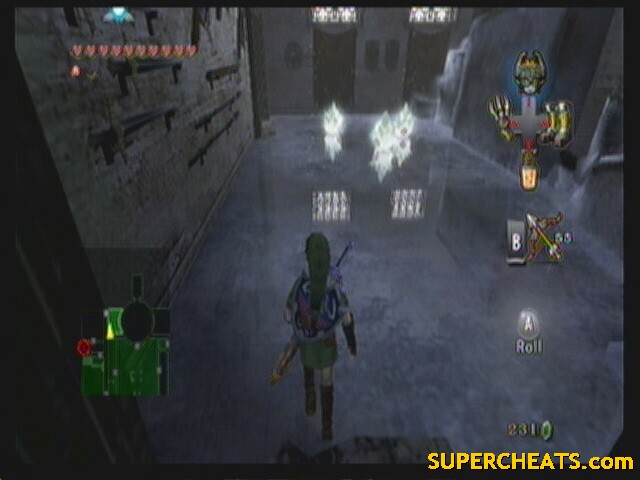
--== Room 1: Entrance Hall ==--
Enemies: ChuChu, Poe, Chilfos
Chests: 3 (Not reachable)
Quest items: None
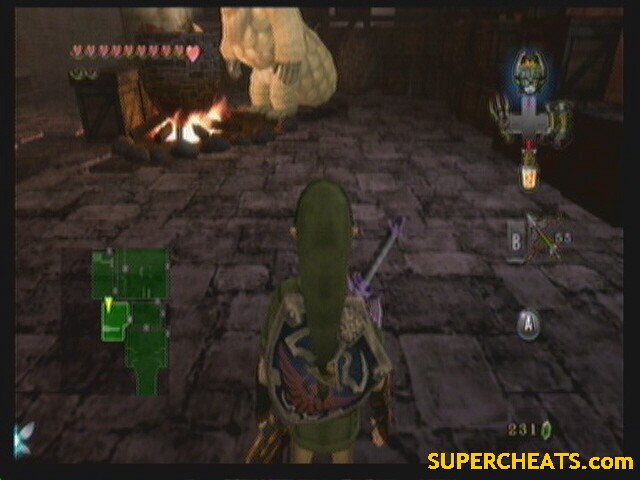
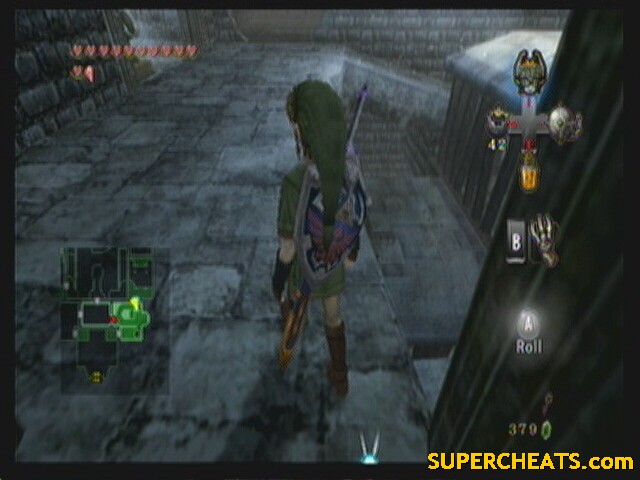
Right in the main hall floats a lantern. Use Wolf Link to take down the Poe.
 Poe #44 |
Turn back human and enter the northern door.
--== Room 2: Yeta ==--
 |
Enemies: None
Chests: None
Quest items: 1 (Map)
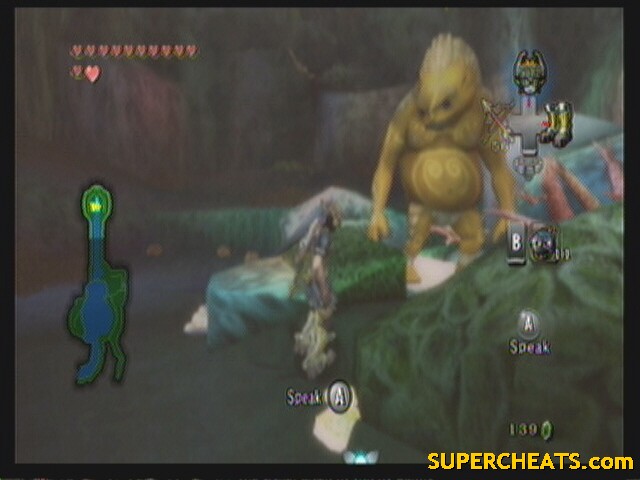
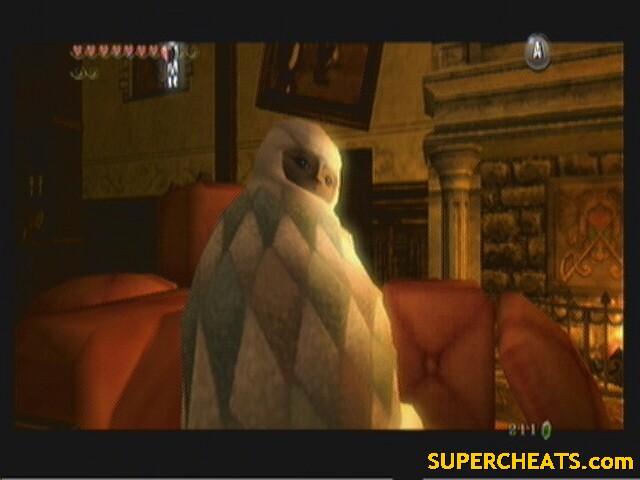
Talk to Yeta to learn the supposed location of the mirror shard and the map. She tells you to take the south-west door.
--== Room 3: Kitchen ==--
 |
Enemies: None
Chests: None
Quest items: Ooccoo
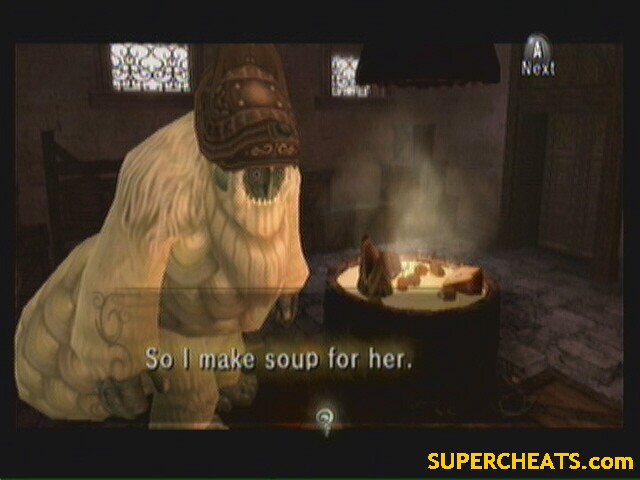
Yeto is making a soup. You can dip empty bottles into the soup to store some. In its current state, it heals 2 hearts per bottle. Ooccoo is in a pot at the south end of the room behind the shelf. Exit the room through the north door.
--== Room 4: Slide Puzzle ==--
 |
Enemies: None
Chests: None
Quest items: None
This room is very annoying if you don't know what you're doing. The blocks on the ice can be slid around the room. Your objective is to slide the blocks onto the switches, opening doors. There are two switches, but only one is accessible right now.
Take the block in the south and push it west.
Push the block in the north south, east, south, west into the other block, then south onto the switch.
Not too bad... this time. Go through the unlocked door.
--== Room 5: Ice Hall ==--
 |
Enemies: Mini Freezard
Chests: None
Quest items: None
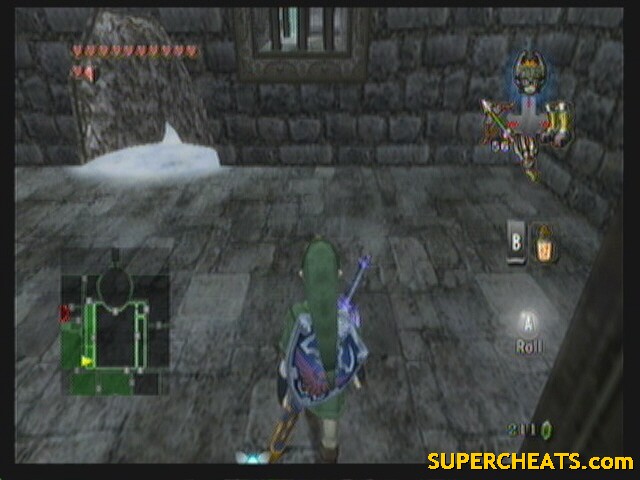
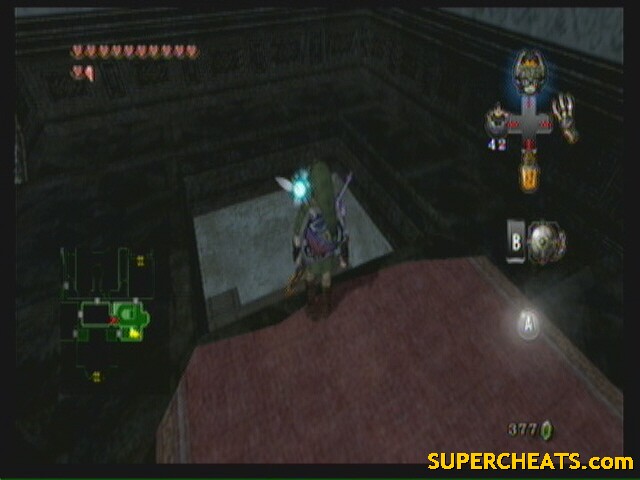
Dig in the ground near the crack.
--== Room 6: Courtyard ==--
 |
Enemies: White Wolf, Freezard, Chilfos
Chests: 4 (20 rupees, small key, 2 not reachable)
Quest items: 2 (small key, 1 not reachable)
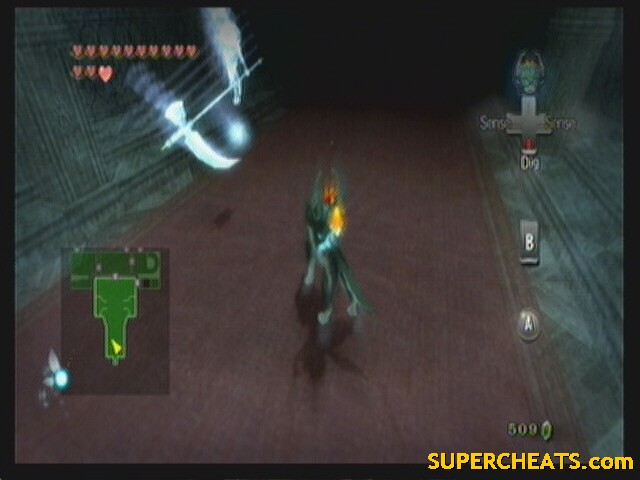
Use your senses and dig in two areas: One in the north reveals a chest with a key. One in the south reveals a chest with some rupees. Enter the door on the west side.
--== Room 5: Ice Hall ==--
 |
Enemies: Mini Freezard
Chests: None
Quest items: None
Make your way to the door in the north. Watch the mini freezards. You can only kill them with your sword for now, and touching them will freeze you and do constant damage till you're unfrozen by jamming buttons.
--== Room 7: Mini Freezard Fight ==--
 |
Enemies: Mini Freezard
Chests: None
Quest items: None
Use your sword and kill all the Mini Freezards in this room to open the doors. DON'T use jump attacks. Spin attack work well. Exit through the southern door.
--== Room 8: Pumpkin ==--
 |
Enemies: Chilfos
Chests: 1 (Pumpkin)
Quest items: 1 (Pumpkin)
Approach the door that leads to the chest. Two Chilfos will appear and block your path. Defeat both of them to open the gate. Jump attacks work well to get in close and disarm them. After, spin attacks can take them down with ease. Helm Splitter and Backslice are also effective.
Open the chest for your prize: a.... Pumpkin? Well, open the southern door (Slide Puzzle) and the next southern door after.
--== Room 3: Kitchen ==--
 |
Enemies: None
Chests: None
Quest items: None
Talk to Yeto and give him the Pumpkin. He adds it to the soup, increasing it's potency to 4 hearts per bottle. Scoop some up if you want.
Return to Yeta in the next room (east) to get new coordinates. Exit through the northern door.
--== Room 6: Courtyard ==--
 |
Enemies: White Wolf, Freezard, Chilfos
Chests: 2 (not reachable)
Quest items: 1 (not reachable)
Not much to do here just yet. Rather, there is a nook in the northeast that you can jump through. Enter the door there.
--== Room 9: Ice Maze ==--
 |
Enemies: Mini Freezard
Chests: 2 (bombs, 20 rupees)
Quest items: None
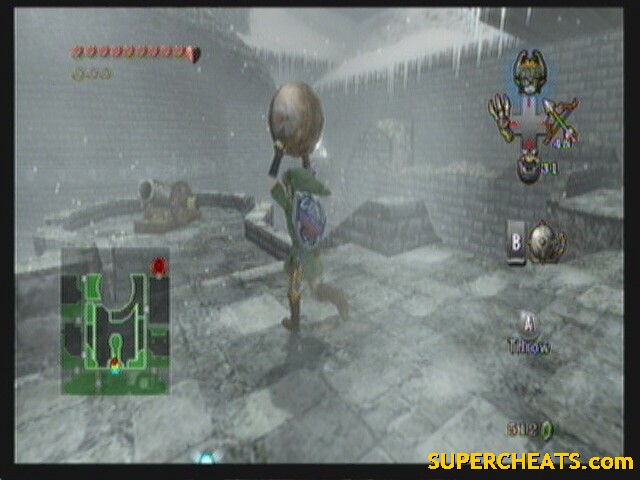
Right in the ice in front of you should be a round piece of iron. This is a cannon ball. We'll be needing it. The puzzle here is you have to transport the ball to the cannon you saw, while avoiding the Mini Freezards. It's not that hard. You can either pick it up and dodge them, or work your way to the end, killing everything in sight, then coming back and getting the ball after.
Either case, turn the cannon using the handles so it faces south. Load the ball in the back of the cannon, then place a bomb in the back as well. The ball will launch through the ice revealing a path to the door.
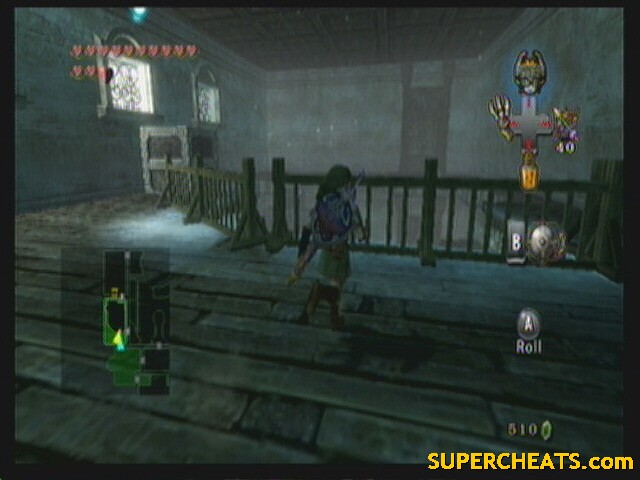
--== Room 10: Collapsed Room ==--
 |
Enemies: Mini Freezard, Ice Keese
Chests: 2 (20 rupees, Compass)
Quest items: 1 (Compass)
Trick here is to walk across the beams very carefully, trying not to fall of and avoiding the cracked sections that collapse. Take out your Bow or Clawshot and shoot off all the Keese and Mini Freezards first.
Walk across the far east beam, stopping after you slide down some ice (you'll know). Turn west and jump across, then jump again. Open the chest, then turn west again and follow this beam west to the chest with the compass.
If you look back to the door you came in from, there is a Clawshot target to the left of it. Grapple over and walk back out to the Courtyard.
--== Room 6: Courtyard ==--
 |
Enemies: White Wolf, Freezard, Chilfos
Chests: 2 (small key, bombs)
Quest items: 1 (small key)
The compass reveals a chest in the ground. Dig in the ground twice to open the chest and get a Small Key. Use the key on the eastern door.
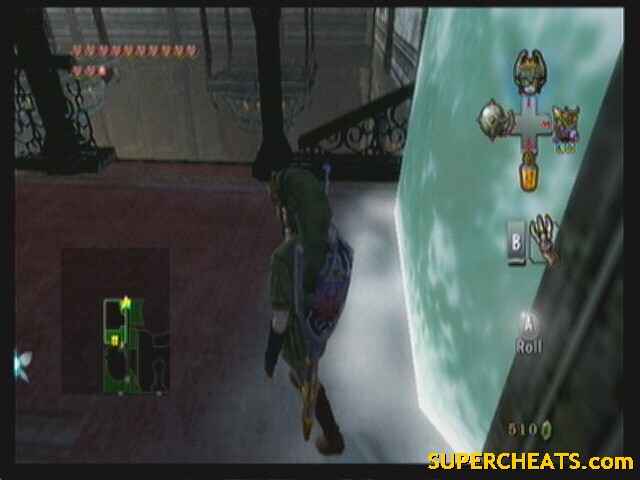
On the wall north of the door is a leaver. Pull it to lower a spoon. Pick up a cannon ball and place it on the spoon. Go back through the door. On this side of the door, pull the leaver north of the door to transfer the cannon ball through. Neat huh? Cant imagine why anyone would use such a device. A normal human could just carry the ball through the door.
Anyway, take the ball to the cannon west of the door. If you aim the canon south, you'll reveal a chest with 20 rupees. Aim it north to get the Freezard out of the way and continue through the dungeon.
--== Room 11: Miniboss: Dark Hammer ==--
 |
Enemies: Dark Hammer
Chests: None
Quest items: Ball and Chain
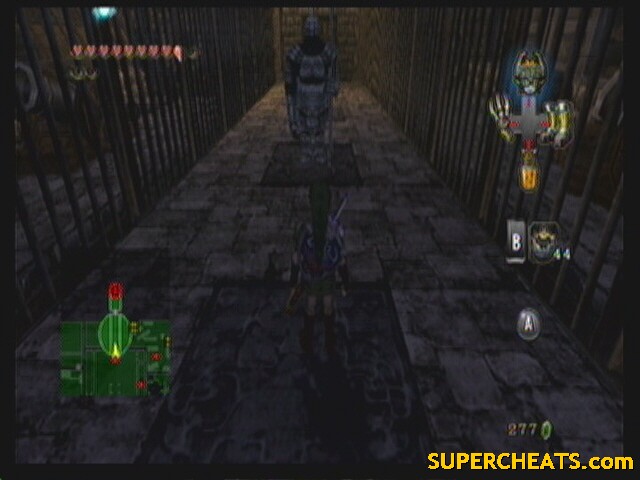
Run through the hall to the other side, only to be locked in and assaulted by a Dark Hammer.
Dark hammer has two attacks: Throwing the ball and chain, and swinging it around him. Both of these will do a ton of damage if you're hit, so lets not.
He only has one weak point: his tail, and it's only vulnerable for the short time after he throws the ball and before he retracts it.
The key here is to stay on the opposite side of the hall as him, and wait for him to throw it. RUN over to him and attack his tail before he retracts the ball. If he starts closing in on you, you can clawshot the ceiling to get away.
This battle is fairly hard, given the small window of opportunity to attack. His tail is LITTERALLY invulnerable during any other time. You can actually hack and slash away at it for short periods before he starts swinging yet after he retracted it and you wont do any damage.
After the fight, take claim your prize of the Ball and Chain and exit through the north door.
--== Room 12: Say Cheese ==--
 |
Enemies: Blue Bubble
Chests: 1 (Cheese)
Quest items: 1 (Cheese)
Use the ball and chain to destroy the ice and gain access to the rest of the room. The ball can also destroy Freezards and is fairly effective against Minis. Before we get our cheesy prize, use the ball and chain on the armor suits on the west wall. Hit them twice to completely destroy them. One of them hides a blue bubble, which defeating will get you 100 rupees.
Open the chest and get some cheese. Then go back to Yeto in the Kitchen (straight shot, just use your map).
--== Room 3: Kitchen ==--
 |
Enemies: None
Chests: None
Quest items: None
Talk to Yeto and give him the cheese. Scoop up some more soup (now heals 8 hearts), and talk to Yeta in the room east. She'll open a new door.
--== Room 13: Frozen Spiral ==--
 |
Enemies: Freezard, Ice Keese
Chests: 1 (Heart Piece)
Quest items: None
Before we head up, take the northern door into the courtyard. Push the block out of the way, opening the passage, then use the spoon thing in this room and the courtyard to bring in a cannon ball to the Frozen Spiral.
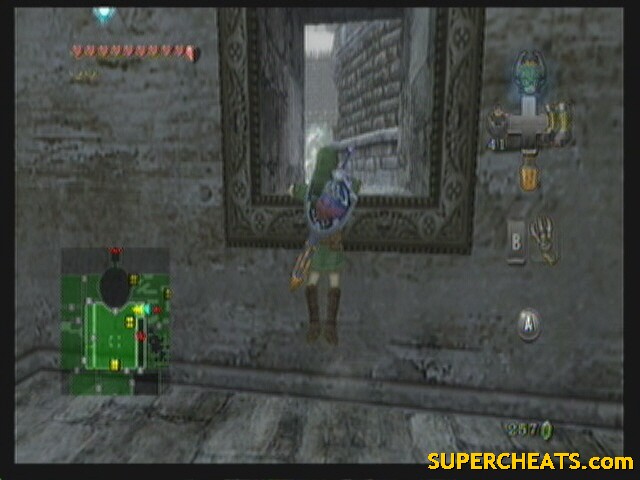
With that out of the way, pick up the ball and leave it on the floor. Destroy the ice with the ball and chain and head up the spiral ramp. There is a small opening the Freezards cage where you can throw the Ball and Chain. Wait for the spray to pass and hit it twice, fast.
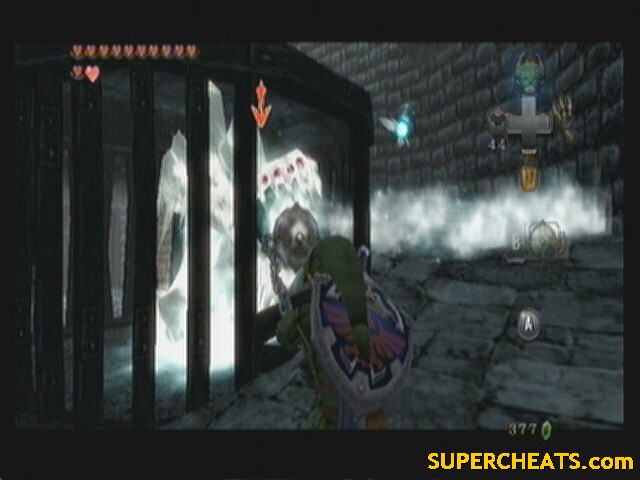 Like so |
Up the ramp is another one. Use the same strategy (you may have to take a hit, as the hole is in a harder-to-reach spot).
Destroy the ice at the top to reveal a cannon. We wont be using it yet. Take the door in the north.
--== Room 14: Chandelier Swing ==--
 |
Enemies: Chilfos
Chests 1 (small key)
Quest items: 1 (small key)
Take out the chilfos on the right. Next, use the ball and chain to destroy the ice on the west wall, revealing a clawshot target.
Walk to the center and face across the gap. Between you and the chest is the top of a chandelier. Lock on and hit it with the ball and chain to start it swinging. Jump over with good timing, then again to the chest. Open the chest, and use the clawshot target to get back.
--== Room 13: Frozen Spiral ==--
 |
Enemies: Freezard, Ice Keese
Chests: 1 (Heart Piece)
Quest items: None
Walk straight across to the south end of the room. Look at the floor to see an uneven section. Use the ball and chain to break open a hole and passage to a heart piece!
 H29, 12 4/5 |
Use the clawshot to get back up. Open the locked door in the west.
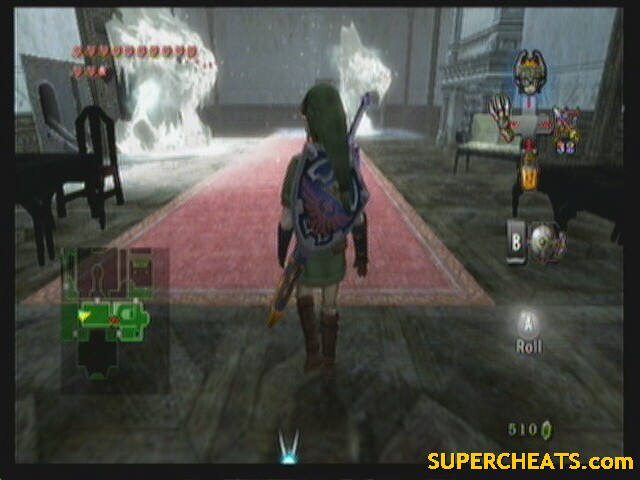
--== Room 1: Entrance Hall ==--
 |
Enemies: Chilfos, Ice Keese, Poe
Chests: 3 (Heart piece, 10, 20 rupees)
Quest items: None
Break the ice on the right. Use bomb arrows to take out the Chilfos across the gap.
Use the ball and chain to get the chandelier moving. Jump to it, but don't jump across. Rather, turn south to see two more chandeliers. Kill the ice keese with arrows. Get the next one moving and jump to it, then do the same with the next to reach the chest and a heart piece.
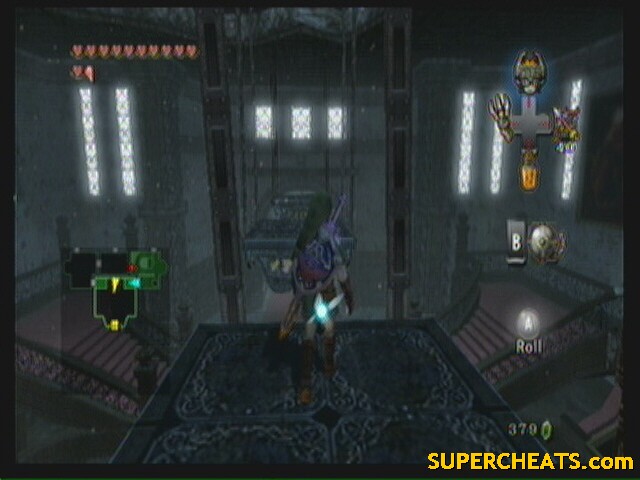 H30, 13 0/5 |
Jump down to the main floor. When you entered the ruins, remember those suits of armor on the left and right? Well, take the ball and chain to them. One holds a Blue Bubble with 100 rupees, two conceal chests with 10 and 20 rupees, and one hides a Poe.
 Poe #45 |
Alright, enough of that. Climb the stairs on the east side and use the clawshot target you revealed to get back up. Across the chandelier and through the door west.
--== Room 3: Kitchen (upper level) ==--
 |
Enemies: Ice Keese, Mini Freezard, Poe
Chests: None
Quest items: None
Take out the Mini Freezards first, then break the ice wall in the west to find a Poe.
 Poe #46 |
Exit through the northern door.
--== Room 4: Slide Puzzle ==--
 |
Enemies: None
Chests: None
Quest items: None
Push the block on the west side to the floor below. This will allow you to get back up. Jump down and start a new puzzle. Use the ball and chain to destroy the ice in the center, and to free the frozen block in the northeast.
Our objective is the switch in the center.
Push the block currently on the switch (south) up north.
Push the unfrozen block south, west, then north into the other block.
Push the north-most block (the first one you pushed) east, south, west, then north onto the switch.
The upper door is unlocked, but the lower one isn't. we don't really need it to be, but meh. Push the now north-most block east, south, west, and south again onto the switch.
Climb the block you pushed down back up to the top of the room and enter the newly unlocked door.
--== Room 6: Courtyard ==--
 |
Enemies: White Wolf, Freezard, Chilfos
Chests: None
Quest items: None
Face north and use bomb arrows to kill all four Chilfos. Walk the path they were on to the end, then use the clawshot to get over the rubble in the north. Enter the door west.
--== Room 8: Pumpkin (upper level) ==--
 |
Enemies: None
Chests: 1 (small key)
Quest items: 1 (small key)
Break the ice for a target, then start the chandelier moving. Jump to it and face south to start another chandelier. Jump to the chest and get your key. Exit via the southern door.
In Slide Puzzle, take the southern door back to Kitchen (upper), and use the key on the locked door.
--== Room 15: Freezards Room ==--
 |
Enemies: Freezard
Chests: None
Quest items: None
Use the ball and chain to destroy both freezards in this room. There's really not trick to it, and you're probably going to take some damage.
Once they are down, go to where the eastern one was and push the two blocks there down below, opening a passage to the Frozen Spiral. Jump down and go grab your cannon ball from earlier (or use the door at the bottom and spoon thing to get one from the Courtyard). Load it into the cannon at the top and face the cannon west. Plant a bomb and launch the ball into the Freezards room.
Use the spoon thing in this room to get the ball into the Courtyard via the north door.
--== Room 6: Courtyard ==--
 |
Enemies: White Wolf, Freezard, Chilfos
Chests: None
Quest items: None
Load the cannon and face it north-east. Plant a bomb and fire it at the Chilfos there. With it gone, take the east patch and jump down. Climb the ladder to where the Chilfos used to be and enter the door.
--== Room 16: Church Social ==--
 |
Enemies: Chilfos
Chests: 1 (Bedroom Key)
Quest items: 1 (Bedroom Key)
Approaching the chest triggers ~8 Chilfos to appear in the room. Don't bother with anything fancy, just hack and slash, maybe some jumps and spins.
Once they're cleared, the doors open you can claim your prize: The Bedroom Key, which looks eerily like a Big Key...
Exit back to the courtyard to meet with Yeta. She'll take you to the Bedroom (you don't have to wait for her).
--== Room 17: Boss: Twilit Ice Mass – Blizzeta ==--
 Blizzeta |
Enemies: Blizzeta, Mini Freezard
Chests: None
Quest items: None
Another two-stage battle:
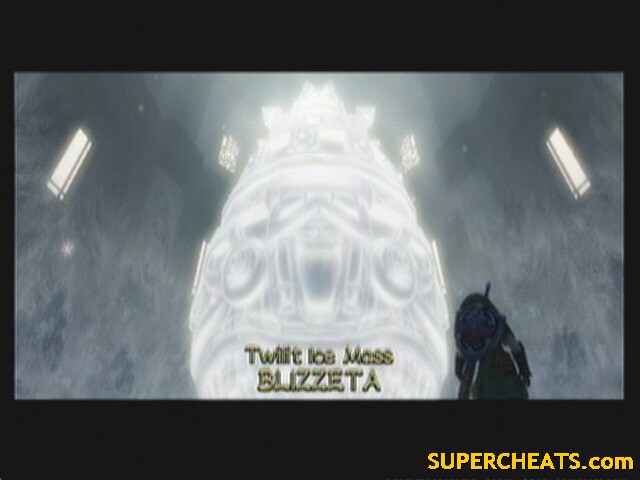 Blizzeta: Stage 1 |
Stage 1:
Not much to this stage. She's basically a giant Mini Freezard (which, by the way, she will launch at you from time to time). Use the ball and chain to break her down to size.
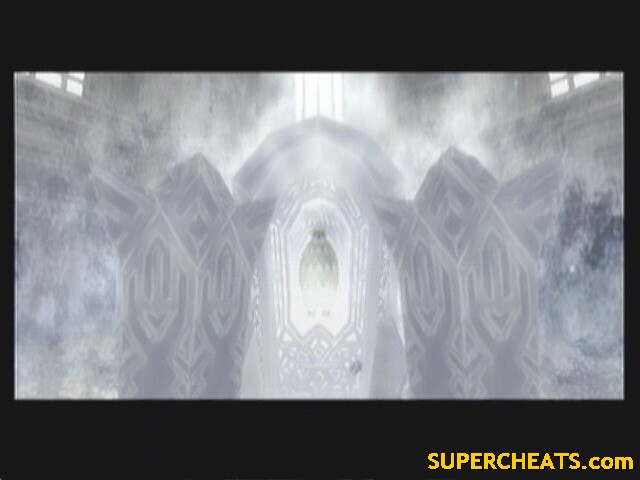 Blizzeta: Stage 2 |
Stage 2:
This stage is a bit harder, but not really. She'll fly up onto the ceiling and throw giant icicles down toward you. You can see them coming thanks to the reflective ice floor. Dodge them by running. She'll then call them back up and form a ring of them. When the ring comes down, you'll want to be on the outside. She'll then slam down in the center of the ring.
The trick is when the first icicles come down, break them with the ball and chain. Then, when she creates a circle with them, the ones you broke will make a gap in the wall, allowing you to target her with the ball and chain.
I find it easiest just to stand still and let the falling icicles hit me, rapidly pressing B to use the ball and chain whenever I get up. Doing this ensures a huge gap in Blizzeta's defense when she uses the ring, as you're sure to destroy 4-5 of the icicles. Run away when the ring falls, then quickly Z-target to turn and chuck the ball without having to aim.
Three hits is all it takes.
After, get your heart container (14 0/5) and warp out with Midna.
All this cold got you down? I hear this place was much warmer in the past... Onward, to the Temple of Time!
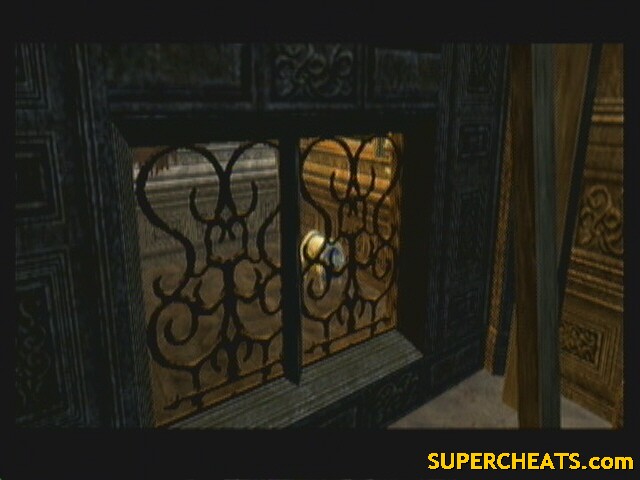
help me my sister wont leave me alone!!!!!!! There is a door in the front hallway with a big gap and a chest in it but i cant get across the gap! Please tell me how!!!!! :(:(:(:(:(:(
Ahhh I cant defeat dark hammer as much as I try. :/[color=blue][/color]
thanks man ya really help p.s. i love wolves go team Jacob boooooooo Edward(smilie face and winking face)
cant get hot spring water. talked to everyone donated 1000 exacrlt please help.
I found out a new way to defeat dark hammer... stay up really close to his chest, stay locked on, and when he thros the ball run and attack his tail!!! Did wonders.
If you r having trouble with blocks think of the direction ur in and read the directions he gives if u r facing a diferent direction think as the direction hes telling u as its oppisite hope that helps ^^
Thank you I was so stuck on how to get the blocks to keep the button down. Thank you Thank you
You forgot to mention how sweet getting that boss heart container was.
im at the gorgon bit near the begin at this part but when i talk to the gorgon at malo market all he says is go and talk to his dad but when i do that all the gorgon dad says is "ohhhh i wish someone would fix this bridge" i have tried so many things and nothing works plz help
you use a cannon to take out the chilfos in the courtyard
When you're in the courtyard and you have to kill the chilfos, how do you kill them if you don't have any bomb arrows, or bombs or arrows in general??
Ball and chain bro
[size=12][/size] Can't seem to catch a reekfish... Can't catch any fish at all. Been trying for like am hour now. And a little while back when you said to fish for a bottle in the fishing hole, nothing happened either. Why can't I catch any fish or anything? Nothing happens at all. Made sure I was in zora's river, western bank. Went on both sides of the river on the western side, nothing happened... And yes, I have the hook thing.
Help? If someone can.
the sliding boxes part2 is a bit hard to understand. could you make it less complicated
Oh my god, thank you soso much! I was stuck on that sliding boxes part 2 for the longest time! I appreciate the help
Great guide I was so trapped thanks dude