Lakebed Temple
The Legend of Zelda: Twilight Princess Walkthrough and Guide
by SPV999
Zelda: Twilight Princess Guide - Lakebed Temple
Temple Pre-Quest
Side-quest
 Kakariko Village |
We have some side-questing to do before moving on. A TON of heart pieces and some bugs, plus some stuff that you will actually need.
First, head to Barnes Bombs. (the north-most building on the ground level. It has a Goron standing out front). Talk to Barnes and try to buy a bomb. He'll tell you that you need a bomb bag and sell you a full one for 120 rupees (actually a really good deal), you don't have much of a choice, so pay up. He tells you about using Bomb Arrows, which I'll explain in a minute.
Next, exit out of the building via the window at the top of the store.
From here, take the winding path up again just like when you were hunting insects. At the top should be a Goron.
 The village lookout |
He'll tell you about being the village lookout, and offer to boost you up to the top of the building behind him. Take him up on the offer and aim for the roof. Climb the ladder and talk to the Talo. Say yes and you'll be put into an archery contest with Malo as the prompter.
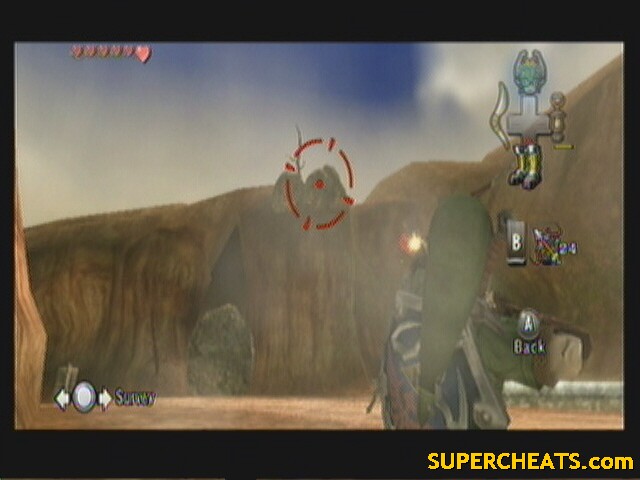
You'll have to shoot 3 targets: One really close, one slightly farther, and one that's probably the farthest target you'll ever have to hit. To hit the pole that's insanely far away, you'll just have to put your pointer over it and fire, adjust by a tiny amount, and try again.
Hitting it will earn you a Heart Piece and a chance to buy a scope for your bow.
 H09, 6 4/5 |
Next up, head to Malo Mart. He should have the Hawkeye in stock. Buy it and exit the store.
Now for the bomb arrows! To use bomb arrows, set your Bow to B, then point at the bombs and press Z. Bomb arrows use 1 bomb and 1 arrow per shot, so you have to have both in stock to use them.
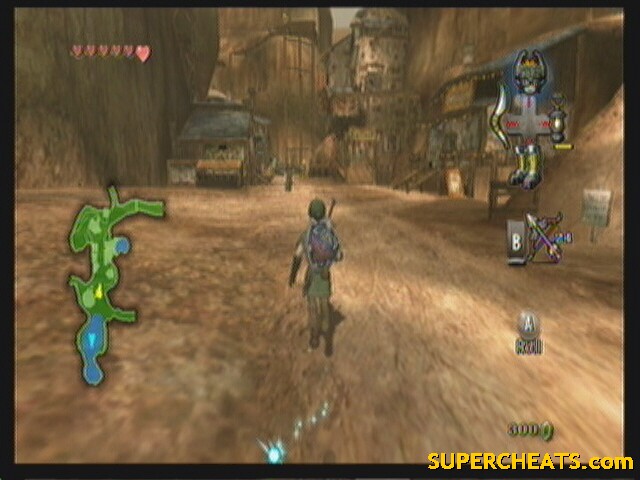
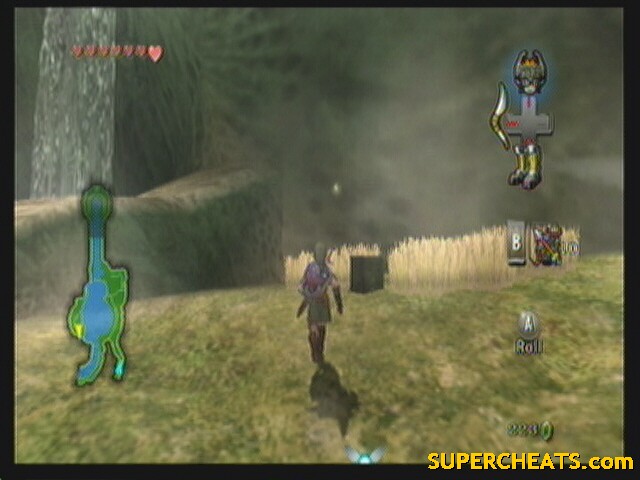
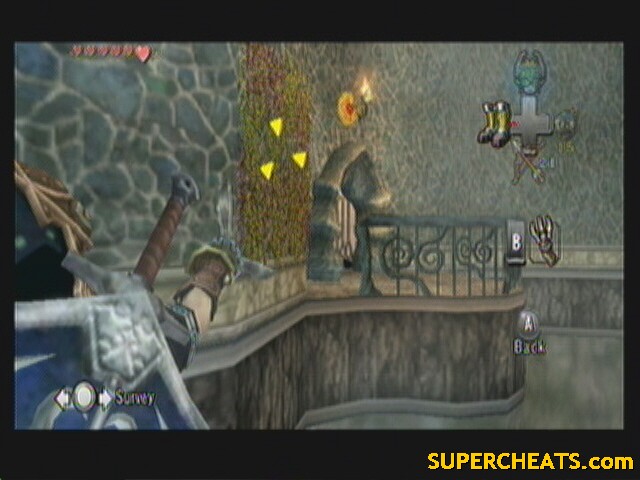
Head south. To the left of the spring is a cliff with some bombable rocks on top. Shoot them with a bomb arrow to reveal a heart piece.
Use the boomerang to get it down.
 H10, 7 0/5 |
You'll notice some more rocks below them. Blow those up as well and enter the cave. The small boxes in here usually have some high-dollar rupees in them. When you get to the end, jump in the spring. Use the iron boots to sink to the bottom. Quickly open the chest for another heart piece! Unequip the boots and swim up quickly before drowning.
 H11, 7 1/5 |
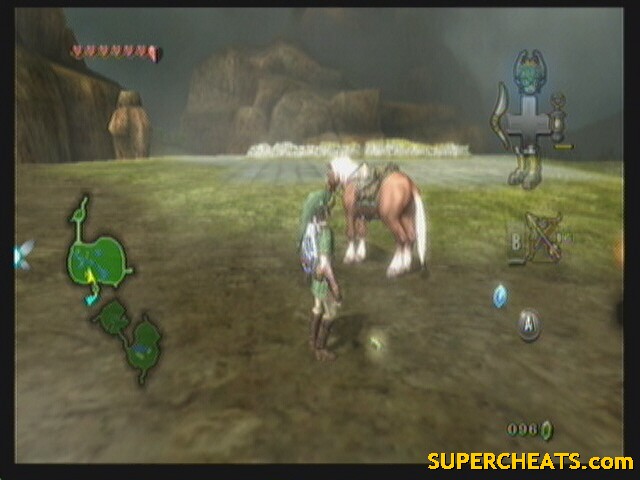
Alright, I think we're done here for now. Grab Epona (she's by the spring) and exit out to the north.
--== Hyrule Field ==--
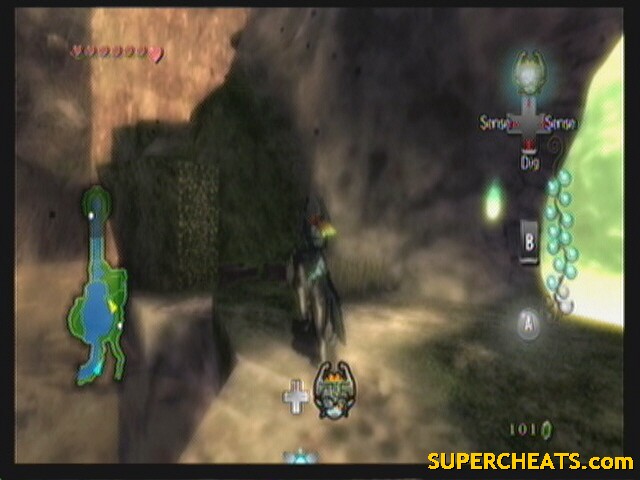
You'll be greeted by the postman shortly. After, look for a pile of rocks on the left side of the road. Use a bomb to blow them up and walk up the path behind them.
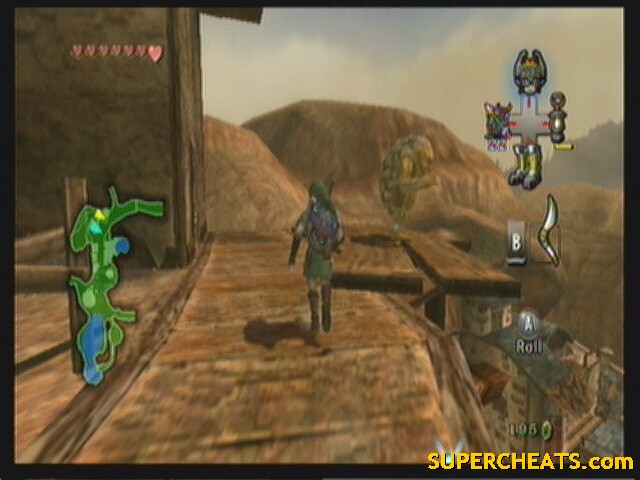
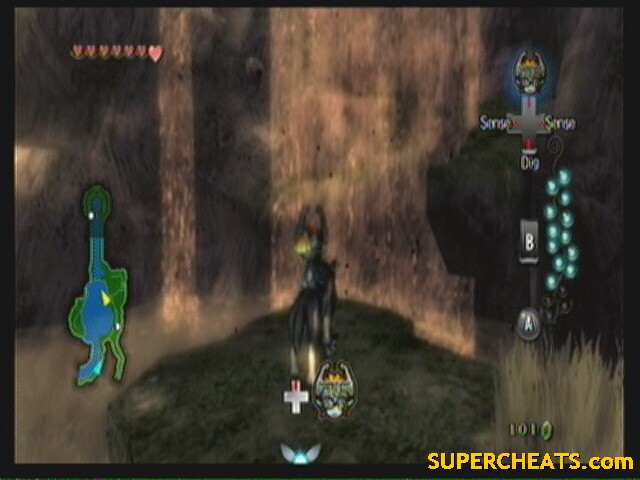
Keep going up, then you'll drop down and jump over a gap. Climb the vines. Now this is very important, look across left; you'll see some vines and a bombable rock sitting on top of them. Use your bomb arrows to destroy the rock. Now go towards it and jump the gap, grabbing onto the vines. Once at the top, look left to see a chest down below. Carefully jump down to that platform and open the chest for another heart piece.
 H12, 7 2/5 |
Jump back to the main road (don't fall in the pit) and get back on Epona. There are several bugs in this area to get. The move around a lot, so it might be best to wait till night when they're easier to spot.
The first one is still in the rocky-dirt area, just to the left of the paths exit.
 Male Grasshopper |
The next is way out in the northeast.
 Female Grasshopper |
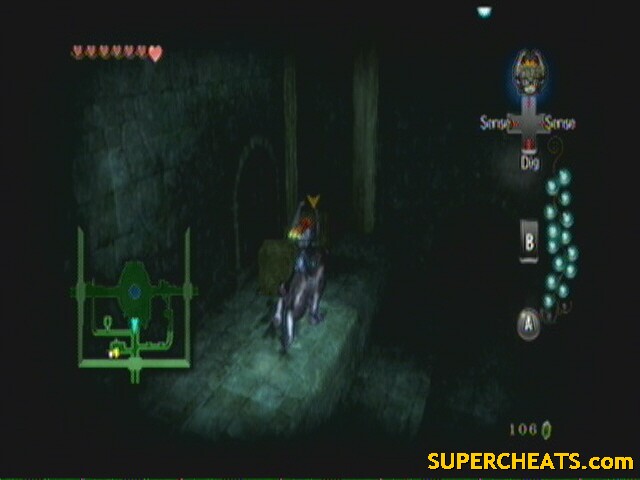
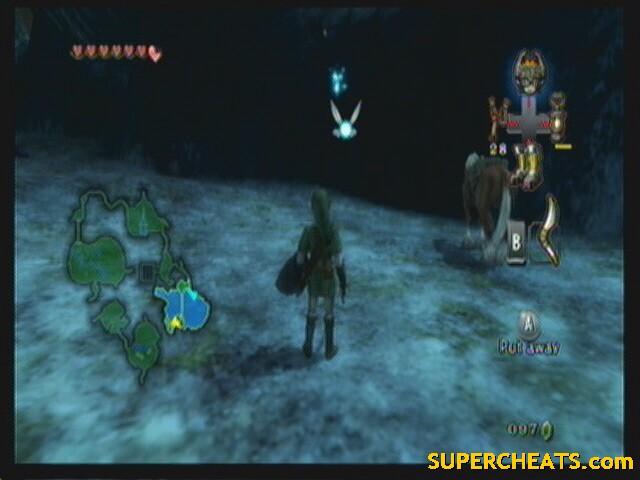
Next is in the archway on the south side of the Eldin Bridge (where you fought the King). Use the boomerang to get it down, then pick it up.
 Male Phasmid |
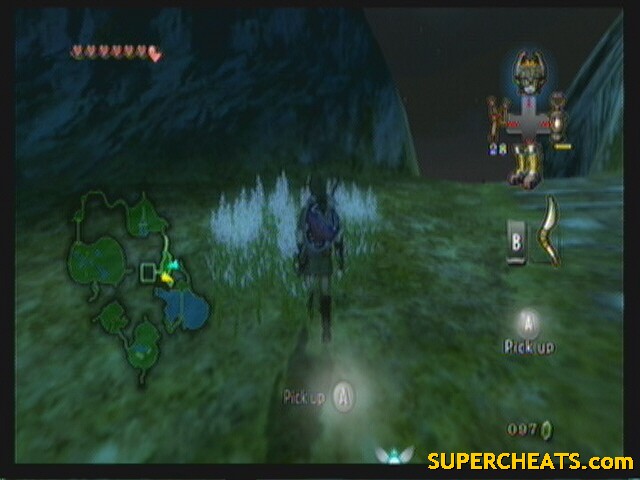
Finally, the last one is just across the bridge up above the ledge to the west. You have to position yourself south of the rock and get as close to the ledge as you can without losing site of him.
 Female Phasmid |
***NOTE: From this point, till when I say otherwise, DON'T SAVE YOUR GAME!!***
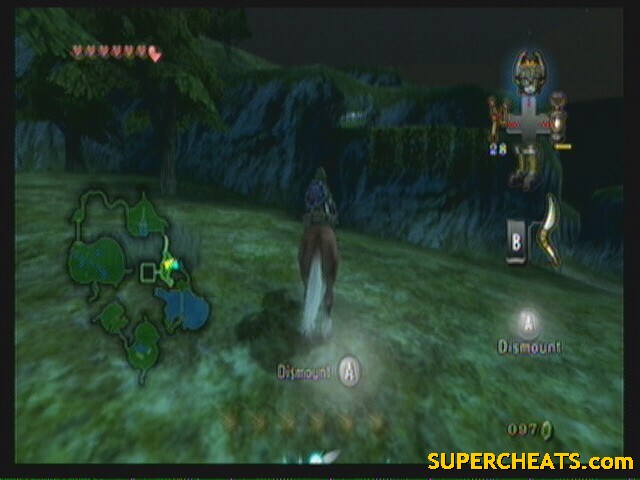
Alright, back to the story. Ride Epona to the rocks blocking the path north. Blow them up. A cutscene ensues where the Eldin Bridge is warped out and some Shadow Beasts claim the bridge. Run over and take out the beasts (spin attacks work well). The warp point is now yours, but its kind of pointless right now, considering you'd just fall to your death.
Oh, and reason we're not saving, is that there is a glitch where if you save and turn off your game after the bridge is destroyed, but before you enter the twilight ahead, you'll start back on the other side of the bridge with no way to get back.
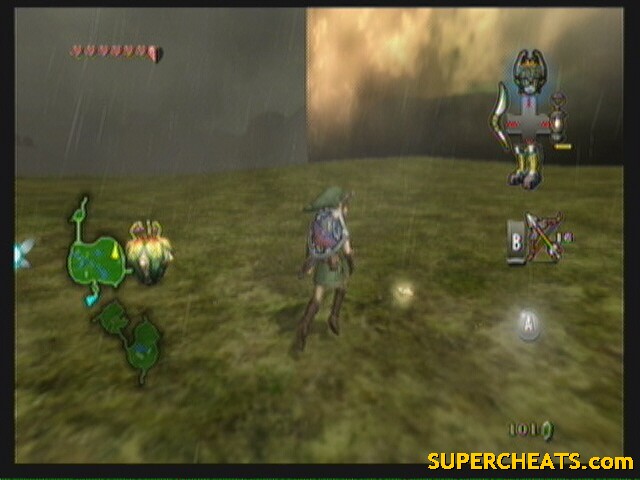
So, head north. After a ways, you'll see another curtain of twilight. Enter in.
NOW you can save.
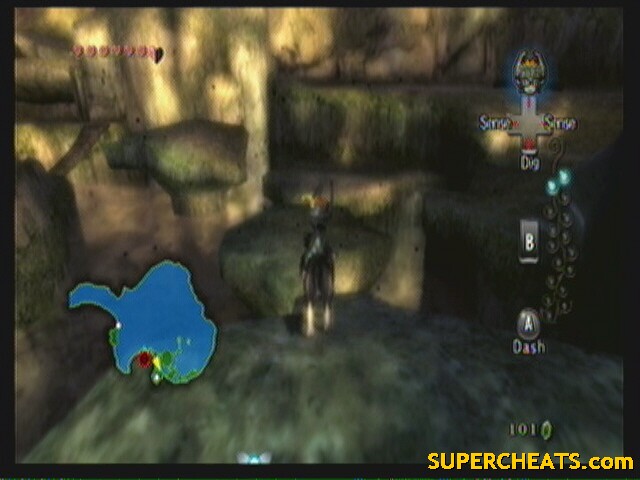
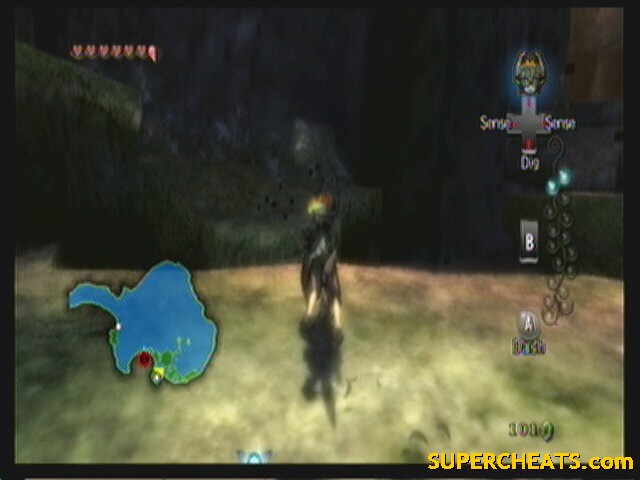
--== Twilight Hyrule Field ==--
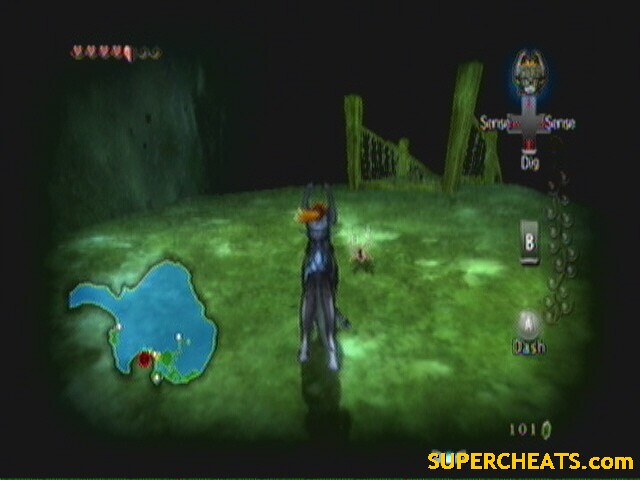
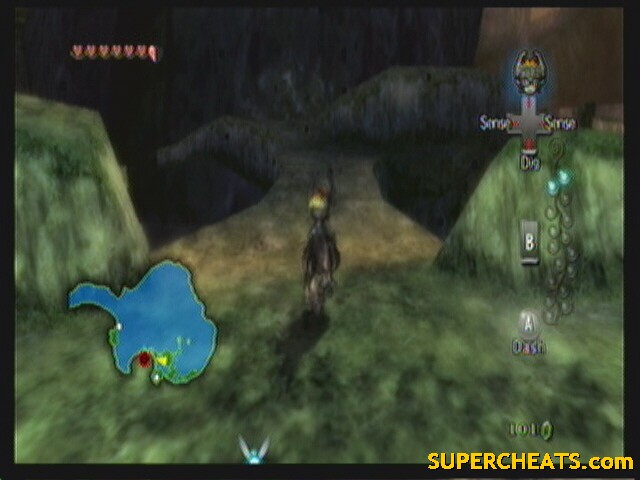
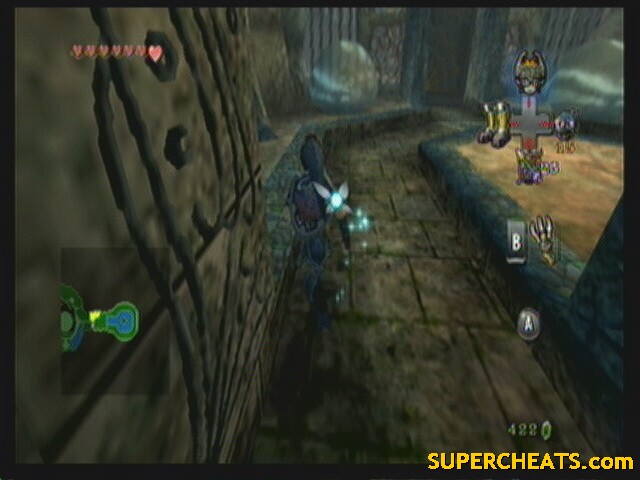
Just keep dashing till you find a bag to sniff. Forget the pervious scent and learn this one. Now use your senses and follow the sent for a LONG way.
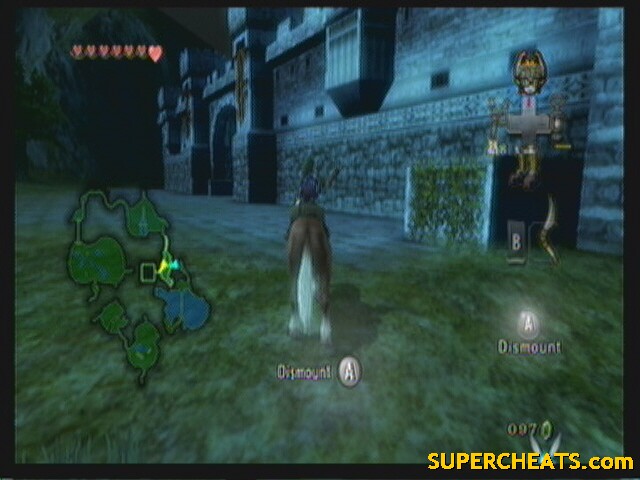
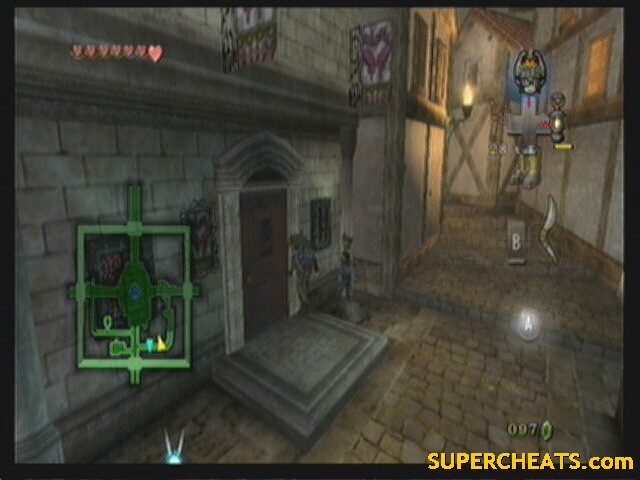
--== Castle Town ==--
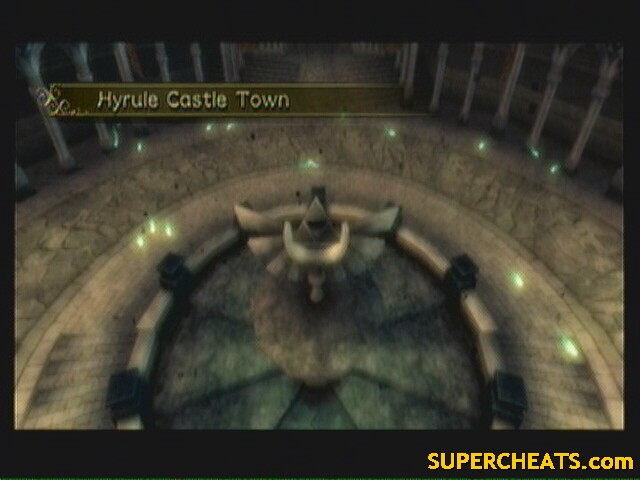 Castle Town |
The scent should eventually lead you into Castle Town.
Keep following the scent around town till you enter a building. This is Telma's Bar. Listen in on the spirits just inside the door for a reunion. Well, almost. Now go listen to the guards in the back, and check the map they talk about.
We're done here. Exit out of Castle Town (follow the scent if you have to).
--== Hyrule Field ==--
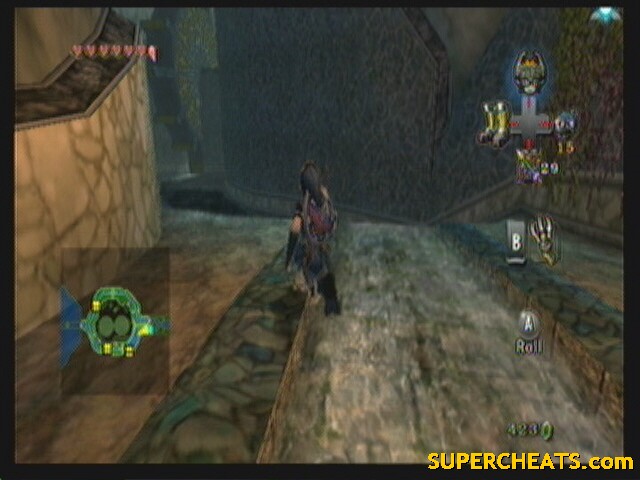
Back in Hyrule Field, cross the bridge and keep heading east (there should be a path). Follow it around and into the canyon headed south, towards your objective.
--== Great Bridge of Hylia ==--
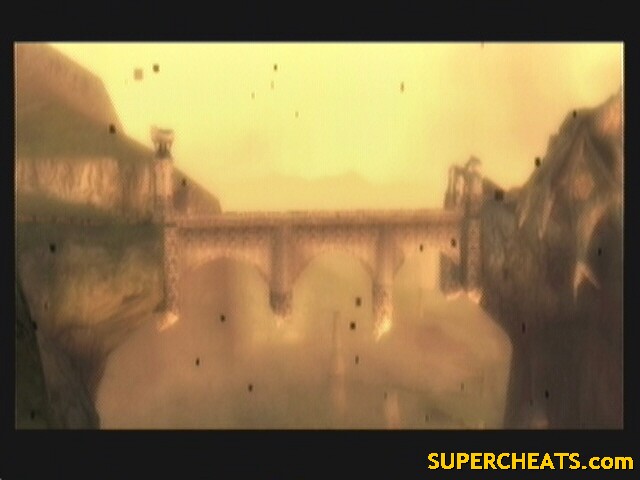 Great Bridge of Hylia |
Follow the path right, over to the bridge. Start running across the obviously oily bridge.
Once the oil is lit, push one of the boxes over to the side and use it to climb over the side.
 Wheee~ |
--== Lake Hylia ==--
The lake is more of a mud puddle right now, but we'll fix that soon (cant have a water temple without water, right?).
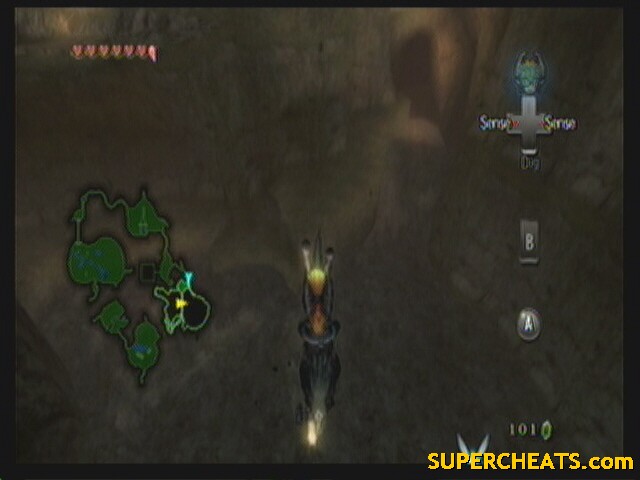
Listen to the Zoras right near where you landed first. Run east and listen to the creepy clown guy (Fyer). He'll spot a Shadow Bulblin off in the distance.
Run over to it, only to have it call a Shadow Kargarok. He'll hop on the back and ride around flinging arrows at you. The only way to bring it down is wait for the Kargarok to fly down and try to grab you, then jump attack onto it and start biting. After a couple rounds, it should go down.
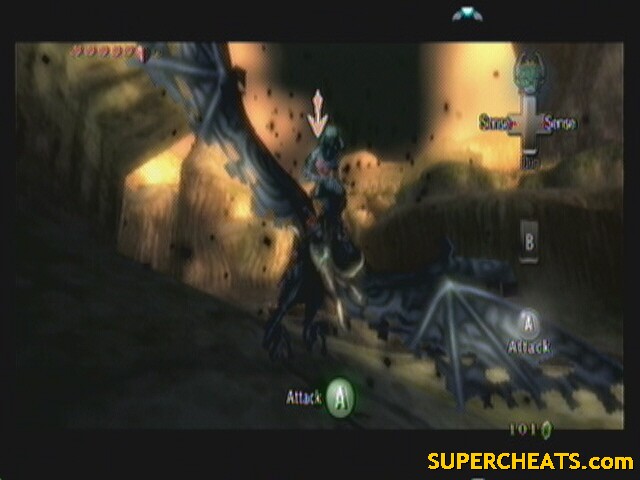 Bring him down! |
After the fight, the Bulblin falls off. Kill him quickly before he gets back on the Kargarok. After, Midna tames the Kargarok and uses it to take you up to Zora's Domain.
--== Zora's River ==--
This is actually a mini-game later on. Where you aim the Remote is where you head. Use A to get a quick burst every so often. The Bulblin here use Bomb Arrows, but are very inaccurate. The worst they do is topple a pillar that you can dodge easily. Navigate the cave all the way up to Upper Zora's River.
--== Upper Zora's River ==--
There's really nothing to do here but jump down and head northeast into Zora's Domain.
--== Zora's Domain ==--
 Zora's Domain |
As you can see, it's quite frozen. Sadly, there is no Ice Caves dungeon to go through :(
Oh well. This next part requires pretty much nothing but prompt jumping. Straight ahead is a small ramp of ice. Get on it for your first prompt. Follow the path around for the next. This one is hard because ice will fall off and try to hit you mid-jump, so don't get too hasty with your jumps.
Once you're all the way at the top (sometimes you'll get stopped mid-prompt to activate another one before reaching the top), head into the cave (north).
You'll be ambushed by shadow beasts immediately. Again, this one takes some work, as you'll need to take the one in the back out first, then back around and use Midna on the first two.
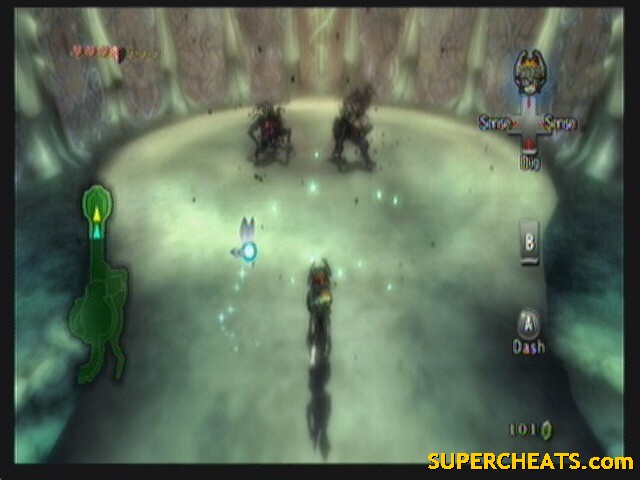 Shadow Beasts |
Now it's time to unfreeze the Zoras. Use your senses to see all the Zoras trapped in the ice. Use Midna to warp to Death Mountain (remember the large rock?). Walk up to the rock and use the prompt to warp the it back to Zora's Domain.
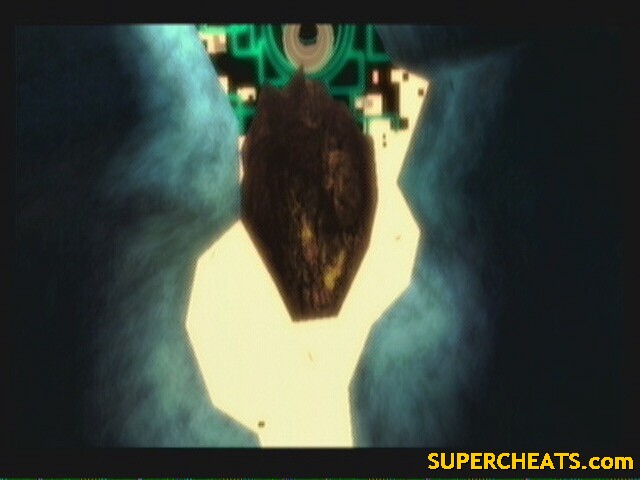 This is still really cool. |
The rock will melt the ice and free the Zoras. Now we go back to Lake Hylia. Follow the water flow down stream.
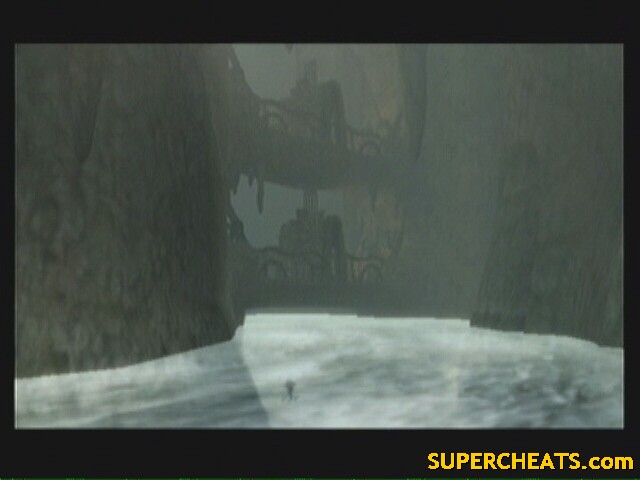
--== Lake Hylia ==--
 This is more like it |
Still a bit... twilighty though. You're dropped off right at the entrance to this area's spirit spring.
Shadow Insects
You know the drill by now. However, these insects are so spread out and convoluted, A) I cant draw a map and B) I don't think this would be possible without a guide.
1: Follow the one you see going up the bridge. He'll end up on what is the main platform in this area.
 #1 |
2: this one north from #1. on your way down, you'll be attacked by some more shadow beasts. The insect itself is on the back of the house.
 #2 |
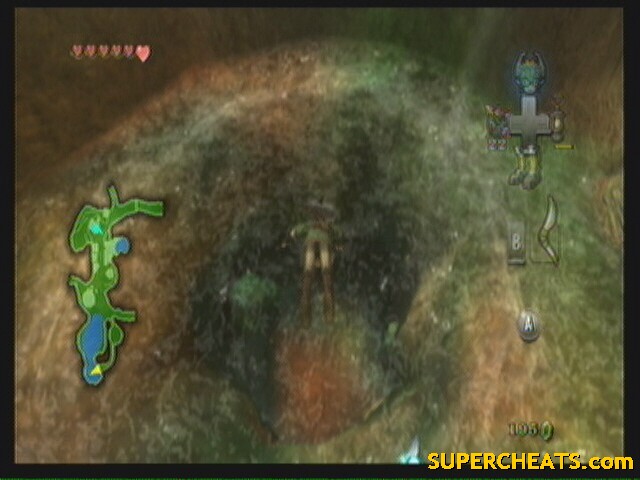
3: Due south. You cant get there by going straight for him, rather you'll have to do some fancy platforming. He's in the ground.
 Up the path |
 over the gap and the one after |
 One last gap. |
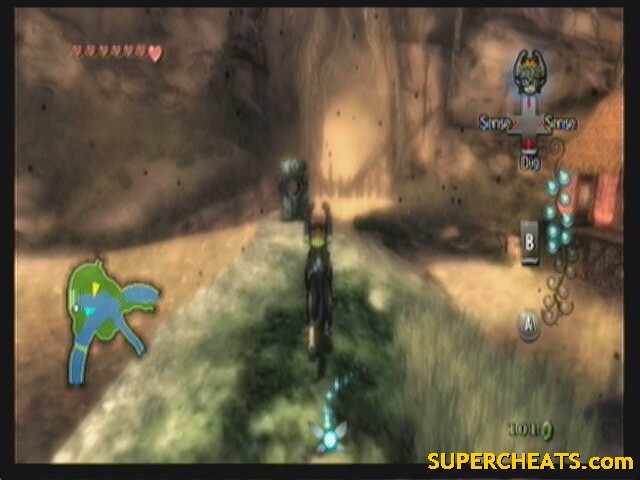
4: All the way over west. You cant miss him. Look around on the platform, however, for some grass. Use it to summon the Kargarok again.
5-8: Heading back up the river, you'll have to dash into the bugs to get them. If you miss one, you'll have to come back later.
9: Listen to the spirit sitting on the steps. An insect will come out from beside her.
Howling Stone: Cross the bridge behind the lady, and follow the path up. The stone is overlooking the water.
 Howling Stone #2 |
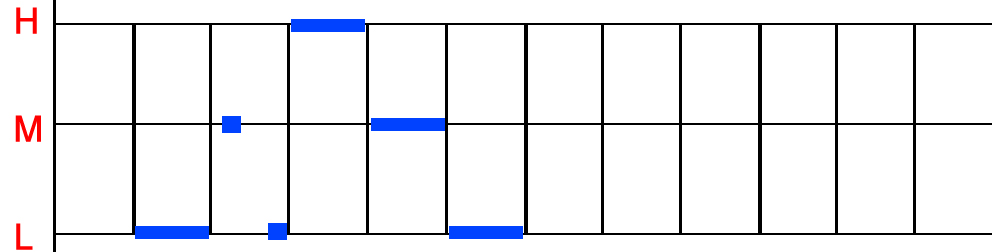 Pattern |
The song is Requiem of Spirit from Ocarina of Time.
So, moving on, continue upstream (but on land). You'll see some Zoras jump in the river, and we'll be following them soon.
10-11: These are in the water. You'll have to swim over to the lilly pads and use them to jump attack the insects. The tears take a bit to get back up to the surface.
12: On the west side of the lake. Go up the ramp to his dot. Sometimes he's underground.
13: This one is a PAIN. Follow the collage of prompts:
 1 |
 2 |
 3 |
 4 |
 5 |
 6 |
 7 |
Few. Alright, after 7, take the lower path (the one that doesn't require a prompt). The bug is around in the alcove.
14: guess what? You have to go through all those prompts again! Take a flying leap off the edge back into the water and work your way all the way back up to 7, then use the other, upper path with the prompt.
You should be at the top. Head north into the Zora area again. The insect is on the western wall. You cant see him, you'll have to dash into the wall he's on to knock him into view.
15: Remember when I said we are going to be following those Zoras? Now is the time. Head down steam into the Upper River, then fight the current and take the southeastern stream. Once in Hyrule Field, find a way out of the water (should be some stairs), and go all the back to Castle Town (you can still follow the scent if you have to). You'll be attacked by some shadow beasts just outside of town, btw.
Back in Castle Town, follow the scent back to Telma's bar. In the ally outside the bar, the bug is in a box.
 15 |
16: Midna makes a comment about 16, and trust me, these bugs do go out with a bang on this one. Have Midna warp you to Lake Hylia. *theme from Jaws plays* Swim out to where it is on your map.
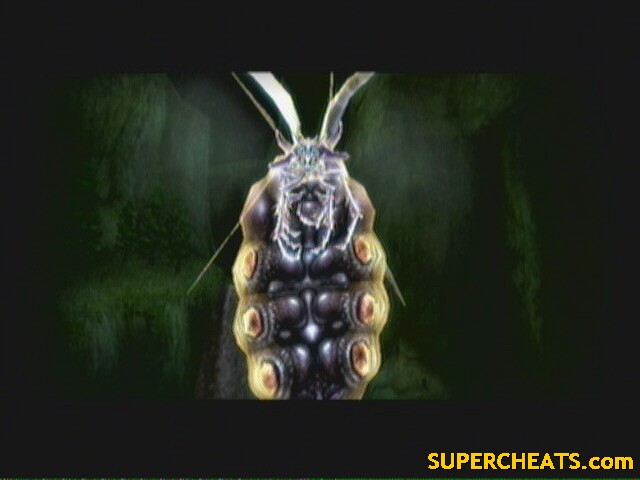 Feeder of Darkness: Twilit Bloat |
This one requires more work then the little insects. Stay on one of the larger platforms. He'll charge up and try to ram into you, which you should be able to dodge. He also likes to swim around, then jump out real fast and ram you.
When he is in the air and kind of moves over you while charged, dodge and wait for the charge to go down. You should have a half-second opportunity to jump attack him and start biting. Do this 3 times, and he'll go back first into the water. Quickly swim over and get on his belly, then stand dead center and use Midna to target all it's legs at once. If you don't do it right, he'll get back up and you'll have to start over.
 Paint and go! |
With that out of the way, you'll revive the spirit and then bear witness to one of the creepiest cutscenes in all of Zelda O.o
Side-quests part 2
Now that we never ever have to see another shadow insect again... ever *throws party*, we still have some questing to do before the temple.
First head back to where the second insect was, that clown house. Talk to the guy out front to learn it's not really a house, it's a cannon, and currently the only way out of the lake. Pay him his ten rupees and catapult out of there.
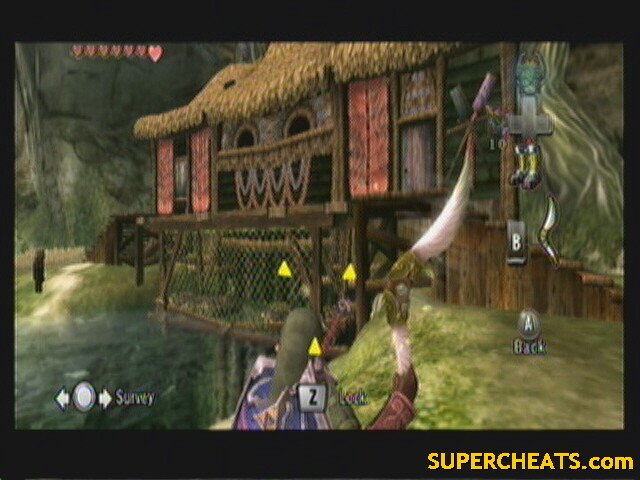
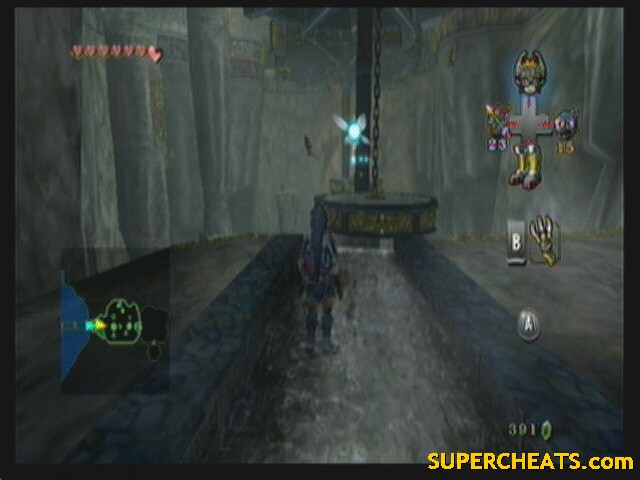
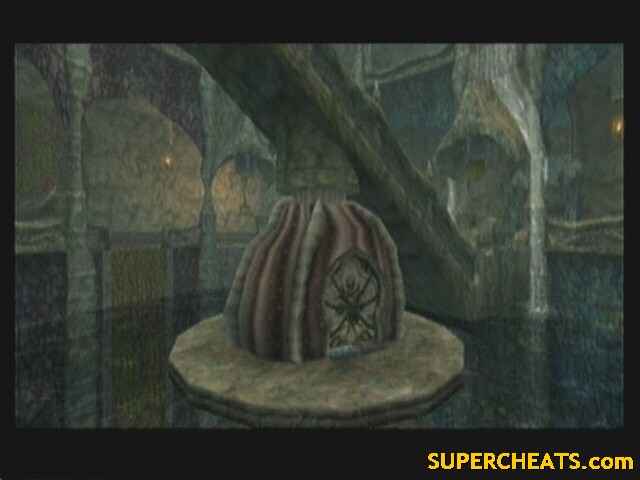
You land on another house. Enter the door and drop down. From here, you can exit out to Hyrule Field if you'd like, but there's a heart piece to be had. Turn about and talk to the other clown. Pay him and grab a cucco.
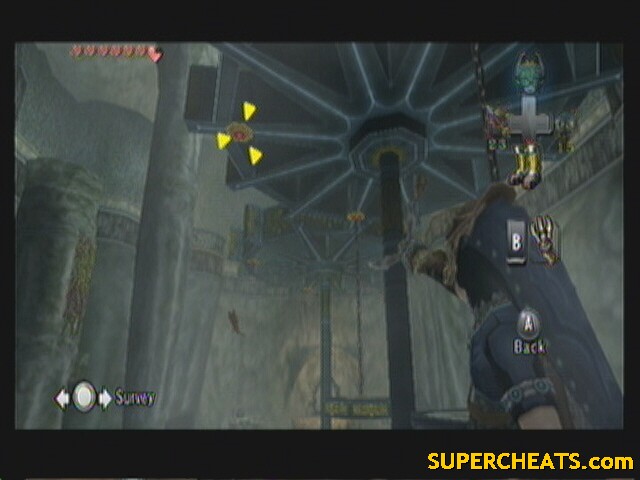
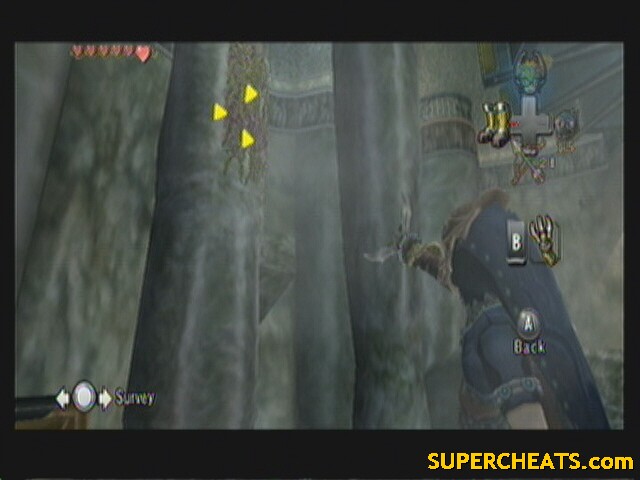
When you jump off, don't try to follow the path. Rather, head straight for the platforms, using the joy stick to adjust your speed (you'll need to hold back for most of the way, or else you'll overshoot). Aim for the platform below the spinning one for your heart piece! I wouldn't go for the spinning one. Not only do we not need the rupees right now, but it would be hard to jump down to the platform below. On your way down the platforms, you can land on all the ones beneath you and open the chests for quite a lot of rupees.
 H13, 7 3/5 |
Talk to the clown again and have him shoot you up. This time exit to Hyrule Field.
Follow the path north a bit and use the horseshoe grass to call Epona. Once on, head south, back to the bridge. There is a Golden Bug that likes to hang out on the southern arch. He can be hard to spot.
Use the boomerang to get him down, then you'll have to chase him till he lands to pick him up.
 Male Mantis |
Ride across the bridge to another bug. This one likes to sit under the roots of the large tree in this tunnel. Again, use the boomerang to get her down then pick it up.
 Female Mantis |
Alright, we're done here for now. Head north and exit to the larger section of Hyrule Field.
Couple things to do here. First, head south and pick up another Golden Bug. He'll be in a patch of flowers.
 Male Butterfly |
One more. Head north a bit. Up on a ledge in the west is the other one. You should be able to see the glimmer from a ways off. Technically, you're not suppose to get this one till you get the clawshot, but some clever boomerang action can usually get her down.
 Female Butterfly |
And we'll be turning a profit on all these bugs very soon, so don't worry. ;)
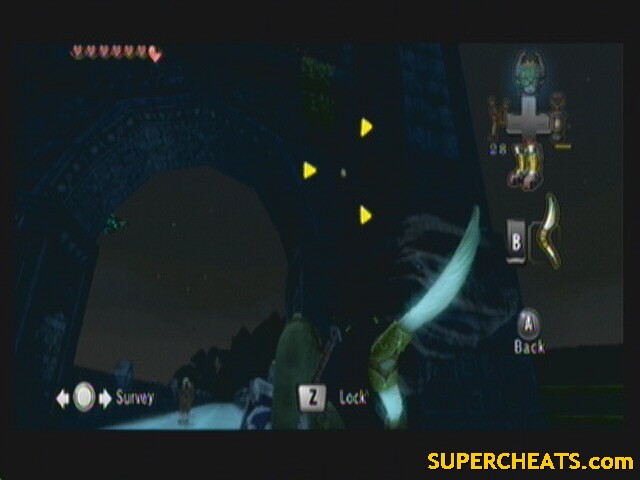
If you used the Howling Stone before, you get to learn a new skill as well. Go like you're heading for Castle Town, then head north along the wall. You should see him on the ledge (you can check your map). Climb the vines to learn the Backslice, a very, VERY valuable skill when in the Arbiters Grounds, though you wont be using it much right yet.
 Hidden Skill #4 |
Protect the wagon!
Alright, time to get on with the story for a change. Head into castle town.
Before anything, lets cash in some bugs. Head to Agitha's Castle
 Agitha's Castle |
Talk to the weird girl in the back and give her a bug. For your first bug, she'll give you the Big Wallet, increasing your rupee capacity to 600 (we REALLY needed that). Talk to her again and give her the matching set to the pervious bug, earning 100 rupees. That's all you'll need for now. Remember, we're going to a temple soon, and there is rupees galore in there, don't want to fill up the wallet before we get in.
Head out and across the street west into Telma's Bar again. You get roped into helping them back to Kakariko Village.
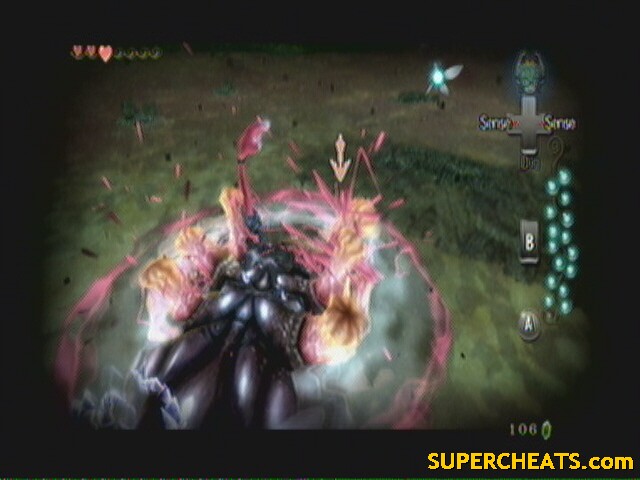
Next thing you know, you're riding to the lake bridge and Bridge Battle: Round 2. Charge on up to see you're old friend has gotten some upgrades.
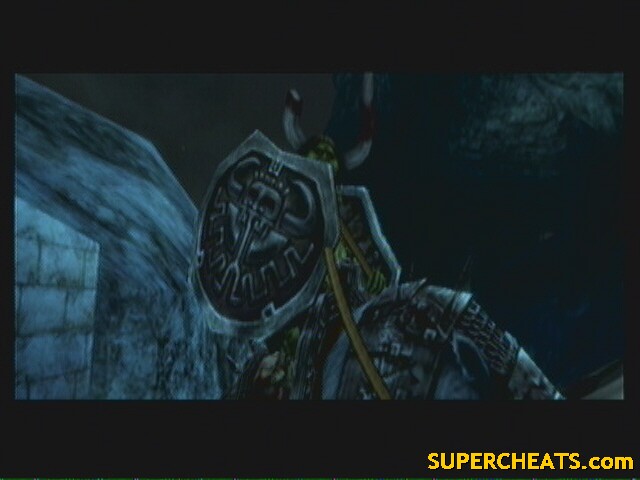 Round 2: Now with more steel! |
You cant hack him with your sword anymore (thank goodness, that was a pain), rather he makes it much easier for you. Just draw your bow and put a couple rounds into him. He'll stumble over the bridge and a drop a couple of keys.
Now for the hard part of this section. Make sure you have your bow and boomerang equipped. The catch here is Boblins will ride up beside the wagon and set it on fire with fire arrows. Your job is to kill them before that happens, and if you miss one, you can put out the flames by targeting the wagon and using the boomerang. Don't worry about running out of arrows, as you just need to run over a patch of grass to pick up 10 .
The first section out of the lake area isn't so bad, as there are just snipers on the cliffs that couldn't hit the broad side of a barn. At the end, unlock the gate and move into Hyrule Field.
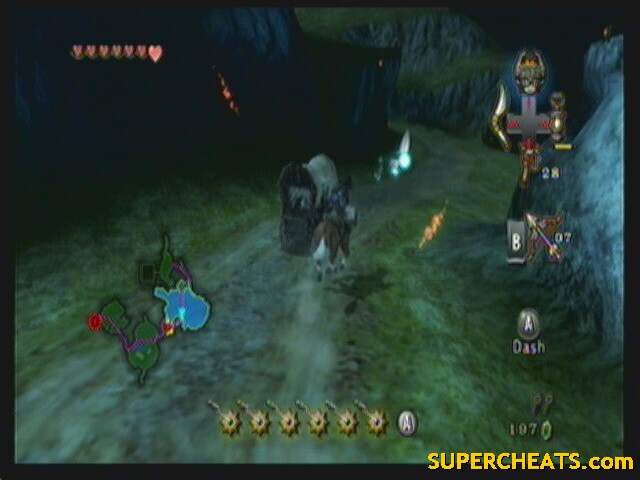 Nice shooten tex. |
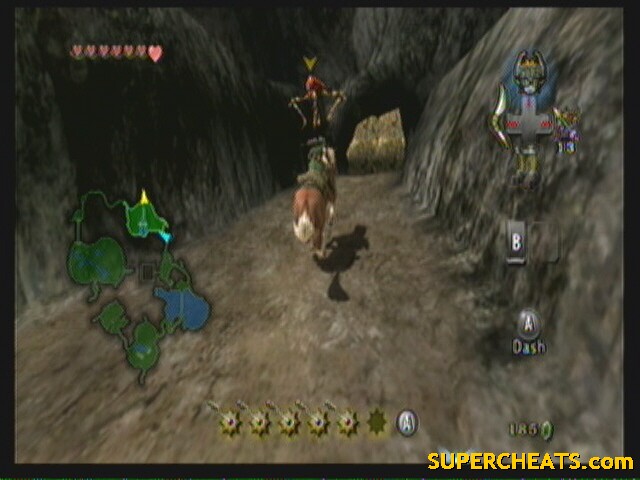
This is where they start riding up on boars, so keep an eye out. Also watch for Kargarok that will also attack the wagon. When you approach Kakariko Village, ride ahead an unlock the gate. If you don't, the wagon will stop and the Boblins will spawn infinitely until you do.
In the village, you learn everything will be fine... and that Telma has a crush... anyway, the queens ghost will appear before you and lead you to the back of Kakariko Graveyard, where you'll be awarded the Zora Armor.
One step closer to the temple, but not yet. Head back to the village, specifically to Barns Bombs. He'll be selling a new type of bomb, the Water Bomb. If you try to buy them, he'll tell you to empty out your bag. Do so and buy 15 water bombs.
Go back to the Zora graveyard and sink down into the water. Use a water bomb on the rock over in the north to open a patch to the lake.
 Rock |
Side-quests part 3
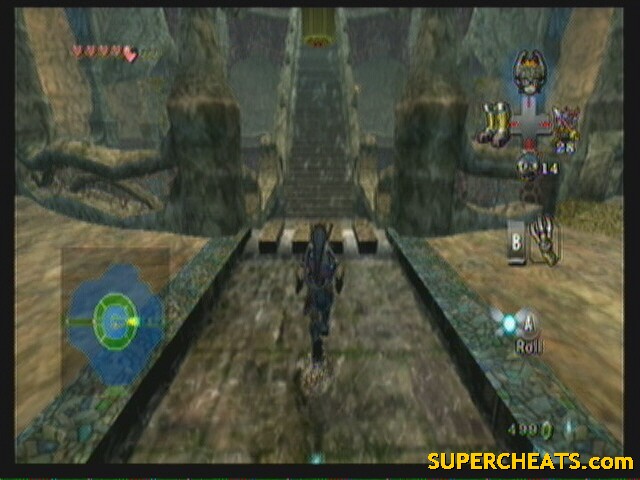
Last one before the temple, promise. Besides, this one is really important. Go back to the cannon clown and launch out of the lake. Call Epona and head north through the fields, up into the rocky area in the northern-most point, and into Zora's Domain.
 You'll need to get past these rocks with a bomb |
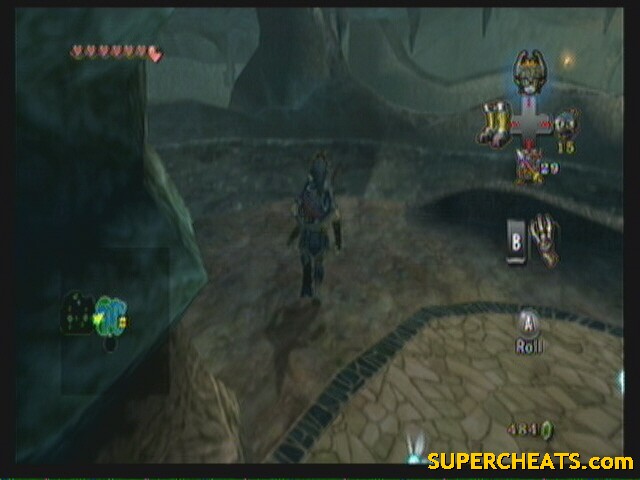
Inside, head north into a small cave on the right. Blow up the sets of rocks there to grant easy passage later. Jump into the water and ride the fall down. You'll want to swim right, over to the beach on the west side.
Up the ramp to find another Golden Bug. He's hard to catch because he flies around so much (guess that's why they call them DragonFLYS instead of Dragonwalks *rimshot*).
 Male Dragonfly |
Jump in the river and head down stream. Get up on dry land in the northern part of the area. Before wondering too much, hug the beach's edge and go toward the house. The other Dragonfly is flying around just above the water in front of the house. You'll have to use your boomerang to call her over.
 Female Dragonfly |
From there, head north till you're ambushed by shadow beasts. Remember to use your spin attack to take out the group.
After, Iza will ask you to help clear some rocks. Take her up on her offer (which includes you getting 30 free arrows and bombs, as well as another bomb bag), and shoot out the rocks with bomb-arrows. She'll give you a boat and tell you to clear out the rocks down river as well.
In the river, just focus on not running into stuff. It wont hurt you, but it will slow things up. After a while, her assistant will show you the rocks to shoot. Clear them and continue down stream back to the lake.
Amazing how things come full circle here, huh?
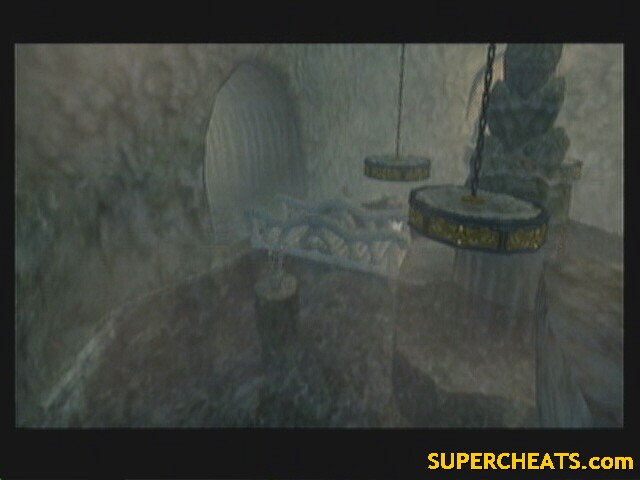
Swim over to the ominous dark spot on your map and sink down. At the north end of the pit is a rock blocking a hole. On the ground is geyser that is also blocked. Plant a bomb on the geyser to activate it, then set a bomb in the geyser to have it raise the bomb up to the rocks level and blow it out.
The Lakebed Temple
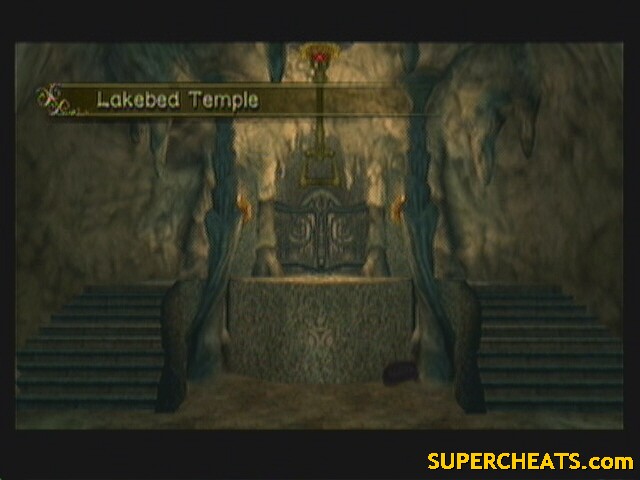 Lakebed Temple |
In here, it's all about the water level.
--== Room 1: Entrance ==--
Enemies: Bari, ChuChu, Shell Blade
Chests: 2 (Water bombs, arrows)
Quest items: None
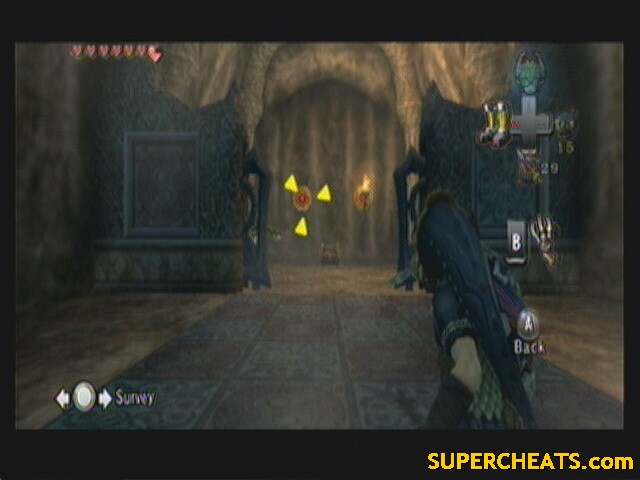
Swim through the first area, being carful to avoid EVERYTHING. You cant hurt anything while underwater just yet unless you use bombs, which is a very bad idea.
Out of the water, walk around the perimeter to find the chests. Watch for the Chuchu, the like to drop off the ceiling right on top of you. Head north to the door. To open it, turn around and jump off the edge to grab on to a pulley.
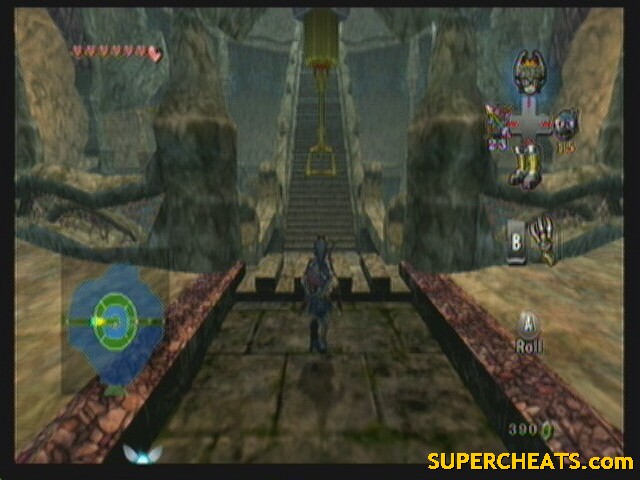
--== Room 2: Stalactites ==--
 |
Enemies: Helmasaur, Tektite
Chests: 1 (bombs)
Quest items: None
Use the bomb arrows (being sure to use your regular bombs, not the water bombs) and aim for the stalactites. Shoot them all down. Use them as steps to climb up the platforms. One should have fallen just west of the door out, use that to get to the chest.
--== Room 3: Water Escalator ==--
 |
 |
Enemies: Helmasaur, Tektite, Lizalfos
Chests: 2 (Map, Arrows, 2 not reachable)
Quest items: 2 (Map, Ooccoo)
Across the bridge and through the next door. Walk down the stairs and take a right till you're in the south. You'll meet a dead end with the arrows. Turn back a few feet and face the middle of the room. Jump off the edge and grab the pulley to shift the stairs.
 Jump and hang |
Go up the stairs. Go left to find Ooccoo. Head around to the east side and grab the pulley there to swing the stairs again. Take them down. Take a left for the map, then enter the door and cross the bridge.
--== Room 4: Ruined Room ==--
 |
Enemies: Tektite
Chests: 2 (small key, 1 not reachable)
Quest items: 1 (small key)
There are two stalactites in this room to shoot down. One just to the right and one off in the distance on the left. Once they're down, turn about and look for a tunnel on the left. It will lead down to a pathway. Climb onto the vines at the end and follow them right across. Jump across the gap south when the geyser lifts the rock into the air. That chest holds the small key. Jump back across and back into room 3.
--== Room 3: Water Escalator ==--
 |
Enemies: Helmasaur, Tektite
Chests: 2 (not reachable)
Quest items: none
Take the stairs up and go left to the western door. Unlock and enter.
--== Room 5: Cog #1 ==--
 |
Enemies: Tektite, Lizalfos, Kesse, Chuchu, Helmasaur
Chests: 2 (bombs, small key)
Quest items: 1 (small key)
The left path leads to the bomb chest. Go back north. Use your bomb arrows and look up to shoot down a couple stalactites. One of them will enable you to reach the vines on the wall. Climb up and right till you're over the wall that was blocking your way. Drop down onto it and look for a pulley to the west, it opens the door below. Jump down and enter the first door on the right (the door leads south).
Watch the Lizalfos and don't fall off the cog. Make your way across to the southern door. Open the chest for the small key. Go back across the cog and through the door.
On the left is a bombable rock we past a minute ago. Blow it up and continue along the path. Enter the door at the end.
--== Room 6: Water Reservoir #1 ==--
 |
Enemies: Tektite, Chu worm
Chests 1 (Water bombs, 1 not reachable)
Quest items: None
Best way to deal with a Chu worm is to launch a bomb arrow into it and burst his bubble (literally), then hammer him with your sword before he creates another bubble.
Once that's done, enter the locked door. Jump off to the right and grab the vines. Climb up, then climb over the ledge to your left. You'll need to hike all the way up and around this circular path, and I'd recommend you take out all the Tektite along the way.
At the top, open the chest for your bombs. You can probably see the other chest over on the ledge, but you cant get it yet and it's not worth coming back for later (20 rupees). So, climb the ladder on the arch near the bomb chest and jump over to the pulley. The water starts flowing and you get swept all the way down.
Swim over to the island in the middle of the pond, and jump to the pulley hanging there. This opens the gate and allows the water to flow through. Exit the room the same way you came in, then via the southern door.
--== Room 5: Cog #1 ==--
Enemies: Tektite, Lizalfos, Kesse, Chuchu, Helmasaur
Chests: None
Quest items: None
Jump down and go in the first door on the left (cog room). The water is now propelling the cog and spinning the platforms below. Fall through a gap into the room below.
--== Room 4: Ruined Room ==--
 |
Enemies: Tektite
Chests: 1 (not reachable)
Quest items: None
Back in here. You need to get through the northern door. If you need to get back up to a platform, there are vines everywhere that will allow this.
--== Room 7: Crescent Hall ==--
 |
Enemies: Helmasaur, Chuchu
Chests: 1 (small key)
Quest items: 1 (small key)
To the left is the key. That's all we need. Go back out into the Ruined Room and use the platforms to get over to the western door that also leads into Crescent Hall. Unlock the door and swim through the water.
--== Room 8: Jet Hall ==--
Enemies: Bari
Chests: 2 (20 rupees, bombs)
Quest items: None
Go through the hall, avoiding the bari. At one point, you'll be swept across south by a jet (if you're close to the ground and not wearing the boots). Here you'll find the rupees. If you equip the iron boots and walk back through the jet stream, you'll find the bombs.
Anyway, follow the hall down, blowing past the rock with a bomb.
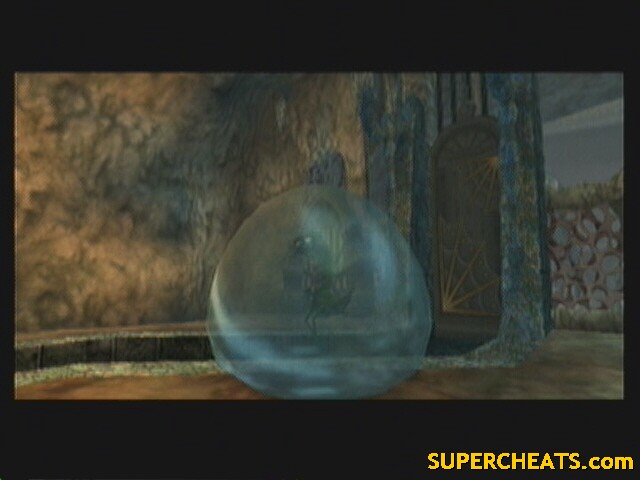
--== Room 9: Mini-boss: Deku Toad ==--
 |
Enemies: Deku Toad, Toado
Chests: 1 (Clawshot)
Quest items: 1 (Clawshot)
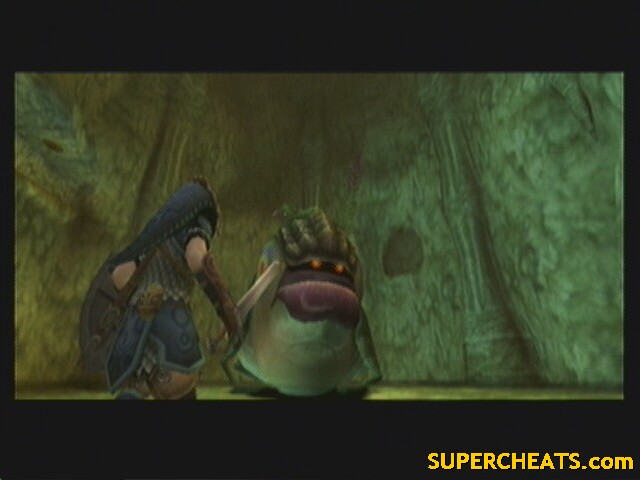
Take out the couple small Toado on the ground, then press C and look up to start the real fight. (scene feels similar to Queen Gohma, no?)
This battle is actually really easy. Hold up your shield to defend against the Toado and use spin attacks to dispatch them. Once they are gone, Deku Toad will leap into the air and try to crush you. Just run way from the shadow and wait for it to land, then hack and slash it's tongue. Repeat a couple times to trigger a “Finish” command when you target his tongue.
After the battle, he spits up the Clawshot.
Around the room there are a few alcoves up high. These hold jars with rupees and hearts if you feel inclined. Otherwise, target the clawshot target over the gates in the south to get out.
Go all the way back to the Water Escalator.
--== Room 3: Water Escalator ==--
 |
Enemies: Helmasaur, Tektite
Chests: 2 (Heart piece, 20 rupees)
Quest items: none
Walk up the stairs. Once at the top, turn abound the look at the chandelier in the middle of the room. Use the clawshot to get onto it and open the chest for a heart piece! The rupees are under the stairs.
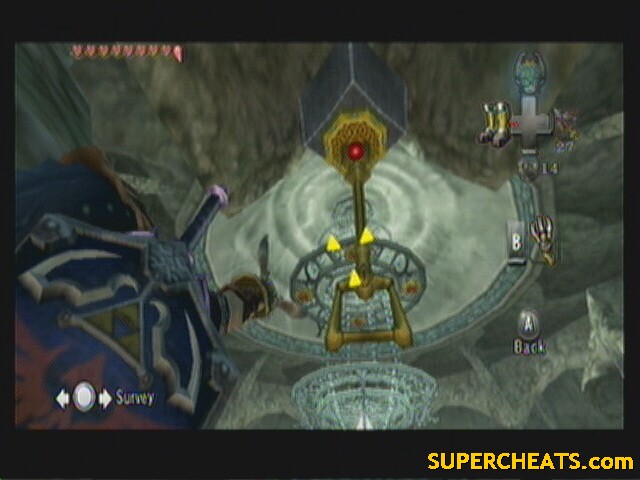 H14, 7 4/5 |
Jump down and head back up to where you were and go left. Go to the west side of the upper platform. Use the clawshot where the pulley used to be to swing the bridge. Follow the water and enter the door.
--== Room 10: Pitfall ==--
 |
Enemies: Kesse, Chu worm, Chuchu, Tektite, Bari, Shell Blade
Chests: 5 (20 rupees x3, water bombs, bombs)
Quest items: None
This room is a pain. Here, just follow these pictures with your clawshot:
 |
 |
 |
 |
There. Enter the door :)
--== Room 11: Cogs x2 ==--
Technically, room 10 gives into room 11, they are the same room, just at different heights, but yeah, anyway...
Turn right and look up. Shoot down the stalactites and climb on to be shot up by the geyser. Jump over the wall and take out the tektite. Use your clawshot to get to the door on the ledge ahead.
--== Room 12: Water Reservoir #2 ==--
 |
Enemies: Chu worm, Helmasaur
Chests: 2 (compass, water bombs)
Quest items: 1 (compass)
Use bomb arrows to take out the Chu worms, then use the clawshot and target some vines on the ceiling to get over the wall.
This is exactly the same as last time, only now the ramp is crumbling and you'll have to use the clawshot to get over the gaps on your way up. At the top, open the first chest for water bombs, then use the clawshot to get over the ledge and onto the platform with the compass. Climb the ladder to get onto the arch and pull the pulley.
Again, at the bottom swim over to the island and jump and hang from the pulley. Use the vines again to get out and exit through the southern door.
--== Room 11: Cogs x2 ==--
 |
Enemies: Kesse, Chu worm, Chuchu, Tektite, Bari, Shell Blade, Lizalfos
Chests: 4 (20 rupees x3, water bombs)
Quest items: None
Jump down and into the water. Use the iron boots to sink down. At the western end is a chest with 20 rupees. Swim back up and out still headed south/west. Under the mill, then enter the door on the immediate right.
The cogs are turning here now as well. Head west and exit through the other southern door. Left is a chest with more rupees. Back behind you, use the clawshot on the pulley over the gate to open it.
Going back to the Water Escalator.
--== Room 3: Water Escalator ==--
 |
Enemies: Helmasaur, Tektite
Chests: None
Quest items: none
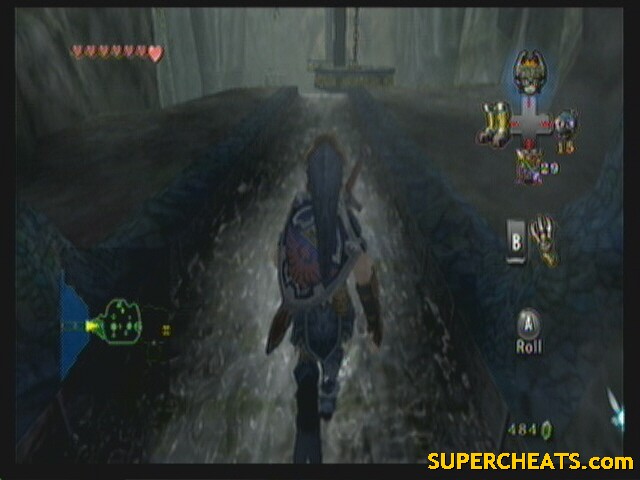
Jump forward and grab the pulley. Follow the water flow down and through.
--== Room 4: Ruined Room ==--
 |
Enemies: Tektite
Chests: 1 (Heart piece)
Quest items: None
Well? You saw the bridge raise. Go to it!
Across the bridge, stand on the raised floor tile to open the gate, then use the clawshot to get through before it closes. Fight the Lizalfo and open the chest for another full heart!
 H15, 8 0/5 |
Use the clawshot to get back out (target over the gate).
--== Room 3: Water Escalator ==--
 |
Enemies: Helmasaur, Tektite
Chests: None
Quest items: none
You need to head left, to the lower eastern exit. Use the clawshot to get over the fence, then use it again in front of the lower east door to change the water flow. Enter the door.
--== Room 10: Pitfall ==--
 |
Enemies: Kesse
Chests: None we're getting
Quest items: None
This time, jump on the rotating platform and ride it around. The second cog does not have any platforms, so you'll have to use the clawshot to latch on as you spin past it. Ride it to the east side and enter the door.
--== Room 11: Underwater Maze ==--
 |
Enemies: Bari, Shell Blade, Chu worm
Chests: 2 (water bombs, Big Key)
Quest items: Big Key
I really hate this room. It's really easy to get lost. I'll try.
Dive in and head north, through a small crack at the bottom. Through the crack, take a right. Take the upper path over the Bari. Blow the rock and continue through. Swim to the surface to get your bombs. Jump back in and go south-east.
Look for another bombable rock all the way down. Past the rock, swim to the surface and enter the door.
Phew.
Use the clawshot on the target in the middle of the room and drop down. The chest contains the Boss Key.
Jump in to the east and sink. Enter the door. We're back in the maze. Get past the Bari, then just re-trace your steps out, baring the last 4 sentences. It's actually a LOT easier getting out then in.
--== Room 10: Pitfall ==--
 |
Enemies: Kesse
Chests: None we're getting
Quest items: None
Use the clawshot on the first cog, then lower yourself to a platform in the south. From there, grab onto another target on the other cog as it goes past. Again lower yourself to a platform as you pass (only this time skip the first platform) and use this point to grab onto the vines that lead to the door.
--== Room 3: Water Escalator ==--
 |
Enemies: Helmasaur, Tektite
Chests: None
Quest items: none
Last time in here. Find a place where you can jump down into the center of the room without swinging the bridge. It's not a big deal if you do, it's just that you'd then have to find another place to try.
Once in the water, swim to the platform in the center and enter the door there.
--== Room 12: Boss: Twilit Aquatic – Morpeel ==--
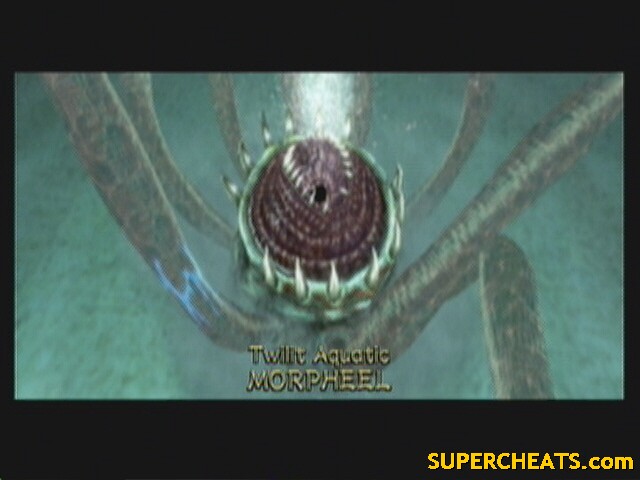 Twilit Aquatic – Morpeel |
Sink down to the bottom of the room to disturb and enemy that very closely resembles Morpha. The fight is also very similar. It's tentacles will extend and try to grab you and eat you. All you have to do is do a spin attack whenever a tentacle gets close. To fight back, use the clawshot and target the eye that often travels inside one of the tentacles. Drag it toward you then slash it. After three times, the next stage starts.
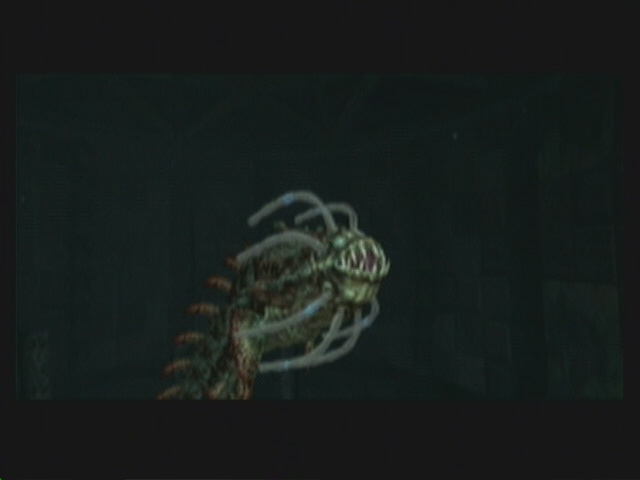 Stage 2 |
This stage is even easier. Swim around with it and stay locked on to the eye. Try to predict where it's headed, then clawshot the eye and start slashing. Any contact with it's body outside of when you're cutting it will damage you, so stay sharp.
Grab your heart piece (9, 0/5) and prepare for a plot twist.
What's all this water without a little sand and sun? Well, we're going to find out where all that sand is in out next destination: Arbiter's Grounds!
help..i am dog form and need to get back to lake hylia to battle the beasts so i can get up the path to get the insect on the ledge and also need to kill the bug in the lake.how do i get back the that section?
Im stuck in the room where the chest to the boss key is visible. Therr is no target in the middle of the room... can you help me?
While your side questing. Be sure to go to the graveyard and in the northwest corner a bunch if birds will attack you, if you kill them all a ton of rupees will scatter at your feet. Also in the spot there is a golden ant.
Try fishing for skull fish in the lakebed temple it's funny because you have to throw the fish back because it's a forbiden fish and cannot be added to the journal.
I cant plant a bomb on the gyser... any help?
Somebody please help me. I'm becoming very pi**ed at this In the room where you get the boss key, I can't see the target or latch onto it with the clawshot. I still need the boss key, so quick answers are appreciated. Thanx!
lol t!!
i am in dog form but ididn't beat the eel but im outside the temple i can't get back down to lake hylia. i need help.
AWESOMENESS
AWESOMENESS IS ALL I HAVE TO SAY
YOU'VE HELPED ME OUT ALOT
THANKS SUPER CHEATS!!
The target I mean
I am still confused...where is the thing in the middle of the room that the boss key is in
*To the guy with the bomb problem* First press - and make sure you have your water bombs equiped. If your in the water put on your iron boots so you sink to the bottom. then place water bomb. Hope it helped. =D
i have tried everything my water bomb explodes like a normal bomb to have i done something wrong? plz reply im really stuck thanx.
i cant plant water bombs in the water SOMEONE PLEASE HELP ME WHAT SHOULD I DO
[img][/img]
I just got my clawshot about two minutes ago it is sweet