City in the Sky
The Legend of Zelda: Twilight Princess Walkthrough and Guide
by SPV999
Zelda: Twilight Princess Guide - City in the Sky
Temple pre-quest
Restoring the Dominion Rod
This is a longer quest that will literally take us to almost every place in Hyrule Field. The good news is you'll get a lot of heart pieces, some souls, and a new skill.
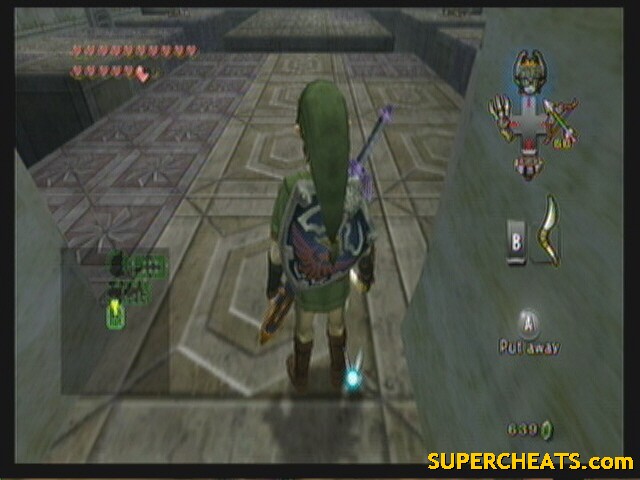
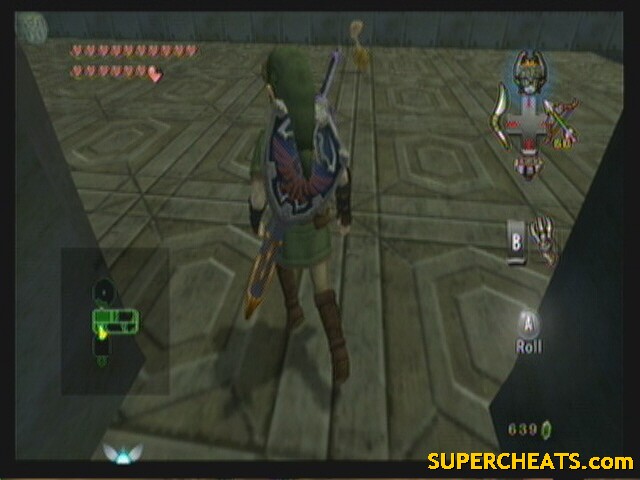
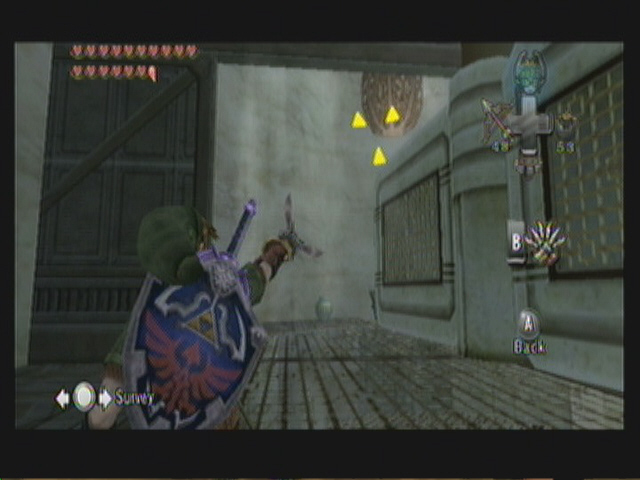
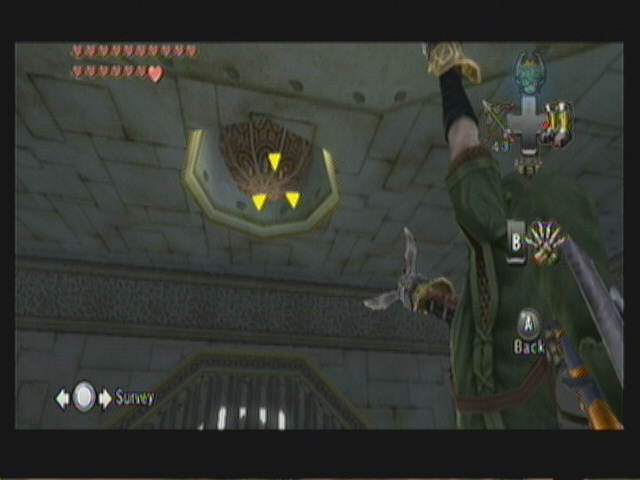
You should still be in the Sacred Grove (past). Walk out into the main room and use the Dominion Rod on the statues to the left and right of the stairs. One is a heart piece the other a Poe soul.
 H34, 15 4/5 |
 Poe #51 |
Alright, go up the stairs and take the trip back to the future (Next Zelda game needs a Delorean instead of a horse).
Outside, Ooccoo talks to you about the Dominion Rod and her home in the sky. Warp to Castle Town and see if Telma knows anything.
--== Castle Town ==--
You now have all the Golden Bugs, so you can talk to Agitha and get the final wallet (holds 1000 rupees). If you don't feel the need, then head straight to Telma's Bar and view the map. Warp out to Kakariko Village.
Go to Renado's place and talk to Ilia and Renado. Warp back to Castle Town and talk to Telma again.
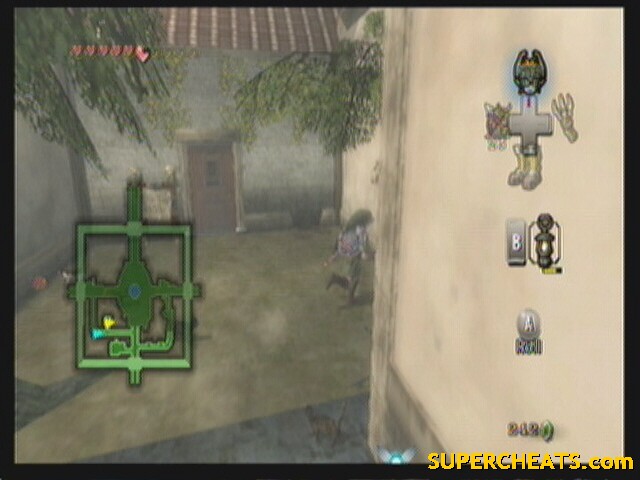
Show here the letter and she'll tell you about the doctor. The doctors place is near the western gate of Castle Town.
 Doctors house |
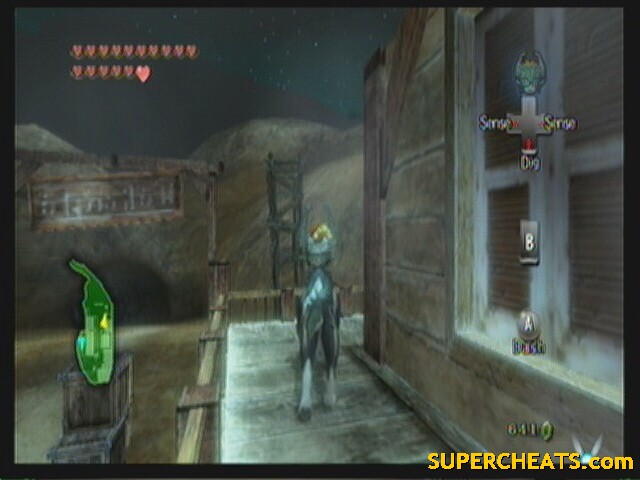
Show him the Invoice and he'll start talking. Once he waddles back to his room, transform into a wolf and push the box in the back of the house to get the Medicine Scent. Follow the scent back to Telma's Bar where her cat admits to having stole it, yet lost it to some Stalhounds out near the southern gate. Head out that way and wait for night. The Stalhounds appear in the path in the middle of the area.
Defeat all of them to get the statue.
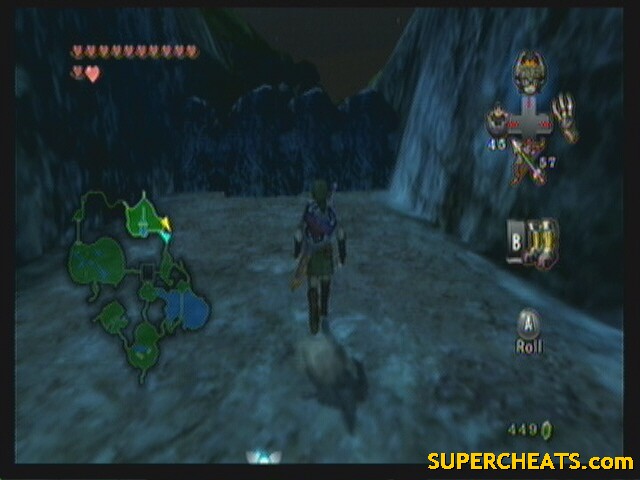
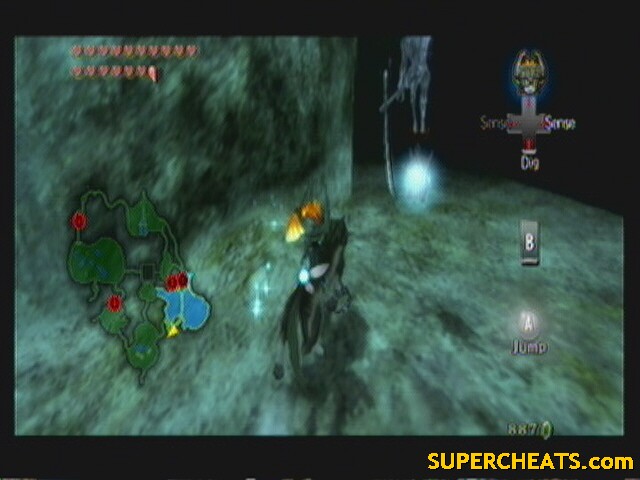
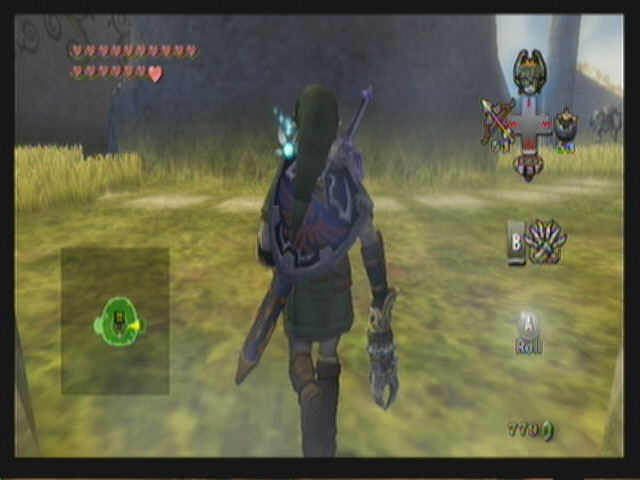
Don't warp to Kakariko just yet, seeing as it's night, I know a Poe we can get really quick. Warp to the Sacred Grove. Go up to the place where you got the Master Sword to see a Poe hanging around.
 Poe #52 |
Warp back to Kakariko Village and show it to Ilia. The Gorons tell of the hidden village in the north that is known by that symbol (Sheikahs). Warp to Eldin Bridge, closest to the marked spot.
--== Hyrule Field ==--
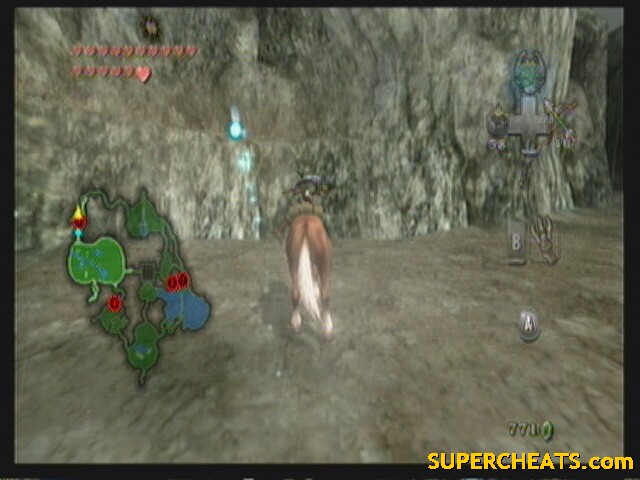
Stay in wolf form (it's faster) and dash all the way to the red mark. Jump up on the ledge and transform back into a human. Wonder through the cave till the Goron breaks through to the other side. He warns that there are 20 enemies in the village.
--== Hidden Village ==--
 Hidden Village |
The 20 Bulblins aren't that hard to spot. Just walking straight through town should spot you most of them. There are a couple inside buildings that may be harder to get, but I think you can spot all of them.
Don't be afraid to shoot or jump through windows. Also, DON'T howl at the stone if you stumble across it. We'll get it later. To get up on balconies, use the Clawshot and look around for some mesh.
After all 20 are down, Impaz will come out of her house. She'll give you Ilia's Charm. Warp back to Kakariko and show the charm to Ilia. Ilia will give you the charm, and tell you about the Dominion Rod and it's connection to Impaz. Warp and run back to the Hidden Village.
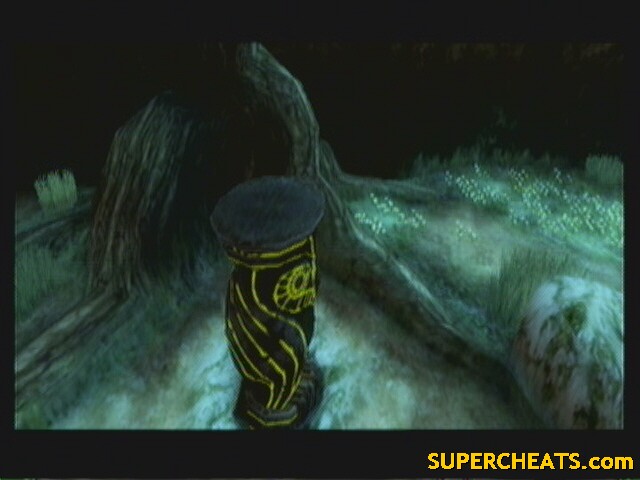
Now we have a couple things to get in the village. Go through the window of the second building in the west, then through another window in the back of the building to find the howling stone.
 Howling Stone #7 |
 Pattern |
The most complex song in the game, also the only original song (Ballad of Twilight, a Twilight Princess original). The Hero's Spirit appears in front of Hyrule Castle and teaches the Great Spin. But that's later.
By the stone is a Cucco. Talk to it (in wolf form) and play his game of tracking down all 20 cats. The positioning of the cats is pretty much the same as the Bulblins. There are a couple you may have problems with.
There is one at the second story inside the house that lead to the Cucco leader:
 Cat |
And one in the barn at the end of town that you have to jump to from another ledge (after grappling up to the balcony).
 Cat |
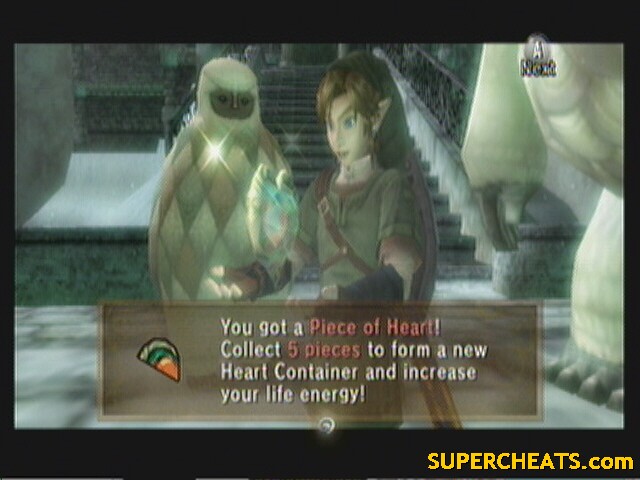
Once you talk to all 20, see the leader again. He tells you your prize is near Impaz house. Run up there for a heart piece.
 H35, 16 0/5 |
Assuming it's still night, there is a Poes soul on the balcony in the northeast edge of the village. He only appears after the Bulblins are gone and the cats are talked to.
 Poe #53 |
Finally, go to Impaz house and open the door. Show her the Dominion Rod and she'll give you a Book. Warp back to Kakariko Village. Fall down the hole in Renado's house and show the book to Shad. He says the magic words that revives the Dominion Rod.
Stone Sentinels
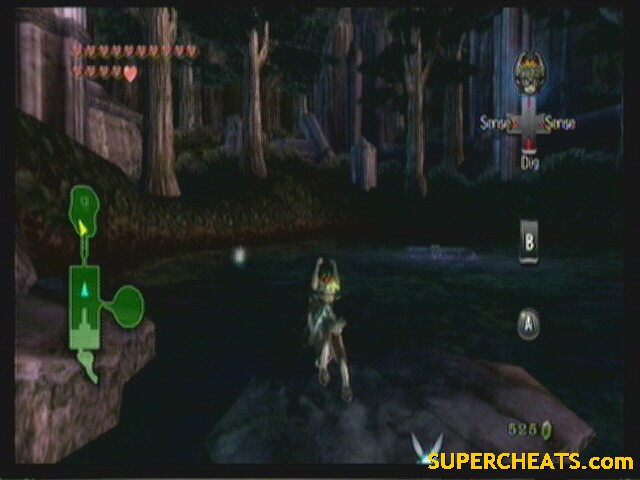
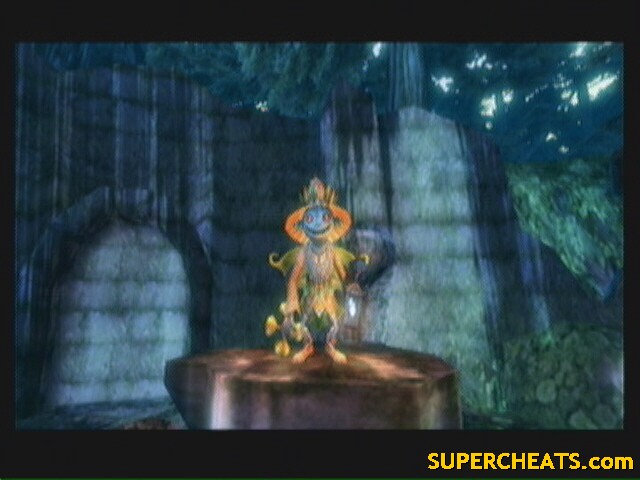
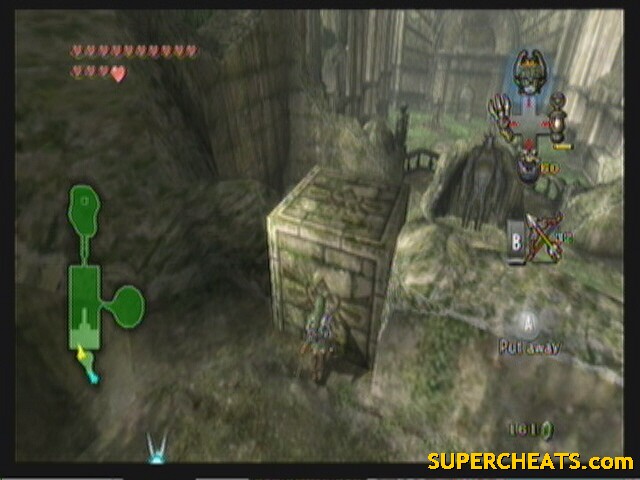
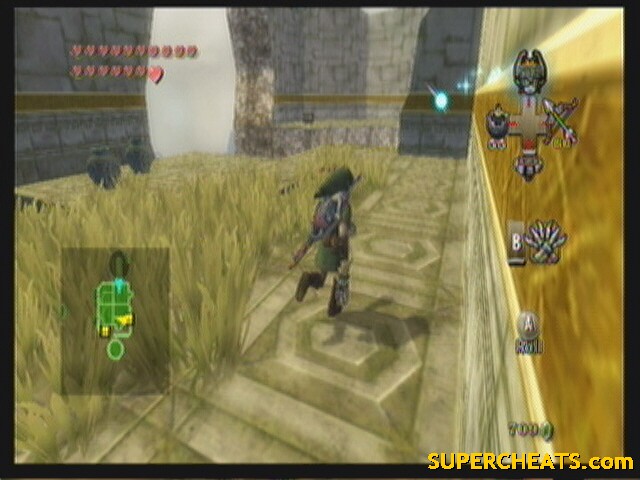
Is it still night? Good. Warp to Faron Woods. Head to the lantern salesman. There is some bombable rocks in this area that lead to your first stone statue. Bomb them and move the statue at the end. Walk into the green light to restore one letter to the book.
Now, move the statue to a dip in the path. Once in place, it opens a route to get on top of the cliff and leads to a heart piece. You have to use Midna in wolf form to prompt your way up.
 H36 16 1/5 |
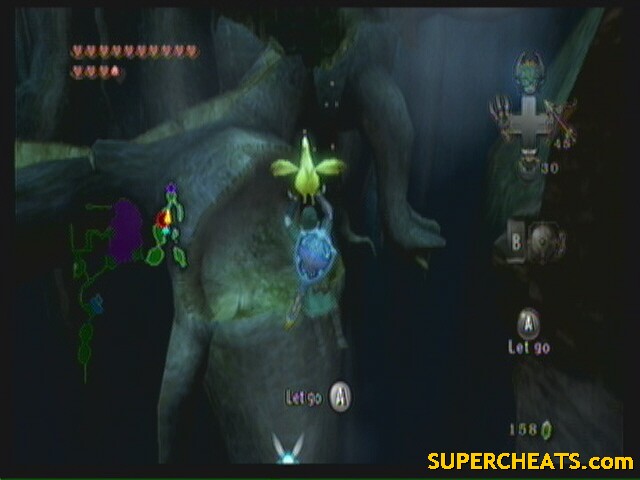
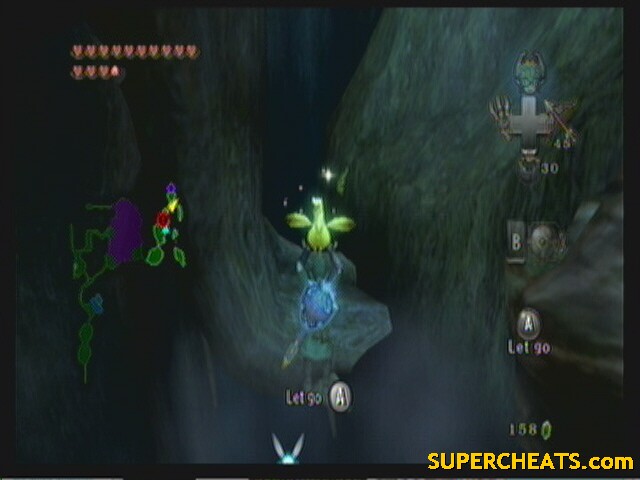
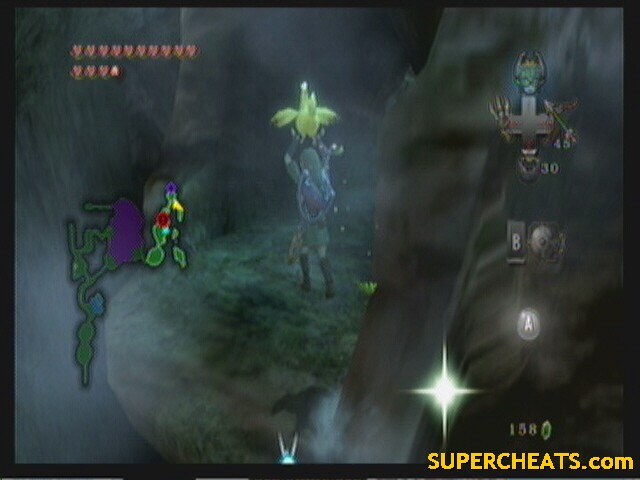
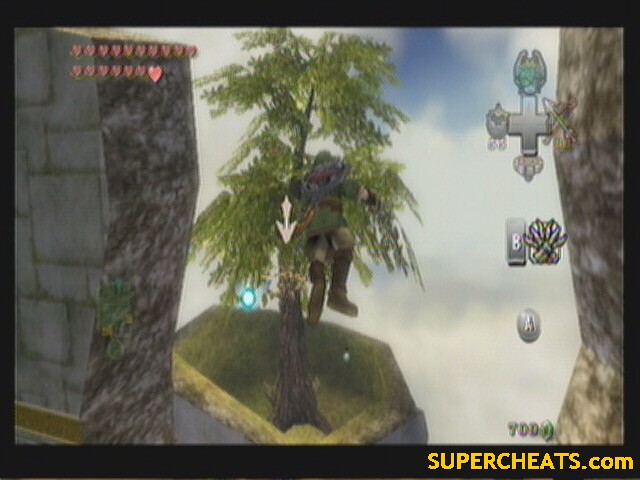
Once you get the heart, drop down off the ledge. You are in the swamp. Walk up the hill and use Midna to prompt onto the stump in the middle of the swamp where a Poe awaits.
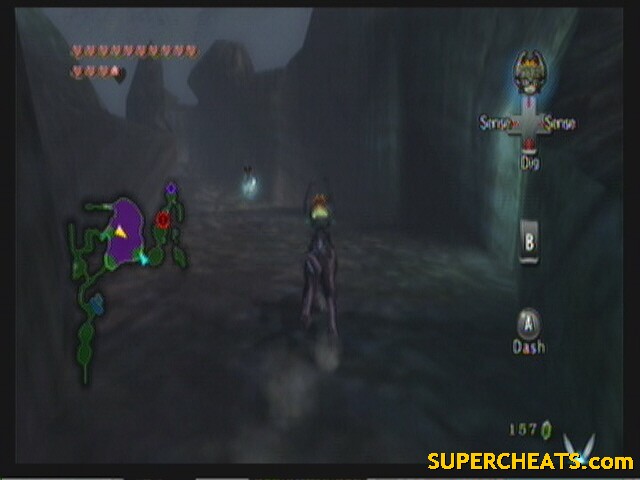 Poe #54 |
Warp to Kakariko Gorge.
--== Hyrule Field ==--
We are going to make a crescent run clockwise through Hyrule, ending in Lake Hylia. Use your new horse call to call Epona over (probably the only time we're ever going to use this item. They give it to you way to late in the game).
Ride her north to the red dot in this area. Climb up on the ledge and use the Dominion Rod to move the statue, revealing the second character.
 Second Character |
You can make 100 rupees here by moving the statue west of where it was, then jumping across the gap it bridges, re-animating the statue and walking along the ledge with it in tow. Place it in the east, bridging another gap, and jumping to the chest.
 -> |
 |
Get back on Epona and ride her to Eldin Bridge. Ride to the north end and take out the archer there. The next sentinel is on the eastern ledge. Move it and get the next character.
 Third Character |
Heart piece time. Animate the statue and walk it all the way back across the bridge. At the south-eastern end is a gap. Place the statue in the gap and use it to get across. Climb the ladder for a heart piece.
 H37, 16 2/5 |
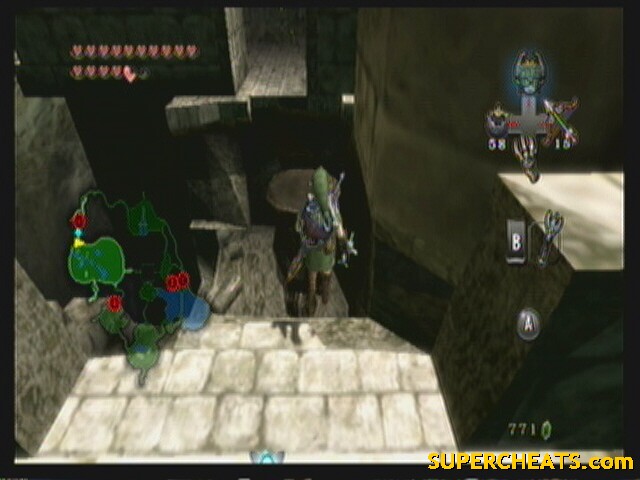
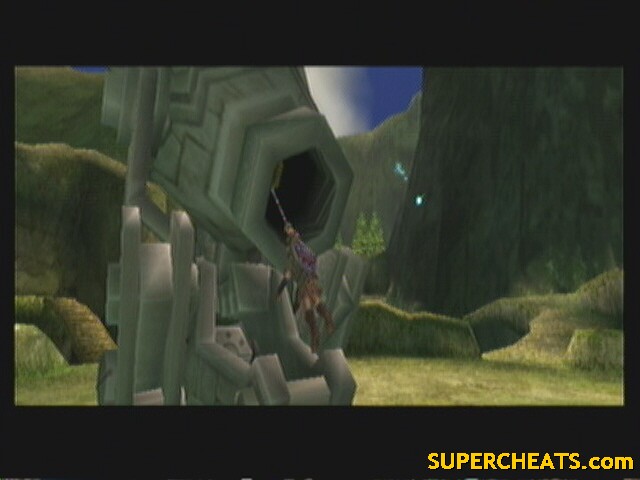
Walk back to Epona and ride a little further north. There is a clawshot target on the cliff wall.
 Here |
Grapple to it and follow the ledge to a cave.
The cave is much like Goron Mines. Jump off the end of the bridge and equip the Iron Boots in mid-air to be pulled to the wall. Do this two more times to reach the end. Light the two torches you land by for 100 rupees and open the other chest for a heart piece.
 H38, 16 3/5 |
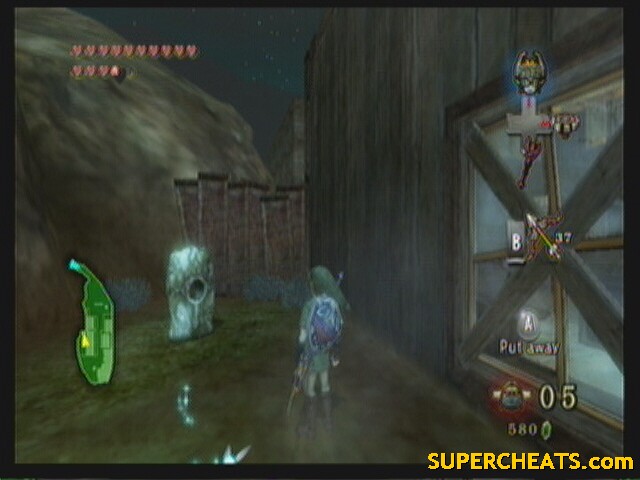
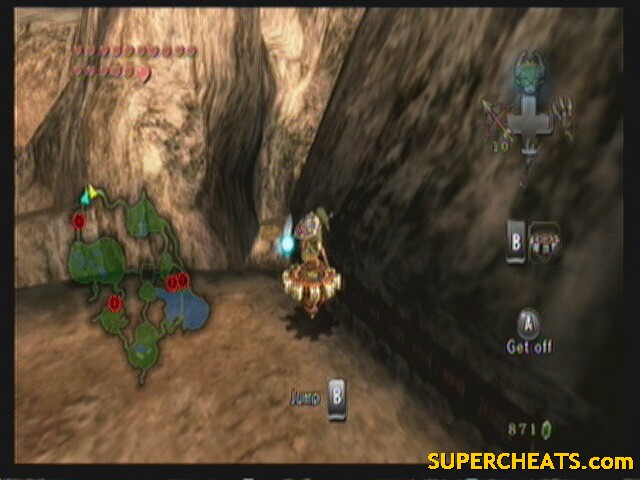
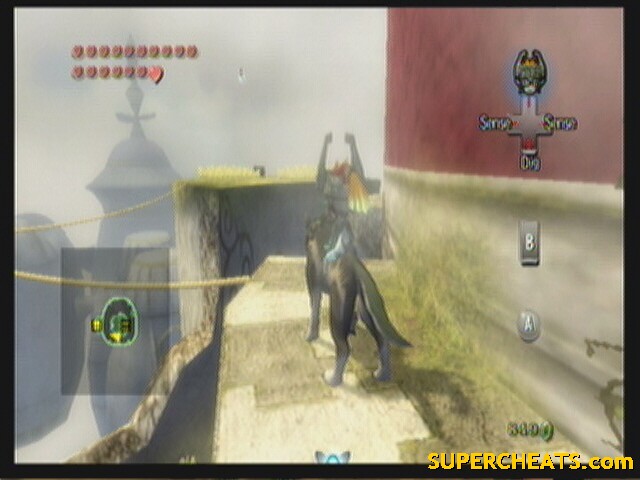
Exit is behind you. Use the grapple points to get back up to ground level. Ride Epona to the entrance to the hidden village. Opposite the cave near the rope bridge, you should notice a spinner track. Get on and ride it down to a small patch of grass. Dig in the center to find a secret area. Defeat all the Stalfos to win a heart piece.
 H39, 16 4/5 |
Back out, use the track again to get out.
Ride Epona to the next province, north of Castle Town.
Go into the lower rocky area at the northern end. Remember where we caught that bug? Time to blow the rock below it.
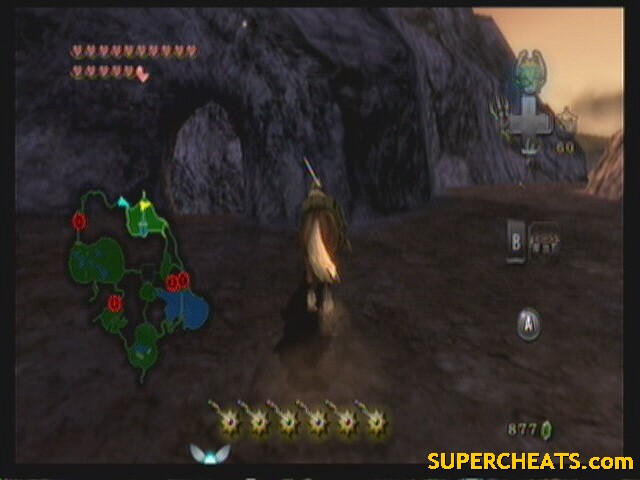 Heart Piece inside |
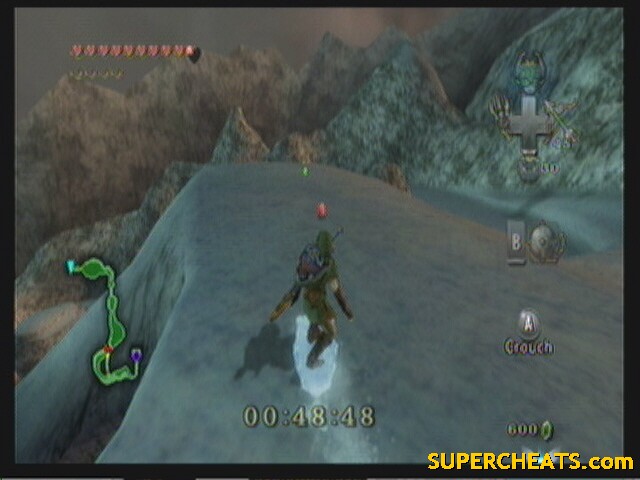
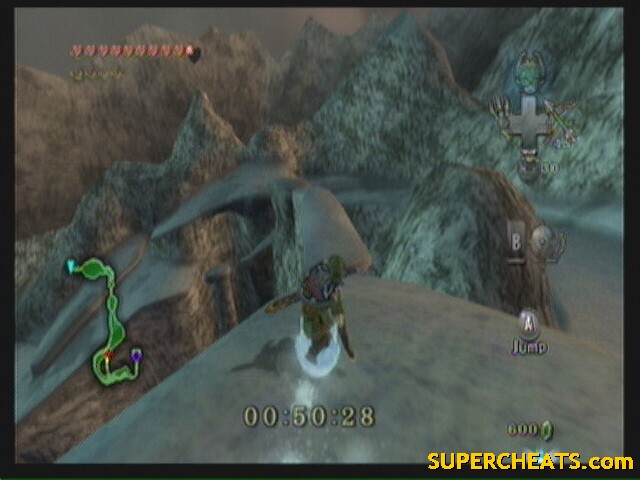
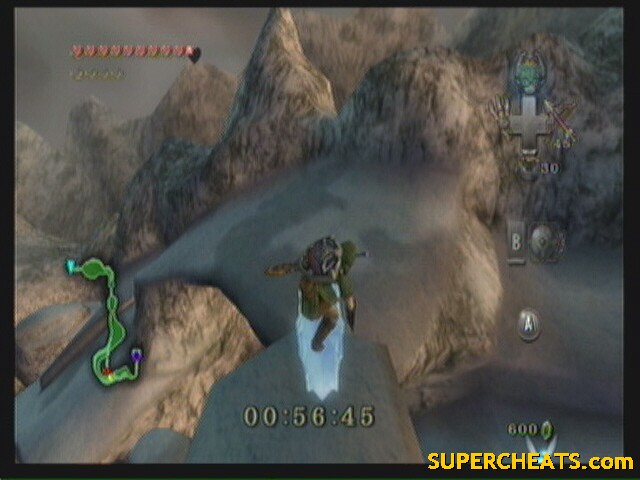
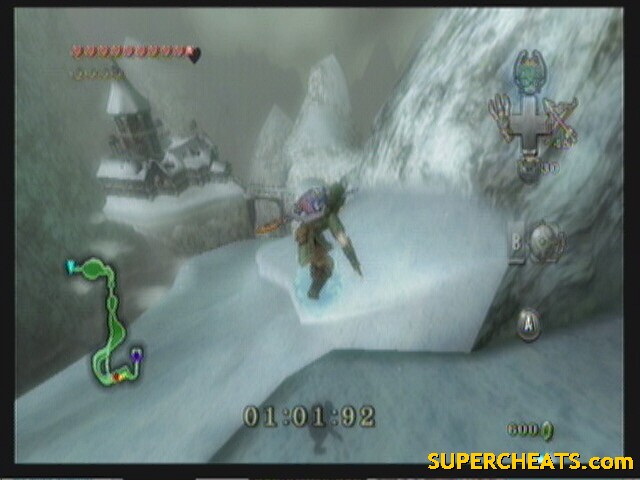
Use the ball and chain to clear the ice. You now have to complete 3 excruciatingly hard block-slide puzzles.
--==--
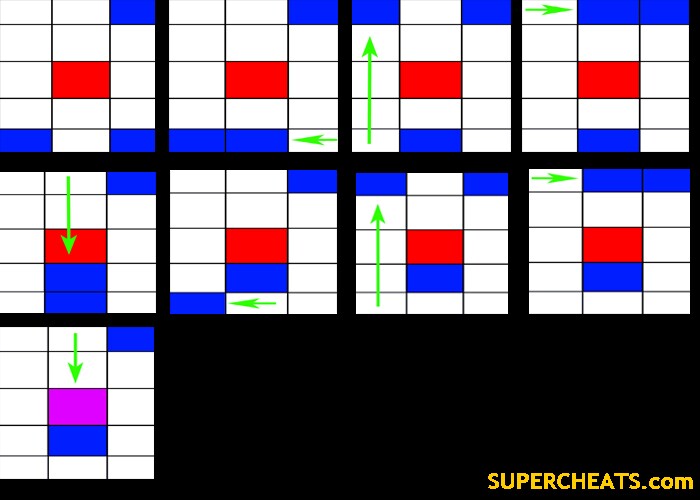 First Puzzle |
 Second Puzzle |
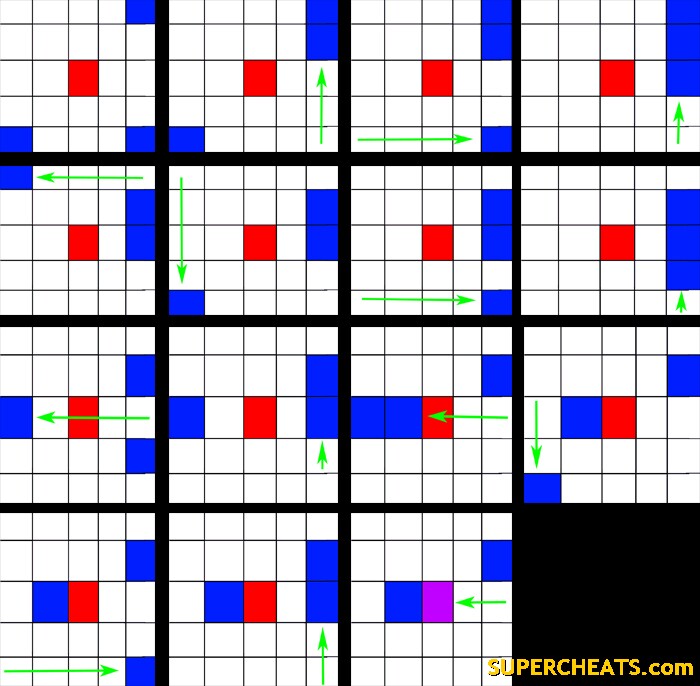 Third Puzzle |
--==--
 H40, 17 0/5 |
Hop back on Epona and go to the southern red dot in this area, in the ancient amphitheater. The next sentinel is on one of the pillars. Walk it down, then place it between the steps and the pillar.
 Fourth Character |
Walk back up to Epona and ride to the Lake Bridge and the next sentinel on your map. Take control of the sentinel and walk it off the ledge, then grapple to the vines above it and drop down onto it.
 Fifth Character |
To get to the chest opposite it, move the sentinel near the ledge, then climb the vines again, this time trying to jump off onto the sentinel.
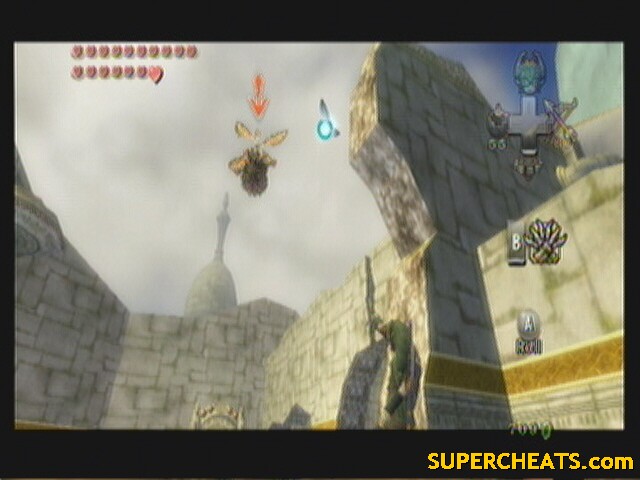
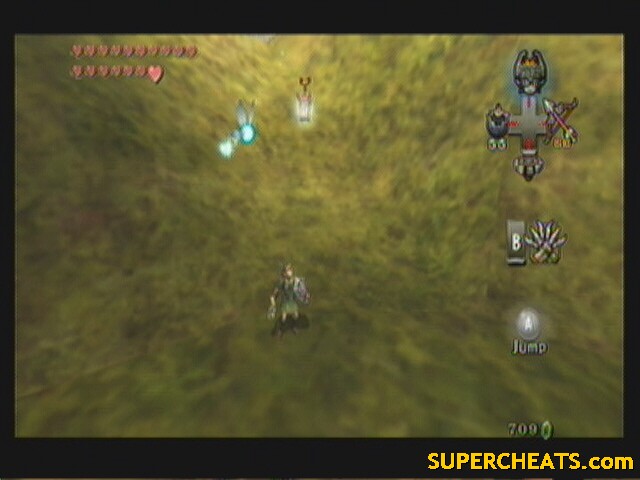
We have one thing left to get in this area: a Poe soul. Ride across the bridge. Pass under the tree and look for a ledge with bombable rocks on it. Blast them with an arrow, and grapple to the point the reveal. Turn east and do the same, then grapple to the ledge with the poe.
 Rocks |
 Poe #55 |
There is also a chest here with 50 rupees. You can also dig in the grass behind the poe for a secret area. Kill all the bubbles for 100 rupees.
With that done, we are done with Hyrule Field for all but one heart piece that we cant get right now. Warp to Gerudo Desert.
--== Gerudo Desert ==--
Run to the point marked on your map. The sentinel is on a pillar. Walk it down between where it was and the north-western pillar. Climb up and jump over.
 Sixth Character |
That's it. It's a full book now. Go back to Kakariko.
--== Kakariko Village ==--
!!WARNING!!
SAVE NOW if you must. DO NOT save between after you enter the house and when I say or you'll have to restart your game!!
Drop down the hole again and talk to Shad. Show him the book. He'll say the magic words and release the statue, allowing you to animate it with the Dominion Rod. Move it aside and walk down the path. Shad will interrupt and talk about the cannon. Walk up and prompt Midna. Try to warp it and she'll say she cant with Shad here. Talk to Shad again and he'll leave. Use Midna again and warp it to Lake Hylia.
 That's a big cannon |
!!Ok, now you can save again. See, if you would have saved between these points, you wouldn't have been able to make Shade leave the room, meaning you couldn't warp the cannon and continue the story.!!
--== Lake Hylia ==--
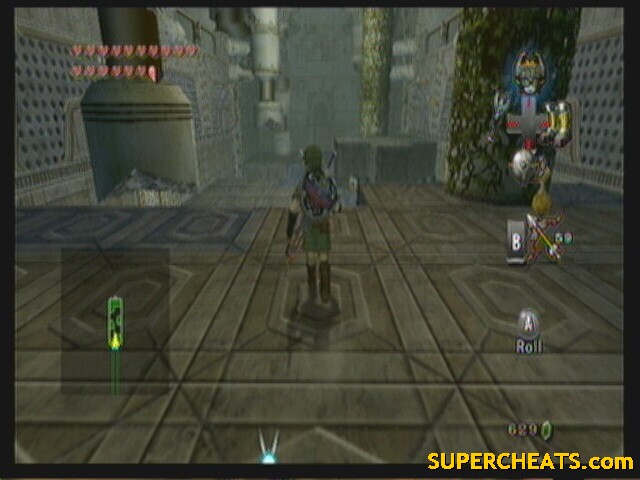
Lets warp to Castle Town real quick. Go to the town center and enter the northern gates to find the Hero's Spirit waiting. He'll teach you the Great Spin. Go back out and resupply at Malo Mart's Castle Branch. Don't be stingy! Fully stock everything!
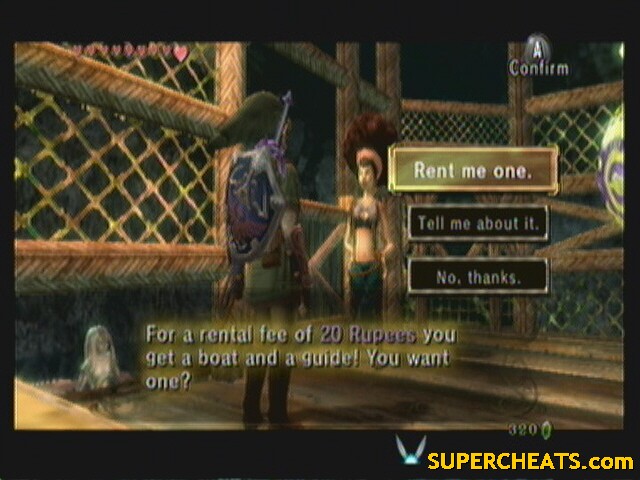
Ok, back to the lake. Talk to the clown and have him repair your cannon for 300 rupees. (you should have PLENTY). After several days of work (in loony toons fashion), your cannon is complete.
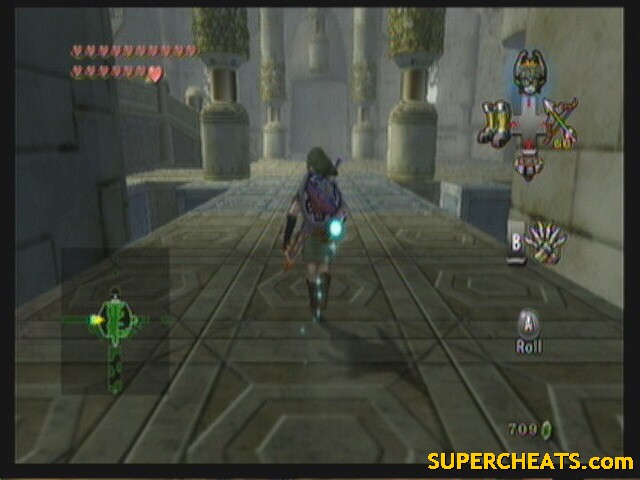
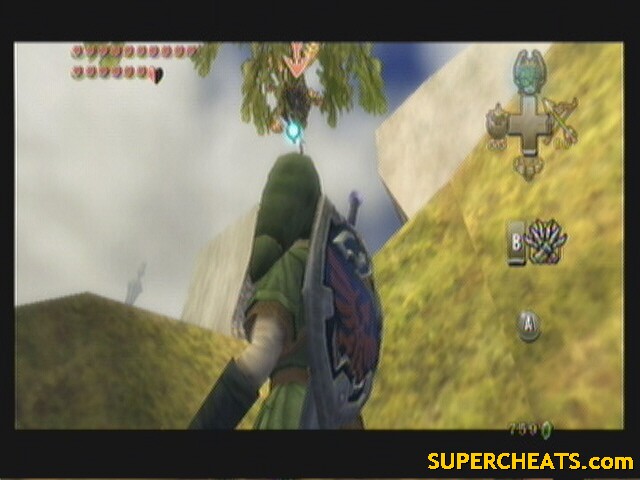
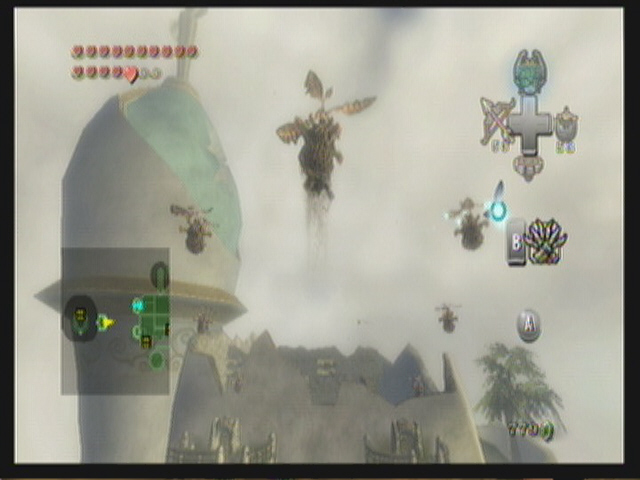
Grapple into the back to be launched into the sky!
 Lock and load! |
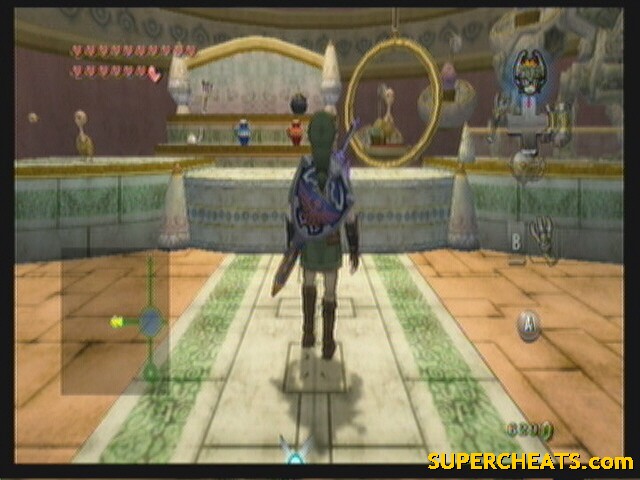
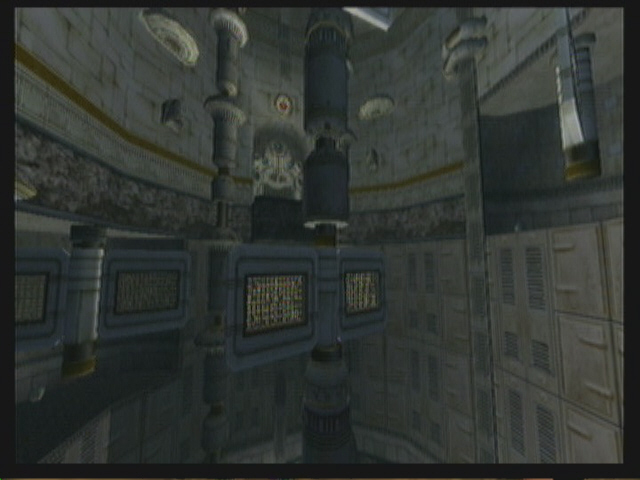
City in the Sky
 City in the Sky |
Well, here we are. The fabled city. This place suffers from the same design of Snowpeak: it's just an old building, not an ancient temple. As such, the puzzles are more about navigating the ruins then traps and puzzles. This city differs in two areas, however: It's a whole city, not just one house, and it's in the sky, meaning any jump could be your last. City in the Sky is based around Clawshot puzzles and navigation.
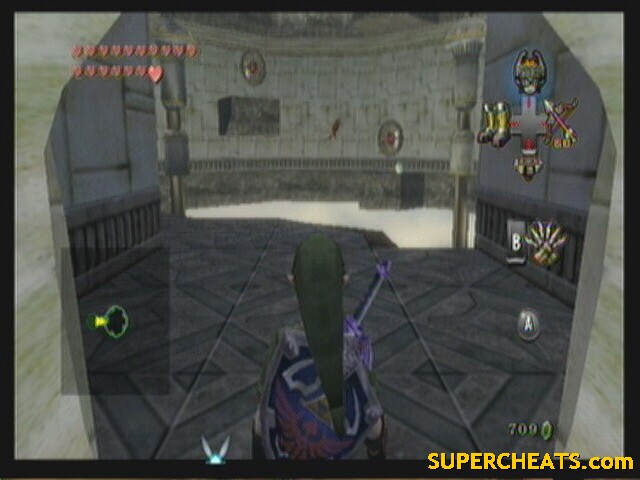
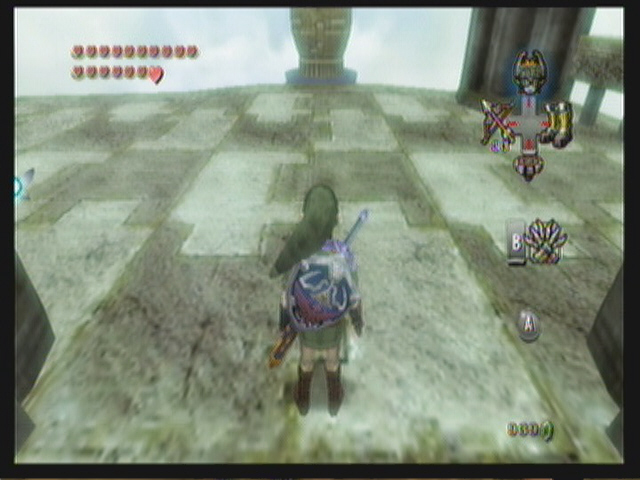
--== Room 1: Landing ==--
Enemies: Deku Serpent
Chests: 2 (water bombs, 20 rupees)
Quest items: None
Lucky you landed in water. At the bottom of the pool are two chests. You don't need either. Go into the building in the west.
--== Room 2: Shop ==--
 |
Every city needs a shop. Ooccoo is on the counter. Talk to her to have her come with you. If you didn't buy stuff back in Castle Town, stock up on arrows here.
--== Room 1: Landing ==--
Enemies: Deku Serpent
Chests: None
Quest items: None.
Go up the northern path. Above the gate is a crystal. Shoot it to open the gate and enter the door.
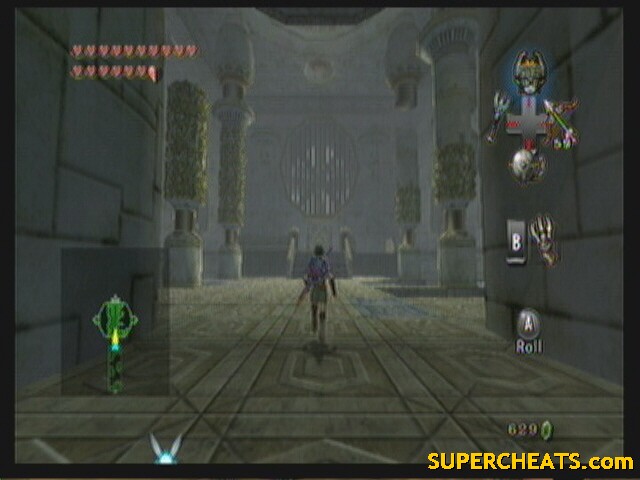
--== Room 3: Entrance Hall ==--
 |
Enemies: Helmasaur
Chests: None
Quest items: None
The blue blocks in this room will begin to sink if you stand on them.
Grab an Oocca and use it like a Cucco to get across the first gap. Try not to land on the blue blocks. Use the clawshot and aim for the vines on the pillar on the ledge in the east. Grab another Oocca and use it to get across the next gap. Enter the door.
--== Room 4: Central Hub ==--
 |
Enemies: Helmasaurus
Chests: None
Quest items: None
Defeat the Helmasaurus in the same way you do Helmasaurs without using the clawshot (wait for them to charge, dodge, and attack from behind).
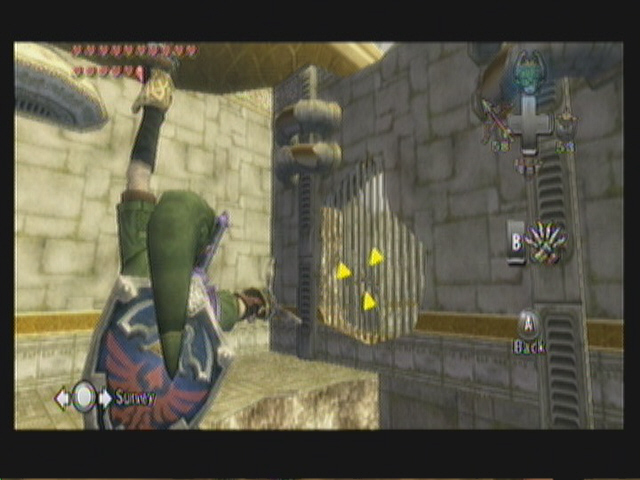
Look for a window between the east door and the southern door. Clawshot to it and go through the hole in the grate.
--== Room 5: Eastern Bridge ==--
 |
Enemies: Kargarok
Chests: None
Quest items: None
There should be a spinner slot right below where you entered. Use it to extend the bridge. Walk over to the gap in the north and look for some vines to grapple to. Once over, cross the bridge carefully, as the wind will blow you off if you don't fight it.
--== Room 6: Floorless Building ==--
 |
Enemies: None
Chests: 3 (small key, 2 not reachable)
Quest items: 1 (small key)
Walk onto the small path in the south. Use the clawshot and aim for a target over the platform across the gap east. Drop down and open the chest for a small key. To get back out, aim for the grate to the north then walk back to the door.
--== Room 5: Eastern Bridge ==--
 |
Enemies: Kargarok
Chests: None
Quest items: None
Run back across the bridge, only to have it destroyed behind you by the dragon. I think he just wants attention. Well, wont be going back there for a bit. Enter the door.
--== Room 4: Central Hub ==--
 |
Enemies: None
Chests: None
Quest items: None
Walk to the edge of the solid platforms (but not on the blue blocks). Use the clawshot to look to the right of the gap ahead. You should be able to reach the vines on one of the pillars. Grapple over and go through the western door (running quickly over the blocks).
--== Room 7: Western Bridge ==--
 |
Enemies: Deku Serpent
Chests: None
Quest items: None
Head south around the building's exterior. There is another spinner slot that extends the next bridge. Use it to get across and enter the door.
--== Room 8: Cross Breeze ==--
 |
Enemies: Helmasaur
Chests: 1 (not reachable)
Quest items: 1 (not reachable)
Equip the Iron Boots and walk through the first fan's wind. Take them off and use the clawshot on the vines on the pillar to get past the next one. Enter the western door.
Open the chest for the map. Go back out to Room 8.
Get up to the edge of the western stream, and look for a stalactite covered in vines up above. Grapple to it and fall down, then use the Iron Boots to get past the next stream.
Head south around behind the wall. Look north to spot a crystal. Hit it to make the third stream stop blowing. Use the Iron Boots and Clawshot to get back over to it and run across the blue blocks. Enter the door.
 Crystal |
--== Room 9: Winds, Snakes, and Oocca ==--
 |
Enemies: Tile Worms, Keese
Chests: 3 (10 rupees, 2 not reachable)
Quest items: None
Here you have to navigate the gaps without jumping into the windstreams. Some of the tiles (marked with windmill like symbols) have tile worms hidden under them. Use the boomerang to inspect every tile before jumping.
Overall this is just a platforming room, not much I can do to direct you.
--== Room 10: Dual-leveled ==--
 |
Enemies: Armored Dynalfos
Chests: None
Quest items: None
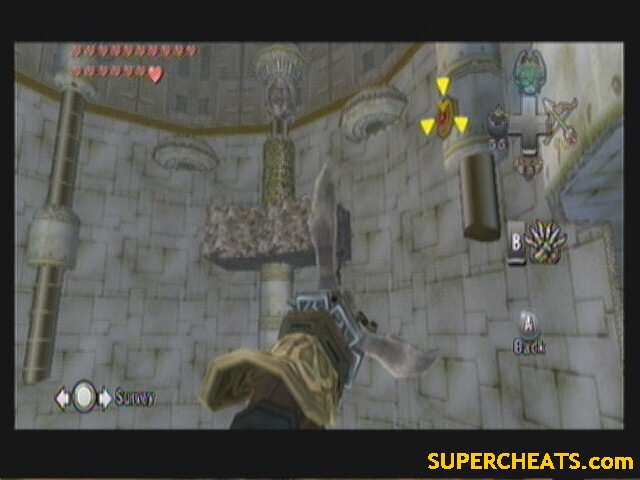
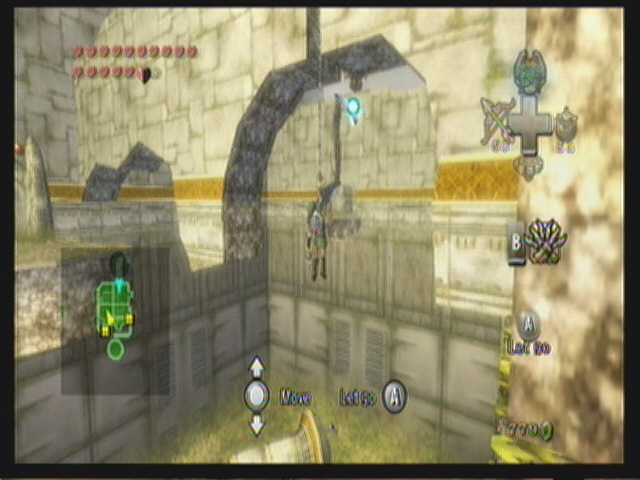
Two Armored Dynalfos attack in this room. There isn't a lot of space to encircle them, but you can fight to an extent. I like using a glitch wherein if you hit them with the clawshot, even if they block it they get pushed back. Repeatedly fire the clawshot till they get pushed off an edge.
A gate will open in the upper section of the room. Grapple to the vines beneath it. There should be this weird mesh-like chandelier thing there. Grapple to it to pull it down and start a fan blowing. Grab an Oocca and jump into the breeze to get enough height to make it to the upper northern door.
--== Room 9: Winds, Snakes, and Oocca ==--
 |
Enemies: Tile Worms, Keese
Chests: 2 (20,50 rupees)
Quest items: None
Grab an Oocca and jump when the breeze is blowing to get to the next breeze in the east. Use that breezes boost to make it through the hole in the wall and land on the eastern platform there.
Clawshot to the mesh chandelier overhead to activate another fan. Grab your Oocca and use the two breezes to reach the northern door.
(the chests are blatantly obvious if you really want them)
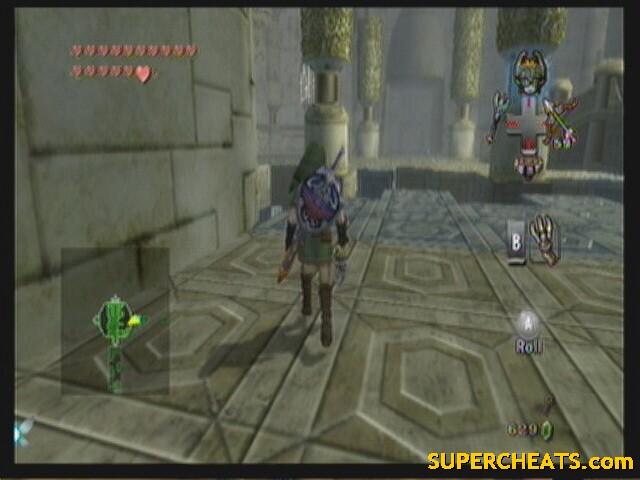
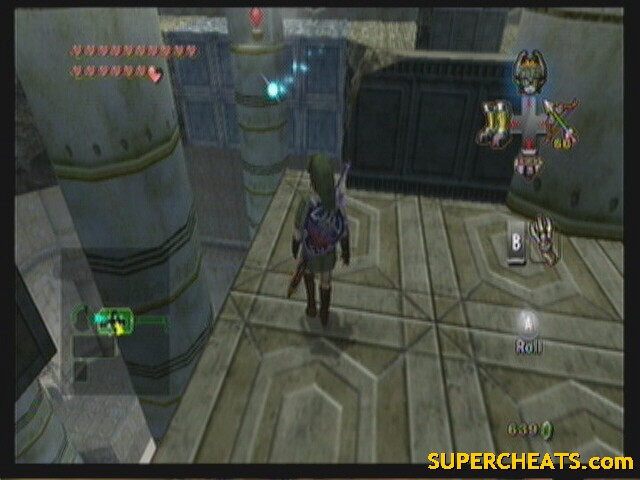
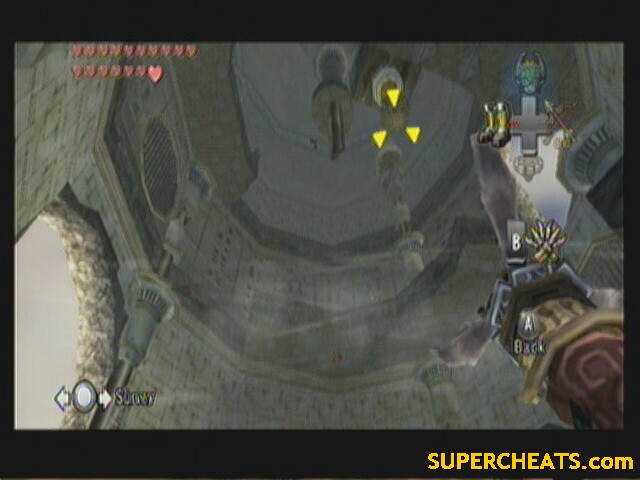
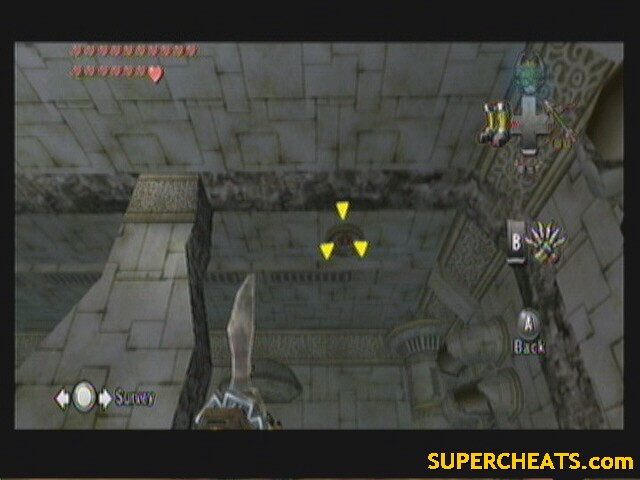
--== Room 11: Bottomless Watchtower ==--
 |
Enemies: Keese
Chests: None
Quest items: None
Your goal is a door in the west. There are many, MANY ways to get there, most involving blindly jumping with an Oocca. Don't care how, just get there. Don't get caught in the cross breezes.
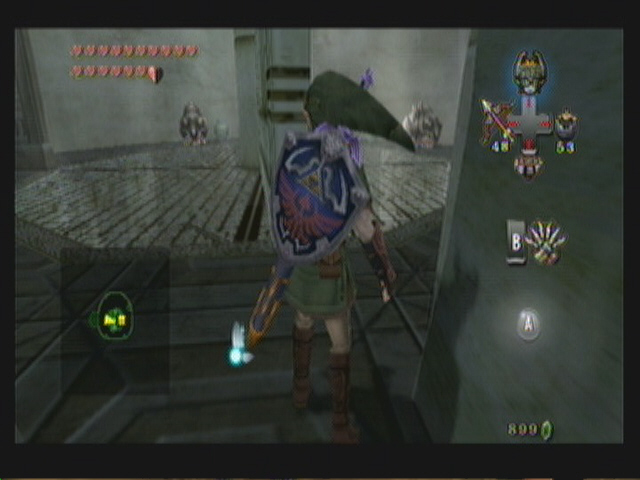
--== Room 12: Mini-boss: Aeralfos ==--
 |
Enemies: Aeralfos
Chests: 1 (Clawshot)
Quest items: 1 (Clawshot)
You need to get down to the lower level. To do this, clawshot to the mesh over the fan and equip the Iron Boots to stop the fan. Drop down to the lower level.
 Aeralfos |
To defeat it, wait for it to be in the air and getting ready to charge (it will flap it's wings faster and hold it's shield in front of it). Clawshot the shield before he charges to bring him down and knock him off balance. Hack away till he recovers. When this happens, jump away and keep a distance. If you try anything else while he is on the ground, you'll just get hurt. Wait for him to fly back up and repeat.
This battle is set apart from future Aeralfos fights because he not only has more health, but a sort of stage two takes place after a couple hits.
He'll now fly up and out a window, only to reappear in another window and immediately charge. You have to lock on to him fast before he charges and clawshot him down.
After about 4 rounds, he'll go down for good.
Clawshot to the gate that opened and open the chest for your prize:
Another Clawshot! You now have two, one in each hand, which will allow you to clawshot from one target to another like Spiderman.
Walk out to the edge of the platform and look for a target in the ceiling that you can reach. Clawshot up and lower your chain a bit, giving you a better view of one of the western targets. Grapple over, then look east for a vine hanging from the upper floor. Climb up and exit.
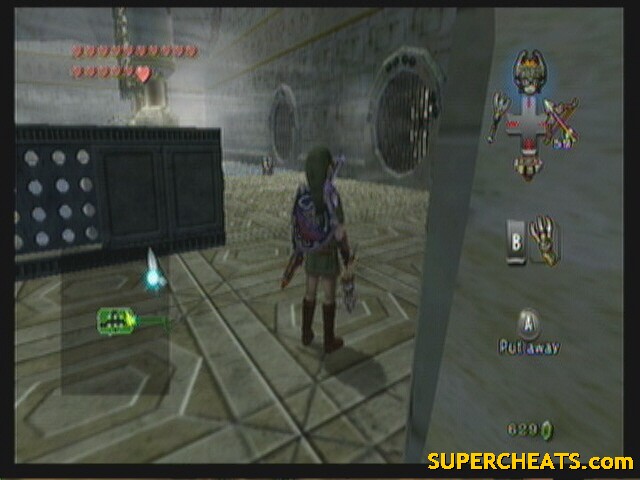
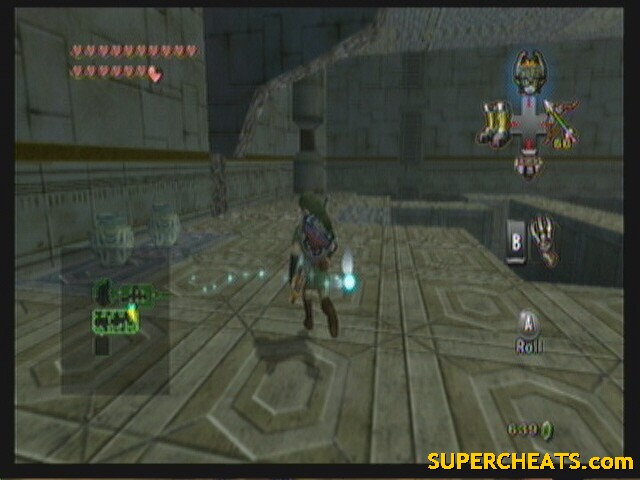
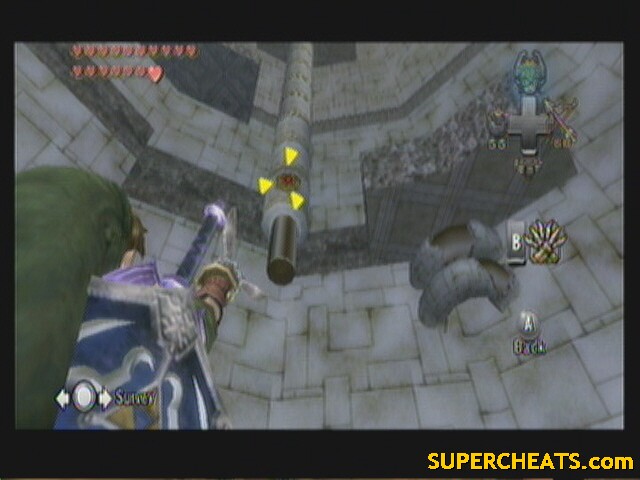
--== Room 11: Bottomless Watchtower ==--
 |
Enemies: Keese
Chests: None
Quest items: None
This time, we are masters of this room. Use the clawshot targets on the left to grapple your way from one to the next, working clockwise.
On the fourth one, look up to see another mesh chandelier. Grapple to it.
 Here |
A gate will open. Grapple to one of the points beside the door.
--== Room 8: Cross Breeze ==--
 |
Enemies: Helmasaur
Chests: 1 (compass)
Quest items: 1 (compass)
New twist: You have targets on the stalactites, but once on them, they begin to slide down, eventually falling off with you on. The trick? Lock on and grapple from one to the next, quickly. Holding down Z helps. On the last one, press A to drop off. Open the chest for the compass. Exit.
--== Room 7: Western Bridge ==--
 |
Enemies: Deku Serpent
Chests: None
Quest items: None
We are now under the bridge. Use the clawshot to clear the serpents from your next target (once to stun, again to cut their vine). At the end, look for some vines off to the south and climb up.
--== Room 4: Central Hub ==--
 |
Enemies: None
Chests: None
Quest items: None
Run across to the east side. Use the clawshot target overhead, then grapple to the one above the eastern door.
Use the Peahats to get across the bridge in room 5.
--== Room 6: Floorless Building ==--
 |
Enemies: Deku Serpent, Chuchu
Chests: 2 (don't bother)
Quest items: None
There is a grapple point on the ceiling in the northeast. Grapple to it and lower yourself to the platform below.
Clawshot the sliding pillar to get across the gap. Drop off on the last one.
Look through the hole in the wall and clawshot to the target on the other side. Look up and clawshot to the upper left target. Clawshot to the grate on the right.
Go through the hole and jump across the gap. Clawshot to the LOWER grate in the west. You have to walk to the edge of the platform to see it.
Drop down and take out the serpents on the ceiling. Clawshot to the target they guarded. Lower yourself and look for a crystal on the north side. Shoot it to open the gate. Clawshot through the gate to the next target.
Look up and right to grapple to another grate. Up and left to a target, then across to another grate. Finally, on the ceiling across from you to a target.
Phew. Enter the door.
 -> |
 -> |
 -> |
 -> |
 -> |
 -> |
 -> |
 Finish |
--== Room 13: Big Deku Baba ==--
 |
Enemies: Deku Serpent, Big Deku Baba, Keese, Armored Dynalfos
Chests: 2 (arrows, heart piece)
Quest items: None
You'll face another Big Deku Baba here. First take out all the Deku Serpent from the perimeter, then dodge the Deku's head when it lunges and cut away at it's vine. After the head is destroyed, throw a bomb in the remaining Deku Like.
Look for a target up high on the sliding stalactite (east). Grapple to it then off to some vines up and to the right.
 -> |
 finish |
Drop off and go counterclockwise. Climb up the stone ledge. You'll want to kill any Keese that are bothering you, as well as the Deku Serpent way down there. You'll have to navigate the thin walkway to the end.
Jump off at the end and look ahead to find some Keese sleeping in the nook ahead. Kill them both. Grab onto the ledge and shuffle across it (you cant pull yourself up). Open the chest in the nook for a heart piece!
 H41, 17 1/5 |
Walk to the edge of where you entered the nook. Look up to find a sliding stalactite. Grabble to it, then to another one to the right, then off to some vines.
-> |
 -> |
 finish |
Look out toward the center of the room and grapple to the point you see hanging down. Lower yourself to the walkway below.
There is an Armored Dynalfos on this walkway, and it aint big enough for the two of you. He should be fairly easy to kill with standard attacks.
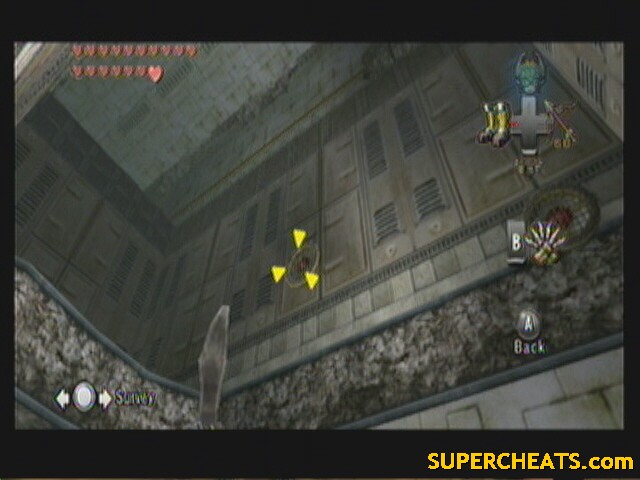
--== Room 14: Peahat Insanity ==--
 |
Enemies: Deku Serpent, Helmasaur, Helmasaurus, skullwalltula
Chests: 2 (20 rupees, 1 not reachable)
Quest items: None
Look for a Peahat to come over the wall in the south. Grapple to it and have it take you over the wall. Upon getting over the wall, don't drop off, but wait for the next Peahat to get in range of your clawshot. Grapple to it and have it take you over the second wall. Now drop off.
 -> |
 -> |
 Finish |
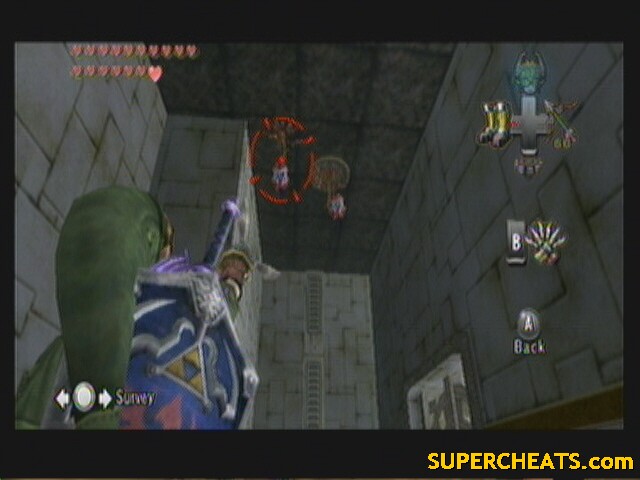
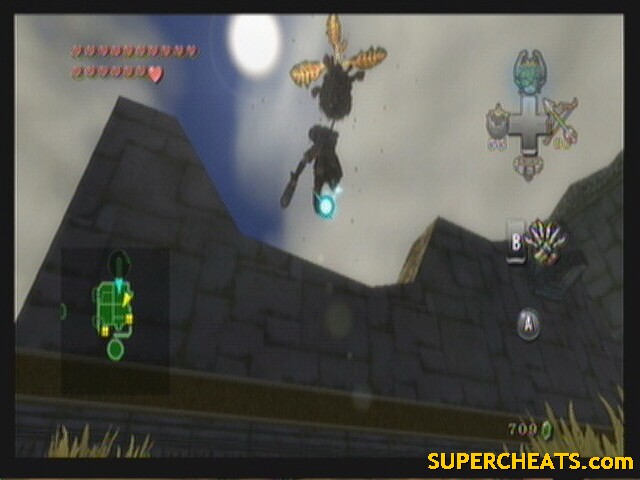
Grapple to the next Peahat only when it is traveling south and have it take you to the little island. Grapple to the Peahat over the island and drop down to find a Poe!
 -> |
 -> |
 Poe #56 |
Grab your Rupees while you're here. Grapple back up to the Peahat over the island and then to the next Peahat. Ride this Peahat to the crack in the wall. Lower yourself so that you are under the wall itself. Grapple to the next Peahat on this side of the wall. Lower yourself again, but not to low, as you have to fit through a hole. On the other side, grapple to the grate.
-> |  -> |
 -> |  -> |
 -> |  Finish |
Enter the door.
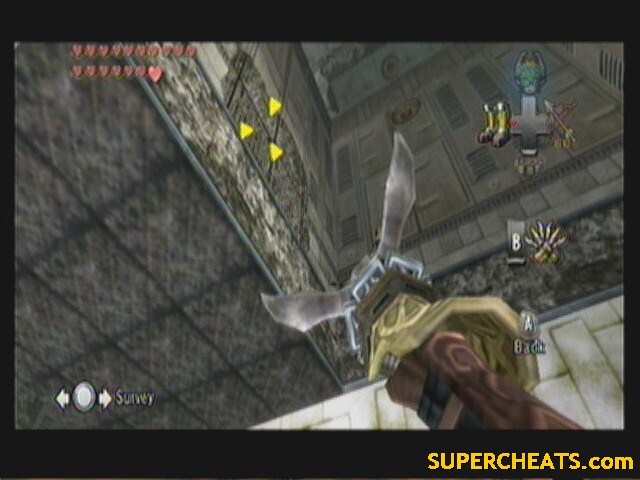
--== Room 5: Eastern Bridge (upper) ==--
 |
Enemies: Kargarok
Chests: None
Quest items: None
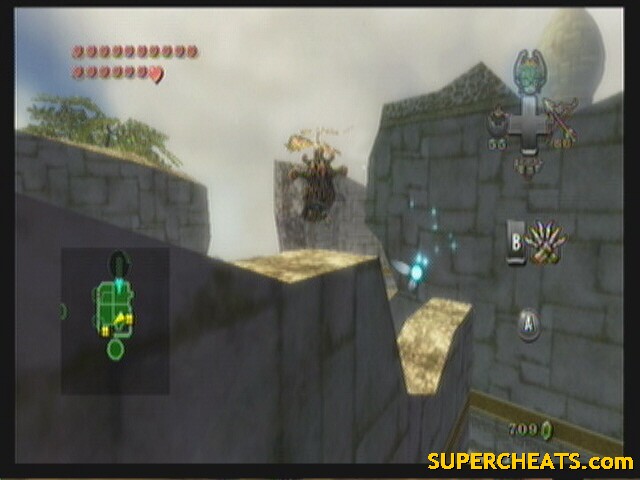
Grapple to the Peahat overhead and keep going. You should notice that here is a second line of Peahats over to your left, that eventually merges with your path, forming a Y pattern. Get to the Peahat that merges the two, then turn and take the other path back.
 Merging Peahat viewed from the west, you want the right path |
Drop down to the ledge at the end and enter the door. Grab open the chest for a heart piece!
 H42, 17 2/5 |
Go back out and take the Peahats to the western platform. Drop down and enter the door.
--== Room 15: Top of the World ==--
 |
Enemies: Armored Dynalfos, Skullwalltula, Kargarok
Chests: 2 (20, 50 rupees)
Quest items: None
Take out both the Armored Dynalfos on the ground, as they'll get in your way later. Look for a vine to grapple to on the outer wall (east). Take out your bow and snipe all three Kargarok, as they will also get in your way.
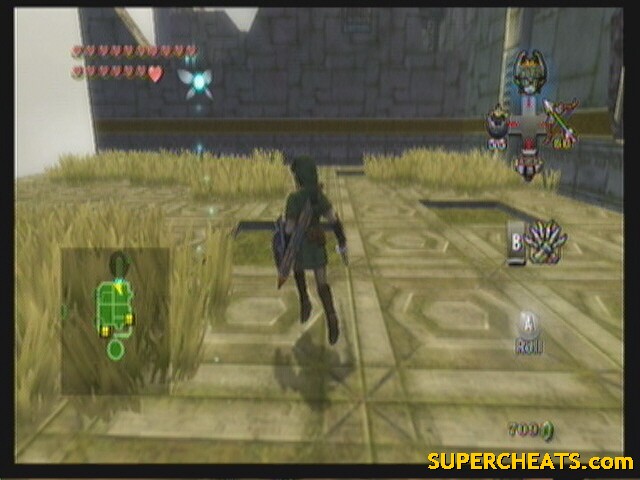
Transform into a wolf to walk on the tightrope. Once on the center ring, transform back and walk clockwise. When you reach some vines, back up as far as you can and manually target the Skullwalltula (your lockon wont target right). Climb the vines and drop on the platform after.
Transform back into a wolf and walk the next set of tightropes over to a grassy platform with a poe on it and 50 rupees.
 Poe #57 |
Jump down and grapple up to the vines in the east again. Walk the tightrope to the center ring and this time walk counterclockwise to the next set of ropes. Walk the ropes to the door.
--== Room 4: Central Hub (upper) ==--
 |
Enemies: Helmasaur, Helmasaurus
Chests: 2 (Big Key, 20 rupees)
Quest items: 1 (Big Key)
Get at a vantage point where you can see the mesh chandelier on the opposite side of the fan. Grapple to it and equip the iron boots to lower it and stop the fan. Drop down and open the chest for the Big Key.
 Mesh Chandelier |
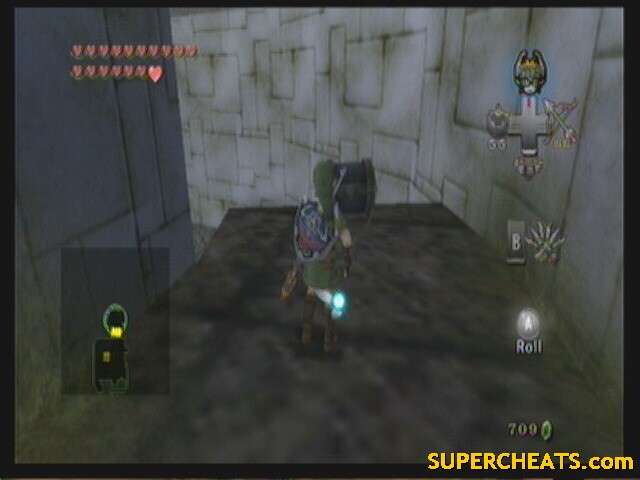
There should be a hole in the floor in the south with a grate above it. Grapple to the grate and lower yourself to the floor below.
 Grate |
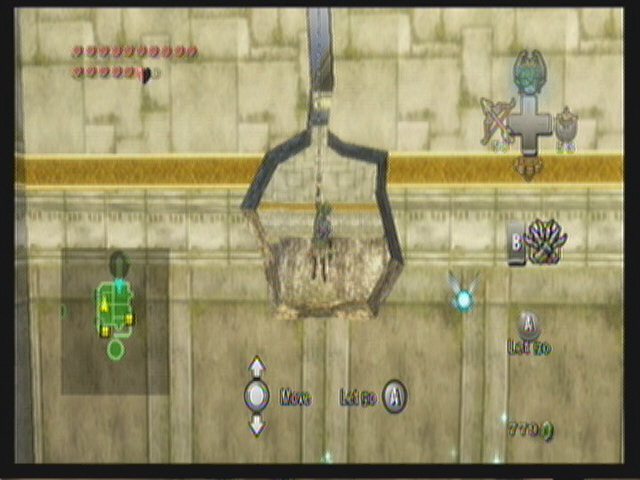
Drop off and grapple to the large grate overhead. Lower down below the fan, but don't drop off. Look around in the ceiling for a mesh chandelier. You may have to pull yourself back up and reposition your clawshot on the grate to see it. Equip the iron boots to pull it down.
 Second Mesh Chandelier |
Drop down and enter the northern door.
--== Room 16: Northern Bridge ==--
 |
Enemies: Kargarok
Chests: 1 (20 rupees)
Quest items: None
Use your bow and snipe all the Kargarok first.
Now clawshot to the spinning fins overhead. Go from one to the next as they rotate around. The final one, grapple to the grate on the fan. There is a chest behind the fan if you want. Enter the door.
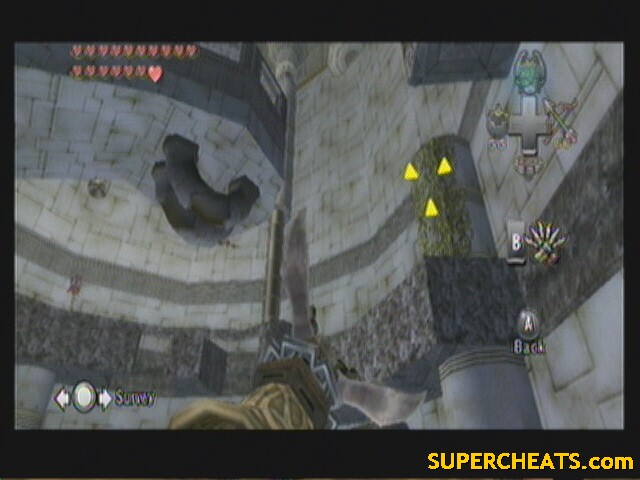
--== Room 17: Grapple Madness ==--
 |
Enemies: Aeralfos
Chests: None
Quest items: None
First up is two Aeralfos. They're not as hard as the one earlier. Focus on one at a time. Let the other hit you if need be.
Once they're down, grapple to the grate above the door, then to the fins opposite it. From the fins, target the crystal above the grate to start them moving.
From here on to the top, you are going to be grappling from fin to spinning fin with a very small window of opportunity of when you can reach the next one. Do your best, and keep going up.
When you reach another fin that isn't spinning, look for a crystal opposite it to start it up. When it spins around, clawshot to the target. Drop down and enter the door.
--== Room 18: Boss: Twilit Dragon – Argorok ==--
 |
Enemies: Argorok
Chests: None
Quest items: None
Immediately in, there is a pillar on the right. Grapple to the grate on it, then from there to some vines. Climb up onto the upper platform.
A few steps in, and Argorok attacks!
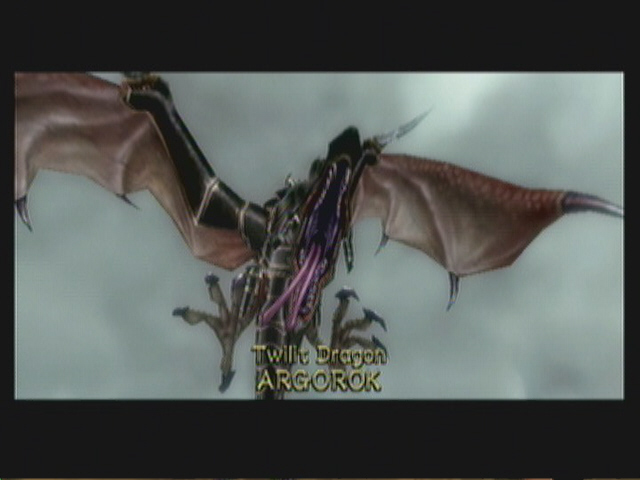 Argorok |
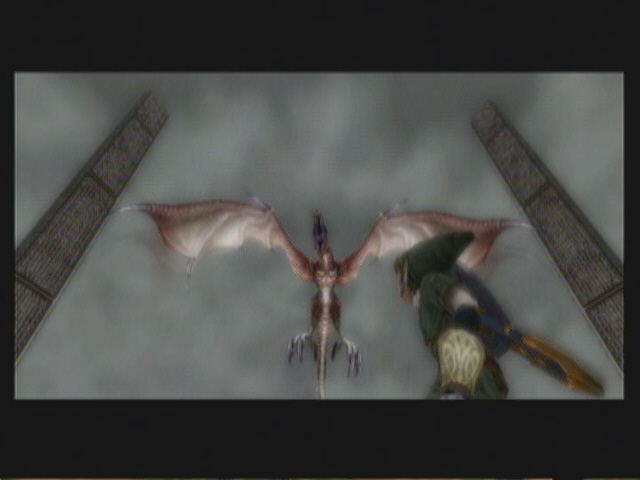
Stage 1:
Grapple to one of the four pillars on the platform. Wait to be able to Z-lock onto his tail. Once you can, clawshot it (your range has been greatly increased, being able to reach him from across the stage) and equip the Iron Boots to bring him to the ground.
The second time you do this, the rest of his armor will come off, including your grapple point.
 Stage 2 |
Stage 2:
During stage 2, he will breath fire at you. To damage him, grapple from pillar to pillar, working your way to the top. Once at the top, grapple to one of the Peahats that sprung up. On a Peahat, wait from his head to rear up (meaning his about to breath fire) and start locking on and grappling from Peahat to Peahat. He'll eventually stop, and when he does he hold still long enough for you to grapple behind him. Manually target the glowing orb on his back and grapple over. Start swinging your sword to bring him down. Repeat once more.
After the second time, he will start a new tactic: in the middle of him breathing fire, he will stop, turn to face just ahead of you, and start breathing to opposite direction. You have to then stop, turn, and start grappling the opposite way to avoid getting hit. You have to be fast to still get around behind him in time. After just this one time, he goes down for good.
Grab your heart container (18 2/5) and warp out with Midna. She places you at the cannon in the first room of the city. Grapple into the cannon and be shot back to Lake Hylia.
Tired of being this close to the sun? You'll be happy about where we're headed then.
Onward, to the Palace of Twilight!
Room 5 central bridge I can't get the spinner to drop into the hole. Is there something I have to do before to make the slot bigger for the spinner to fit in?
I only look @ walkthroughs for heartpieces, I found all of them sadly but this was a great Walkthrough anyways. :D
Hey, I'm 56 and have been playing Zelda for a very long time. It's my absolute fav! Just because your a certain age means nothing, we are all still kids in our hearts.
This didn't help... Can someone please tell me how you're supposed to get the small key to go into the room across the bridge to begin with??? Thanks
ok js.. good walkthrough.. stuck on one part of course i worked a ten hour shift and is now 3:30 in the mornin but i had troubles this helped... but this was by far the hardest boss... all the others my 1 year old goddaughter coulda beat.... js. =]
Im brison and I LOVE zelda games but I havent played tloz tp can you guys and gals tell me whut it is like I am geting it for chirstmas but I have seen videos I LOVE IT SOOOOOOOOOOOOOOOOOOOOOOOOOOOOOOOOOOOOOOOOOOOOOOOOOOOOOOOOOOOOOOOOOOOOOOOOO MUCH!
Is the city in the sky in twilight princess the same as the city in the sky in skyward sword.
funny seeing all these posts that say "im a girl" as if its bad to be a girl and play games, i just wanted to say i met my girlfriend playing an online game and she is the most amazing person i have met. im glad to see people doing things they enjoy (male or female. that said, the walk through here was almost spot on. the only thing i had an issue with was one of the doors you needed to grapple a chandelier to open kept closing once i let go, it was for the compass but i found a different way in. :P
Ehhh so many steps to get to the sky temple in TP Im missing some heart pieces but I learned to play Midnas lamet on pianio
I LOVE Zelda Games. Im Gonna Learn how To Play Midnas Lament On The Piano Soon. :{)
But Geez, My Bro Had NO Freakin Idea How To Get To The Dragon In CITS.
It Took Him Two Days To Finally Give in And Ask For My Help!
Loser.
But Yeahh, Now He Is Finna Kill The Dragon. FINALLY.
This WalkThrough Has Helped So Much On the Really Difficult Stuff Doe So Thanks To The Creator Of This Walkthrough.
And Heckk Yeahh To Gamer Girls(:
Rock On
Love this game i play it my mom plays and so does my little sis
Packung Bastarde Hurensöhne essen Scheiße Holen Sie mit Schritt 16 fort
can anyone help me in the northen bridge i dont seem to understand this instruction
Use your bow and snipe all the Kargarok first.
Now clawshot to the spinning fins overhead. Go from one to the next as they rotate around. The final one, grapple to the grate on the fan. There is a chest behind the fan if you want. Enter the door.
the fins they dont spin nor rotate
this is so hard becuae im on the wii for it.
I'm a girl too, and I've been playing about 4 hours a day on this! That dragon boss was really fun, not gonna say easy, but fun, and I'm in the twilight palace now... anyone know where the map is? also, anyone else play skyrim?