Cave of Ordeals
The Legend of Zelda: Twilight Princess Walkthrough and Guide
by SPV999
Cave of Ordeals - Zelda: Twilight Princess
 Cave of Ordeals |
 The Great Fairy |
Cave of ordeals is the hardest part of the entire game, and there is little reward other then bragging rights. You must face off against 50 enemies, pretty much every non-boss enemy in the game, without dyeing or being able to buy supplies between.
I'll cover all 50 floors, tips, hints, and glitches.
Preparations
Before even thinking about the Cave, you need to have
- beaten the City in the Sky (double clawshots)
- All 4 bottles (1 pink fairy and 3 blue potions/tears)
- Fully upgraded equipment (bombs bags, Giant Quiver)
- Fully stocked equipment
- Magic armor and 1000 rupees
If you're missing any one of those, don't even try.
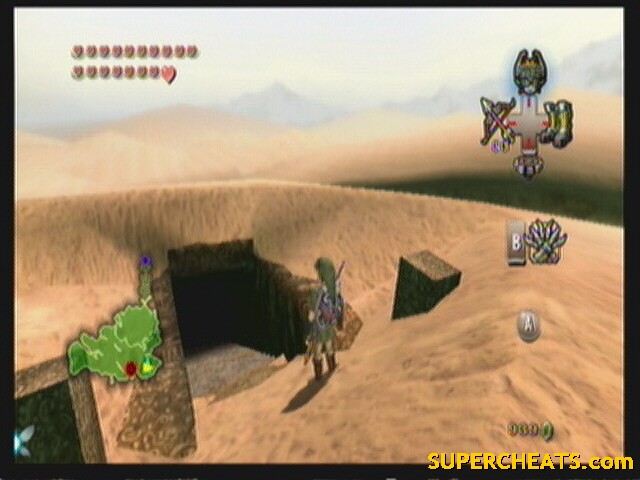
Location
The Cave of Ordeals is located at the warp point in Gerudo Desert where you warped out the Eldin Bridge. It is under where the bridge sat.
Basics
- There are 50 floors in the Cave of Ordeals, each one has a unique combination of enemies in it. You must defeat all the enemies within the room to open the door to the next.
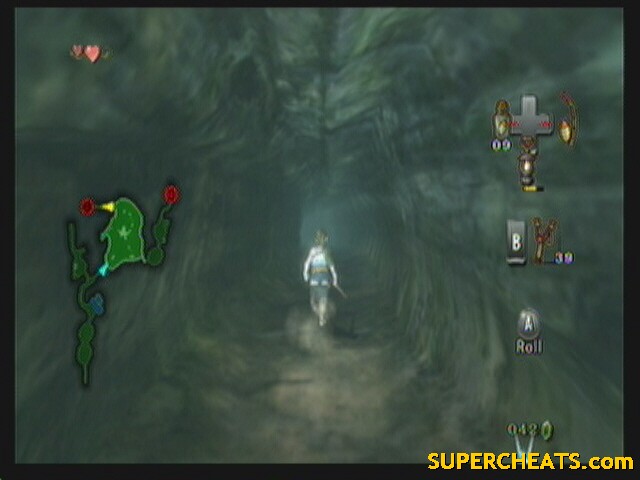
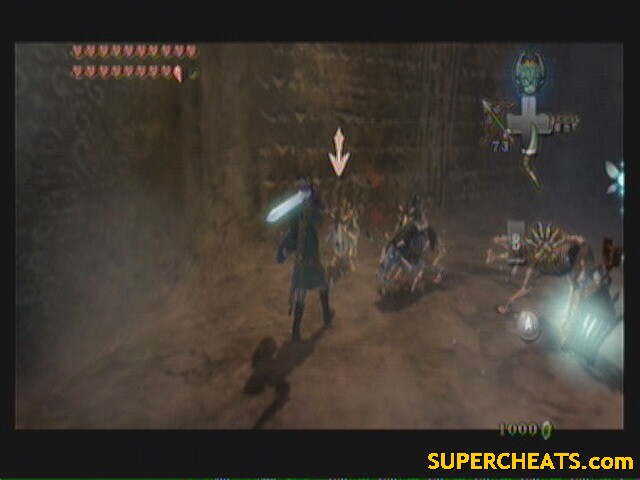
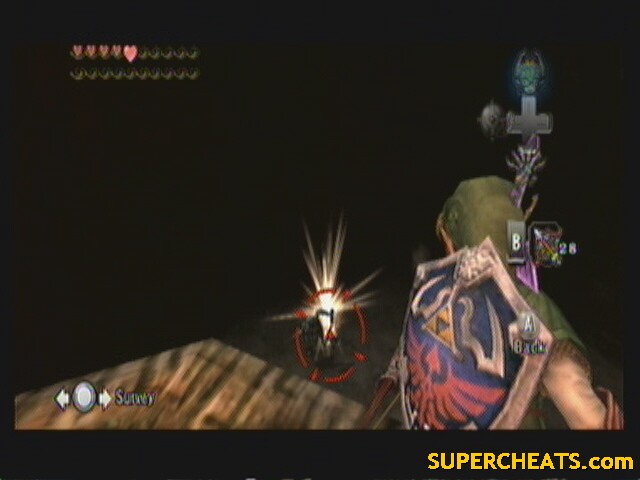
- At the start of any room, you are up high on a platform, relatively safe (though Bubbles and Bulblin archers will sometimes spot you) and can scope out the room before jumping in.
 Room Entrance |
- You will also be using this as a vantage point to snipe enemies with arrows. You need to be conservative, however, as there are 50 floors and only 100 arrows. Only use them when it makes sense.
- If you die or are forced to give up, you must restart back at the beginning.
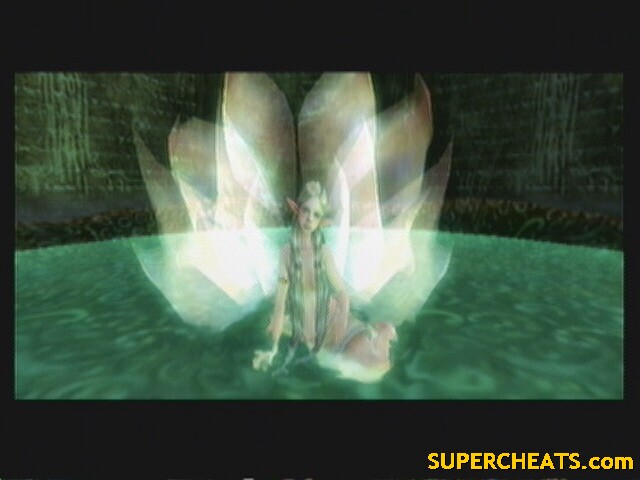
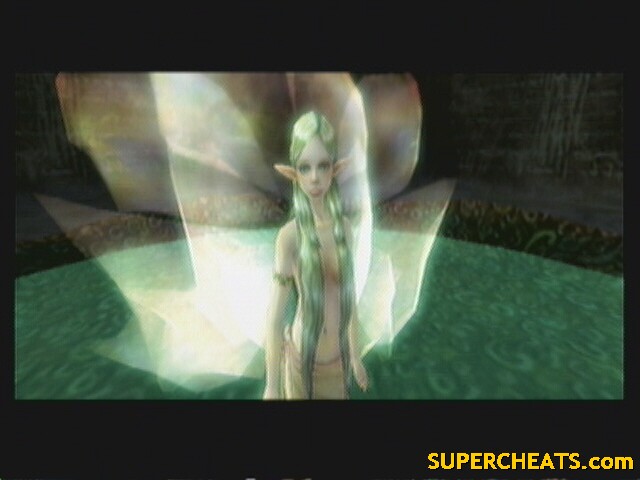
- For every ten floors you complete, you find the Great Fairy. The Great Fairy will be pleased at your progress, and release infinite pink fairs at a Spirit Spring somewhere in Hyrule. If you complete all 50 floors, she'll give you Fairy Tears that can be refilled infinitely at any Spirit Spring.
- On floors 17, 33, and 44 are Poe souls.
Tips and Glitches
- Sometimes you need to weigh your options. Use the Magic Armor to avoid taking damage? Use an arrow/bomb arrow to take him out without getting close? Just take the hit, it wont do much damage? All things you need to consider in any one floor.
- You only actually NEED bombs on a few floors, and never Water Bombs (though Bomblings can come in handy), so you can use them like there's no tomorrow (Bomb arrows work nicely against a lot of enemies).
- Take the damage early on, don't use up your magic armor till you hit around floor 30. Enemies do drop Rupees, but not enough to ever completely refill from constant use. Also, as SOON as you don't need the armor any more, take it off. No sense wasting rupees.
- The floors are pretty unforgiving. Most enemies only drop rupees, and not very many. However, some floors have hearts buried in the dirt. I'll list the floors that do.
- There is a glitch that works around 50% of time. When you first enter a floor, take out the Gale Boomerang and blow out the torches on the left and right. Sometimes, this will open the door without having to fight the enemies.
Enter: Cave of Ordeals
================
 Cave of Ordeals |
--== Floor 1 ==--
Enemies:
Blue Bokoblin x1
Strategy:
Jump down and swing.
Special:
None
--== Floor 2 ==--
Enemies:
Keese x?l
Rats x?l
Strategy:
Spin attacks work well
Special:
None
--== Floor 3 ==--
Enemies:
Deku Baba x6
Strategy:
Use the Gale Boomerang or clawshots to get the ones off the ceiling, then spin attacks work well on the ground ones.
Special:
Dig around for a heart
--== Floor 4 ==--
Enemies:
Skulltula x3
Strategy:
The clawshot can break their guard sometimes. Arrows definitely can, but it's not really worth it.
Special:
None
--== Floor 5 ==--
Enemies:
Bulblin Archers x4
Strategy:
You can snipe most of them from your vantage point. Be careful not to get hit in the process (if you position yourself right, they will hit the ledge)
Special:
None
--== Floor 6 ==--
 Floor 6 |
Enemies:
Torch Slug x5
Strategy:
Use your vantage point and pick them off the ceiling with the Clawshot.
Special:
None
--== Floor 7 ==--
Enemies:
Fire Keese x?l
Dodongos x2
Strategy:
Jump down and try to attract the Keese while ignoring the Dodongos for now. Once the Keese are down, get close to a Dodongo and wait for it to breath fire. Sidestep a couple times then use a spin attack to hit his tail.
Special:
None
--== Floor 8 ==--
Enemies:
Red Tektite x3
Blue Tektite x3
Strategy:
Spin attacks take them out in one shot.
Special:
None
--== Floor 9 ==--
Enemies:
Bulblin Archers x2
Lizalfos x2
Strategy:
The archers are cleverly hidden under your platform. Drop down close to the platform and kill them first, then use spin attacks to take down the Lizalfos.
Special:
None
--== Floor 10 ==--
Great Fairy #1 |
Enemies:
None
Strategy:
None
Special:
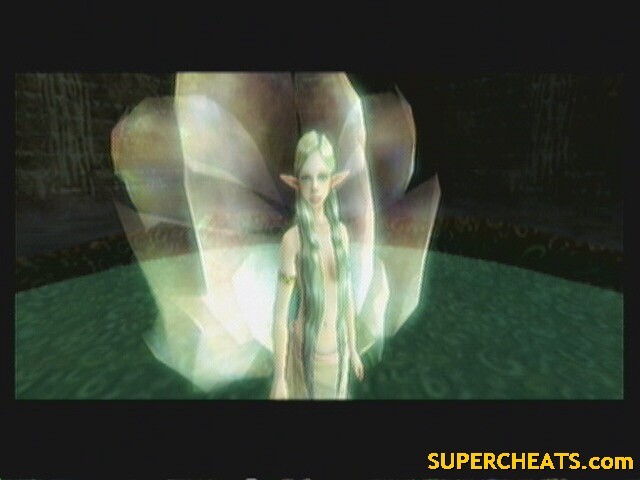
The first Great Fairy encounter. She will release fairies to the Ordon Spirit Spring.
--== Floor 11 ==--
 Floor 11 |
Enemies:
Helmasaur x2
Rats x?l
Strategy:
Hang from the Clawshot targets on the ceiling. Lower yourself, but not to the floor. Use the other clawshot to snatch the shield off the Helmasaurs. Raise yourself back up and drop down from a height so that your roll when you land (this gets you away from the rats). The rest is cake. To get to the door, use the spinner on the track around the room.
Special:
None
--== Floor 12 ==--
Enemies:
ChuChu x?l
Strategy:
There are other colored Chus here, but it would be a hassle to get to them before they were absorbed. Instead, hang back and use the clawshot to pick them apart.
Special:
None
--== Floor 13 ==--
Enemies:
Chu Worms x5
Strategy:
Jump down and use Bomb Arrows.
Special:
None
--== Floor 14 ==--
Enemies:
Bubbles x?l
Strategy:
Spin attack can kill in one shot
Special:
None
--== Floor 15 ==--
Enemies:
Bulblin Clubbers x10
Strategy:
You can pick some off with arrows, but don't go crazy. Drop down and one swing is all it takes.
Special:
None
--== Floor 16 ==--
Enemies:
Rats x?l
Keese x?l
Strategy:
Jump down and use spin attacks
Special:
None
--== Floor 17 ==--
 Floor 17 |
Enemies:
Poe x1
Stalhounds x?l
Strategy:
Try to keep your distance from the Poe for now and take out as many Stalhounds as you can in Human form (you don't fight as well in Wolf form). Once you're down to the Poe, use Wolf link to take it out.
Special:
Poe Soul
Dig for x3 hearts
--== Floor 18 ==--
Enemies:
Leevers x?l
Strategy:
Leevers are a nasty thing. You have to wonder around to get them to pop up, then the encircle and close in on you. Try to get out of the circle before they start spinning. Spin attacks are the best thing.
Special:
None
--== Floor 19 ==--
Enemies:
ChuChu x?l
Strategy:
There are other colored Chus here, but it would be a hassle to get to them before they were absorbed. Instead, hang back and use the clawshot to pick them apart.
Special:
None
--== Floor 20 ==--
 Great Fairy |
Enemies:
None
Strategy:
None
Special:
Second Great Fairy encounter. This time she releases pink fairies to Faron Woods Spirit Spring.
--== Floor 21 ==--
Enemies:
Ice Keese x?l
Blue Bokoblins
Strategy:
You can take them all out with just a couple spin attacks
Special:
None
--== Floor 22 ==--
Enemies:
Keese x?l
Rats x?l
Ghoul Rats x?l
Strategy:
Focus on the Keese first, killing only the rats that wonder near. Once they are down, turn into a wolf to kill the Ghoul Rats and the regular ones if you want.
Special:
Dig for a heart
--== Floor 23 ==--
Enemies:
Stalkin x?l
Strategy:
Spin attacks kill in one hit.
Special:
None
--== Floor 24 ==--
Enemies:
ReDead Knight x5
Strategy:
Use the Ball and Chain on them. They will only activate when you get close, so try to only wake one up at a time.
Special:
None
--== Floor 25 ==--
 Floor 25 |
Enemies:
Bulblin Archers x3
Bulblin Clubbers x6
Strategy:
Watch out! As soon as the door opens there is a Bulbin Archer that can hit you. Take him out and use your vantage point to quickly snipe the ones on the ground.
Special:
Half-way through!
--== Floor 26 ==--
Enemies:
Stalfos x3
Strategy:
Use bomb arrows. No problem.
Special:
None
--== Floor 27 ==--
Enemies:
Skulltula x3
Bubble x?l
Strategy:
Stay close to your platform and just take out the bubbles (you can get their attention with the clawshot). Save the Skulltula for last. You can knock them down from safety with the boomerang.
Special:
None
--== Floor 28 ==--
Enemies:
Lizalfos x2
Red Bokoblin x6
Strategy:
Spin attacks
Special:
None
--== Floor 29 ==--
Enemies:
Stalkin x?
Bubbls x?
Strategy:
Spin attacks
Special:
None
--== Floor 30 ==--
 Great Fairy |
Enemies:
None
Strategy:
None
Special:
Great Fairy release pink fairies to Eldin Spirit Spring.
--== Floor 31 ==--
 Floor 31 |
Enemies:
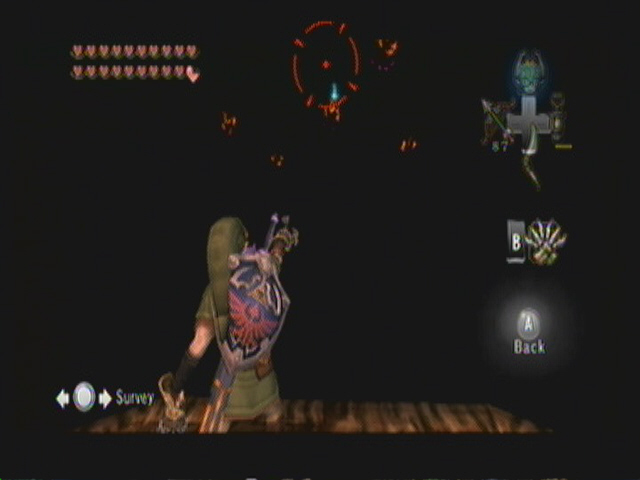
Beamos x5
Keese x?
Strategy:
Stay on your platform and snipe the red eye of the Beamos. You should be able to get them all.
Special:
Use the Dominion Rod to move the statues on the left and right side of the door.
--== Floor 32 ==--
Enemies:
Torch Slugs x5
Fire Keese x?
Fire Bubbles x?
Dodongos x2
Strategy:
Use the Clawshot to get the slugs off the ceiling first. Jump down and focus on the Keese and bubbles next, while staying away from the Dodongos. On the Dodongos, use spin attacks from the side while they are breathing fire.
Special:
None
--== Floor 33 ==--
Enemies:
Poe x1
ReDead Knights x4
Strategy:
Keep your distance as not to attract the Poe. Use the ball and chain on the knights then transform and take on the Poe.
Special:
Poe Soul
--== Floor 34 ==--
Enemies:
Chuchu x?
Goul Rats x?
Strategy:
Use the clawshot to pick appear the Chu first, it doesn't move very fast. Take out the rats with spin attacks as a wolf.
Special:
Dig for a heart
--== Floor 35 ==--
Enemies:
Ice Keese x?
Freezard x1
Strategy:
Jump down and encircle the Freezard while killing off the Keese. Once the Keese are down, wait for the freezard to finish an ice breath, then attack with the ball and chain. After two shots he breaks to mini-freezards. A couple tosses of the ball should deal with them.
Special:
None
--== Floor 36 ==--
 Floor 36 |
Enemies:
Chilfos x3
Strategy:
Use Bomb arrows from the platform. One to break they spear then another to kill them before they draw another.
Special:
None
--== Floor 37 ==--
Enemies:
Ice Keese x?
Leever x?
Strategy:
Keep your guard up. Take out the keese as fast as possible while spin attacking any leever that appears.
Special:
None
--== Floor 38 ==--
Enemies:
Freezard x2
Ice Keese x?
Chilfos x3
Blue Bubbles x?
Strategy:
Use bomb arrows on the chilfos first. Watch the bubbles, as they may come up to your level. Jump down and try to stay at one end, away from the freezards. Use that point to take out any Keese or Bubbles that come your way. After, wait for a Freezard to finish a breath, take it out with the ball and chain, then the mini-freezards.
Special:
None
--== Floor 39 ==--
 Floor 39 |
Enemies:
Darknut x2
Strategy:
Typical Darknut strategy. Backslice, Helmsplitter, Bomb arrows. Without armor, spam the backslice.
Special:
Dig for 200 rupees
--== Floor 40 ==--
 Great Fairy |
Enemies:
None
Strategy:
None
Special:
Great Fairy will release Pink Fairies to the Lanyaru Spirit Spring
--== Floor 41 ==--
Enemies:
Armos x9
Strategy:
Try to only activate one at a time. Get behind them by locking on and walking then use the clawshot if you are low on arrows. Three times in the back and they go down.
Special:
Use the double clawshot to get to the door.
--== Floor 42 ==--
Enemies:
Deku Baba x?
Red Bokoblin x?
Strategy:
Jump and slash.
Special:
None
--== Floor 43 ==--
Enemies:
Lizalfos x3
Bulblin Archers x6
Strategy:
Snipe several of the archers from the platform. Two are under your platform. Use spin attacks on the lizalfos.
Special:
None
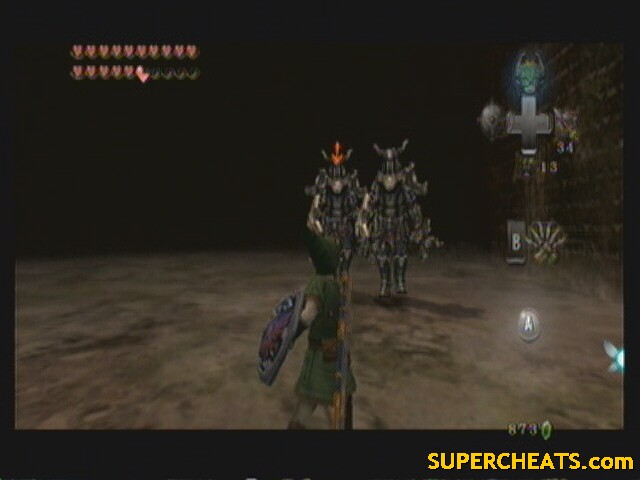
--== Floor 44 ==--
 Floor 44 |
Enemies:
Armored Dynofos x4
Poe x1
Strategy:
Pick off the Dynofos with bomb arrows (aim for the head). Use wolf link to take out the Poe.
Special:
None
--== Floor 45 ==--
Enemies:
Bulblin Archers x2
ReDead Knights x5
Chuchu x?
Strategy:
Snipe the archers before even entering the room. Use the ball and chain on the Knights next, then finally clawshot the chu.
Special:
None
--== Floor 46 ==--
Enemies:
Freezards x2
Chilfos x3
Ghoul Rats x?
Strategy:
Pick of the chilfos with bomb arrows. Jump down and attract as many rats as you can without getting hit, then shake them off as a wolf. Use the standard ball and chain strategy on the Freezards.
Special:
None
--== Floor 47 ==--
Enemies:
Red Bokoblin x?
Rats x?
Stalkin x?
Strategy:
Jump down and slash.
Special:
None
--== Floor 48 ==--
Enemies:
Aeralfos x2
Darknut x1
Strategy:
Focus on the Aeralfos first. You might want to use the Magic Armor if you're afraid of the Darknut sneaking up on you or the other Aeralfos charging you. Use the clawshot to drag the Aeralfos as it is about to charge, and slash. Two rounds takes one down.
The Darknut is new, as it is a Red Darknut. The red ones are more aggressive but cant take as many hits.
Special:
None
--== Floor 49 ==--
 Floor 49 |
Enemies:
Darknut x3
Strategy:
You almost have to take them out all at once. Use bomb arrows to little effect (last room after all), and the Magic armor till it gives in. Proceed to attack them furiously. Whenever they swing, attack while they are recovering (very dangerous). Backslice and helm splitter still work.
Note the Blue Darknut. This is the only time you'll fight one. It exhibits the same aggressiveness as the Red variety, but even more armor then the black.
Special:
Final Room!
--== Floor 50 ==--
Great Fairy |
Enemies:
None
Strategy:
None
Special:
Great Fairy gives you a bottle of Fairy Tears and the chance to refill it infinitely at any Spirit Spring.
And that's the Cave of Ordeals.
Nice, but I think I've hit a glitch. I'm somewhere past floor 20, I killed all the enemies, even the ghoul rats, but the door won't open. I found 3 hearts, but I'm still stuck. Did I glitch out the floor or something? I don't want to reset because I haven't saved in a while
When you get to the levels with bulblin archers on towers in front of you, you can farm arrows off of them by getting them to shoot, dodging the arrow, and picking it up. This way, you can use all the arrows you like and refill to 100 twice.
I just found a neat trick for taking care of Dynofos. If you shoot one with a bomb arrow, all the others will group around the spot where you killed the first one. This allows you to kill all the rest with a single bomb arrow.
This is also a good way to grind for rupees. I went in tonight with 12 and maxed out the largest wallet by the end. It was actually a lot easier than you would expect
I went in there with just one heart and my bare knuckles and beat the hell out of all those sorry weaknuts.
3 hearts, 3 milks, 1000 rupees later I beat this thing. I am so exhausted. No fairies or heart pieces this entire playthrough only died on iron knuckles at the end with no magic armour.
throw bombs behind the armoured darknuts.
This was a great guide. My first time through, I was overconfident and died on the last room, but I tried it again with your tips and I made it through without even using a potion.
Somehow I got lucky and the flame trick worked on both the last two rooms!! I was gonna try the last room for fun but then the aerofols came and I GTFO of there.
i screwd up in the end by doing the torch thing i mad the two fllying things come in the room with the dark nots STILL BEAT IT but used up pretty much everything
Super easy way to beat the last room: Use the mortal draw. Get all of the darknuts together, and then run away, put your sword away and let them approach. Then hit mortal draw. Note which one you hit and consistently angle yourself so you only mortal draw the same one (since you don't really want to deal with multiple armorless darknuts). Once it has lost its armor, put on the magic armor and go to town with the back slice, ignoring the other two.
Rinse and repeat, rinse and repeat. REALLY EASY.
i got to the last floor for the second time...less fairies and more potions, right?
don't underestimate it...I kinda did and I died at floor 49
well also about thous knights there is a skill for them in order to loss not even one heart lol it is the 6th hiben skill and work every time
o and i dint have 4 botles or 1000 rupe bag