Relic Guide
The Darkness 2 Walkthrough and Guide
by vhayste
Relic Guide
Main Campaign
There are 29 relics in the main campaign, 4 in the Vendetta campaign and 2 in the Hit List missions. Only the 29 main campaign relics are counted towards the two related achievements. However, you can still earn extra essences by collecting relics in other modes so it will help collecting them while you're at it.
Payback
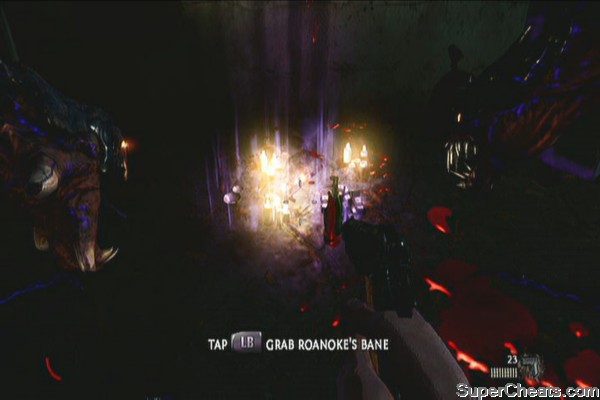
Roanoke's Bane
After the darkling saves you and after destroying the door, you'll find it immediately on the ground in front of you.
 |
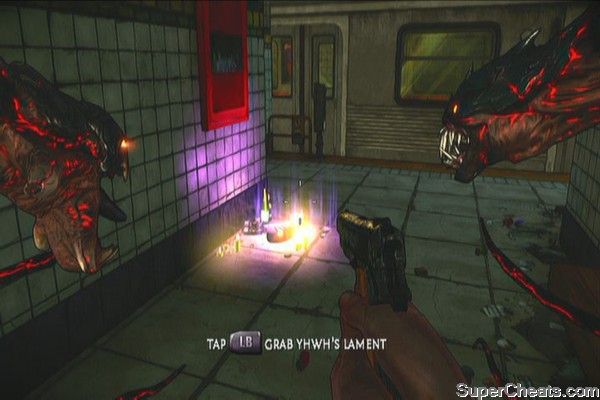
Yhwh's Lament
After reaching the train platform, go behind the stairs to find this relic.
 |
The Family
True Revelation
Before heading to your bedroom, go upstairs and check the master bedroom to the left corridor to find a relic on the table.
True Revelation
Q & A
Sister of Light
After clearing the bar and before going upstairs, check the arcade room to find the relic.
Sister of Light
The Dark Man
After killing the enemies in the junkyard, you'll find a fork in the path and a talent shrine in the middle. Check the path to the left to find this relic.
The Dark Man
The Trinity
After defeating Swifty's crane, use it as a ramp to reach the next area. The relic is inside the container van behind the crane. Just destroy the light shining over the adjacent gate first before getting it.
The Trinity
The Graven Image
After clearing the warehouse, you'll reach the conveyor room instead. Clear the enemies and search the backroom in the ground floor, in the middle behind the conveyor to find this relic.
The Graven Image
Chime of Deliverance
After reaching the loading bay, kill the enemies then break open the door in the small office to your left. You should find the relic there.
Chime of Deliverance
Strong Silent Type
The Brothers of Men
As soon as you get off the car, check the back of the truck in the corner to find the first relic of the mission.
The Brothers of Men
The Key of Mitclan
After controlling the darkling and returning to your body, you'll be able to open the door and enter the room with weapons, ammo and talent shrine. Approach the closed door and enemies will barge in. Kill them then grab the relic which should be obviously visible.
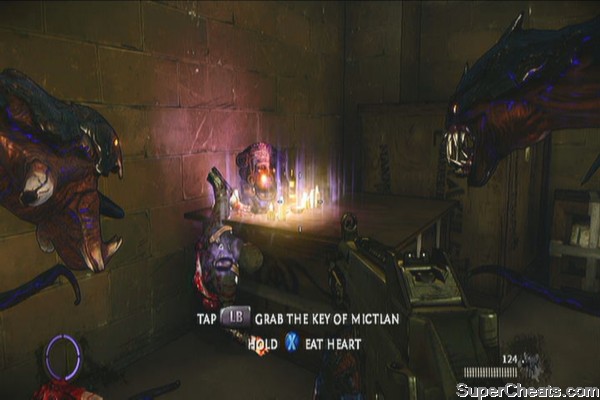 The Key of Mictlan |
Deal with the Devil
Thumb Screws
After breaking free, turn around to find the relic on the floor, in the corner.
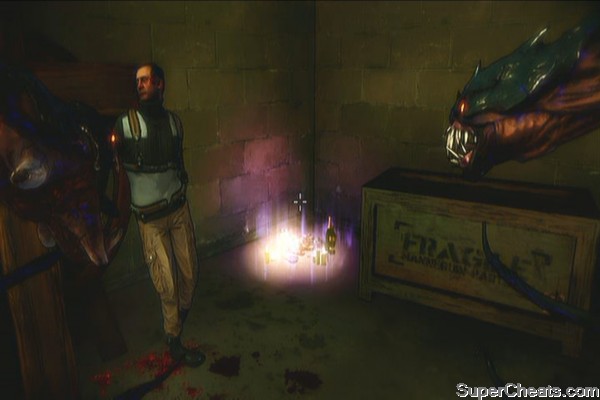 Thumb Screws |
The Fool's Phylactery
As soon as the second part of the mission starts, jump down then follow the path. Upon reaching a set of blue stairs going down, look to your right and you should immediately see the relic.
The Fool's Phylactery
Home Invasion
Winged Demon
After clearing the parking lot and as soon as you enter the building, look to your left to find a breakable door with the “Employee Entrance” only sign. Break it open to find a relic inside.
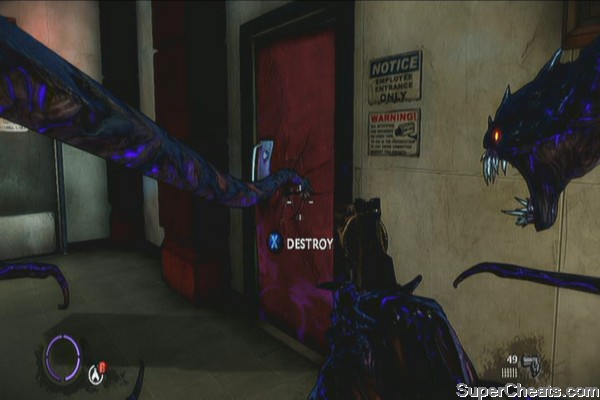 |
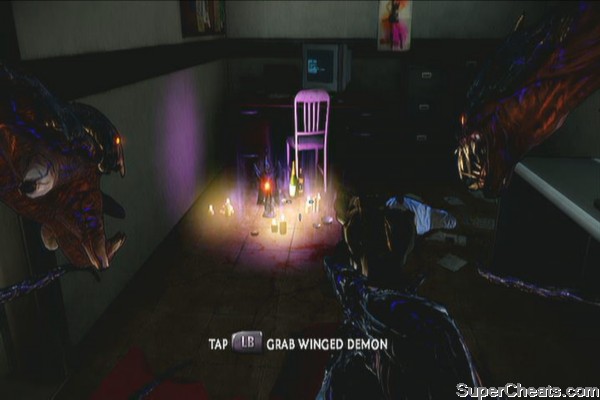 Winged Demon |
The Blinding Sun
After entering the mansion, continue until you reach the kitchen. Turn right to the dining room to find another relic.
The Blinding Sun
Saying Goodbye
Cain
As soon as you enter the cemetery but before talking to Jimmy, check the planter behind the statue to find a relic. You can still get his after talking to Jimmy and after Bragg appears but you must do so before going upstairs and pursuing him.
Cain
Engraved Skull
Continue pursuing Bragg and fighting your way along the straightforward path. You'll finally reach a gate with a generator-powered light pointed on it. Find the generator, destroy it to power off the light then destroy the gate. Keep heading straight until you reach mausoleum. Check the back of the building to find another relic.
Engraved Skull
Fun and Games
The Lantern of St. Anthony
As soon as you exit the bumper car building, go to the left then turn right as soon as you see the Ring Toss stall. You should find the first relic there.
The Lantern of St. Anthony
Af and Hemah
As soon as you start the this section, shoot the lamps to your right first. Before following the enemies heading left, turn right to find another relic.
Af and Hemah
The Abyssmal Maw
After the second flashback with Jenny in the shooting range, enemies will start to ambush you. Enter the open room to the left of the shooting range to find this relic.
The Abyssmal Maw
Crescent of the Sun
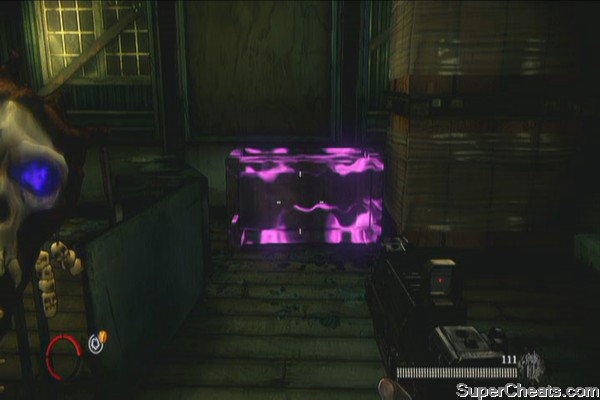
After lobbing a propane tank to the clown gate, enemies will appear and you'll have to get to the roof to get more explosives. Kill the enemies on the ground then go left of the clown gate. Continue to the end of the alley and destroy the light to enter the building. You should immediately see the relic from behind the iron gates inside a room.
Pope John XII
Reliquary of the Blessed Blood
After reaching Jackie's Father's office, look in the corner right to the right to find the relic.
 Reliquary of the Blessed Blood |
Homecoming
The Silent Night
After destroying the wall to create a bridge, go right to the broken wall and turn around to find a relic.
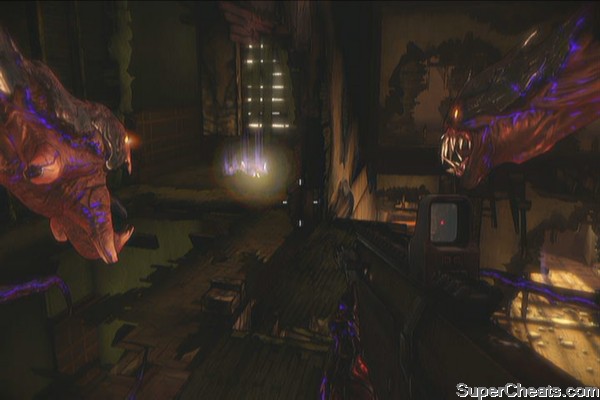 |
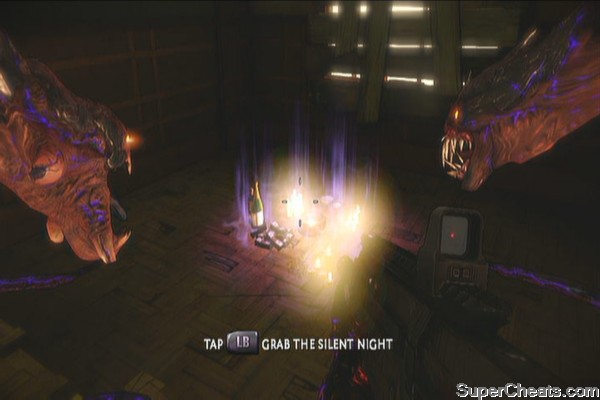 The Silent Night |
The Deceiver's Grasp
After the firefight in the large hall, follow the path past the talent shrine and go upstairs. Before doing anything else, cross the plank and peek to the broken wall to find the relic there.
The Deceiver's Grasp
Last Stand
The First
As soon as you reach the attic, turn to the right and find the relic. It should be on the floor in front of the throwable sign “Hellgate Field”
 |
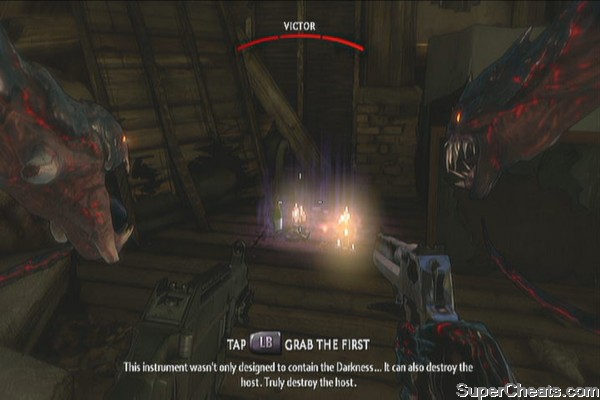 The First |
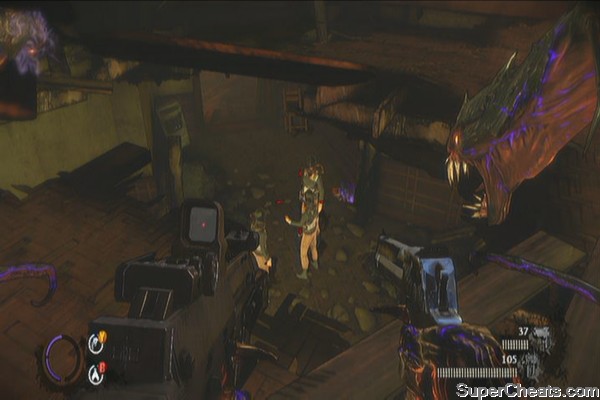
Heart of Darkness
Prism of the Brothers
As soon as you start the chapter, keeping walking until you see Jenny. Before going to her, immediately look to the right and you'll find the relic there.
Prism of the Brothers
Ashes of the Unnamed
You'll finally reach a point where there are spikes blocking your path. Before destroying them and pushing on, look to your right to find the last relic of the game.
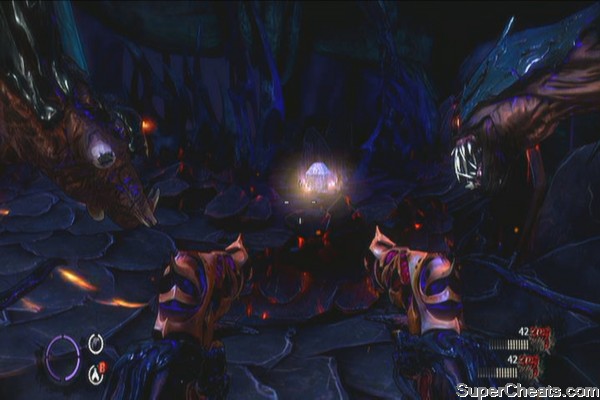 |
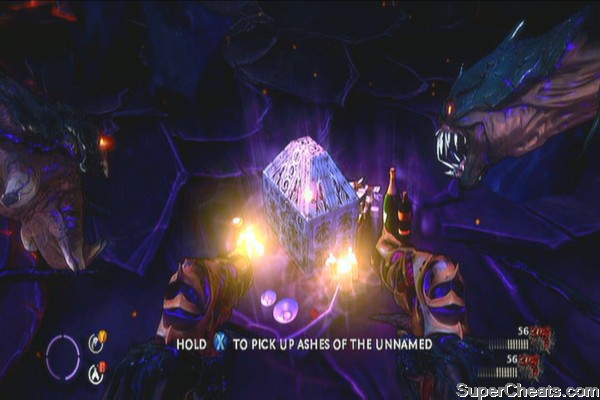 Ashes of the Unnamed |
Vendetta Campaign Missions
Moon Rock
No Brothers of Mine
After clearing all enemies in the warehouse, go upstairs and check the room with the conveyor. The relic should be there.
Moon Rock
Mummified Cat
Hostile Takeover
Continue through the mission until you finally reach the newsroom with a bunch of cubicles and a large screen. After Graves finishes his speech, check out the cubicle to the right, nearest to the large screen to find a relic.
Mummified Cat
Two-Headed Dragon
A Real Rain Has Come
When you reach the part of the mission where you need to follow the two teleporting bosses, continue pursuing them until you reach the boathouse. Check the walkways below deck before going upstairs to find the relic.
 |
Ouroboros
Sins of the Brothers
After clearing the vault and blowing off the wall, you should find a relic on the left side, beside the fallen painting. You should get this before taking the VIP elevator.
[VR_Ouroboros1.jpg');
// -->
Horned Skull
Enter the Gauntlet
After exiting the large garage, you'll find a white van. There's a room beside it which has the relic.
Horned Skull
No comments yet. Tell us what you think to be the first.