Adult Arc - Part 7
Tales of Graces F Walkthrough and Guide
by vhayste
Adult Arc - Part 7
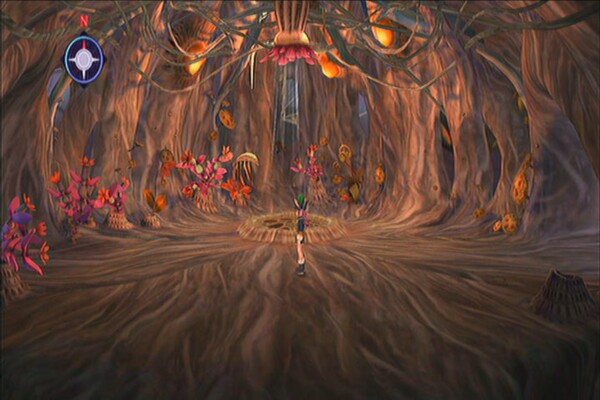
Lambda cocoon
You can use the shuttle's machine to access Telos Astue's item/equipment and inn options (minus the requests). Go to the savepoint for a skit. (A World in Edgewise) Head to the right then down the ramp. Take the path to the right first then stand on the hole to reach the lower floor.
Go down the ramp again until you reach a split. Enter the room to the left. Avoid the airflow in the middle for now as it will suck you in and take you to the previous floor. Exit west instead. Go down the ramp and open the chest to the left in the next split to take Syrup Bottle x2. Enter the room to the right for a scene.
 |
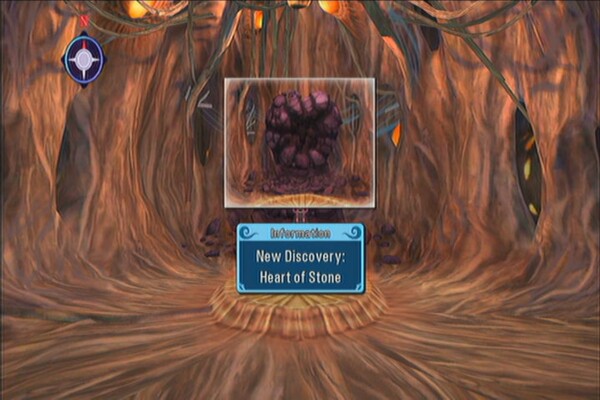
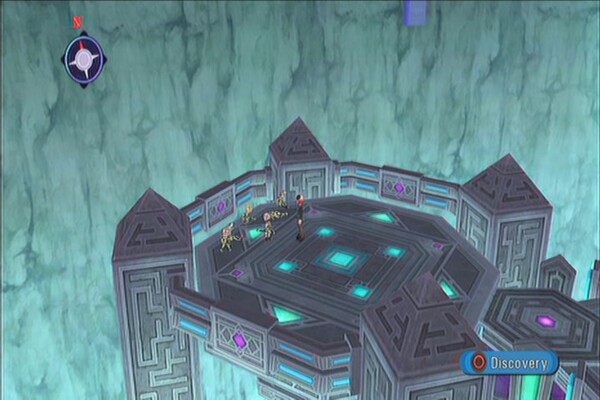
Exit to the right again. Open the chest northeast to get an Arcane Bottle. Enter the room in the southwest. Approach the savepoint for another skit. (Under Observation) Examine the weird looking stone up north for a new discovery (No. 73 Heart of Stone) and skit. (In Its Clutches) You'll also obtain a Legendary Metal. This is another rare materials that you may want to put in your mixer in hopes of reproducing it. Exit to the left then go down the path. Go to the right first to find a chest containing Eleth Bottle C. Head to the next room.
 |
 |
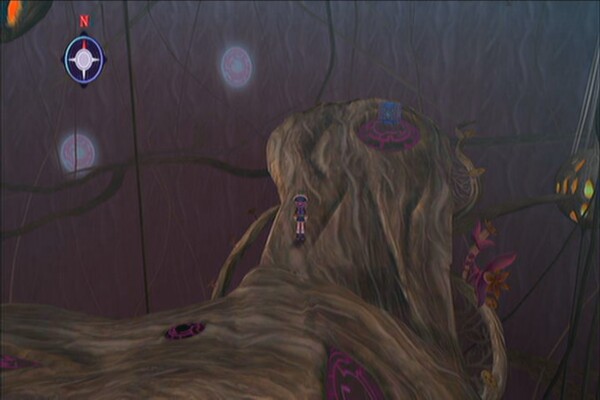
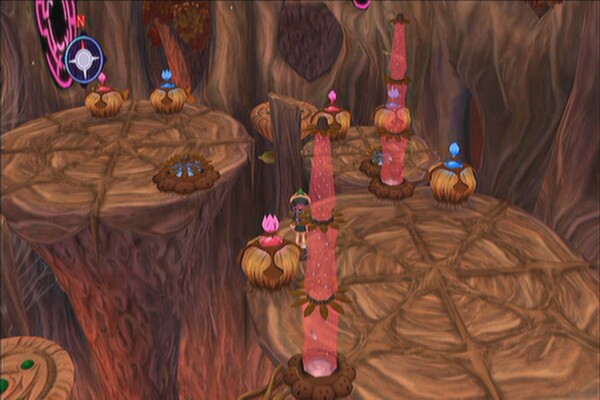
In this room, you'll find colored buds. The red ones will make the transparent vines extend while the blue ones retract them. Solve this puzzle using the steps below then exit west.
 |
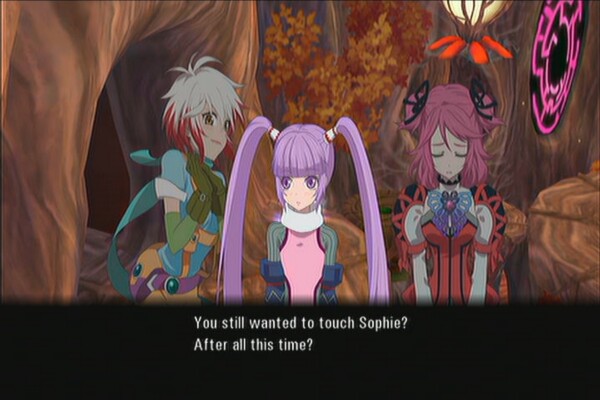
Activate the red bud to push the platform to the left. Approach the vine to activate a skit. (Touchy Subject)
Activate the blue bud to the north to retract the vine and open the path.
Next, examine the red bud to the northwest to push the platform again and create a path. This “puzzle” will be considered solved and the buds will die down.
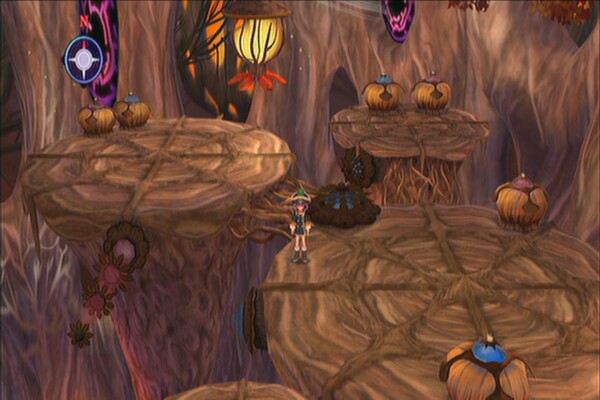
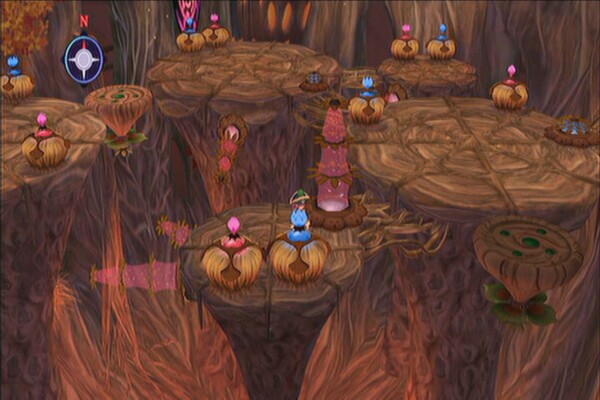
Take the path down first then open the chest to the southeast to get Life Bottle x3. Enter the room to the left for another flower bud puzzle.
 |
Start by activating the blue bud.
Activate the red bud to the southwest
Go to the northwest platform, activate the red bud then the blue one.
Go to the northeast platform, activate the red bud then the blue one.
Exit this room then go north. Enter the left room this time then exit to the left again to find multiple paths. Go north first then grab the gald from the chest in the middle. The two rooms up north will feature two holes leading to the same puzzle room:
 |
Activate the blue bud nearby
Go to the northwest platform then activate red bud
Go to the south platform and activate red bud then activate blue.
Go to the western platform then activate red.
Activate blue again for the buds to die.
Exit east to find a red chest. Open it for Book of Smithery. Use the current to go back up. Once you're back in the upper floor, exit to the left and enter the next room. You should find a chest and a hole there. Loot the Grape Gel x3 from the chest there the jump to the hole.
 |
In this room, examine the chest for 780 units of eleth. Go to the right then take the current up again. Exit to the right then return to the first puzzle. The path should be complete now and you should be able to access the savepoint there. You'll be able to play two skits from the savepoint as well. (No Matter What! / One for the Road) Prepare your best party and check their equipment.
 |
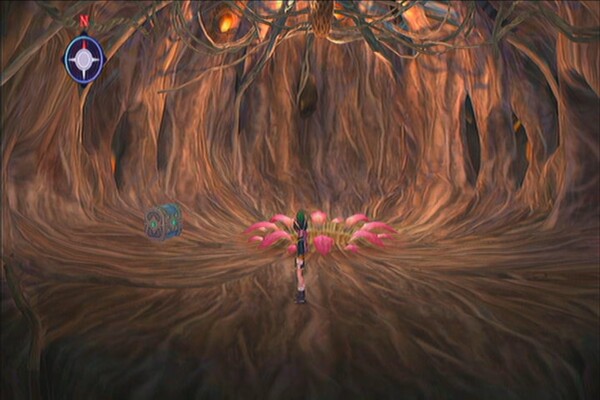
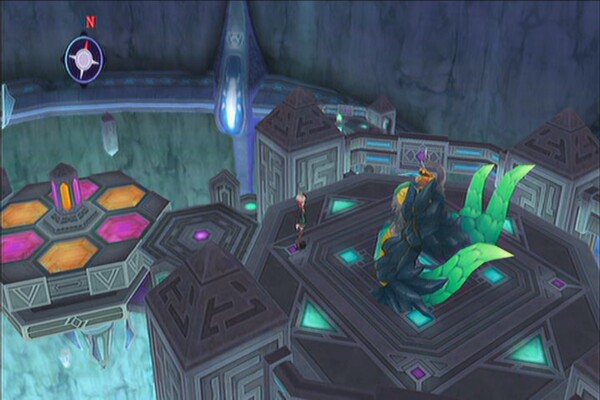
Save your game then enter. Continue following the long path until you reach the central platform where Richard is found.
Boss: Richard
Richard's transformation
Richard is a lot more dangerous now after his transformation. His attacks are even more devastating. The most common attacks he'll do will be the firewheel that will knock your character on the ground while dealing multiple damage. The second is a two-way shockwave that can freeze your characters when hit. Expect a character with full HP to die when he/she is hit up close. It will be your best practice to attack him from the sides or rear, then sidestepping or backstepping after performing your attacks.
Assist your healers by using recovery items and life bottles. As long as you're attacking him, Richard doesn't seem to change his target and attack your healers instead. As much as possible, chain your combos as you'll be able to deal 5-digit damages to him per hit. Be careful of his Mystic Arte as it deals more damage now.
After the battle, change your artes and heal up as you'll be thrown into another battle.
Boss: Emeraude
Emeraude's pretense
Emeraude will defend herself with an aura that will surround her for a few seconds and damage anybody within range, as well as dark orbs that she spreads out or homes in to the target. It may be a challenge to get close to her sometimes but once you catch her off guard, you'll be able to connect with devastating combos.
When she's near death, she'll become immune against stuns and knockbacks making it harder to stop her from completing her spells and her offensive. She'll also teleport from one side of the battlefield to the other, making it more harder for you to catch up and attack her. Once she goes on eleth break, she'll either perform her mystic arte or a devastating spell that covers the entire battlefield and deals continuous damage. Like before, assist your healers by using recovery items.
After the scene, you should be able to go almost anywhere using the shuttle. For now, head to Lhant.
Lhant
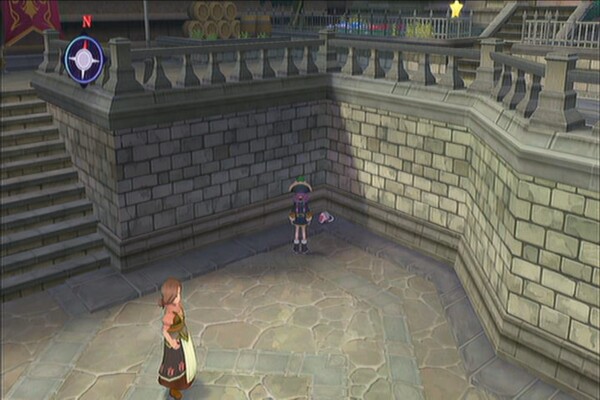
After landing, there's a cat near the stairs. If you've been feeding every single cat you encounter, this particular cat should teleport you to the Katz Korner. Ignore that place for now then head to the manor for a scene. Go to the savepoint for a skit (Mutual Destruction) and save your game.
 |
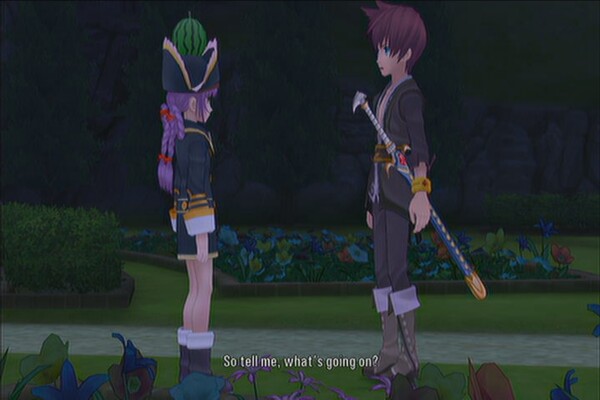
Head to the study to continue with the story. Once you're controlling Asbel, go to the savepoint for a skit (The Value of a Life) then just exit to continue the scenes. After that the party will be reunited and you'll have to go to Lhant Hill next.
 |
Before leaving, you can examine the floating star in frontyard of Cheria's house for Sophie to plant the new seeds you have found. (You may acquire Magic Carta No. 24 during one of these planting sessions)
North Lhant Road
Approach the entrance of Lhant Hill for a skit. (In Bloom)
Lhant Hill
Head to the meadow for some scenes. Before leaving, head to the tree for another skit. (What Did I Do Now?) Head back to Lhant afterward.
 |
Lhant
After arriving, Asbel will be alone again. He'll need to find everyone and talk to each of them. First, head to the study to find Hubert. Now exit to the manor's garden to find Sophie. Next, find Malik on the bridge. Go further to the left to find Poisson and Pascal. Continue to the north gate to find Cheria. Watch the next scene. After that, head back to the manor and sleep in your room.
 |
The next morning, everyone will get new titles:
Asbel – Steadfast Young Man
Sophie – Wish Maker
Hubert – Heart of the Lhant
Cheria – Dream Chaser
Malik – Watchful Steward
Pascal – Pride of the Amarcia
Don't leave yet. Go back a little to find Fourier. Talk to her to receive Pascal's Fluffy Muffler. Head to the bridge next for a skit. (Point of No Return) Hubert will also give a hint about the buried vault in Strahta during this skit. Head back to the manor and go to Asbel's room to find a chest containing Jade Vestments.
From hereon, you can now head to the last dungeon of the main story, Ghardia Shaft. You can check the extra locations and sub-events now, and complete some of the pending requests as well.
Most of the extra skits will only become available after getting halfway to the final dungeon so if you don't care about the skits, then you can just finish all available sub-events at this point before heading to Ghardia Shaft. I'll be writing the walkthrough for the first half of the dungeon here. Otherwise, you can just skip it and check the sub-events below.
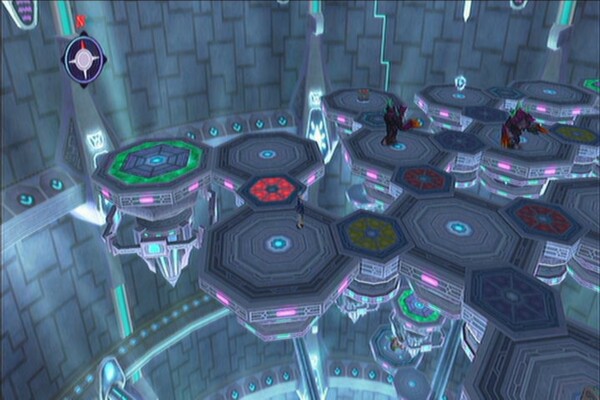
Ghardia Shaft
(Base)
Open the chest to the right for a Red Sage. Go to the savepoint for a skit. (All The Way Down) Use the warp in the middle to proceed. Open the chest to the northeast to get some gald. Continue to the green platform and use it to descend.
 |
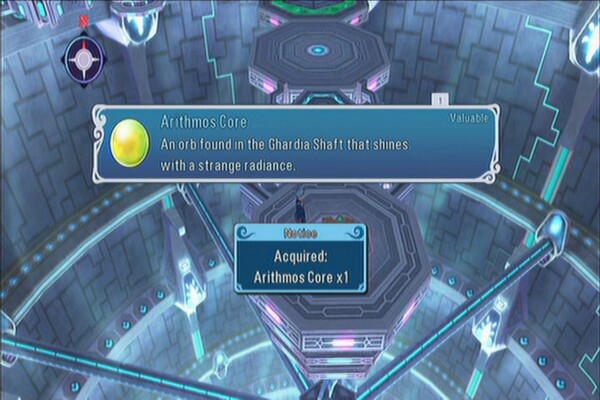
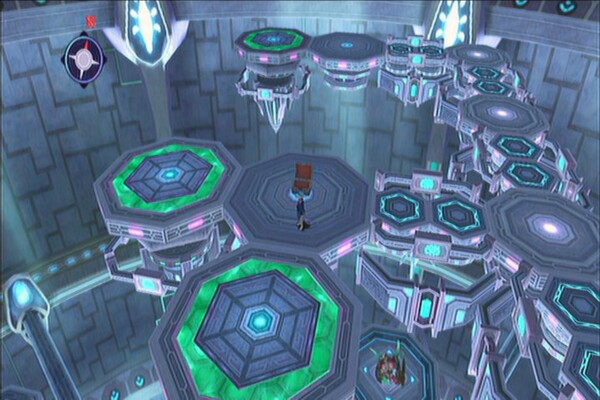
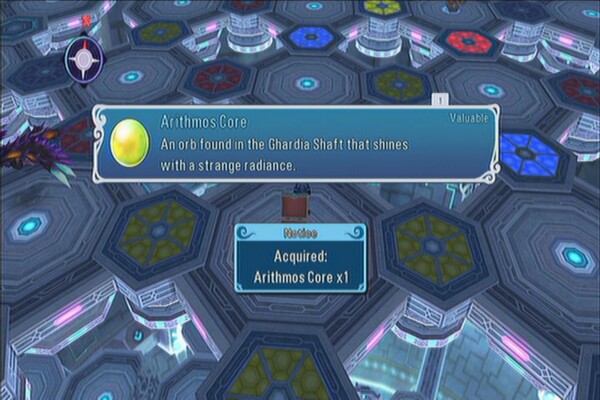
Head to the upper left to find two lifts. Take the southern one first to find a chest containing an Arithmos Core. Go back up and take the west lift this time. Follow the path then use the blue warp.
 |
Just head to the green lift to the east. In the next area, you'll find some colored panels. You need to step on them in a specific order (red, yellow, blue). If you stepped on an incorrect panel, an enemy will ambush you once and teleport you back to the starting point. Succeeding mistakes will just teleport you to the starting point.
 |
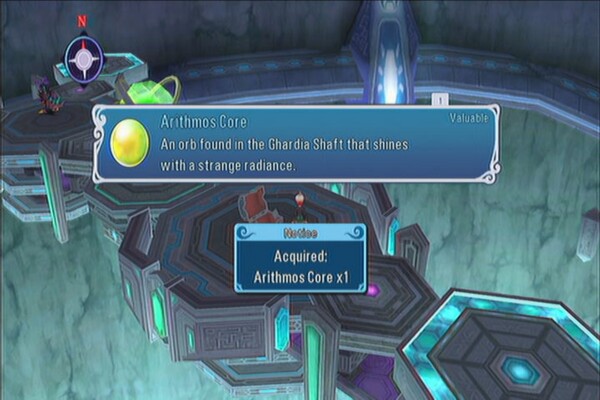
Just follow the color order. Obtain the All-Divide from the chest after the first set and Grape Gel x3 after the second set. You can save the game first after crossing the third color set then step on the blue panel again to start from the beginning. Make your way back to the third set and then go past the blue panel leading to the red chest. Open it to get another Arithmos Core. There's a mini-boss battle next so prepare your party and take the green lift up. Approach the enemy in the middle.
Boss: Dullahan x2
[video13362 title=Headless guardians]
These enemies aren't that hard. You just have to avoid getting sandwiched between their attacks and you'll also have the watch out against their unblockable attacks. (Watch out for the red exclamation point that will appear above their heads) Their attacks are slow and predictable so use sidestepping and backstepping to your advantage. Concentrate in pulling B-arte combos as they are really weak against those attacks. Avoid getting sandwiched between them as their combos can really hurt and take out any character caught between them.
After defeating them, take the next lift down. Follow the path and grab the Hourglass from the chest before the two lifts. There's also another chest containing Life Bottle x2 to the southeast. Take the lift down to the south first.
 |
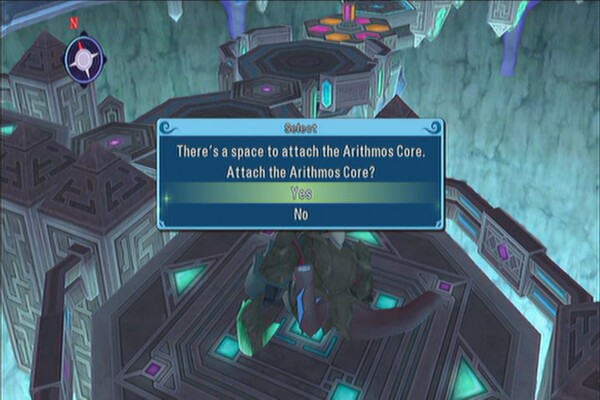
Follow the path north to find an Abysseon. Examine it and attach an Arithmos Core to bring it to life and fight it.
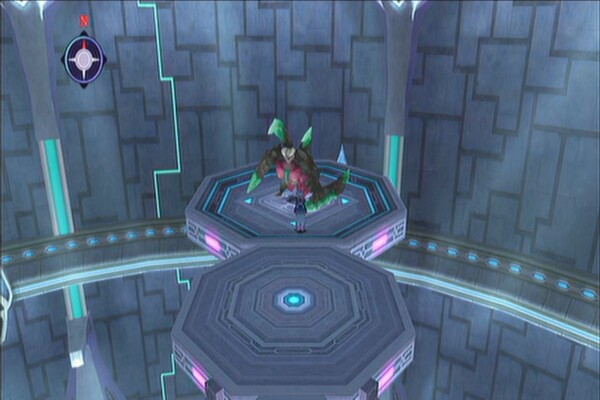 |
Boss: Abysseon
Abyssal Golem
It is quite hard to break its guard and open it for a combo so it will be a good idea to bring Pascal and/or Malik in this fight while one melee character keeps it busy. It hits really hard but slow and its attacks doesn't connect that often. Just move away after landing some combos, wait for your spellcasters to break its guard and open it again for another combo. Keep doing this until its down. You'll obtain the Argo Iris from it.
Take the lift back up and descend using the other lift this time. Approach the invisible wall to the left for a short scene. After that, grab some eleth units from the chest along the way then use the warp.
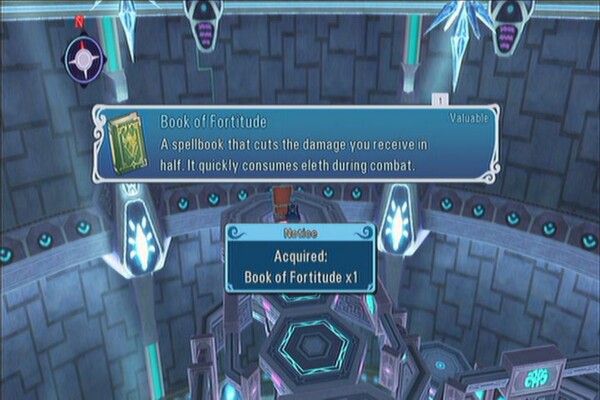
Take the first path south and it will lead you to a chest containing Holy Bottle x3. Continue along the path and take the lift down. Loot the Book of Fortitude from the red chest to the north. Continue east then before reaching the savepoint, take the path south to find another chest containing some gald. Go to the savepoint for a skit (All Smiles). Take the lift up to find another golem. Power it up with another Arithmos Core and fight it.
 |
 |
Boss: Destinion
Revived golem
This boss hits harder than the previous one but its still as slow and predictable as ever. Like before, having spellcasters are good since they can break the enemy guard and open it for combos from your melee fighters. Like before, it will be a good practice to sidestep/ backstep after performing combos to avoid getting pummeled with its counterattack.
After the battle, you'll get Sophie's Omniweapon Fists. Backtrack to the savepoint and take the other lift to the south.
You'll be in larger room with colored panels. The same thing applies with the previous one, except that the correct pattern is red, yellow and blue. Just follow these patterns to reach the chests to the north (Eleth Bottle C), in the middle north (Hourglass), middle (Arithmos Core), south of the chest with Arithmos Core (Red Lavender), west of the chest with Red Lavender (Elixir and Life Bottle x2) and northwest (Red Rosemary). Take the lift down next.
 |
Approach the transparent wall for yet another scene. After that, you'll be able to play a skit. (Glimpses of the Past, Part I) Head north and open the chest for a Mastery Tonic C. Continue further north for a new discovery (No. 74 Gigantic Drill) and a skit. (A Piece of History) Follow the path until you reach the savepoint. A new skit will be playable. (Emeraude's Mistake)
 |
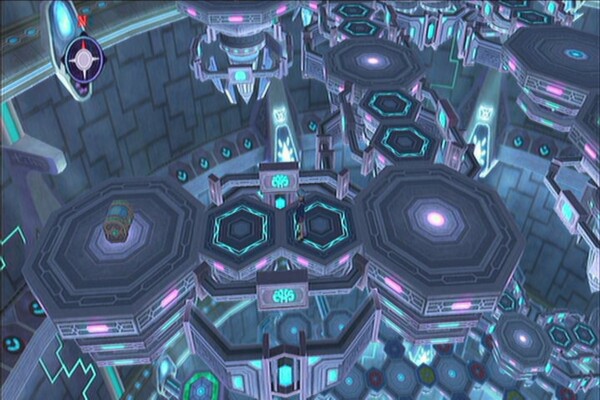
(Center)
All skits available up to this point will be viewable now. You can take the warp and go back to the first floor to check out all the optional places and complete all optional sub-events. Refer to the separate section in the guide titled “Pre-Ending Extras”. I suggest doing all if not, most of them since this will allow you to earn more titles and stronger equipment.
Approach the transparent wall for another flashback. A skit can be viewed afterward. (Glimpses of the Past, Part II) Go to the savepoint for another skit. (Hypothetically Speaking...) Go to the left then up to find a chest containing a Red Verbena.
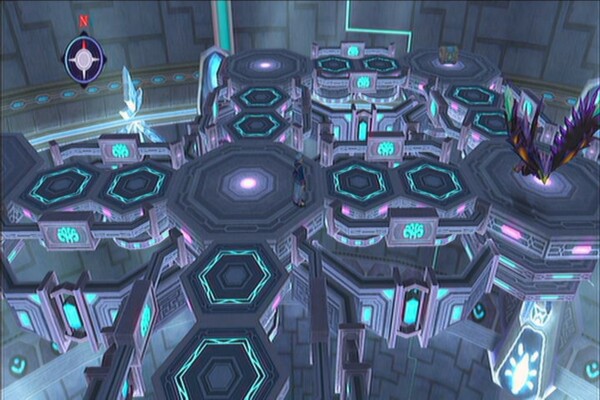
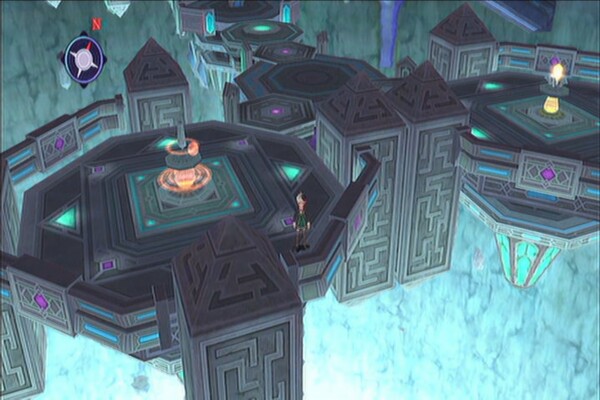
Head to the westernmost side of this platform. Approach the green pedestal for a skit. (Give it a Spin) Activate it twice.
 |
Go to the northeast and take the leftmost warp. You should find a red chest in the next platform containing an Arithmos Core.
 |
Continue further to the left to find a green crystal on top of a peach device. Take it. Return to the previous warp then take the warp to the right this time. You should find a green device with an orange crystal in it. Replace the green crystal on top of the pedestal and take the orange crystal with you. Return to the previous platform and spin the green pedestal again so the sphere returns to the northwest (look closely at the sphere in the pedestal itself)
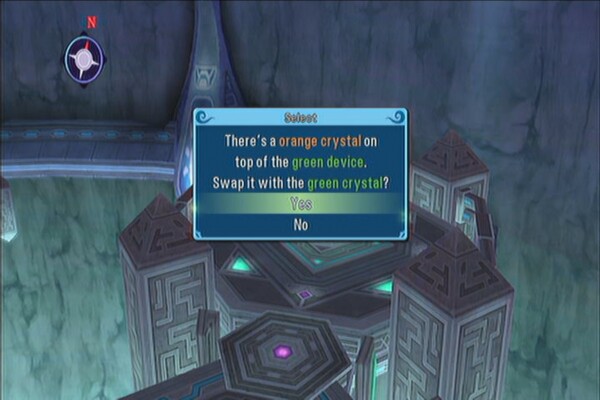 |
Return to where the green device is, then use the warp twice. In the new platform, you should find a chest containing Panacea Bottle x2. Continue and you'll find an orange device with a peach crystal. Swap the orange crystal you got earlier. However, do not operate the orange pedestal to the left. Instead, go back to the previous platform and operate the green pedestal once again.
 |
Return to the platform where the purple device is and place the purple crystal you acquired earlier. You can now use the warp nearby. In the next platform, you'll find a chest containing a Red Saffron and another golem you can activate using the Arithmos Core you got earlier. Defeat Vesperion and obtain a weapon for Cheria. Since these golems are pretty much the same with each other, there won't be any special strategies necessary to defeat them.
 |
Proceed to the main platform and operate the green pedestal twice. Make your way to the platform where the orange device and pedestal are in but don't operate it yet. You should be able to access the next platform with three chests. Open them for 840 eleth units, Fatal Attraction and Syrup Bottle x2.
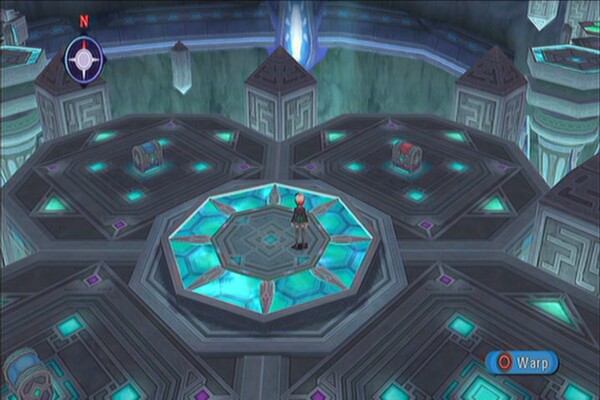 |
Don't take the warp yet; activate the orange pedestal once and go back to the previous floor once. You should be able to go further right and find Rebirtheon. Activate and defeat it to get Hubert's weapon. Now go back to the platform where the orange device is then use the warp in the middle of the three chests.
 |
Head south to find a savepoint and a skit (Getting Closer) There's a chest to the west containing Red Chamomile and Mastery Tonic EX to the east.
It will easier to refer to the warps as a clock's hours so I'll refer to them as such.
7 o'clock = Grab the red crystal from the blue device.
8 = Operate the yellow pedestal once.
10 = Discovery No 75. The Forgotten Ones. A skit will be viewable as well. (Used Tools)
 |
11 = Place red crystal on red device. Get white crystal in return.
4 = Open chest for an Arithmos Core
8 = Activate the yellow pedestal again
5 = Open chest for a Red Savory. Operate blue pedestal once.
1 = Swap white crystal to get purple crystal.
2 = Open chest to get Eleth Bottle EX. Place purple crystal on purple device, get blue crystal.
7 = Place blue crystal on blue device
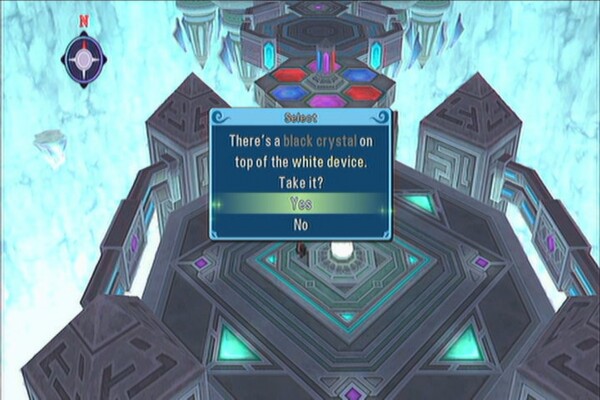
In the main platform go south of the checkpoint to get black crystal.
1 = Swap the black crystal and white crystal. The black device should activate.
 |
Go back to the white device and place the white crystal there.
Now you should be able to access the two golems to the east and west portions. If you fought the first four golems then you should only have one Arithmos Core in possession. You'll have to choose which one you'll like to fight.
East: Symphonion, drops Uroburos for Pascal
West: Phantasion, drops The Undertaker for Malik
Bosses: Plumsap Treants x2
Ghardian Trees
Head north and fight two Plumsap Treants. These will serve as the bosses in this floor. These are really easy bosses as they're slow and has no long-range attacks. They can summon minions to help them out but as long as your spellcasters spam AoE attacks, you should be able to get rid of them. Just concentrate on one target as possible.
Once done, approach the transparent wall for another flashback and skit. (Glimpses of the Past, Part III) Open the chest behind you to get Life Bottle x3. Use the warp next.
(Depths)
You can now use this warp to return to the exit as well. Take the first warp to reach the next area.
Take the warp to your right (north) to find a red chest containing the last Arithmos Core. You can then backtrack to the Center and defeat the last golem you didn't fight earlier.
Take the lower warp next (south)
In the next platform, take the upper warp (west) since the other warp down (southeast) only has an enemy.
Continue to the left to find a chest containing 870 eleth units. Use the next two warps and you'll find two bosses.
 |
Proserpina x2
The last hurdles
At this point of the game, unless you're pretty underleveled and under-equipped, these two bosses shouldn't be a problem to you. Since they're both flying, some artes, especially the A-artes won't hit them as effectively as normal. Nevertheless, they have a wide variety of attacks that covers a considerable area. Just keep them busy from your spellcasters and healer(s) so their spells break the bosses' guards and open them up for combos.
After this, you'll have to follow the straightforward warps until you reach the savepoint.
(Bottom)
Go there for a skit. (What We Fight For) Save your game and make the appropriate preparations. The warp nearby will allow you to visit any floor so restock if needed. Bring your best party and best gear then take the next warp.
Boss: Richard
...also known as the warmup exercise before the real fight
He is pretty much the same one you fought the last time so you may get disappointed, depending on how much you've become stronger since your last encounter. Since its been a while since that, you should see the difference in strength now. For the first part of the battle, he'll be very susceptible to stuns and combos but later in the game as soon as he can raise his nova barrier, he'll be able to execute his wide range of attacks. Some of those moves can easily stun or paralyze your characters so be prepared to assist your healer(s) with recovery items.
After defeating Richard, watch the following scenes. You'll then have to fight the real last boss in the game's main story.
Boss: Lambda Angelus
The Real Fight
Like Richard, the early parts of the battle is easy. You can easily land combos and build your hits for devastating damage. Some of its attacks include four energy blasts from the ground that will inflict various status ailments to anybody who's been hit. It also has a very high-damaging laser that can take out unwary characters around 3000HP with one hit.
It also tends to raise its Nova barrier often and its eleth gauge seems to fill up rather quickly as well. Be careful of its Mystic Arte (Disaster Flash) as it can deal heavy damage to anyone who's near it. When its below 50% HP, it will start grabbing characters and dealing continuous damage. It will also start firing a barrage of projectiles in front it – dealing severe to fatal damage to non-guarding characters. The boss can also unleash a tornado attack focusing only on one character. Expect it to deal heavy damage even when your character is guarding.
Like before, always use Life Bottles when necessary instead of waiting for resurrection artes. This will help your healer(s) focus on healing. Don't hesitate to use your prized battle items like Elixirs and Hourglasses, especially if they'll help you win the battle.
Watch the remaining scenes. After the ending, save your game on a separate file. Check the Extras menu where you can find the options for New Game , Lineage and Legacies (Future Arc) and the Museum.
Ghardia Shaft: Depths
Skit will be available after clearing the game and loading the same file. (Errand Boys) Head to Lhant next after viewing this ski.
Lhant
Go to the manor and you should see a floating event star in the middle of the courtyard. Examining it will make throw you in a fight against three humanoids. Defeat them and the optional dungeon, Zhonecage will become available in the map.
More for this game on SuperCheats.com
You don't have any walkthrough for the Zhonecage?
what is the best level to be to defeat the main boss?