Imperial Raxus Prime
Star Wars: The Force Unleashed Walkthrough and Guide
by SPV999
DS | PS2 | PS3 | PSP | Wii | Xbox 360
Star Wars: The Force Unleashed Guide
Imperial Raxus Prime
 Imperial Raxus Prime |
Objectives:
Destroy the Orbital Shipyard
Bonus Objecties:
- Destroy the Imperial Tractor Beam Tower
- Attain 430000 Force Points
- Collect 15 Holocrons
Enemies:
Rodian Heavy Defender, Rodian Ripper, Jawa, Imperial Purge Trooper,
AT-ST, Imperial Stormtrooper, Scout Trooper, GNK Power Droid, Imperial Officer, imperial EVO Trooper, imperial Jumptrooper, Stormtrooper Commander
Sub-Boss: Proxy
Boss: Imperial Star Destroyer / Tie Fighers
Your Powers Combined, I am Captain Planet
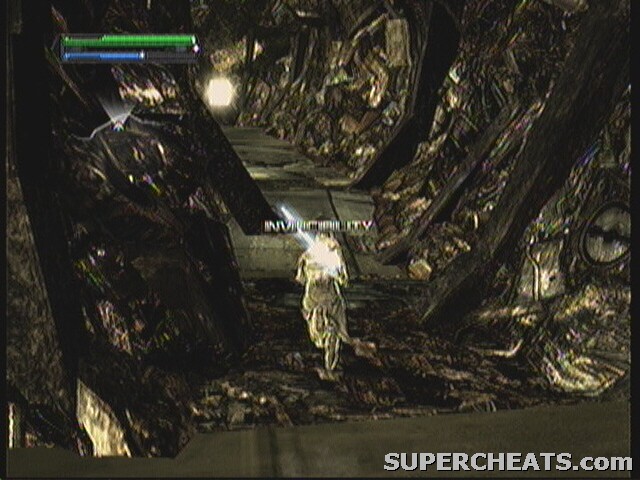
--== Canyon ==--
This place... hasn't really changed much at all. Jump over the ledge ahead and take out the Rodians scattered on the other side.
Holocron 1/15, Sigil Power Crystal
- Look for a ledge on the right side. Use it to get to a ledge on the left. The ledge leads to a cave, and down below is the Holocron. Back out in the canyon, keep working forward.
 Holocron 2/15, 10000 Force Points |
- On the left side is a little nook with a couple Jawas. They guard the second Holocron. There are more Heavy Rodians on the ledges that complete the canyon. At the top, the path is blocked by steel girders. Use Push and Repulse to bend them out.
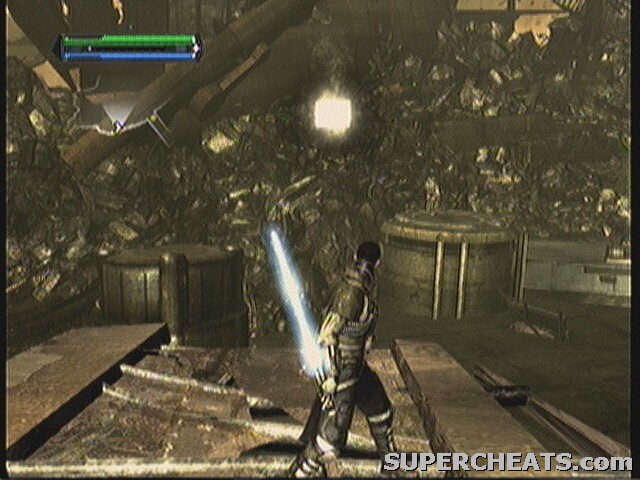
--== Junk Bridge ==--
Work your way around the pass, clearing the Rodians as you go. Long Way Down bonuses are plenty here. You'll come to a broken bridge you'll have to jump over. Don't let the Rippers on the other side push you back down. Past that is the girder bridge. It's long and thin, but there isn't anything to push you off for the most part.
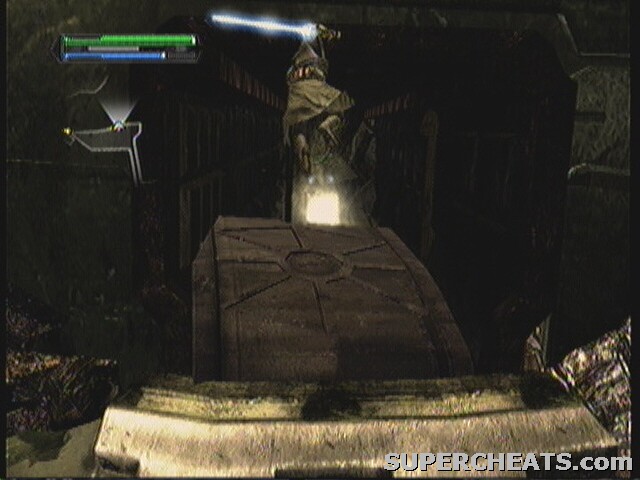 Holocron 3/15, Power Sphere |
- On the other side of the bridge, look for a broken door-like thing. Push it down to reveal a Holocron. Exit out and take a right. Fall down the ledge(s) and push the Rodian off the edge.
 Holocron 4/15, 10000 Force Points |
- Jump across the gap here to continue, and grab the Holocron in the path. Keep through the tunnel till it opens up.
--== Battleground ==--
Rodians face off against the Empire here. Grab the Sith Holocron on the left before jumping down. Use it to destroy the Purge Troopers (all 3) first. A landing craft will come down and release more Imperial Troops, as well as an AT-ST. Focus everything on the AT-ST for now. Around this time, a wall will break away and reveal more Rodians to. So now it's a party. Finish off the AT-ST and try to get on one side of the battlefield, then work your way to the other so you don't have to rush back and forth.
 Holocron 5/15, 10000 Force Points |
 Holocron 6/15, Compressed Green Crystal |
 Holocron 7/15, 10000 Force Points |
- There are three Holocrons in the area to boot. One is in the tunnel where the Rodians spawned. Another is on a high cylinder platform on the right hand side near the ledge (jump to it to land on a small ledge half way up). The final one hangs over the top of the area. Jump up on the platforms on the left side, as if leaving the area, then turn Dashing Blast to it.
Once you've collected everything, jump back put the platforms and continue to the next area.
--== Imperial Hanger ==--
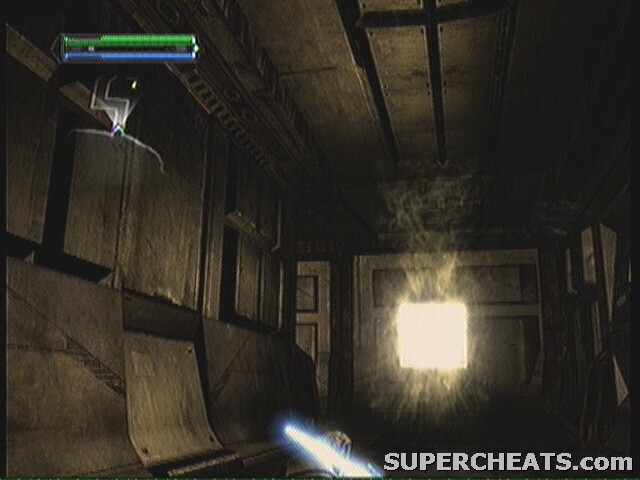 Holocron 8/15, 10000 Force Points |
- In the transition tunnel is the next Holocron. You also get a message from Juno saying Proxy has left the ship.
Drop down into the next area. This area has 3 Scouts, 3 Purge Troopers, and several Stromtroopers. This area is, however, very large, so you only have to fight them one at a time. After defeating one, wait for your Force to recharge before going after another, just in case. The Scouts are all on the tall towers lined in the center. The doors to the hanger that Juno is working on will not open until you've defeated everyone in this area first.
 Holocron 9/15, 10000 Force Points |
- The Scouts being where the are actually help you notice this Holocron. It's over the third tower almost dead center in the area.
The hanger doors open, revealing a massive armada (maybe they heard you coming?). An AT-ST, Purge Trooper, Commander, several EVOs, and Scouts in the catwalks. Listed in order of importance. You can try to lure them out into the junk area, giving you more space, but there are plenty of things to hide behind within the hanger.
 Holocron 10/15, Talents Sphere |
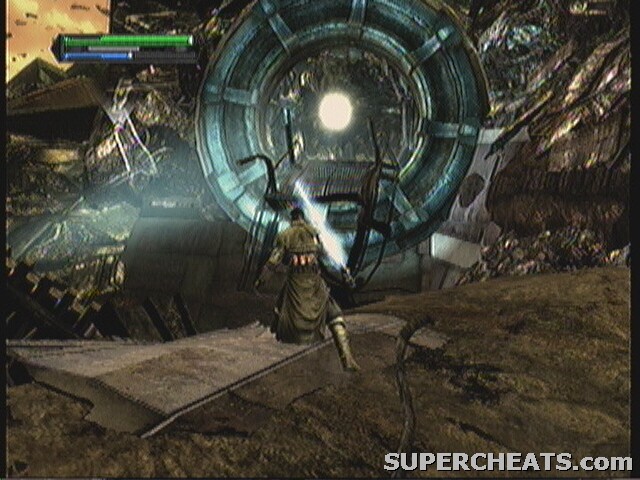
- The next Holocron fools a lot of people. They try to get on the elevator in the back of the room, and jump off at the catwalks to reach it. Problem is the elevator travels to fast for this to work. The catwalk is held up with pillars, and these pillars have ledges on them large enough for you to jump off of. This is how you get up there. Now you can ride the elevator in the back to the next area.
Note that the elevator starts out at the top, and has to come down before you can get on. Standing in the pit where the elevator lands will cause it to stall above you till you move.
--== Tractor Beam Tower ==--
On this platform is just a bunch of Stormtroopers and Officers (re-armored Stormtroopers). Ride the elevator in the back up.
 Holocron 11/15, 10000 Force Points |
- At the top of the elevator, take a right and follow the ledge down. This Holocron is at the end. Go back and enter the doors to the next area.
 Holocron 12/15, Unstable Purple Crystal |
- Before doing anything here, take a right and go up the ramp. At the top, there is an EVO Trooper guarding some boxes. Kill him and move the boxes, then push/slash the wall behind them to reveal a path. Go all the way to the end to claim your prize.
Ok, that out of the way, Bonus Objective time! Jump down to the lower walkway. Kill all the EVO troopers (aren't many) and the E-WEBs at the end near the door. Climb back up the ramp and jump to the tower in the center of the room. Push off all the Imperials. There are little conduits on the side of the structure. Lighting all of them to bring it down.
Back at the bottom, go behind the tower. Inside the force fields to the left and right of the door are two generators you can lift up. Pull them both up to lower the field and enter the door.
--== Precarious Bridge ==--
This area is a PAIN. There are two Jumptroopers right in front of you, E-WEBs at the far back, E-WEBs at the far back on the left and right sides, and 1 Scout on both the left and right, perched on a far off walkway with clear shots to the entire bridge. Oh, and did I mention that on either side of the main platform is a gap between there and next platform down?
Immediately jump up and shock both the Jumptroopers before they consider flying off. Dash to the end and take out the E-WEBs. Choose a side, and jump down to the platform below. Kill the Stormtroopers there, while hiding behind a force field. Pick up one of the barrels and toss it at the Scout. Jump back up and do the same for the other side.
Holocron 13/15, Combo Sphere]
- Go back to the door you came in from and turn around, facing back to the exit. The Holocron is on the Scout's ledge on the left side. To get there, you have to get on the lower left ledge near the exit, double-jump and Dashing Blast. You can overshoot, so be careful. Also remember to do it next to the exit door, because the gap is the smallest there.
So, how many times have you fallen off? Well we're not done yet. On the lower platforms on the left and right side of the exit are these gear things. You have to grip them and pull them up till they stop to open the door.
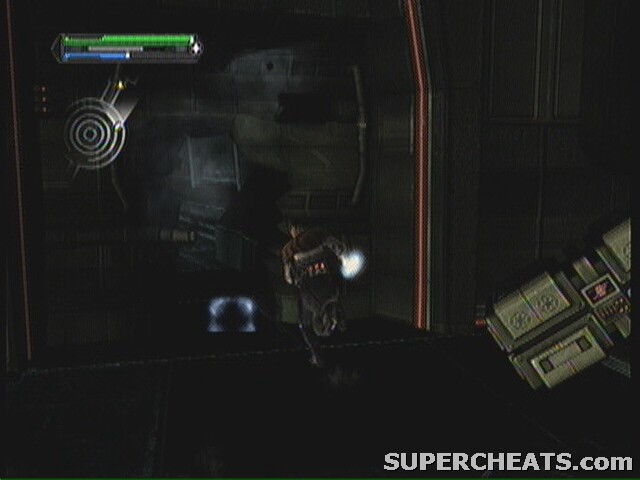
--== Processing ==--
 --== Sub-boss: Proxy ==-- |
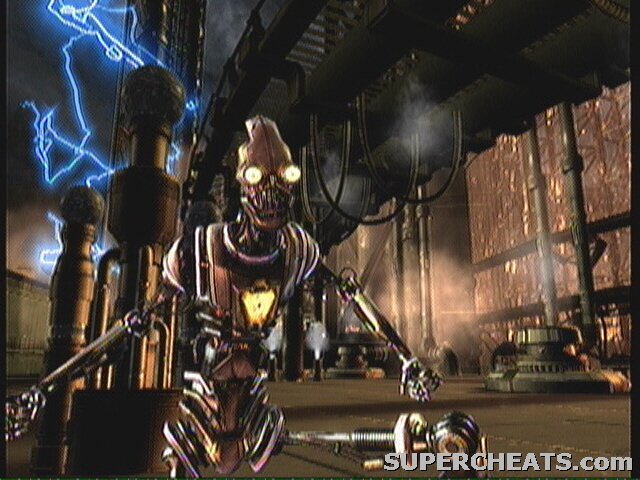
You may think “what can Proxy do?” But you forget at the start of the game where he was Obi-Wan. He can shape-shift and take on the appearance and battle style of another warrior. For this fight, that means every human-sized boss you've fought so far, Shadow Guard, Kota, Shaak-Ti, Maris Brood, and Kazdan Paratus.
The strategies for those don't change any. In fact, it's easier, as he's not a perfect copy, and he also cant copy their special attacks.
However, after you get his health down, he pulls an ace out of his sleeve.
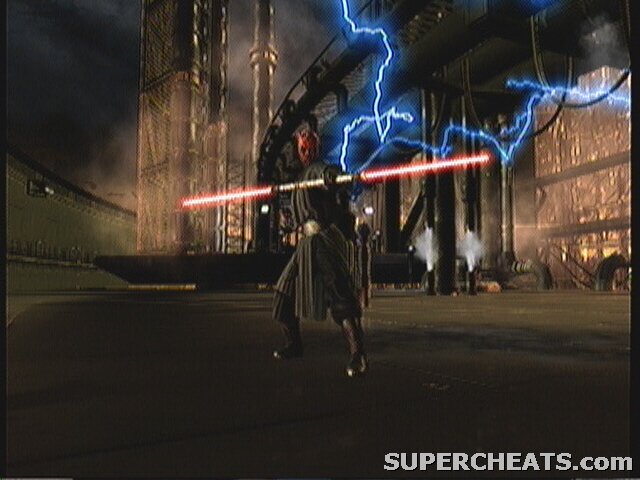 *Duel of Fate plays* |
Now the fight really starts. Darth Maul focused heavily on his Saber techniques. He isn't much of a Force user, but he can absorb and counter the Force pretty well. One of his favorite attacks is a mid-air saber throw, that puts him a distance from you. Attacking him with regular saber attacks is also useless, as he can easily break your stance mid-combo. Don't bother trying to throw stuff at him either, he is way too fast.
You're only hope here is to mix in Sith Saber Slams and Saber Slings, hoping to knock him down. Once he hits the ground, you can stab him a few times before he gets up.
QTE:
360: X, X, A, X, X
PS3: [], [], A, [], []
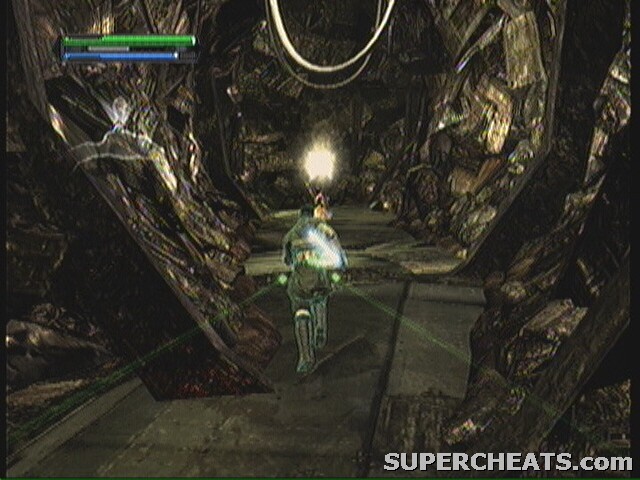
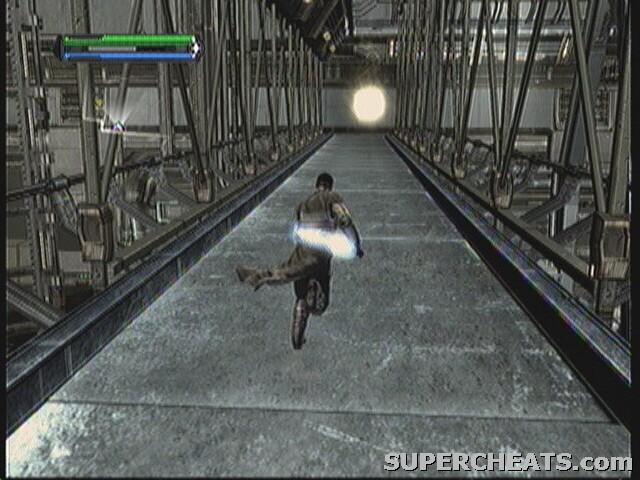
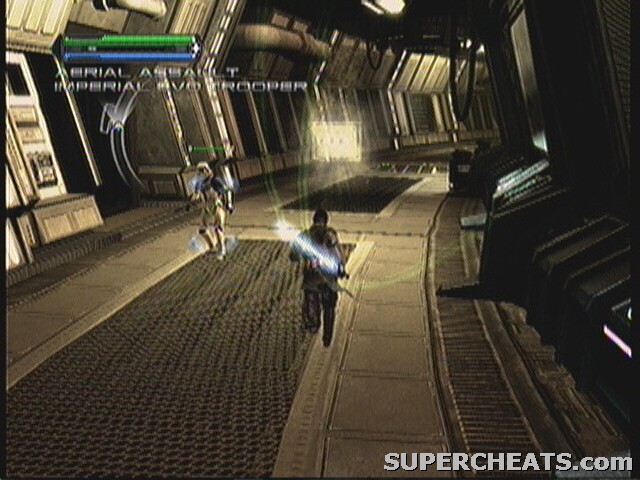
--== Oval Corridor ==--
This area has just about every form of Trooper except Purge and Jump. Enjoy this, as even if you stay still they'll run up and find you.
 Holocron 14/15, 10000 Force Points |
 Holocron 15/15, 10000 Force Points |
- There is also two Holocrons in the area. One on the left side and one of the right. Exit the area through the door opposite the one you came through (watch for the yellow dot).
--== Rail Cannon ==--
Use Push to get out of this room. Turn around and jump on top of the structure. There should be a Commander, EVO, Shadow EVO, Shadow, Jump, Storm, and E-WEB guarding the top side, with a Scout on the side of the building. Push works well on almost all these, no? Once you blow them off, shock the glowing thing in the center.
There are a total of 4 of these on this bridge. All of the are identical to this one.
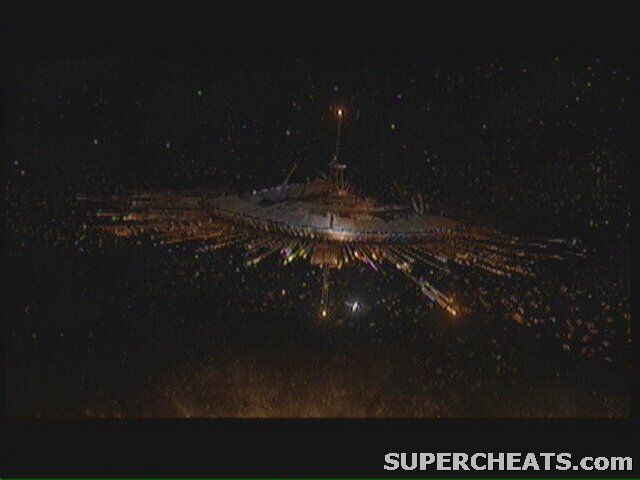
With all four shocked, a shot goes up and destroys the shipyard, but not before a vengeful Star Destroyer gets loose.
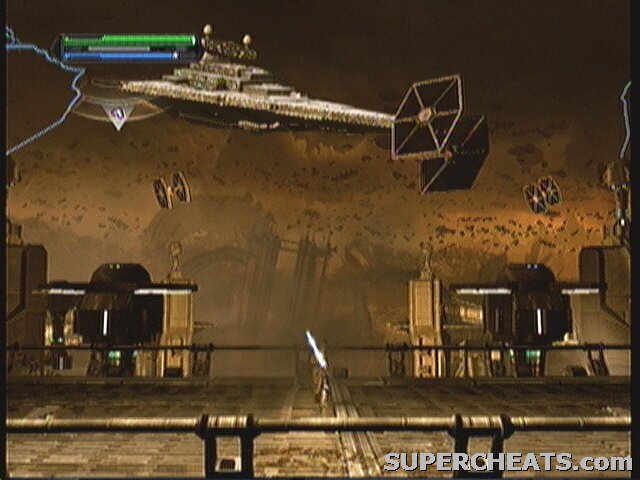 --== Boss: Star Destroyer ==-- |
The Star Destroyer itself isn't really the boss so much as it's weak point. The Tie Fighters are the ones that put up a fight.
This fight consists of Destroying Ties -> Gripping and aligning the Destroyer -> Pulling it down a bit -> Repeat once more Ties show up.
I'll start with the Ties. There are multiple ways to deal with the Ties. One is to stand back and wait for them to pass overhead, then jump up and shock them, another is to Grip them as they fly by (they'll fall out of the sky with just a tap), or finally to throw the explosive barrels that float by at them.
Throwing the barrels works the best, if you know how to do it. Don't just grip and throw, you have to push it out there a ways first. If you don't, it will to flying off at one of the pylons on the left or fight. Besides that, Lighting works the second best, and is a little faster.
After all the Ties are down, Kota will tell you to do something related to pulling down the Destroyer. Run up to the edge of the platform and Grip. You'll see two thumb sticks at the bottom of the screen with a red aura around them. Tilt the sticks in the direction indicated till the aura turns green, then hold the ship there. After a second, the aura will disappear and Kota will say something again. At this point, pull both sticks down to start moving the Destroyer down.
You'll see Ties start to fly in from the distance. Don't let go of the Destroyer immediately or you'll never get anywhere. You'll almost have to take a few hits from the Ties while still pulling the Destroyer. Once your health hits red, then let go and focus on the Ties.
This continues to repeat, as the Destroyer will start to turn to one side while you fight the Ties, meaning you'll have to line it back up again. The faster you fend off the Ties, the less time it takes to line up the Destroyer.
What you need to do is when it tells you to turn and pull down on the right stick hold the right stick down until it doesn't move any mor once you get to the point of it being straight it will turn the other way and then pull down a gain and block the tie fighters and then you can bring it down I just beat it I don't know if you got what I said but if you read it and play you'll get what I'm saying it's really easy I just beat it.
this darth maul is unbeatable when i use force powers he absorbs them and he breaks my lightsaber attacks when i try the attack,attack,lightning,lihtning it works but every time after he does an attacks on me and damages me 10times harder then i did to him
Every time my health goes red and I let go of the destroyer, i die
I am stck on this level
How did this droid get force powers?
I got my help from youtube and it worked but I'm on a xbox 360
thanks alot this really helped
i got stuck on this leval but im going to try what NOV 6 said i hope it works if you got any others to help me out please put it down thanks
The way to do it is to ignore the direction it tells you to move the stiicks and just get the nose of the star destroyer pointing at the centre of the screen on instinct. A case of flip off the targetting display and use the force. Clever game design if they meant it that way- judging by the next cut scene- probably.
Ok i totally agree that this is a hard boss took me weeks but I cant really talk because i never had the green problem or the "rip it down" part because i beat the boss with less than an inch of hp so all ive got to say is just keep trying and youll get it!
Sorry about the unbroken block of text above, I had originally put in paragraph breaks.
~ writer
For those of you having problems with the Star Destroyer, stick with it, use the advice from the Nov 6th post, it's perfect advice. Oh, and if you're playing using a track pad, forget it. You may have been able to play the rest of the game this way (like I did), but if you don't have three arms, you will not be able to achieve the speed or consistency of the mouse to pull the ship down.
To pass this part, you need a mouse, preferably a wired one, on a mouse pad. Follow Kota's directions/ the ones on the screen (if his repetitive voice is drilling a hole in your skull, mute the game) and when you 'rip it down', move the mouse down really slowly and steadily, you'll get more movement out of the ship this way. When the TIE fighters attack, continue 'ripping' until your health bar is red and then dash behind those things with the lights under the cross beam.
To kill the TIEs, it may take you a few tries to figure out the timing, hide behind the things and jump up when jumping up will assure your targeting and zap them with force lightning. Once you get the rhythm down DO NOT move to the other cover thing, stay put and continue to blast TIEs; eventually they will all come around to where you are and you can zap them. They blow up satisfactorily. I don't remember how many tries it took me to get the fighter to the final point, but it works.
The final round against the star destroyer is glitchy, but like I said before, if you follow Nov 6th's post, you should be able to pull it down. Basically you need to get the ship to the same position as every 'rip it down' point previously, even if that is not the directions given on the screen when the ship is in close, before you will get the command to 'rip it down' from Kota. Basically the ship has to be pointing down towards you with the nose towards the right before you get the command.
To see what position I'm talking about, play the video above and skip to 1:40 (sorry, no link) and also 8:48 (still no link)to see the positioning for the 'rip it down' if you notice, there is no vocal prompt after the 8:48 one you have to just pull it down.
It should then come all the way down and then blow up as you run away. If you want to play the Death Star multiple times, I would suggest saving in a different file than your main game at this point. Unless of course you love this boss. ;D
Good Luck
~ writer
The first few times of 'tearing it out of the sky' should not be too hard but the last time there is a little trick. You need to get the star destroyer up and just to the left. The controls down the bottom will tell you to go down at a certain point but just go up a bit further and it will go green. Keep it still for a bit then tear it down!
it is so impossible to bring down the destroyer i still cant and it is really turning me into a ticking timebomb
you have to 'rip it down' several times. if the area doesn't go green, or goes green in the wrong place, you have to go it alone: the destroyer should be horizontal to the ground and pointing straight at you, regardless of the 'magic green area' it will still swap over so you can pull it down. use force grip on the ties and electricity to kill them off quicker so the destroyer doesn't correct too much and it should be done in 3 goes.