Imperial Felucia
Star Wars: The Force Unleashed Walkthrough and Guide
by SPV999
DS | PS2 | PS3 | PSP | Wii | Xbox 360
Star Wars: The Force Unleashed Guide
Imperial Felucia
 Imperial Felucia |
Objectives:
Find and rescue Senator Bail Organa
Bonus Objectives:
- Release the Sarlacc
- Attain 375000 Force Points
- Collect 15 Holocrons
Enemies:
Imperial Stormtrooper, Imperial EVO Trooper, Imperial Purge Trooper, Imperial Incinerator Trooper, AT-ST, Dark Felucian Warrior, Dark Felucian Shaman, Dark Felucian Chieftain, Rancor, Yerdua Poison Spitter
Boss: Bull Rancor / Maris Brood
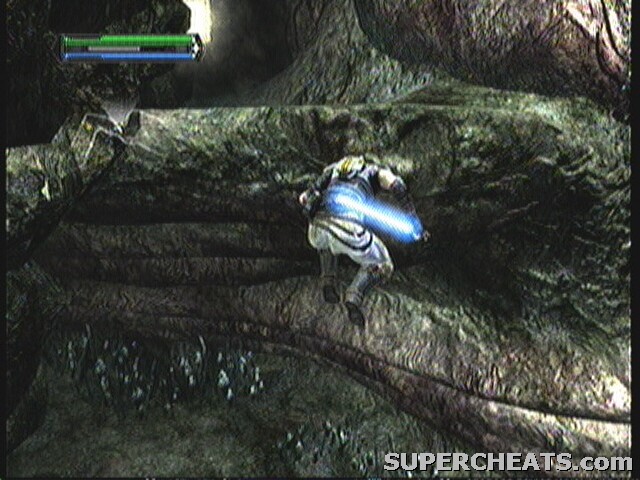
Welcome to the Jungle
--== Landing Site ==--
You rescued the Senators daughter, now you have to rescue him. Must run in the family. The entire planet is a warzone between the Empire and the Felucians, and now you.
You land in a hotspot where the Empire has Troopers, EVO (with shields), Purge, and Incinerator Troopers. Thankfully the only Felucians you have to worry about are Warriors.
I would focus on the Imperials first, they pose more of a threat. Use the debris around the area as both shields and projectiles.
 Holocron 1/15, Green Crystal |
- The first Holocorn is also here, but it's not the one you see right off. From where you started after jumping off the ledge, turn back around to the right to find a secret passage. At the end is an Incinerator Trooper, but the prize is a Green Lightsaber.
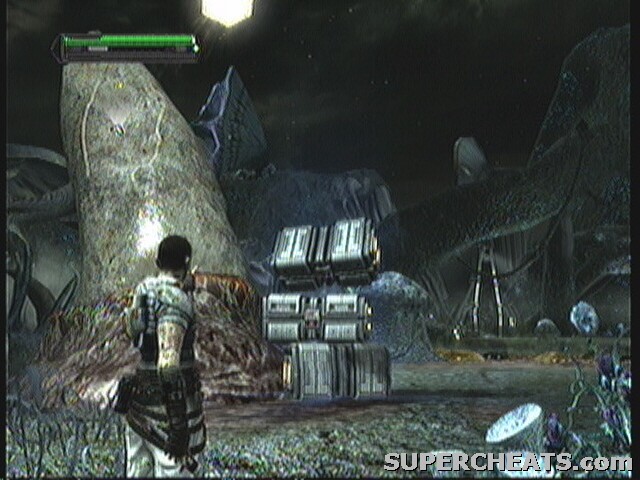 Holocron 2/15, Talent Sphere |
- The second is probably the one you saw right off. It hovers above a large Sarlacc tooth. You'll have to use the debris in the area to build a platform to reach it (3 boxes should suffice).
 Holocron 3/15, 10000 Force Points |
- The final Holocron is at the back of the area. Keep going past the bridge. It's inside the last Sarlacc tooth.
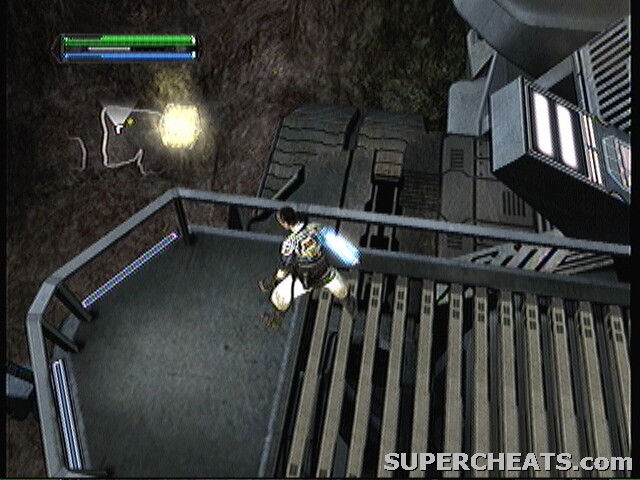
With all the Holocrons gotten, go back to the bridge. There are turrets mounted at the mouth, dash past them and shock the operators.
On the bridge, use the shields for covers to hide from the WEB at the end, EVOs in the center, and two Purge scattered in. The Imperials often cant seem to find their way around them, and try to shoot through them, so using them to hide while charging your next Lightning works well.
 Holocron 4/15, Compressed Purple Crystal |
- At the other side of the bridge, DON'T JUMP DOWN! There is a Holocron on a mushroom on the right side. You have to jump to the ledge under it to reach it.
--== Canyon ==--
This area has some EVO troopers on the ground level, mixed with an Incinerator. Up on the ledge on the right side are two E-WEB turrets. Be sure to jump up and shock them.
As you near the back end of the area, a transport comes down and releases an AT-ST, the shock of the landing triggers an avalanche. AT-STs are exactly the same to take down as their counterparts. Any strategy you used on them will work here. There are even the exploding flowers in the area to help.
 Holocron 5/15, 10000 Force Points |
- When you're done, look for a ledge on one side (a ledge you can jump to) follow it to the avalanched area and look right for another ledge you can jump to. The Holocron is right in there.
 Holocron 6/15, Power Sphere |
- The next Holocron is on the same ledge. It leads around to where the E-WEBs where. Once you have the Holocron, drop back down and use Push to clear the rocks.
Not far in, another AT-ST drops down, but this time it has Felucians and Imperials to back it up. The Imperials are the same you have been facing, a couple throws should take them out. The AT-ST on the other hand, you have no cover from and virtually nothing to throw at it. Lighting is pretty much your only hope.
Continuing down the canyon, drop off the ledge at the end.
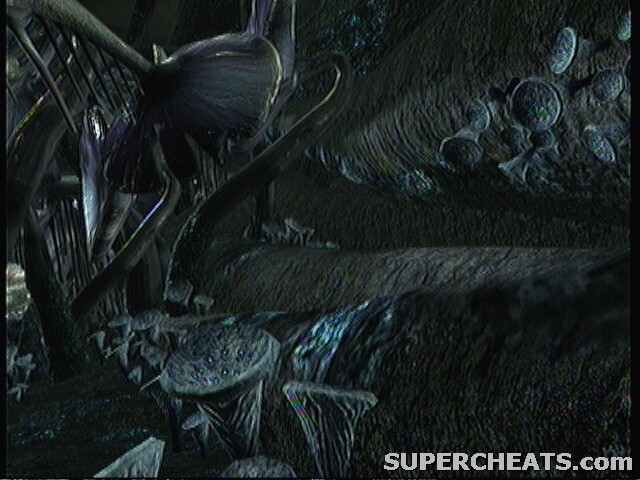
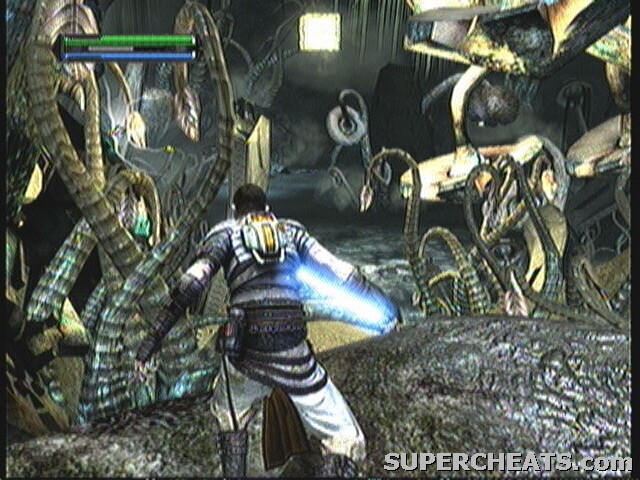
--== Sarlacc Pit ==--
For some reason, the Imperials saw fit to set up main camp INSIDE a Sarlacc. I cant even begin to imagine what they were thinking. In any case, you have to get inside as well, AND while you're at it, free it a bit (for the Bonus Objective).
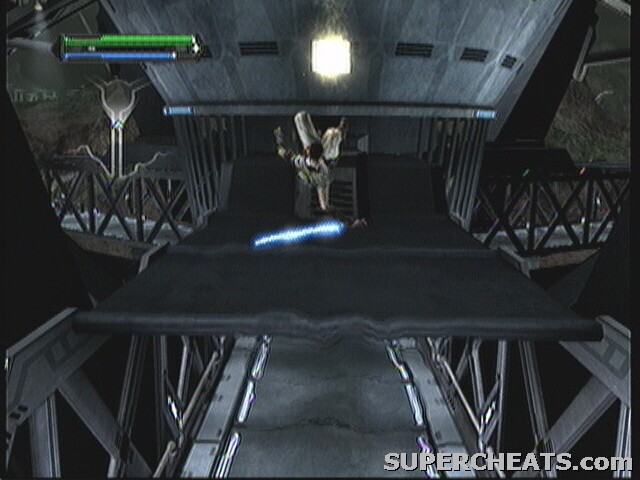
Take a right, and go toward the cable car thing. EVOs guard it on the ground, but there are only lowly Troopers up top. They do have E-WEB but don't normally use them. Jump up on top of it.
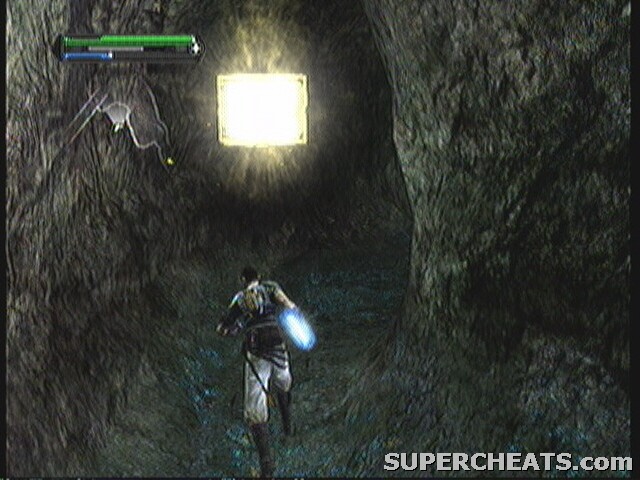
 Holocron 7/15, Vexxtal Power Crystal |
- Be careful not to cut the cables on the top! You have to use them to reach the Holocron. With that in hand, lighting the glowing power box.
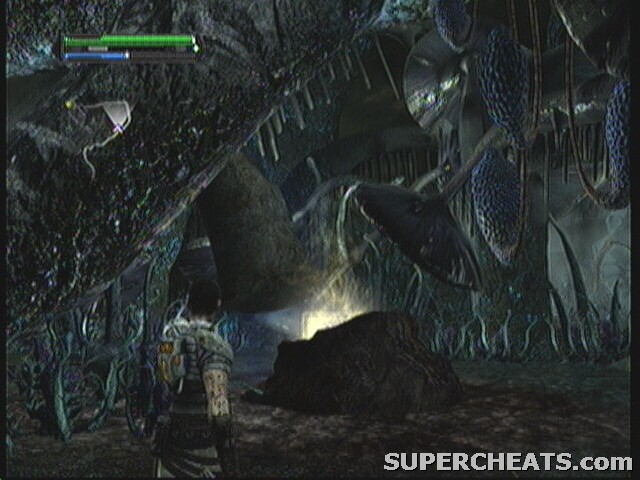
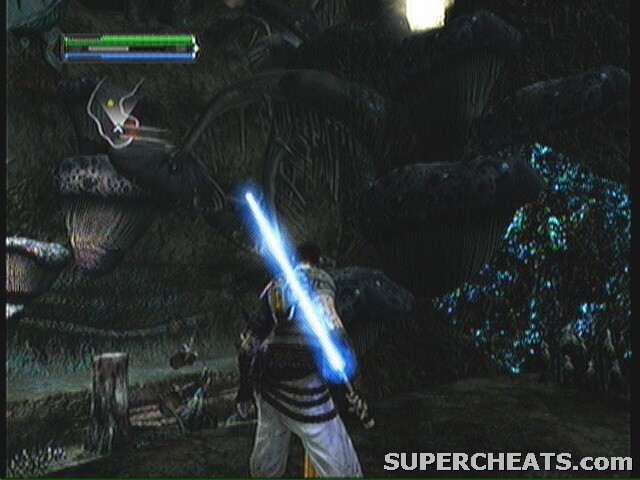
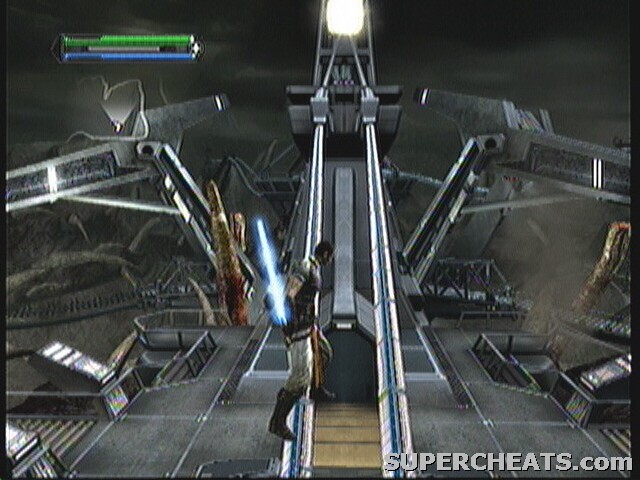
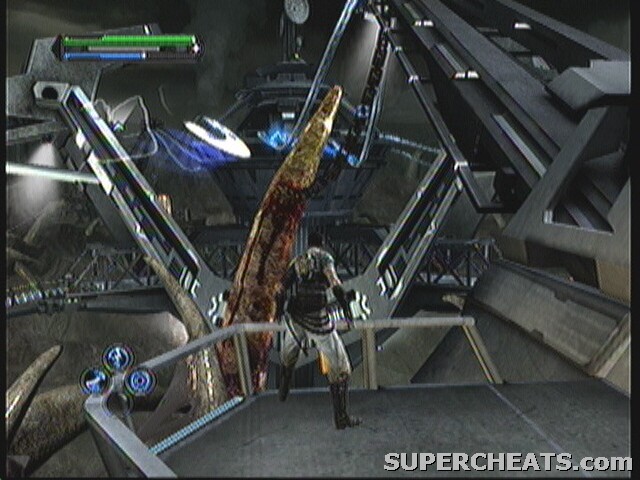 Chain |
- For the bonus, you have to get out on the edge of the platform and look out into the pit. You'll lock on to the chain in the distance. Use Saber Throw to break it. You'll need to do this at the other stations as well.
 Holocron 8/15, 10000 Force Points |
- There is another Holocron behind the cable car. Jump down and grab it.
Follow the bank back toward where you jumped down and keep going till you find a bridge that connects to the tower. The bridge is guarded by EVOs and has a full staff of EVOs, Troopers, and a Purge on it. I like to jet across, use Repulse, then dash around the corner and wait to recharge before using Lightning on the rest.
Take the left hand bridge to the next car. This car is identical to the other one. The area is pretty slim though, so watch out. Once on top, zap the box and cut the chain, just like before.
 Holocron 9/15, 10000 Force Points |
- On your way back to the tower, look above the overhang for another Holocron. One last bridge, one last box, and one last chain. Once you have finally zapped all three, the elevator in the tower becomes functional. Get on and ride it inside.
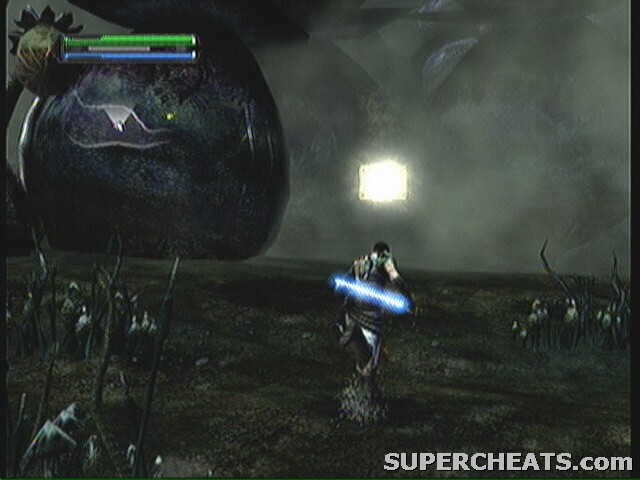
--== Sarlacc Stomach ==--
 Holocron 10/15, 10000 Force Points |
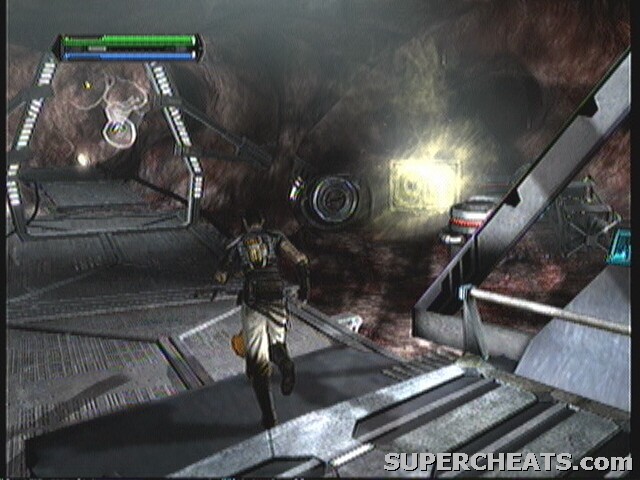
- Right off, there is a Holocron staring you in the face. Make your way deeper in. Don't worry about the pointy things, they don't hurt you. However, when you reach an area with a lantern, DON'T go any further. Zap the lantern a few times with lighting to light it up (you'll know when it's lit. If you THINK it's lit, it's not lit). This will prevent the mouth from sucking you in.
Holocron 11/15, 10000 Force Points
- You'll come to a large storage area with nothing in it. When your pilot gets on the radio and says you're entering... somewhere... and it's a large round room, look in the area above to spot a Holocron. To get to this one, you must use Dashing Blast. Double-jump, dash, and tap Push. You have to line it up perfectly to reach it. If you don't make it, quickly pause and to Level Select. Reload the last save point and try again.
After you have the Holocron in hand, look for a hole at the bottom of the room and drop in. These next corridors have more lanterns that you need to light before proceeding.
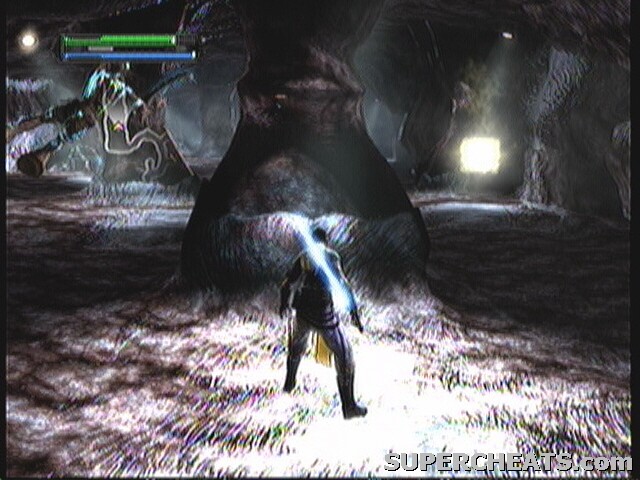
At the end is a lung-like room with strong gusts of wind. The wind will shoot you back to the start of the room, and picks up at random intervals. You have to use the pillars in the area for protection. Stand right behind one to not get blown away.
 Holocron 12/15, 10000 Force Points |
- Stay on the right side of the area to collect a Holocron beside one of the pillars. At the end of the tunnel, you get expelled out.
--== Battlegrounds ==--
This area is good sized. You'll want to use that to your advantage while fighting the Rancor, but the one Shaman in the area also uses the space well. Hunt down the Shaman first, as avoiding the Rancor is an easy feat with so much space.
Near the center you'll probably spot a Holocron floating in the air. You cant reach it yet (well, you can use mushrooms to sometimes get to it, but I find that a pain). You'll have to haul over an object from later in the level to get it.
Once the Rancor goes down, look for a well lit area with Troopers up top on turrets. Jump up after them.
 Holocron 13/15, Unstable Blue Crystal |
- When you're level or slightly above the turrets, turn about and look for a Holocron floating in the air.
At the top of the cliff, beware the Chieftains hunting around. There is also another Rancor in the back of the area. Be careful not to go TOO far to the back, as you'll trigger the boss fight. DO NOT use Grip to throw around any objects in this area.
 Holocron 14/15, 10000 Force Points |
- Kill off all the enemies in this area. During the fighting you'll probably stumble across this Holocron on the left side of the path, behind a rock.
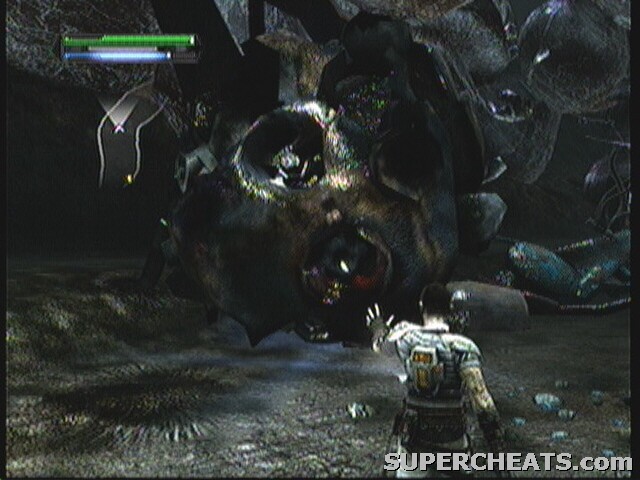 Spider Droid Head |
- Once all the enemies are dead, look around for a large round metal object. Grip this object and carefully take it back to the large round area earlier. I don't recommend throwing it, as you might lose it. Just lift, move, set, repeat.
 Holocron 15/15, Combo Sphere |
- When you reach the area, set it under the Holocron we past earlier and use the extra height to reach it. With the last Holocron, go all the way back and into the cave to enter the next area.
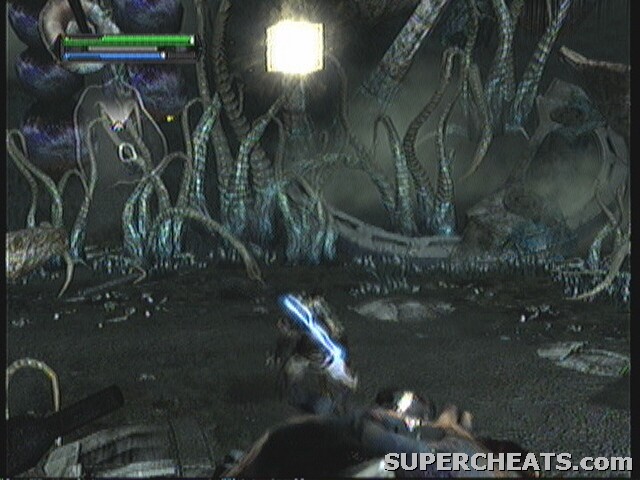
--== Graveyard ==--
--== Boss: Bull Rancor / Maris Brood ==--
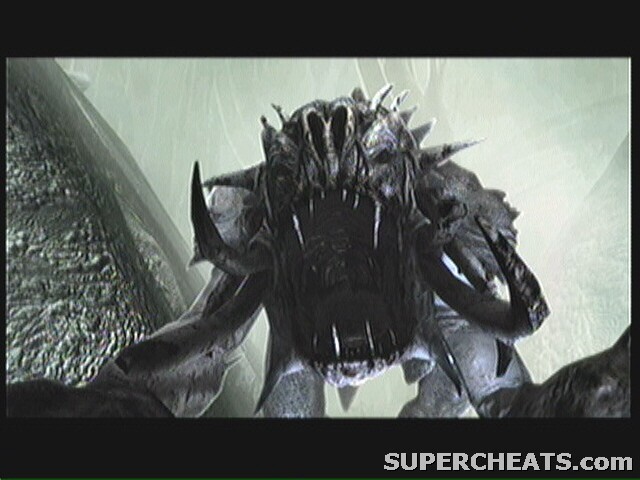 Stage 1: Bull Rancor |
The first stage of this fight has you fighting the Rancor. Unlike other Rancor, this one is pretty impervious to Lightning. It's only real attacks however consist of pounding the ground when you're near it or charging at you like a bull.
Get a good distance away, with your back up against a wall. Look and wait for him to charge at you. At the last second, Dashing Blast away. The attack has a lot of recovery time, giving you enough time to get back to him and use a Sith Saber Smash. Boost away quickly before he pounds the ground and repeat.
Maris will randomly appear from time to time and try to attack, but it's negligible. If you really fell threatened, you can stop what you're doing and run away.
QTE:
360: X, Y, X, B, A
PS3: [], Triangle, [], O, X
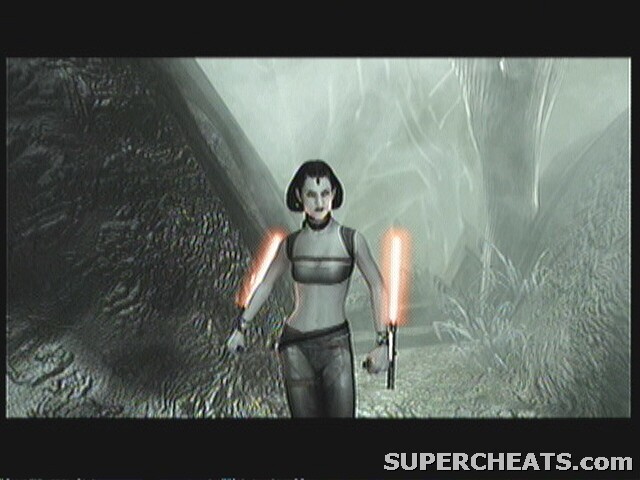 Stage 2: Maris Brood |
You're now fighting Maris in a rather cramped space, which of course SEEMS to work well for her, but you'll find it works better for you. Maris has the ability to turn invisible. This ability is not complete, however, as you can see when she first disappears and you can lock on to her just before she appears.
Her general attacks consists of appearing behind you, using a combo that knocks you down, then throwing her sabers at you a couple times before disappearing again. Any use of Force powers on your part will result in her blocking, then following with Push and a Saber Throw.
The trick to this fight is when she disappears, starts a Sith Saber Slam. Try to guess where she is going to appear, or better yet be in a corner where there is really only one way she can come from. On the final stroke, you slam your Lightsaber and shock the ground. This will knock her out of invisibly and stun her long enough to get at least one more combo in.
QTE:
360: X, A, B, X, X
PS3: [], X, O, [], []
How do i get the force vortex right? I need to know asap. I have been doing it a zillion times with no luck
the force vortex in felucia is hard need help
Rancor is Hard! hes getting my heart pumpin
I've tried to get the holocron in the sarlacc stomach, the huge room. I've tried to double jump dash and push but to no avail. Is there any other way around that part???
I played this about two times but I missed like three holocrons because I was too scared of the scene were you get inside the stomach of the sarlacc but now I plan on doing it one more time soon.
thanks its very detailed
Something
Alright those boss tips are terrible. What you REALLY want to do is get her to throw her sabers. A little practice makes dodging them super easy. While they are spinning in mid-air, lightning her down. Do that a few times and it's an easy fight. All that unnecessary "get her while she's going invisible" crap was a waste of time.
for the person who doesn't know who to realese the sarlloc you just go to the generaters where you turn the elevator on and look at the tintikle to see the blue target and throw your lightsaber.
Maris Brood is so sexy i wish i could tickle her legs
There are two mushrooms at the base of the tower before the holocron in the middle. The bottom mushroom can be jumped on. From there a double jump and perhaps a dash can reach the holocron.
thanks for the walkthough i was looking all over the net for one it was really helpful!!!!!
ow o u release the sarlacc?
i am having trouble getting to the holocrons. i cant figure out how to use the mushrooms for ledges... i cant get on top of them. andy ideas?
ok never mind.. it finally worked