Prologue
Saint's Row 2 Walkthrough and Guide
Saint's Row 2 Guide
Prologue: 3rd Street Saints
Your very first task in Saints Row 2 is to design your in-game persona. Your character's body may have been badly charred and burned at the end of the first Saints Row, but luckily there are apparently some pretty stellar plastic surgeons in the city of Stilwater. There are plenty of sliders and options that you can manipulate to get your character looking just as you want him or her to, however you need not perfect your creation right now at the start of the game; you can change any aspect of your character after his or her initial creation by visiting one of the plastic surgeon offices in the city once you're out of jail.
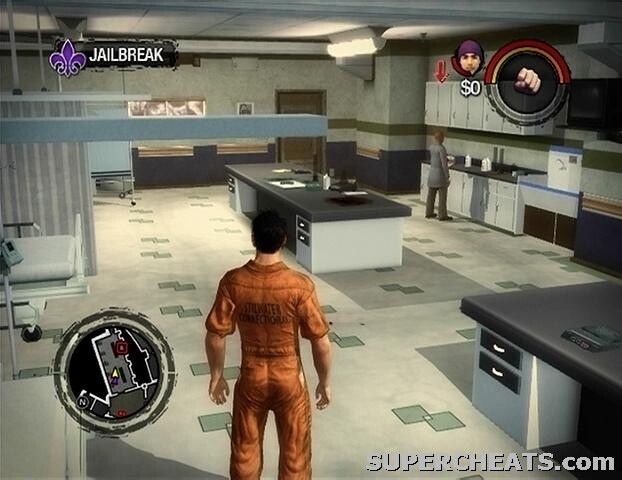
Mission 1: Jailbreak
After confirming your character's appearance, study the 'Melee Combat' pop-ups that appear onscreen before continuing. Your first objective is to kill the doctor in the first room, so waltz up to and hit him with a string of melee attacks. You are then given the opportunity to play through the game's tutorial. It would be a good idea to follow the tutorial if you're new to the Saints Row series.
 |
If you chose the tutorial path, step into the green marker in front of the door and press the Y button (Xbox 360) or the Triangle button (PS3) to kick open the door. Kick open the next door that you come to, kill the two guards that confront you, and then follow Carlos up to the roof. Follow the instructions that appear onscreen to make it up to the roof. Kill the guard that has his back turned to the vent and pick up the NR4 Pistol he drops. There are more guards on the roof to contend with, but even though you now have a ranged weapon, it's best to stick to melee combat for now.
Make your way over to the glowing marker in the northeast corner of the roof and go down the stairs there. Follow the markers that appear on your GPS until you reach ground level. Don't bother trying to take down the police helicopter, just continue on to the docks instead. You can easily avoid the cops outside of the prison by sprinting past them (hold RB on the X360, hold R1 on PS3), but don't leave Carlos behind. Steer clear of any officers as you run past because they are carrying stunguns, which can incapacitate you for a short period of time.
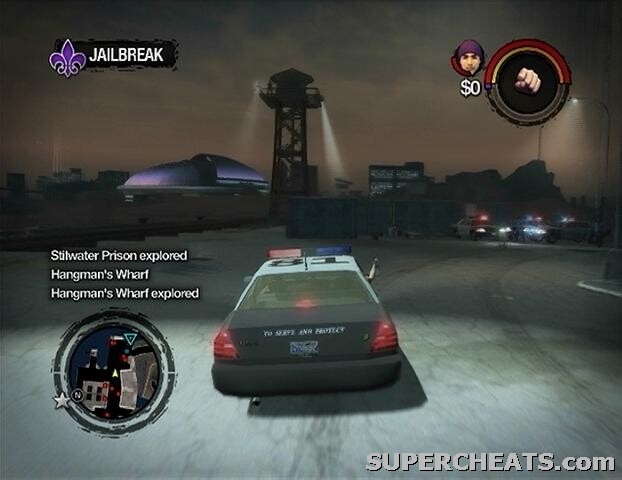 |
Steal one of the parked police cruisers, wait for Carlos to get in, and then follow your GPS over to the docked gunboat. When you reach the spot, get out of the cruiser and hit the glowing marker on the dock to board the boat.
It's your job to fight off the police boats and helicopters that are in fast pursuit. You're on a mounted turret with infinite ammo, so fighting off your pursuers shouldn't be a problem. The Prison Boat can only sustain a certain amount of damage, as indicated by the bar in the upper-left corner of the screen. However, with this being the first mission in the game and all, escaping from the prison will not be too difficult a task.
 |
Once you're back on the streets, make your way to the 3rd Street Saints marker on your GPS to get things started.
Mission 2: Appointed Defender
Get a vehicle and drive to the Sloppy Seconds Thrift Store, which is denoted on the GPS by a cyan square. It's time to lose that orange prisoner's garb in favour of something less conspicuous. The clothes selection here is quite limited, so just put something together and be on your way.
 |
Next, follow the trail on your GPS to the TeeNay club in the Red Light District. Hit the blue marker outside of the club to trigger a cutscene. Afterwards, beat down the two gang members who are looking for a fight and leave the club. You have four-minutes to reach the courthouse in the Downtown District before it's too late.
You are likely being pursued by the Brotherhood after having killed two of their members at TeeNay. Just try to ignore any that are tailing you on the way to the courthouse. When you reach the marker, step out of your vehicle and open the doors to enter the courthouse. Johnny is in one of the courtrooms upstairs, so go up the stairs to the left of the circulation desk, head down the hall, and step in the marker to trigger another cutscene.
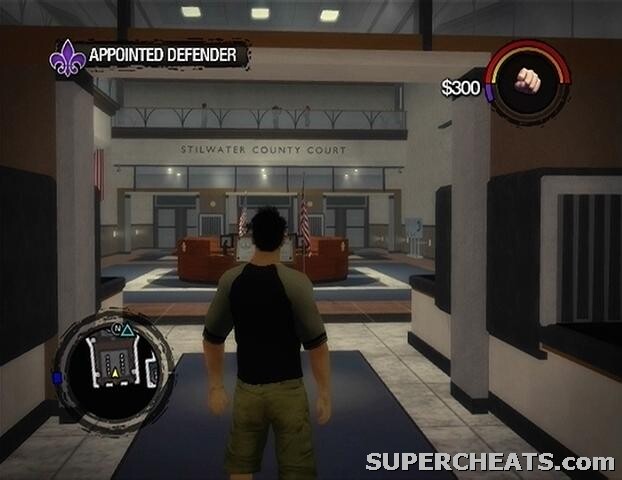 |
Switch to your NR4 pistol and move through the courtroom and into the adjacent hallway. The hallway is littered with guards, and some of them are carrying the Tombstone shotgun. Be sure to pick up all of the guards' dropped ammo after gunning them down, and continue down the stairs to the lobby.
There are many more guards in the lobby, and likely some police officers. Switch to the Tombstomb if you picked one up and sprint to the marker in front of the double-door at the other end of the lobby. Get in one of the vehicles parked outside, wait for Johnny Gat to get in, and then start towards the Forgive and Forget drive-through marked on the GPS. Forgive and Forget drive-throughs will remove all of your current notoriety for a price, allowing you to finish this mission unhindered.
Once you've lost the cops, drive Johnny Gat to Aisha's house in the Suburbs District to complete the mission and unlock the Red Light Apartment Crib.
 |
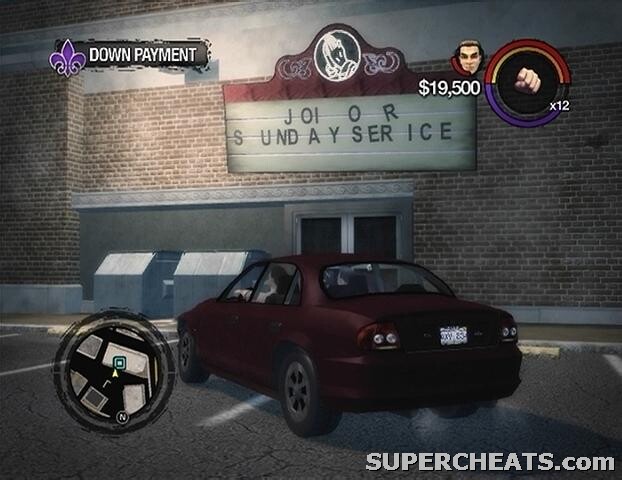
Mission 3: Down Payment
You'll need to fill-up your Respect meter before you can start this next mission. There are several different ways to go about earning Respect, but by far the most efficient method is to run-through some activities. Refer to the 'Activities' section for more information on the various activities in the game.
When you're ready to get started, make your way over to the 3rd Street Saints icon in the Suburb District. After the cutscene, get in the car with Gat and drive to the abandoned mission house in the Red Light District. Once you reach the marker outside of the mission house, proceed through the double door and follow the cyan markers to the abandoned hotel underground.
 |
The hotel is currently occupied by 14 Samedi gang members. You'll have to clear it out before the hotel can be used as the Saints' new base of operations. The majority of the Samedi here can be found in the grassy lower area, but there are a few of them on the ruined second-floor walkway.
When all 14 of the Sons of Samedi gang members have been eliminated, make your way over to the shanties in the next area. There are seven total shanties in this area, as well as armed homeless defending them. To destroy the shacks, first take an enemy as a human shield by holding LB (X360) or L1 (PS3) when standing next to them. Then, aim your shield towards one of the shanties, and then press the LB/L1 button again to throw the enemy at it.
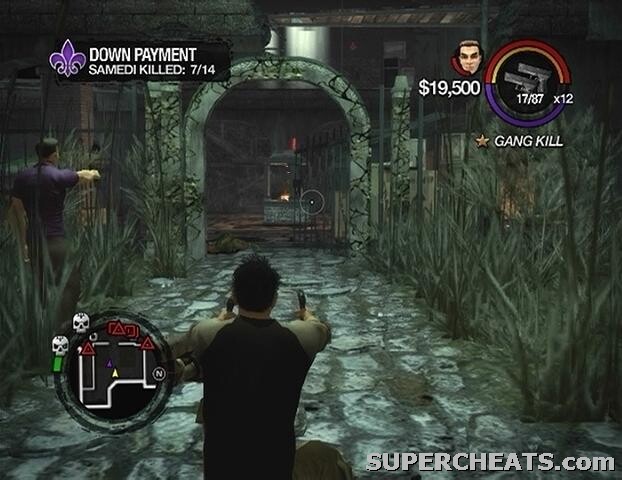 |
Once all seven shanties have been destroyed, kill the remaining enemies in the area to complete the mission and unlock the Saints Hideout at this location.
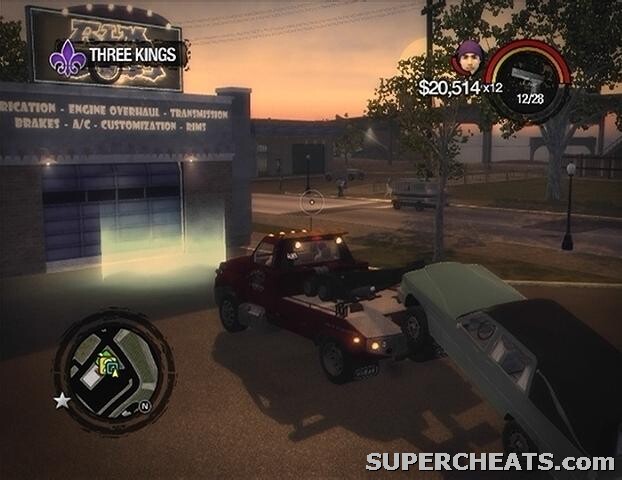
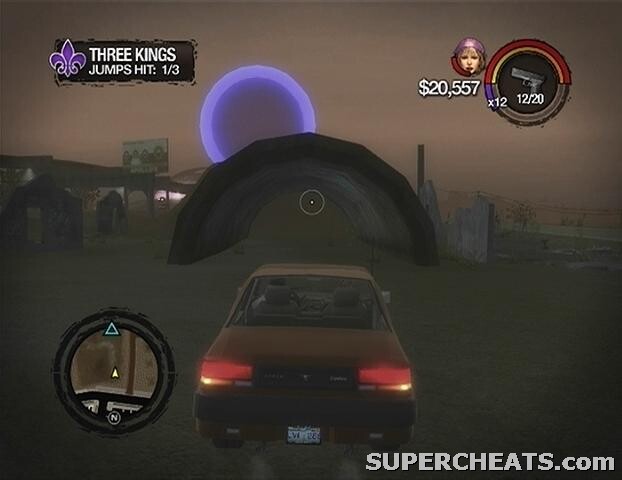
Mission 4: Three Kings
Enter the mission house and stand in the marker there to get started. After the introductory cutscene, get in a car and drive over to the Suburbs District. When you reach the location, three green markers will appear on your GPS. Each of these markers denotes a recruitable Lieutenant. Start with the southwest-most marker, which is Carlos.
Carlos wants you to help him force a friend of his to repay a debt. Get in the tow truck nearby after speaking to Carlos and drive to the marker in the Mourning Woods Cemetery. When you reach the car, back the tow truck up to its front and hold the shoulder buttons (LB RB/L1 R1) until it is completely hitched. With the car in tow, make your way to the garage marked on your GPS and drive into the marker there to gain Carlos as a lieutenant.
 |
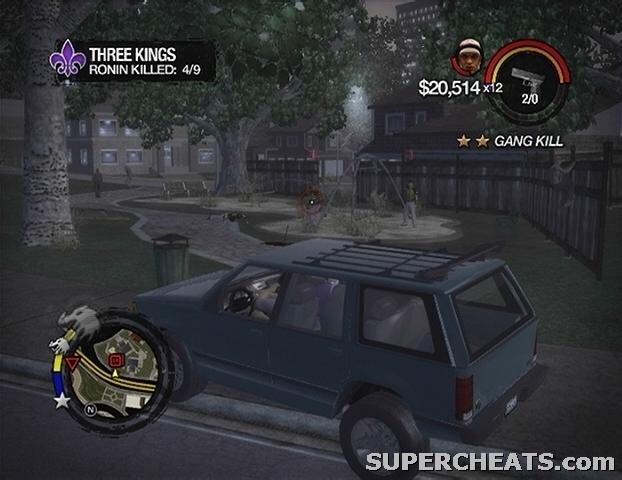
Another recruit, Pierce, is denoted by the southeast-most marker, which is just a short ways east from Carlos' location. Pierce wants to see you to kill a total of nine Ronin gang members before he'll agree to join the Saints. Drive to the red markers on your GPS and kill the Ronin there until you have reached the quota to gain Pierce as a lieutenant. There's no need to step out of your vehicle to fight every batch of Ronin; you can just as easily run them over or fire at them from the driver's seat.
 |
Once Pierce is satisfied, meet Shaundi at the final marker. You'll have to hit the three jumps marked on your GPS to impress Shaundi. Get in the car parked in the driveway and head for the Trailer Park District just down the road. Drive down the slope and hit the ramp to clear the gap. To clear the next two, speed through the half-pipe across from the hill, hit the jump, and then continue speeding off of the broken ramp to clear the next one.
 |
Gain all three lieutenants to complete the mission and unlock the 'Welcome Back' achievement if you're playing the Xbox 360 version. You'll also unlock the ability to recruit one follower by pressing up on the D-pad when targeting a Saint.
Now you must choose which of the three mission lines to start. The starting points for the Ronin and Sons of Samedi are just outside the mission house. The Brotherhood starting point is in the Factories District on the southeast end of the map.
Xbox 360 | PlayStation 3 | PC
i didnt understand
Is tht all the missions for saint I've took over bikers but the other missions dnt show up on map I have 45x in respect