Uplift Reserve
Halo 3: ODST Walkthrough and Guide
Halo 3: ODST Guide - Walkthrough
Uplift Reserve
Mombasa Streets
Character: The Rookie
Objective: Search UPLIFT RESERVE for ODST squadmate
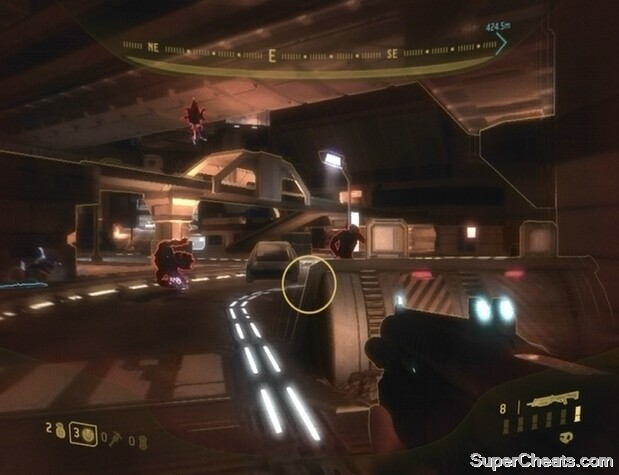
Make your way back down to street level and start following the marker on your compass to the next Beacon. At about 440 metres from the Beacon, you will encounter a group of three Brutes and an Engineer. The Brutes are affixing a charge to the Engineer, which will eventually cause it to explode.
 Kill 10 Engineers to earn the Naughty Naughty achievement. Play through an entire campaign without killing a single Engineer to earn the Good Samaritan achievement. |
The Engineers are associated with two different Xbox 360 achievements: Naughty Naughty (worth 5 Gamerpoints) and Good Samaritan (worth 30 Gamerpoints). To unlock Naughty Naughty, one must kill 10 Engineers in a campaign. To unlock Good Samaritan, one must play a campaign from start to finish without killing a single Engineer. So clearly, earning both of these achievements will require two separate playthroughs. Decide what you want to do now and act accordingly when you encounter an Engineer in the future.
Regardless of your intent, the Brutes have planted a charge on the Engineer, so keep your distance to avoid being caught in the initial blast as well as the ensuing scattered explosions. If you’re aiming for the Naughty Naughty achievement, immediately begin firing at the Engineer once it’s up in the air or stick it with a Plasma Grenade while the Brutes are still holding it for the kill the count.
After dealing with the Brutes and Engineer, continue following the marker on your compass. When you reach the Beacon, keep an eye out for a Jackal sniper on top of the building along the southeast side of the area. Either kill him or avoid his fire and head straight for the clue at the bottom of the stairs at the southwest end of the area. Activate VISR and look for the DRONE FIGHTER OPTICS on the ground there. Hold the RB button when prompted to start the level.
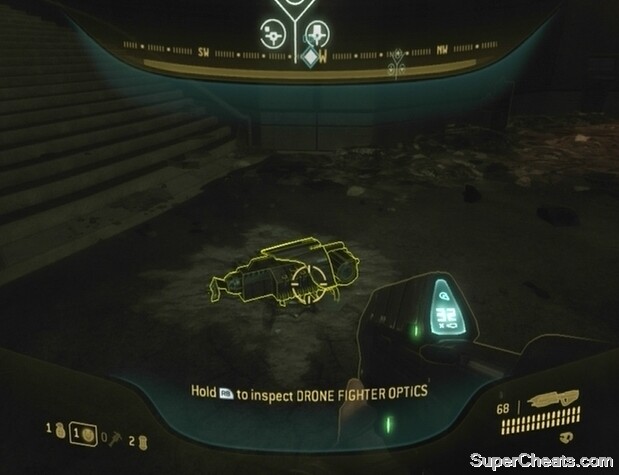 Find and inspect the clue in Uplift Reserve to start the mission. |
Uplift Nature Reserve
Character: Dutch
Achievements: Uplift Reserve, Wraith Killer (destroy all six Wraiths).
Objective: Link up with friendly forces
You’re armed with a Spartan Laser and a Silenced SMG. Save your Spartan Laser for Wraiths, especially if you’re after the Wraith Killer achievement. Start down the path northeast of the beach. When you reach the next area, flip the overturned Warthog. If you have faith in your AI allies get on the turret, otherwise hop in the driver’s seat and wait for them to board.
A couple of Choppers and Ghosts will come from the west. If you’re on the turret, take out the enemy drivers as your Warthog passes by. If you’re driving, try to get your gunner alongside an enemy vehicle to give him a better shot at the driver. Continue further west and you’ll soon spot a Wraith in the distance.
Immediately hop out of the Warthog and equip your Spartan Laser. Begin by holding RT and move around to avoid enemy fire while the weapon is charging. Keep the target reticule trained on the Wraith until the Spartan Laser fires to destroy it. Don’t switch weapons just yet, as another Wraith will soon be dropped by a Phantom. Do the same to the second Wraith and then return to the driver’s seat of the Warthog (provided it’s still in one piece).
 Use the Warthog to clear the area of enemies. |
Objective: Find marine second platoon
Follow the trail at the northwest end of the first area and drive through the tunnel you reach to enter the next. As soon as you’re through the tunnel, turn left and drive west to the beach. Drive around to the pond along the northeast side of the area. On the hill overlooking the pond is a Brute armed with a Fuel Rod Gun, a Brute wielding a Brute Shot in the purple tower, as well as a couple of Ghosts to contend with. Continue driving around the hill and try to get your gunner in position to take out the two Brutes. Keep driving because it all takes is one direct hit to trash your vehicle.
When the Brutes on the hill have been taken care of, continue west. Three Banshees will soon appear overhead. When they appear, reverse and drive around the Banshees while your gunner shoots them down. Once the Banshees have been destroyed, continue down the path.
There are two Shade turrets along the ridge at the north end of the area. Don’t drive any further than the purple cover between the hill and rock to avoid taking fire. There’s also a single Chopper in the area below the ridge; your gunner should be able to take out the driver without too much difficulty. If the Chopper approaches, back up and wait until your gunner manages to kill the driver before concentrating on the turrets.
While facing the ridge, move forward to allow your gunner to fire at one of the turrets along the ridge, but reverse when the turrets fire to avoid taking damage. Keep this up until both of the turrets have been destroyed or the operators killed. Continue up the ramp below the ridge and ram into the Shade at the top to disable it. A Ghost will soon speed through the tunnel at the other end of the road; take out the driver before he warns the Brute Chieftain in the next area.
 Allow your ally to kill the Shade turret gunners before driving onto the ridge. |
Objective: Find Colonel across bridge
There are Choppers, Wraiths, and Shade turrets in the large, open area at the end of the path. Drive down the ramp and get your gunner in position to take out the driver of the Chopper below. Continue along the east side of the building in the middle of the area. There is a Shade turret on the hill around the corner of the building; move forward to allow your gunner to fire at the turret, but reverse to avoid getting hit by its projectiles.
When the first turret is down, drive up to the ridge. Be careful, as there is another Shade turret next to the stairs. Allow your gunner to take out the turret before continuing south. There is yet another Shade turret on the same ridgeline next to a second set of stairs; get your gunner in position to take the turret out, as well as any other enemies visible on the hill.
There are two Wraiths on top of the hill, so once all three Shade turrets are down, get out of the Warthog, equip your Spartan Laser, and start walking along the ridge. Use your Spartan Laser to take out each Wraith when you encounter them.
Achievement Tip -- Wraith Killer: If you’re after the Wraith Killer achievement, you can find another Spartan Laser in the building in the middle of this area. After destroying the two Wraiths on the hill, before leaving the area, get back in the Warthog and drive to the building. Look for a fresh Spartan Laser in a puddle next to the two sets of stairs at the south end of the building.
Grab this Spartan Laser if you’re after the Wraith Killer achievement.
After destroying the two Wraiths, return to the driver’s seat of the Warthog, drive up the hill and continue north through the doorway to the next area. Speed down the bridge and through the corridors that you come to.
Objective: Drive up and out of park
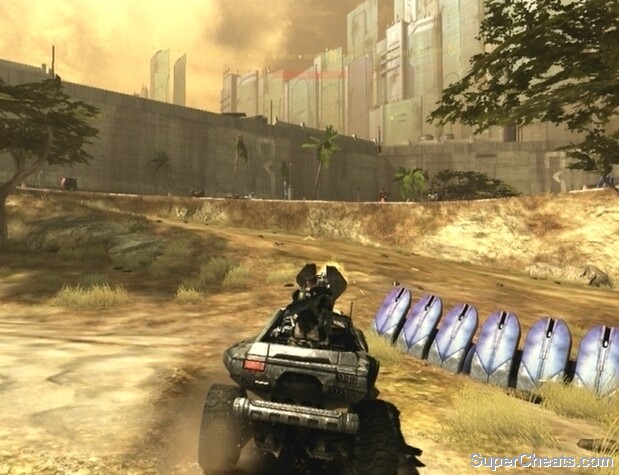
At the end of the bridge, follow the trail to another hill. There are two Shade turrets along the start of the spiral ramp up the hill, and a purple sniper tower at its base. Drive below the ramp while your allies work to kill the gunners. When both turrets are out of service, drive up the ramp to reach the next area.
When a purple platform comes into view, slow down and inch your way up the incline. There’s a Shade turret by the tree on the left, as well as a couple of Jackals. Inch up to the top of the incline to allow your gunner to fire at the turret and Jackals, but reverse to avoid taking fire. Keep this up until the turret and Jackals have been dealt with.
The fifth Wraith of the level is in this area. The enemy vehicle should be to your right once you’re past the incline. Drive a bit further into the area, hop out of the Warthog, equip your Spartan Laser if it isn’t already and use it to destroy the Wraith. With that done, return to the driver’s seat of the Warthog and start down the trail beyond the wrecked Wraith.
 Destroy the Wraith and then continue on into the next area. |
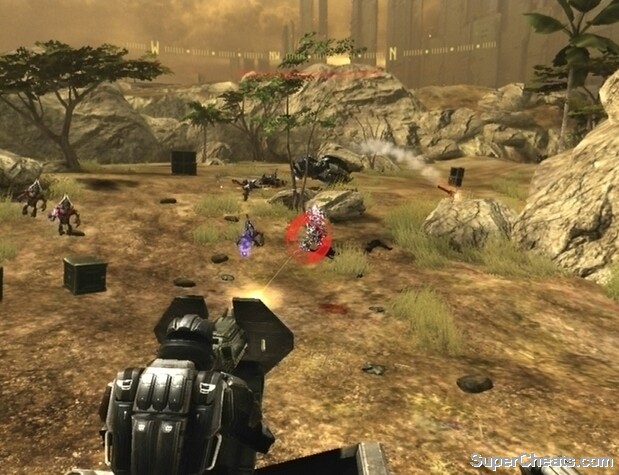
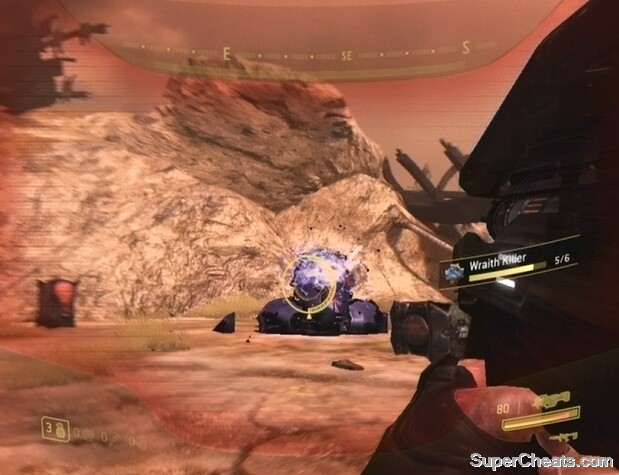
As you drive along, keep an eye out for a Brute wielding a Brute Shot and steer clear to avoid getting hit. The final Wraith is in the next area, but it’s surrounded by Grunts, Jackals, and Brutes. Among them is a Brute War Chieftain wielding a Fuel Rod Gun. Take to the Grunts behind the purple barriers at the start of the area first.
There are two Plasma Turrets and two Brute gunners, as well as some more Grunts, behind the second set of purple barriers further up. Try to stick the Brute gunners, and then gun down Grunts with your Silenced SMG. Luckily the two Brutes are wearing light armor so they won’t take much to kill.
When the start of the area is clear, equip your Spartan Laser and take to destroying the Wraith. With that done, try using your Spartan Laser to kill the Brute Chieftain at the northeast end of the area and then any other enemies with whatever ammo you have left.
Once the area is relatively clear of enemies, return to your Warthog (or grab the Ghost behind the first purple barrier if the Warthog was destroyed), head to the north end of the area, and drive off the cliff to the east to complete the level.
Unlocking the Wraith Killer achievement.
More for Halo 3: ODST on Super Cheats
1078