Rescue from Paradise
Fallout 3 Walkthrough and Guide
Fallout 3 Guide - Walkthrough
Rescue from Paradise
|¯¯¯¯¯¯¯¯¯¯¯¯¯¯¯¯¯¯¯¯¯¯¯¯¯¯¯¯¯¯¯¯¯¯¯¯¯¯¯¯¯¯¯¯¯¯¯¯¯¯¯¯¯¯¯¯¯¯¯¯¯¯¯¯¯¯¯¯¯¯¯¯¯¯¯¯¯¯|
|ITEMS: [] Eulogy's Hat, [] Paradise Falls Box Key, [] Speech Bobblehead,      |
|       [] Nuka-Cola Quantum x5.                                               |
|                                                                              |
|ENEMIES: o Slavers                                                            |
|                                                                              |
|QUEST REWARD: Entrance to Little Lamplight.                                   |
|                                                                              |
 ¯¯¯¯¯¯¯¯¯¯¯¯¯¯¯¯¯¯¯¯¯¯¯¯¯¯¯¯¯¯¯¯¯¯¯¯¯¯¯¯¯¯¯¯¯¯¯¯¯¯¯¯¯¯¯¯¯¯¯¯¯¯¯¯¯¯¯¯¯¯¯¯¯¯¯¯¯¯
Select ‘Rescue from Paradise' as your active quest and head for your new location. Talk to the guard called Grouse, and ask him to be let in. If you have been playing a naughty boy or girl - in other words, if you have negative Karma (-250 or less) then you'll be allowed inside without any problems. If you haven't been that bad, no worries, you can either bribe him with a whopping of 500 Caps (Speech) or do him a favor: Enslave someone for him. Refer to the ‘Strictly Business' Section if you want more information regarding this.
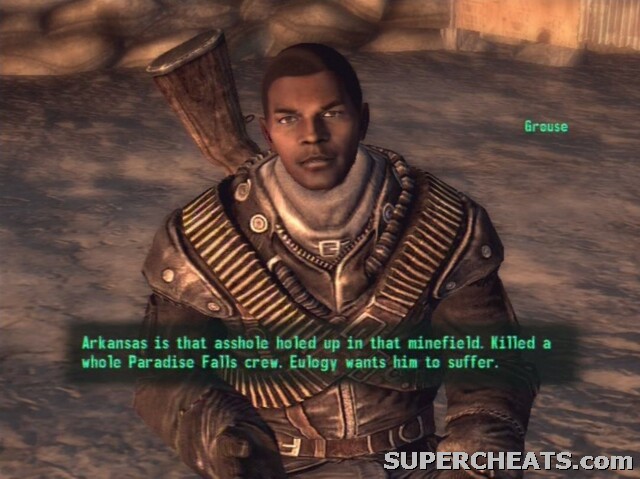 Grouse's rudeness can by quite funny if you take it lightly. |
Note: It's also possible to kill all the slavers in the complex, but this is far from the recommended method, because you'll miss out on a lot of additional quests and goodies.
Once you're inside, head for the doors on the southeast and watch a slaver's head get popped off. Tough luck.
In the next area, turn around the corner and head to the south/southeast until you reach a building called ‘Eulogy's Pad'. Go to the eastern room and grab [EULOGY'S HAT] from the table. Mind you, it's stealing (although you don't lose Karma), so do this when no one is inside the room with you. Also check out the little table next to the large bed and grab the [PARADISE FALLS BOX KEY] from it. Check out the desk with the terminal and find the [SPEECH BOBBLEHEAD]. Head south and search behind the stairs to find a whopping of [NUKA-COLA QUANTUM x5]. These should be conserved for a different quest.
 Look for the Speech Bobblehead on a table in Eulogy's Pad. |
Head up south and pass through the gate. Here is where the slaves are kept.
Note: If you want to have some fun, crouch and interact with the Brahmin here. Programmer humor! Flip it over!
Do not open any of the slaves prison gates because all slavers will turn against you. Talk to Sammy and Squirrel on the left to get the quest going. Looks like you have several options now:
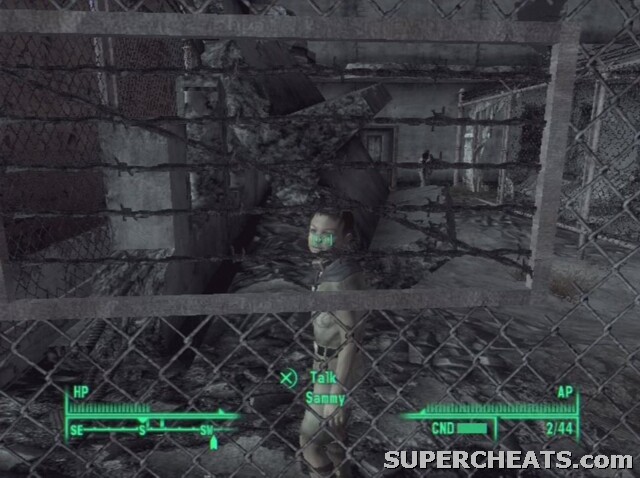 The poor kids got themselves enslaved.. Or are you just here to gain access to Little Lamplight..? Whatever the reason, have a little chat with Sammy. |
1. Find Eulogy and buy the children out. This costs 2000 Caps or 1200 Caps with a successful speech challenge. I'd say this isn't worth it, but it's fast.
2. Kill all slavers and get out. Not recommended at all.
3.1. Find the terminal (50 Science Skill needed) in Eulogy's Pad and select the ‘Update Network Connections' option. Unlock the [SAFE] too while you're at it. Report back to Squirrel.
3.2. Find the Junction Box. Head for the Food Area west of Eulogy's Pad, and search for it on the northern wall. This requires a decent Repair Skill.
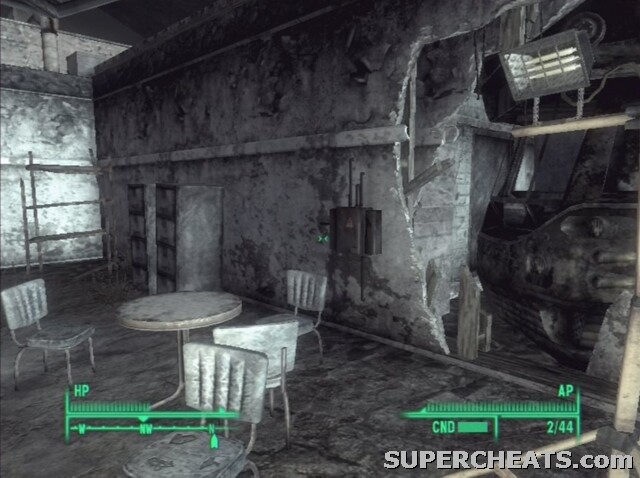 The Junction Box only requires a fair Repair skill to be fiddled with. |
I suggest you do either 3.1 or 3.2 and return to Squirrel. He now needs you to distract Forty away from the cells. The best time to do this is around midnight when he's the only one around, pretty much. You have two options now:
1. Speech Challenge Forty and trick him into thinking he should get a raise from Eulogy. He promptly goes to arrange this.
2. Find a slavin called Crimson and Speech Challenge her that Forty is looking lonesome tonight. If this doesn't work, pay up 100 Caps to enclose the deal either way. This will keep Forty occupied.
With Forty out of the way, all that's left to is talk to Squirrel and Sammy. Or is there? Looks like Penny doesn't want to leave. Head over to her and she tells you that a Mungo called Rory Maclaren is stuck here too, and that she isn't planning on leaving him behind.
You can Speech Challenge Penny into leaving him behind. If this doesn't work, you're going to need a key. There are three keys available, and you should already have the one from the table. The other two are much harder to get, because you'd have to pickpocket either Forty or Eulogy themselves! Fortunately one key is more than enough.
Open the box nearby the toilets and talk to Rory. You can leave him on his own, kill all slavers first (no, no) or escort him to the gate yourself. The latter is your best bet, although he is likely to be killed by slavers either way.
It doesn't matter if he dies, and even if the slavers find out it's you they just play dumb about it. There is no Karma loss either. At any rate, quickly head back to Penny and tell her the bad news. She will now escape Paradise Falls as well. Head back outside and meet the kids on the worldmap.
You can now fasttravel back to the Little Lamplight, and the kids will be fine.
MacCready lets you inside, and you can finally continue your main quest.
Picking Up the Trail Continued:
When inside, talk to Mayor MacCready again. It looks like there are two way to get into the vault, a safe and a not-so-safe one.
The safe path requires a somewhat trained Science skill, so you're out of luck if you don't. You can wear Lab Coats (Lesko's, perhaps?) to boost your Science Skill with up to 10 points. This path requires you to talk to MacCready, followed by talking to a kid named Joseph who can be found in the Great Chamber. You'll also need to hack a terminal in order to take the safe path. On the other hand, the Murder Path is .. well, yeah, it is kind of bad.
First of all, head over to the food area. You can find three [AMMO BOXES] to the east of the counter. Now head to the Great Chamber. You can buy a [WAZER WIFLE] from a kid called Biwwy here, usually located in the NE. If you have a 50 Barter Skill you can buy it for 250 Caps, or, even better, if you have the Child at Heart perk, you can get it for free. Chweck the.. I meant, check the northwest area to find a [HOLOTAPE] on a pooltable's edge, and a [BOTTLECAP MINE] even more to the west at a Workbench.
Search the area some more. You can find two [AMMO BOXES] on some shelves when you explore the circular walkway in the center of the room.
When you're ready to continue you soon find you have two option:
1. Go through Murder Pass. Many, many, many Super Mutants lurk here.
2. Go through the Vault 87 door (requires a 50 Science Skill).
I suggest you go for option 2, which means you need to find Joseph, who can be found in The Great Chamber. The thing is, Joseph can be a pain to find. What usually works best is to head into the office near the entrance of Little Lamplight and wait until it's 8.00 in the morning, perhaps a little later. Joseph will sometimes be teaching in the classroom. At other times, you may find him just outside the office building. At any other time, he's hiding somewhere, god knows where, maybe in The Great Chamber.
When you do find him, ask him about the terminal and he'll bring you right to it, north of the Great Chamber. He'll flip the power on for you, so all you have to do is hack it and go through the door to the Reactor Chamber.
Murder Path:
 A shiver crawls up your spine as your feet set their first few steps in Murder Pass. |
Talk to MacCready and ask him about the Murder Path. When you finally reach it, prepare yourself for some fast running. The idea here is to not kill all the Super Mutants because it will result in an incredible loss of ammunition AND health. Instead, rush through the tunnels past all Super Mutants (this you may find a little scary, so save your game) and head northwest/north to the very exit. Near the end, rush through several doors. You can now either kill the remaining Mutants that have followed you through all the way (perhaps 1 or 2) or simply proceed to the next area. If you want, you can always do multiple attempts and see which one got you the best result without losing too much food and stimpaks. You most likely will lose a few stimpaks on the way.
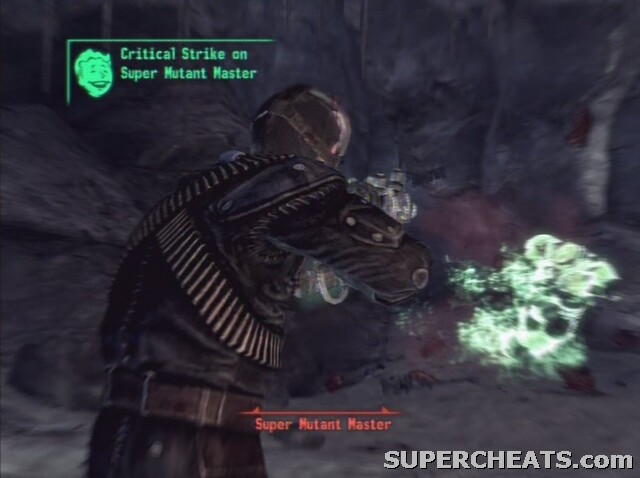 Super Mutant Masters are cure when they're green; When they're green *and* goo. |
What was the password
(just to add info) I had a little troubble with the terminal route. It seems i had to find the terminal myself, then go find the Mayor and ask him if murder path is the only way. after he told me about the "broken" terminal, i could then find Joseph and get him to power it up for me. Great guide otherwise
i went and killed all the slavers in Paradise Falls... i then searched all the rooms took anything valuable and let squirell or sammy go i cant remember.. i told them the gate is open and to run so one of them did but i couldnt find the other slave... now i cant get in vault 87 and idk where the one slave ran off too
any suggestions of what to do