05 :: Trisagion
Devil May Cry 4 Walkthrough and Guide
Devil May Cry 4 - Mission 05: Trisagion
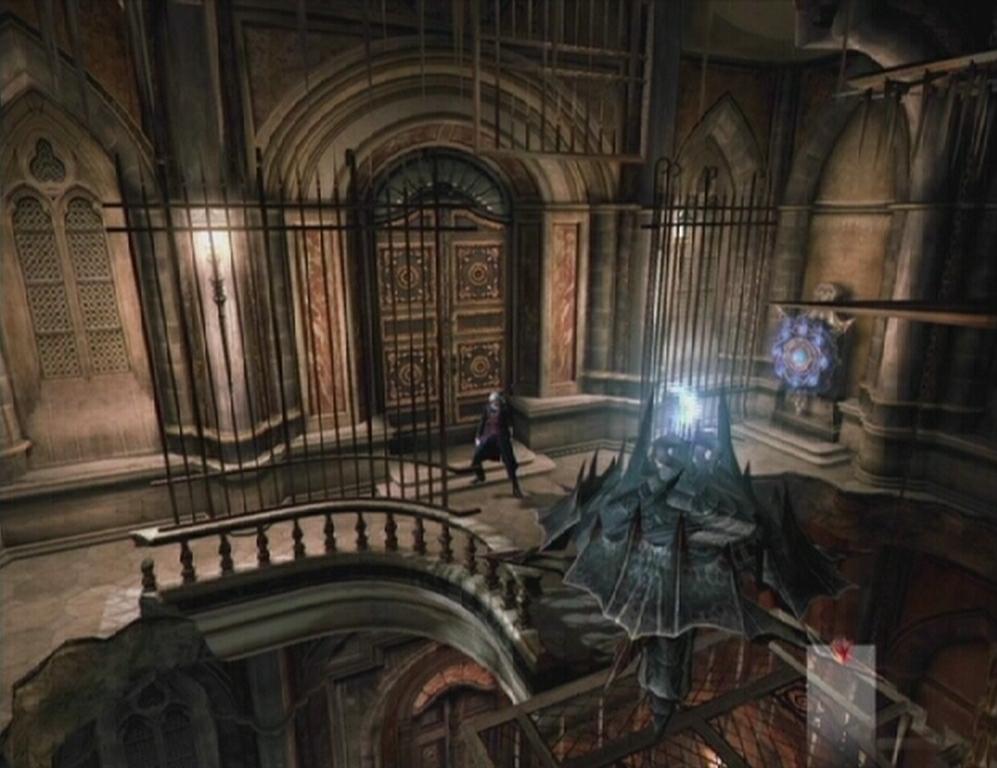
Right off the bat, a pair of Mephisto manifest and attack. These guys look scary, but their ethereal cloaks can be snatched away, leaving behind a pathetic, writhing, insect-like creature. The Mephisto can be hard to grab while they're cloaked, so wait until one is readying an attack and then use Snatch several times to remove its cloak.
Your enemy is snatchable once uncloaked, so pull the pathetic thing towards you and dish out some damage with a combo. If you aren't quick enough, the exposed Mephisto will don its cloak again; just snatch it away once more and finish it off. Since you're facing two of them, try using Streak to push the uncloaked Mephisto away from the other to avoid attacks from the cloaked Mephisto.
Rusalka corpse you acquired after defeating the boss at the end of the previous mission, Nero's Devil Arm will glow when you reach the stairs at the south end of the area. If you hop off of the stairs and walk underneath the archway you'll find the Secret Mission 03 parchment attached to the base of the stairs. You can't complete this one without the Hold ability, so you'll have to return to this area sometime after completing Mission 08 when it's acquired. Check out the 'Secret Missions' section for more info.
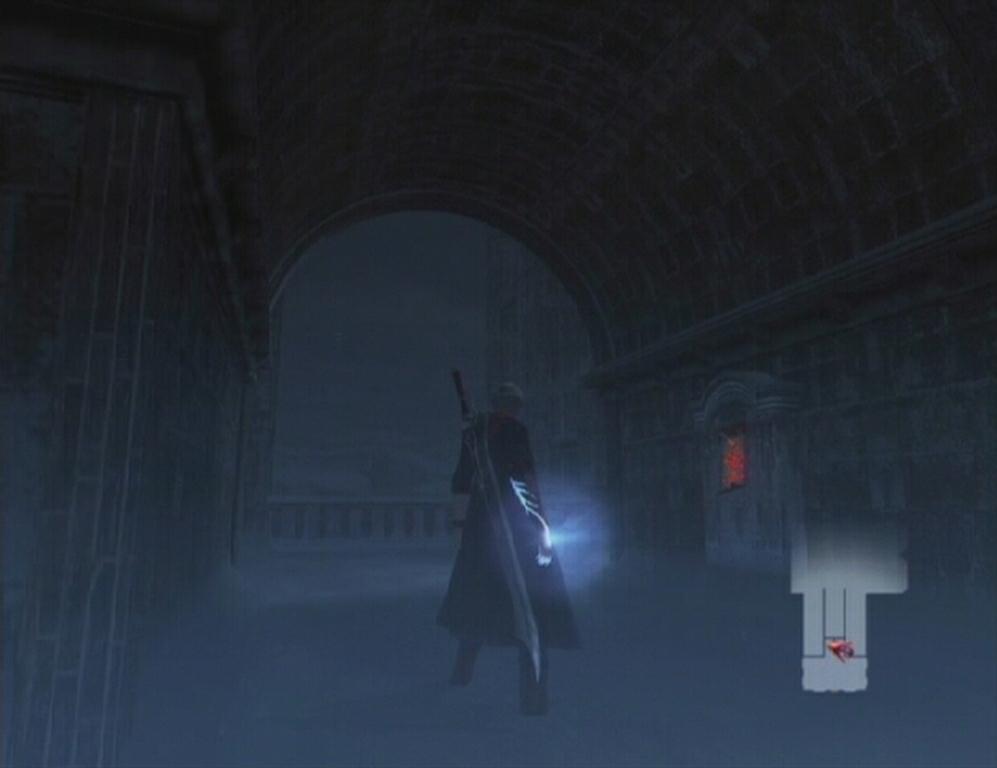 Secret Mission 03 |
Tip -- A Gold Orb sits on one of the stone ledges along the eastern side of the graveyard. To get to this orb, first smash the statue in the middle of the area, hop onto the pedestal, and face east. Next, jump towards the ledge, use Roulette Spin and then Air Hike. If you did this correctly, you should have landed on the middle ledge. From here, use Streak 2 to collect the large Red Orb and Gold Orb on the two other ledges.
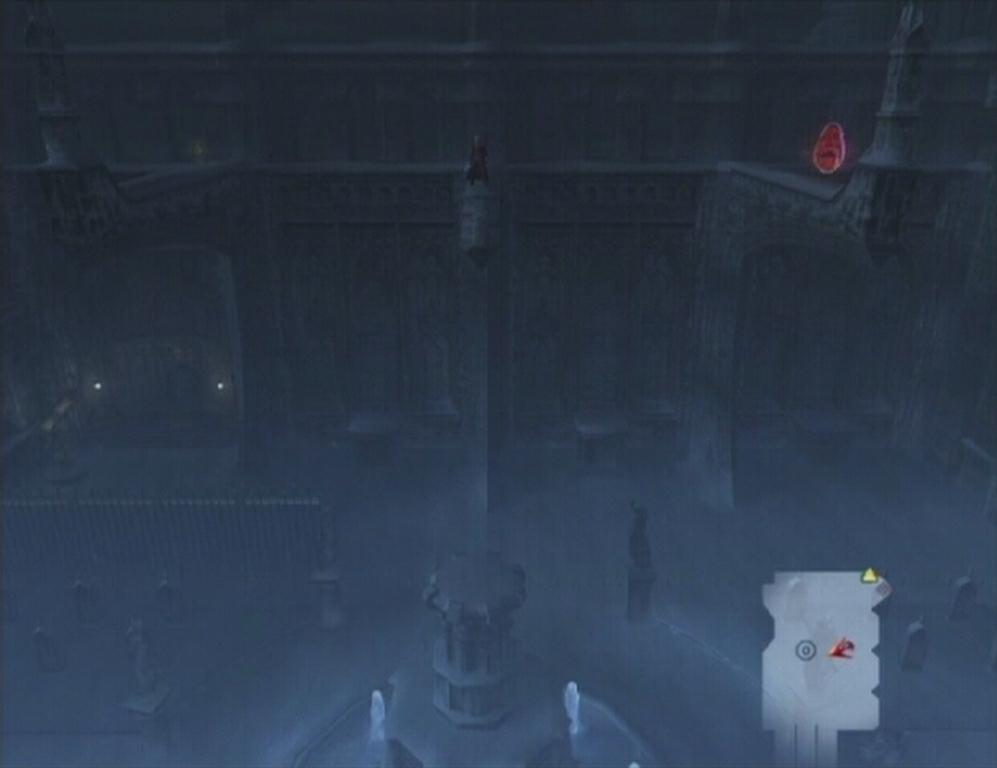 Stone Ledge |
Master's Bedroom
Use the door at the top of the stairs at the south end of the graveyard to enter the Master's Chamber. Kill off the Bianco Angelo in this room and then stand before the fireplace. Jump up and slash away at the mirror until it shatters, revealing the Secret Mission 10 parchment. Attempt this one if you wish; it's one of the easier ones and can be completed with a minimal amount of skills. Check out the 'Secret Missions' section for more info.
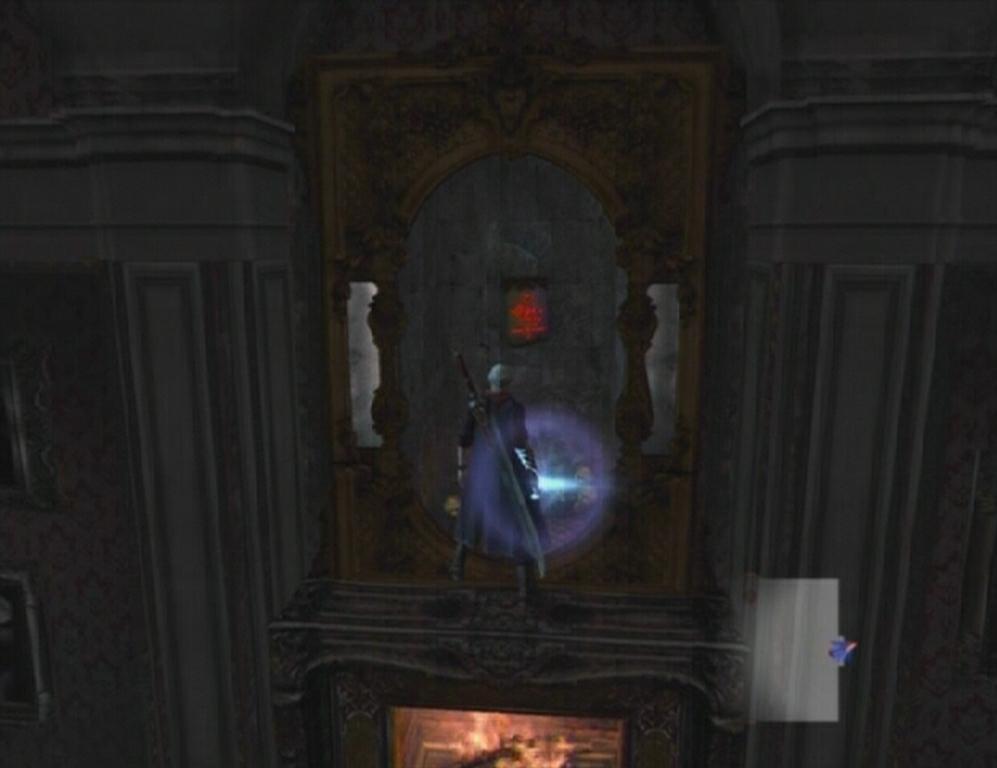 Secret Mission 10 |
When you're ready to move on, head through the door at the south end of the room to reach the Torture Chamber. Pummel the wheel to the right to raise the gate before the Gyro Blade. Activate the Gyro Blade and punch it across the catwalk. When you reach the next area, punch the Gyro Blade into the tower to trigger a cutscene.
 Wheel |
 Gyro Blade |
Fortuna Castle -- B1
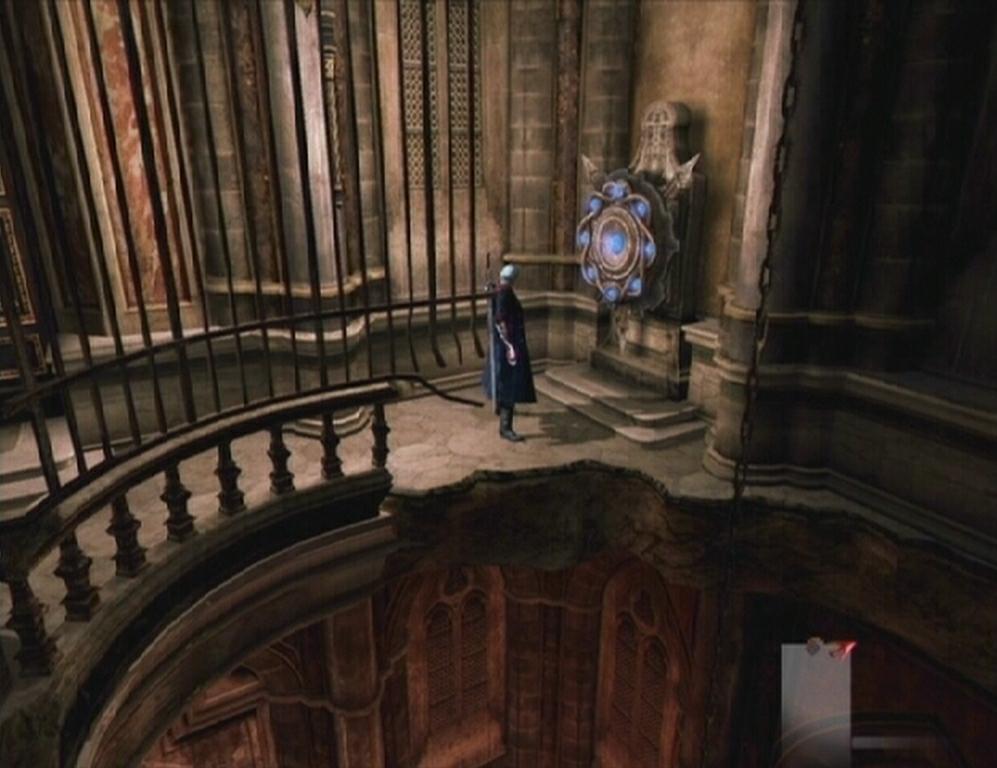
You'll face two Mephisto down here. Use snatch to remove their cloaks and attack while they're vulnerable. Afterwards, approach the pillar and examine it to obtain the Wing Talisman key item. With this item in your possession, you can jump onto the seals and use them to reach the top of the well. A Red Orb cluster can be found in a cell about midway up the well.
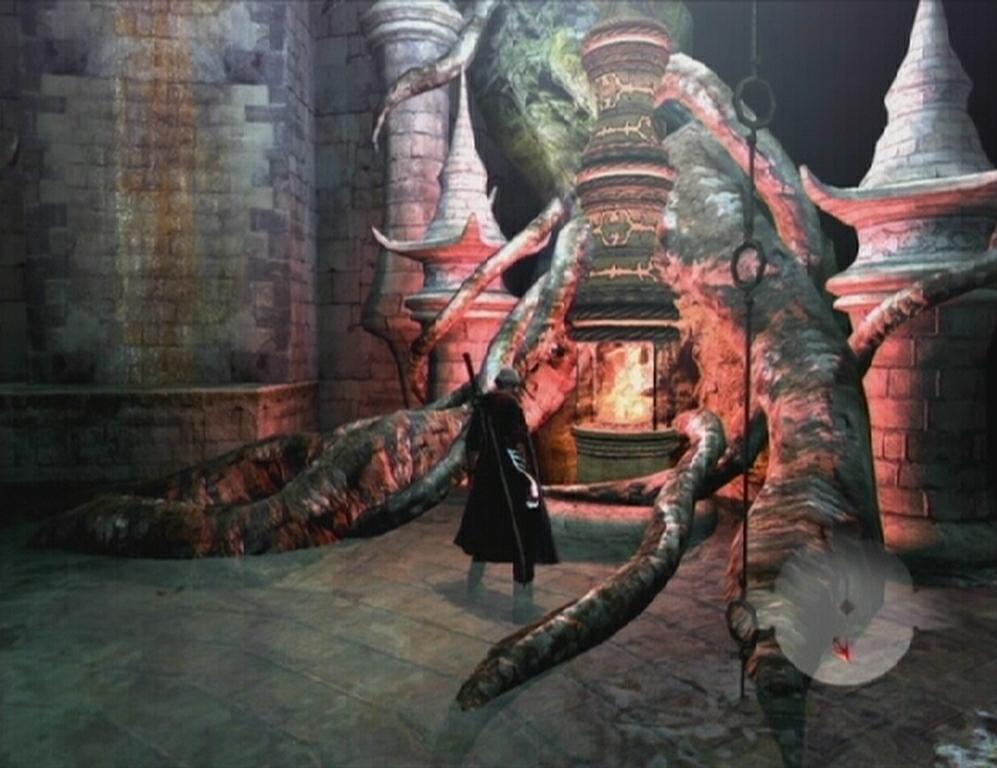 Pillar |
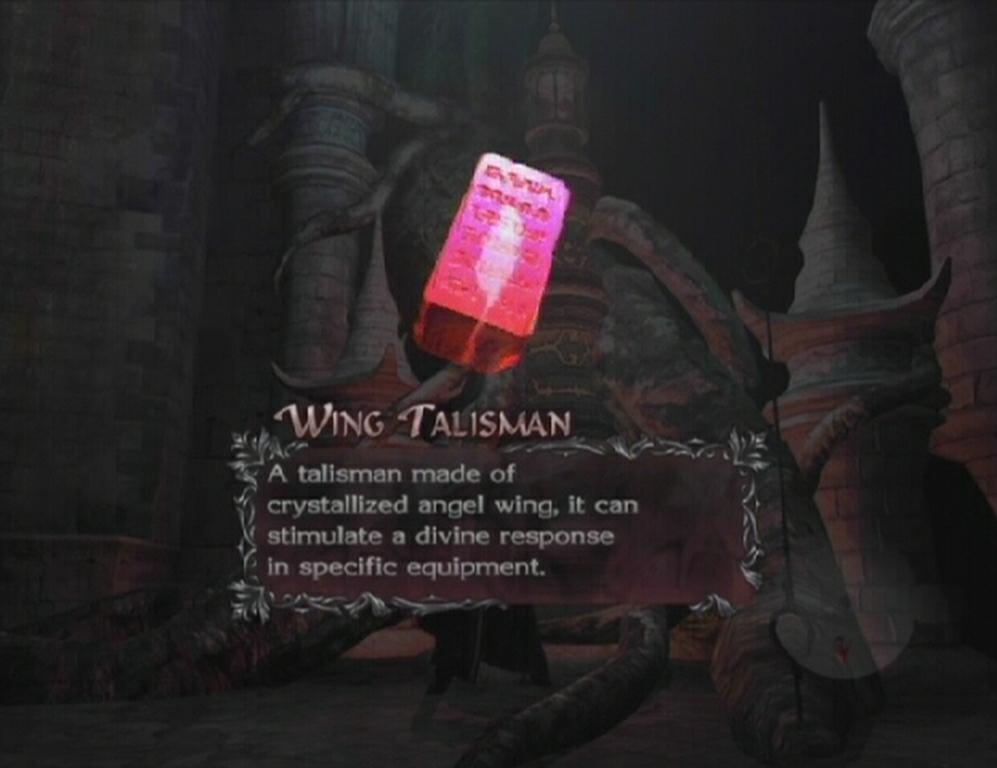 Wing Talisman |
Once back in the Torture Chamber, a group of Scarecrows appears and the way out is sealed. Begin fighting the Scarecrows and eventually a pair of Mephistos join the fray. Switch your focus from the lesser demons to the two Mephisto. Focus on one of them at a time; first snatch away its cloak, then use Streak to push it away from the crowd. Repeat this to take out the other Mephisto and then finish off the Scarecrows and leave the chamber.
Grand Hall
Kill off the two Frosts in the Large Hall and then use the western-most door to enter the Grand Hall. Use the Gyro Blade in this area to bust the coffin in the middle of the room if you haven't already. With the Winged Talisman in hand, the seal underneath the coffin is active; hop onto it to reach the chandelier above, then hack away at its stem to drive it into the portrait of Sanctus, revealing a secret doorway. Proceed through the doorway and down the stairs to reach the Underground Laboratory entrance.
Tip -- Use Snatch to grab the Vital Star S in one of the cells on the left side of this room.
 Active Seal |
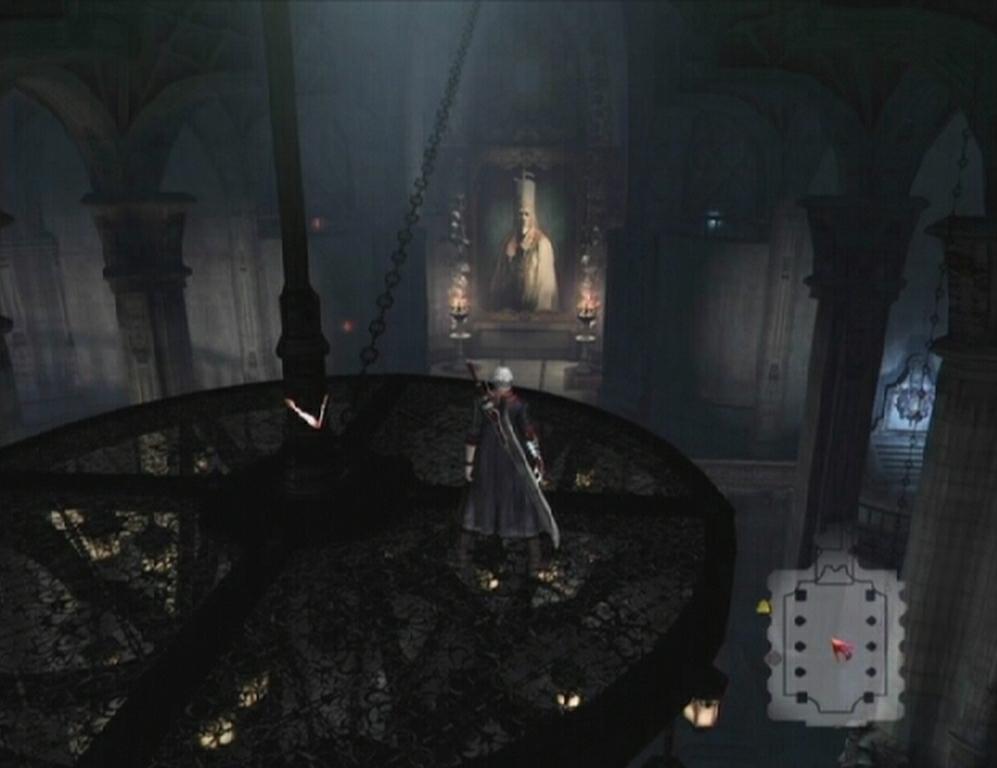 Chandelier |
Move to the end of this area to clear the mission.
Devil May Cry 4 - Xbox 360 | Devil May Cry 4 - PS3
No comments yet. Tell us what you think to be the first.