07 :: The She-Viper
Devil May Cry 4 Walkthrough and Guide
Devil May Cry 4 - Mission 07: The She-Viper
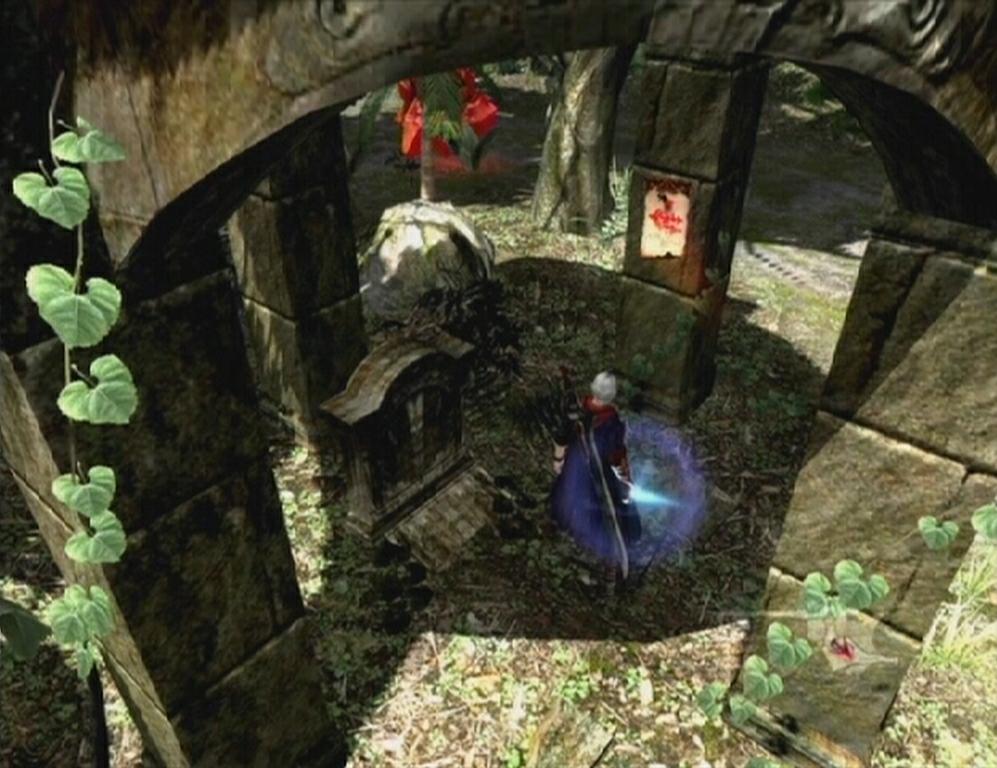
The Secret Mission 08 parchment is attached to the stone gazebo up ahead, but don't activate it because Nero does not have the Royal Guard fighting style needed to clear it. You'll have the opportunity to complete this one in a later mission, though, so just ignore it for now. Pummel the Red Orb cluster near the structure to collect a large number of Red Orbs and then make your way to the next area.
 Secret Mission 08 |
 Red Orb Cluster |
Before dropping down, follow the path to the left to find a Holy Water and then drop down to the area below to encounter a group of Chimera Seeds. Nero can take one of these guys out with a single Buster, so tear through them one by one, then head to the east end of the area and enter the building there.
 Holy Water |
Ruined Church
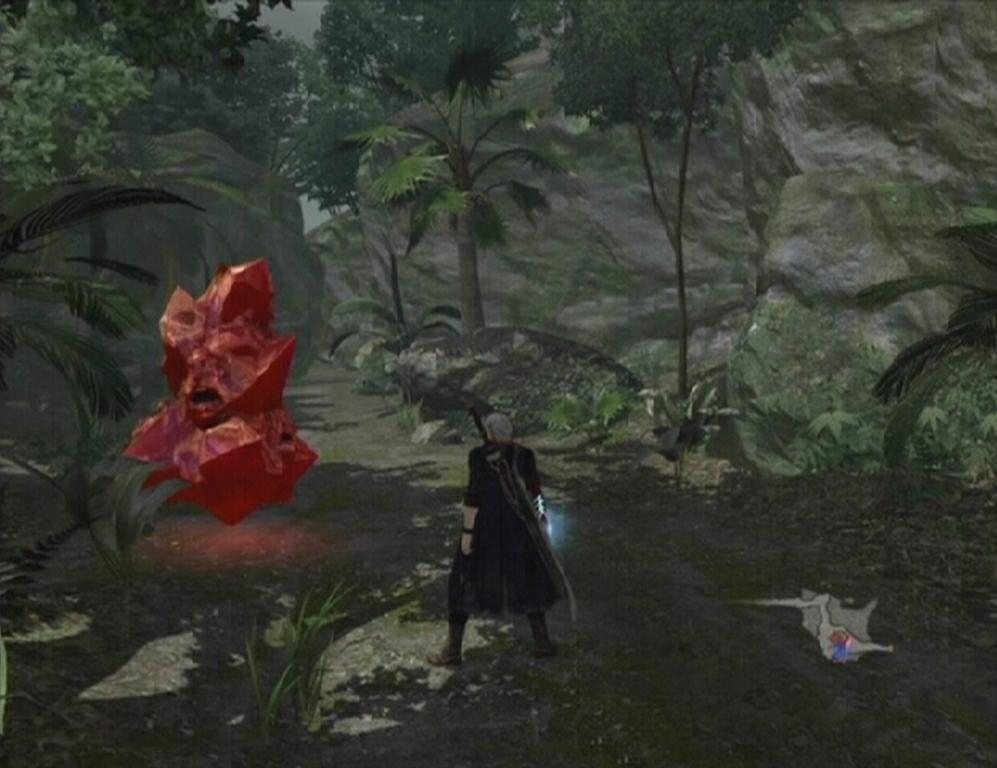
Inside the Ruined Church, Chimera Seeds attach themselves to Scarecrows to form Chimeras. These enemies don't appear to have any more health than the normal Scarecrows you're used to facing by now, but they are a bit more dangerous in that the plant attachment can use its blades to damage you even while its host is on the ground or in mid-air. The blades don't deal a whole lot of damage, but they can kick your style rank down a notch or two if you aren't careful.
When the Chimeras have been dealt with, break the glass enclosing the area at the west end of the church and smash the pods there to collect a large amount of Red Orbs. Afterwards, head up the stairs in the southeastern corner of the church and follow the walkway to its end to reach a wheel. Pummel the wheel to spawn tiles which you can then follow to reach the walkway at the opposite end of the church. Don't loiter though; as another tile manifests, the one behind it disappears, so keep moving to avoid falling to the floor below. Once you've made it onto the walkway, use the door at its end to reach the Ruined Valley.
 Wheel |
 Tiles |
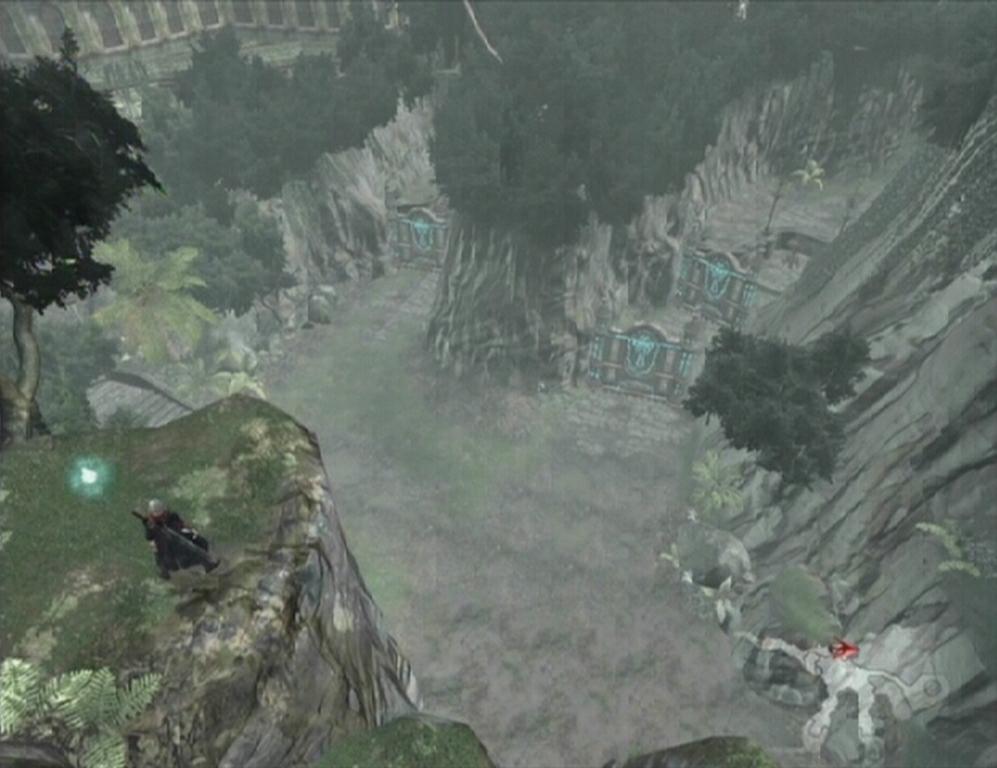
Ruined Valley
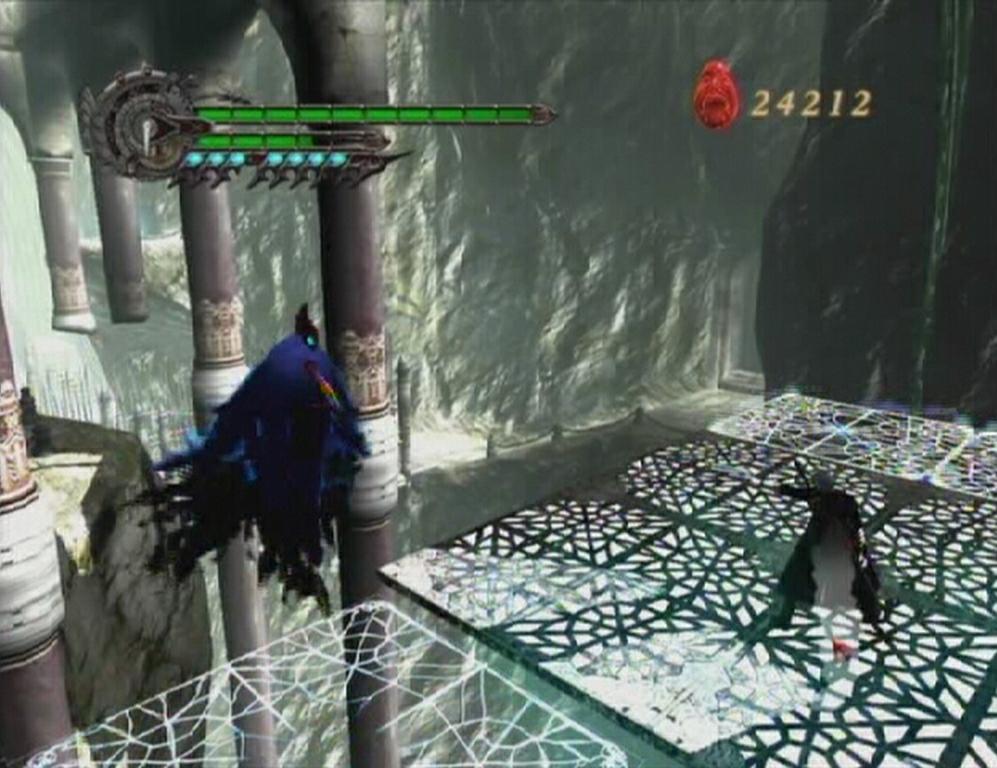
Head up the stairs and stand on the seal to spawn a couple of Grim Grips. Use the two Grim Grips to reach a wheel. Attack the wheel until tiles start appearing beyond the nearby cliffside. These tiles act similarly to those you used to cross the Ruined Church, though they are a great deal more hazardous as there is no real pattern to their appearance and disappearance. To make matters worse, two Mephistos will loom over you while you cross the valley.
 Grim Grip |
 Mephisto |
Try your best to avoid the specters (or, try to kill them), but concentrate on the tiles around you. If the tiles beneath Nero turn red, quickly move onto a stable set of tiles, in other words, not another red one! In the event that you do fall, you'll find yourself in the Ruined Lowlands where you then must defeat the enemies there before an exit seal will appear. Air Hike can be a real lifesaver (well, a timesaver, at least) here, because it can be used to reach a stable tile as a tile beneath you disappears.
Blue Orb Fragment -- This fragment is at the south end of the valley; wait until there are some tiles beneath it, then jump up into the air and take it into your inventory.
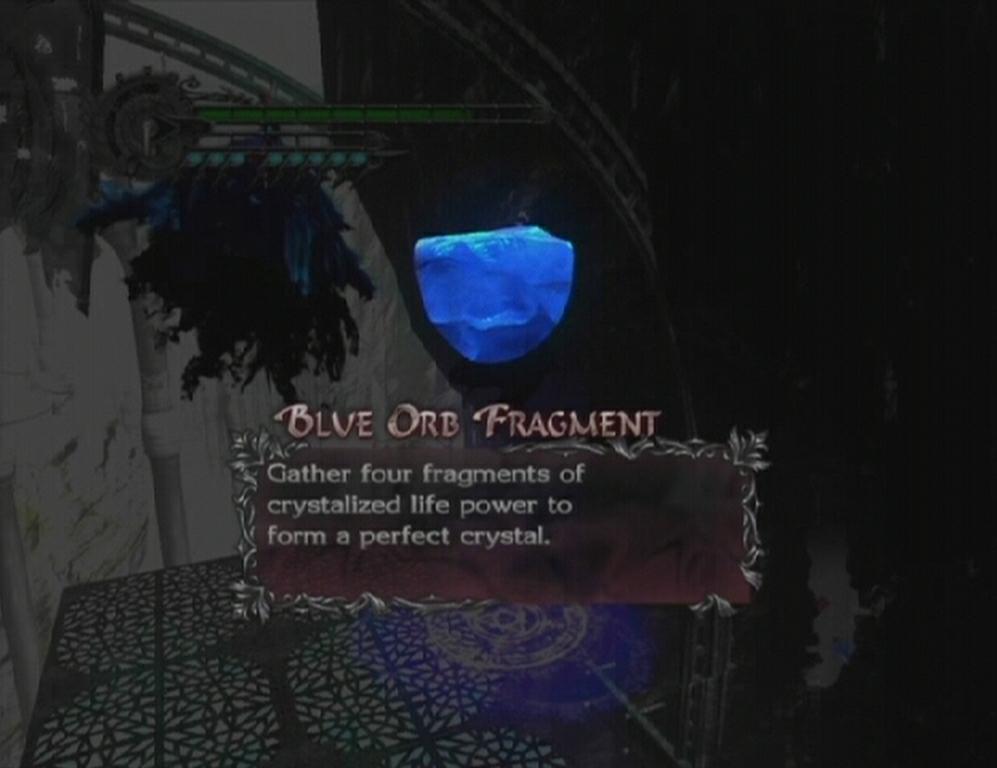 Blue Orb Fragment |
Once you've safely made it to the end of the line, head through the door there to reach the Lapis River.
Lapis River/Ancient Plaza
There isn't much to see in this area, other than some Red Orb-holding pods and the Secret Mission 05 parchment. The parchment is attached to a tree in the southwest corner of the area. Attempt it if you'd like; check out the 'Secret Missions' section for more info.
 Secret Mission 05 |
When you're ready to proceed, follow the northwest trail to the Ancient Plaza. A group of Scarecrows and Chimera Seeds quickly spawns and the exit is sealed. Clear the area of enemies to remove the red mesh blocking the exit, then follow the trail to reach the Windswept Valley.
Windswept Valley/Ruined Valley
Activate the Gyro Blade, slash it to set it spinning, and then punch it towards the two doors to destroy them. Set the blade spinning again and launch it at the Scarecrows and/or Chimeras in the area. Afterwards, send the Gyro Blade through the adjacent door to destroy it. Use the door on the other side to reenter the Ruined Valley.
 Gyro Blade |
 Gyro Blade Door |
The humongous viper in this area is intent on having Nero for a midday snack. Dash across the walkway -- trying your best to avoid taking hits from the viper -- to reach the opposite side of the valley. Once you have safely made it across, head through the door to reach the Forgotten Ruins.
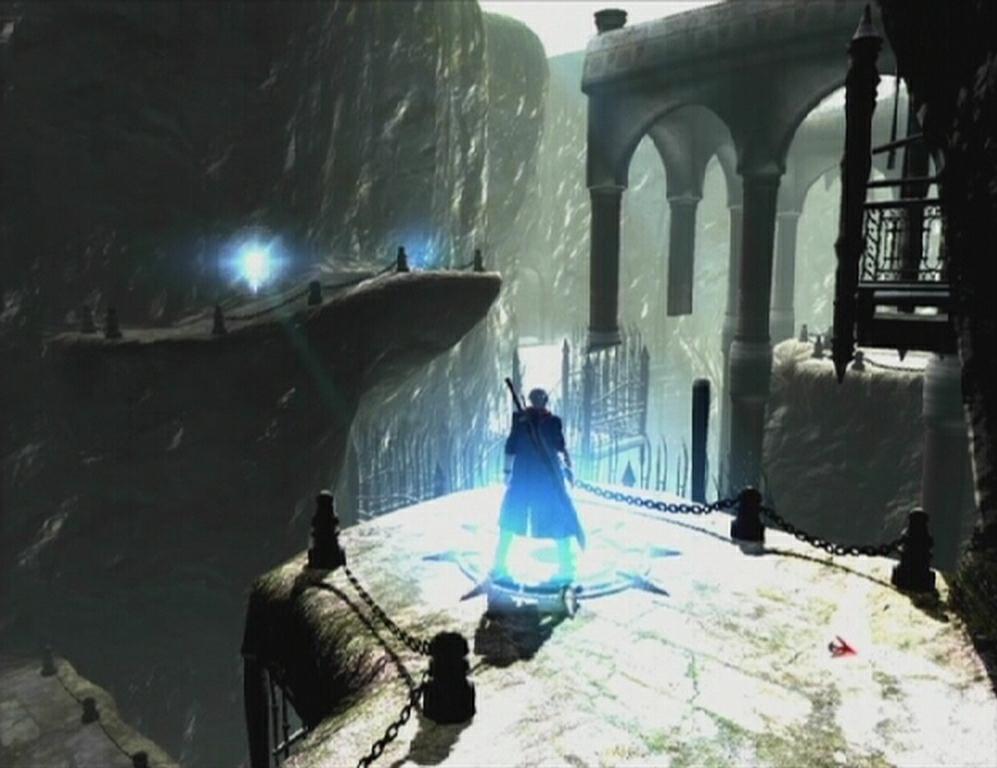
Forgotten Ruins
Blue Orb Fragment -- Attack the Combat Adjudicator and attain a style rank of A to receive some Red Orbs and a Blue Orb Fragment.
Head through the arched doorway and kill the Scarcrows and Chimera Seeds on the other side. Afterwards, move to the end of the walkway. You'll find a Divinity Statue there; you are just before a boss battle, so it would be a good idea to at least purchase some healing items just incase. The Air Hike ability will be of great use against this boss, so use Proud Souls to purchase it if you lack it. It is a bit pricey, but you can select the 'Cancel All' option from the menu to refund the Proud Souls you've spent thus far. Get Air Hike for now; you can always refund again after the battle and get your old skills back if you wish.
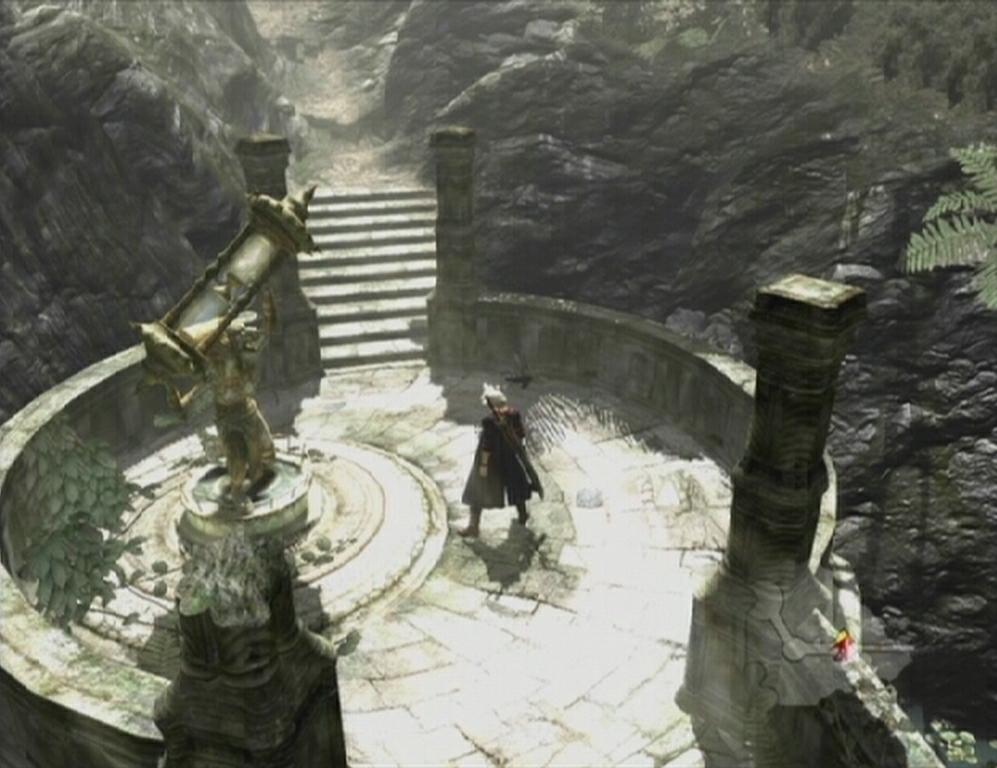 Divinity Statue |
When you're ready to go, enter the She-Viper's Den to face Echidna.
Den of the She-Viper -- Boss Battle: Echidna
The She-Viper has quite a bit of health, but her attacks, while quick, are easy enough to dodge and do not deal very much damage. During the first half of the battle, Echidna's primary attack consists of her shooting up into the air, circling the arena and then lunging through the trees in an attempt to knock you aside. Hold down the Lock-on button to keep track off her movements while she's up in the air. When she thrusts out towards you, Side Roll out of the way just before impact to avoid the attack.
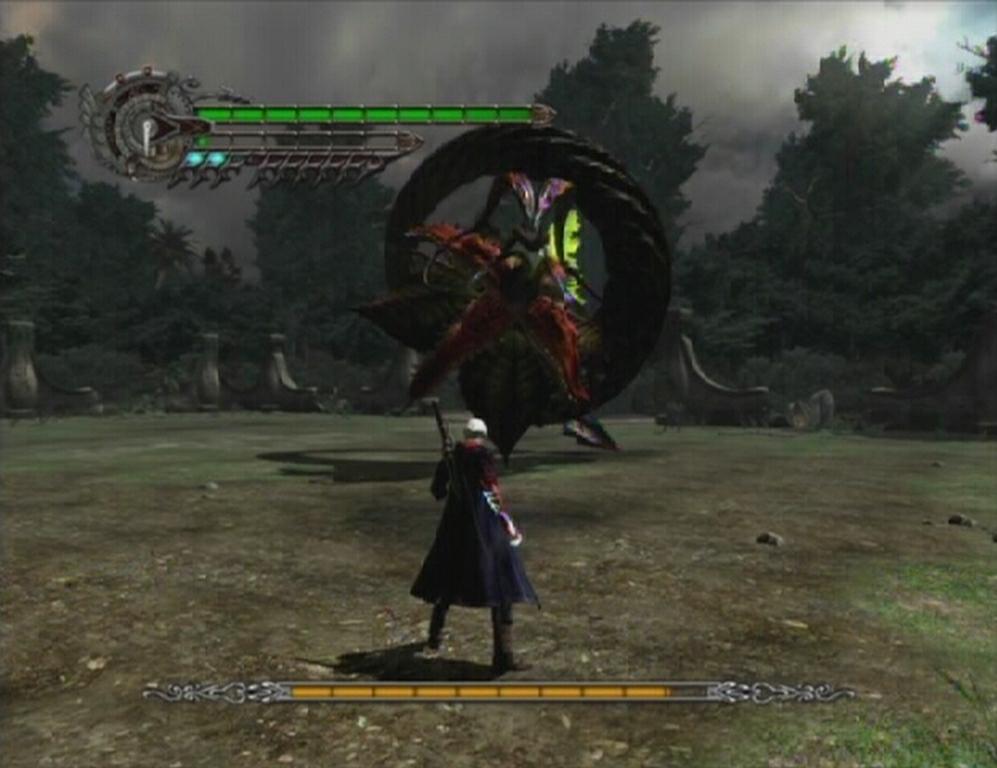 Echidna |
When Echinda is not up in the air, she'll be hovering somewhere in the arena. When Echidna begins to twist her torso to the side, jump up into the air to avoid the tail swipe that follows. You can use Hell Bound to pull yourself towards her torso and then hack away while in mid-air. A good combo to use against her while she's hovering: slide towards her with Streak, use High Roller and then Split while up in the air. To add some punch to this combo, while standing a safe distance away, charge up Nero's Blade to Exceed level 3, then use Streak and follow through; both High Roller and Streak are significantly more powerful while Red Queen is powered up. If she becomes stunned (she'll slump down and put one of her hands to her head), use Buster on her to perform a powerful combo.
Echidna will also root herself into the ground and release a Chimera Seed or two from the bulb beneath her. Jump up towards the bulb and use Buster to inflict a fair amount of damage. If you have the Air Hike ability, you can leap up onto Echidna's base when she spits out a Chimera Seed to reach her torso. Activate Nero's Devil Trigger while up there and slash away until she bumps you off. If at any point during the battle you are low on health, seek out and destroy one of the pod clusters in the area, as the pods may hold Green Orbs.
Once about half of Echidna's health bar has been chipped away, the sky darkens and it begins to rain. At this point, the She-Viper begins to glow yellow and her attack pattern shifts. She has a couple of new moves in her arsenal, including one where she plunges into the ground and raises a number of tentacles in the immediate vicinity. While Echidna is embedded into the ground, approach her and activate the Devil Trigger if you are able to, otherwise slash away until at least three of the bars on the D.T. Gauge are full. If you can deal enough damage to Echidna while she's in this state, she will become stunned; use Buster at this point to deal heavy damage to her. sStay far away from Echinda while she's using her other attacks and wait until she embeds herself in the ground again, as that's the best opportunity to inflict some serious damage.
 Devil Trigger |
You'll obtain the Sephirothic Fruit key item once you've manage to best Echinda, but unfortunately she manages to get away. Darn! Nevertheless, approach the gnarled roots in the southwest corner of the den and examine them. They react with the Sephirothic Fruit and wither away, allowing you move on to the next mission.
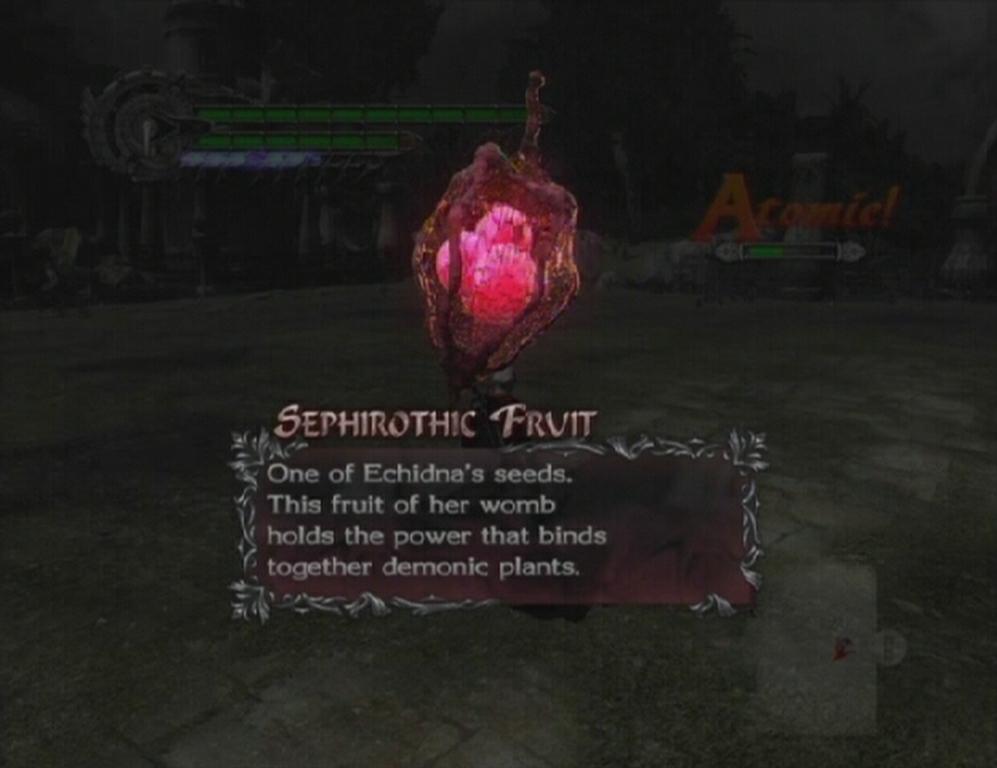 Sephirothic Fruit |
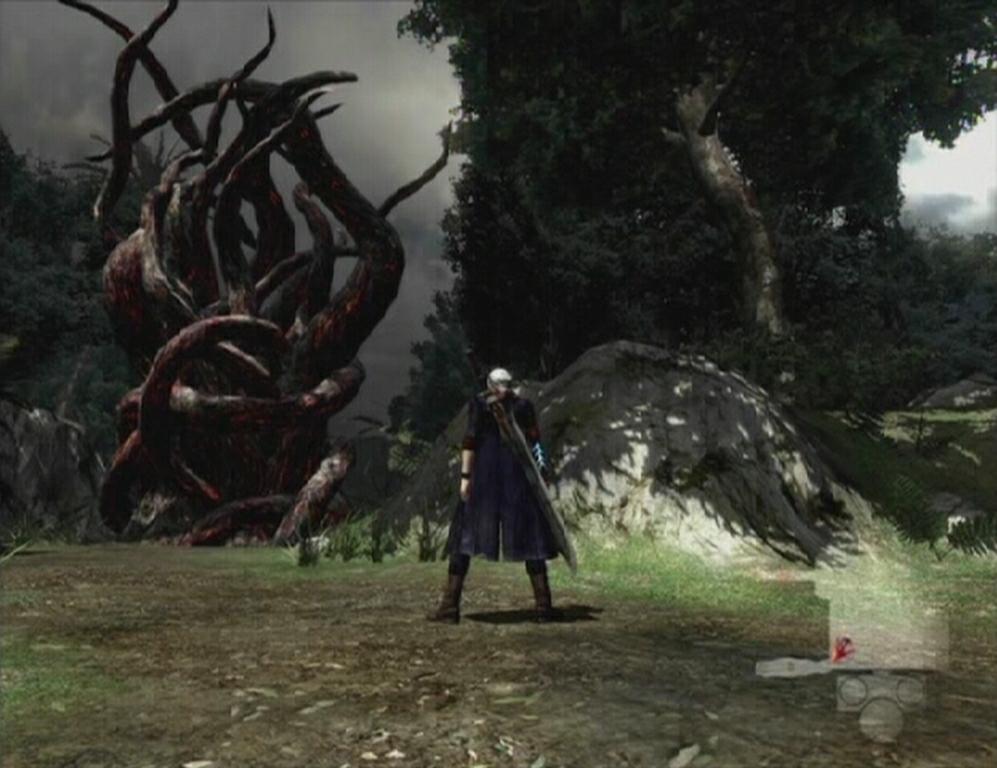 Gnarled Roots |
Devil May Cry 4 - Xbox 360 | Devil May Cry 4 - PS3
In nero mode u can kill her its bit easy but in dante mode..
U hv to use d pandora to kill her..
In devil hunter mode..
Use revenge in pandore it will affect her nd using trickster doge her attack
thank you for the tips i think i can do it better now
yeah reght!
i cant kill her c is soooooooooooooo much strong
I killed her : D
This she-viper will not die