- Other Occurances
Dead Rising Walkthrough and Guide
Dead Rising Guide - Scoops
Other Occurrences
Convicts
Cletus
Cultists
Ronald's Appetite
Floyd the Sommelier
Kindell's Betrayal
Hostile Survivors
Paul's Present
Simone the Gunslinger
Cheryl's Request
Convicts
A group of three convicts first appear in Leisure Park at around 6:00PM on the 19th. When you first encounter these psychopaths, you are most likely not well-armed, since it is still rather early in the game. Before even attempting to face off against them, acquire a gun of some sort. You'll need at least a Handgun to defeat these guys; there should be two zombie cops carrying handguns in the water by the Leisure Park entrance in Paradise Plaza. Kill these zombies on your way to Leisure Park and pick up one of the handguns (or both, provided you have room in your inventory.
Once the convicts have been dealt with, they will eventually respawn in Leisure Park, and continue to do so from then on. Later in the game however, you will have access to more powerful guns, which make taking these guys out much easier. A good weapon to use against the convicts is the Sniper Rifle, since you are able to pick off the gunner from a distance before they can even drive up to you.
Initially, the convicts are terrorizing a woman named Sophie, whom can be rescued and escorted to the Security Room.
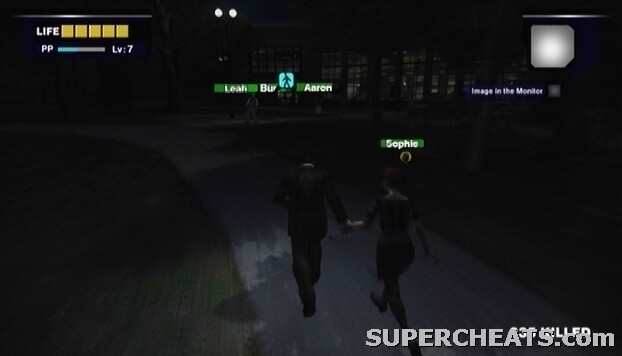 Rescue Sophie from the crazed convicts in Leisure Park after 6:00PM. |
Taking down the convicts is substantially easier if you can manage to have them trap their jeep behind a tree. Perhaps because the AI in Dead Rising is so abysmal, if the convicts happen to hit a tree, there is a good chance that the driver will continuously reverse and accelerate back into the tree if you are standing on the other side of it, giving you a good opportunity to take out the gunner.
Run around one of the wider tress until hopefully, the driver crashes into it and becomes stuck. Once you've succeeded, take cover behind the tree, and then quickly pop out and try to score a few headshots on the gunner. The mounted turret on the back of the jeep is very powerful, so be careful. If you are low on health, use the tree as cover and down a bottle of Wine or some Orange Juice.
When you've taken care of the gunner, run around to the back of the jeep and grab hold the mounted turret. With the machine gun in hand, run around to the side of the jeep and shoot the two remaining convicts dead.
Achievement Tip -- Carjacker: Once the convicts have been taken care of, hop in the driver's seat of the now-vacant jeep to earn this achievement.
Cletus
Cletus will appear in the Huntin' Shack in the North Plaza at some point during the 19th, and seems to disappear by nightfall on the second day. This is an unmarked side mission, so there is no scoop associated with Cletus. If you want to fight him, simply enter the Huntin' Shack some time after nightfall on the first day to trigger a cutscene. Be warned, however, as Cletus is arguably the toughest of the psychopaths to defeat. You may want to consider leaving Cletus alone until a future playthrough, when Frank is at a higher level.
If you do wish to face Cletus, it is probably best completed during the "Shadow of the North Plaza" that takes place during September 19th. If you visit the Huntin' Shack, which is located in the North Plaza, you'll encounter Cletus there. Before saving the man associated with the "Shadow of the North Plaza" mission, set your sights on taking out Cletus first. Be sure to have plenty of food items in your inventory. Melee weapons aren't particularly effective against Cletus, so lean more towards guns. When you reach the North Plaza, press the Back button to call up the map and locate the Huntin' Shack. Make your way over there to get started.
PSYCHOPATH: Cletus
After the cutscene, as soon as you gain control over Frank, take cover behind one of the display items. As you have surely noticed, Cletus is packing a shotgun. This is bad news for you, as the Shotgun is a very powerful weapon that can knock off large chunks of health. Try your best to remain in behind one of display objects while Cletus is firing. However, even if you are behind cover, you can still take damage, since the shotgun fire spreads.
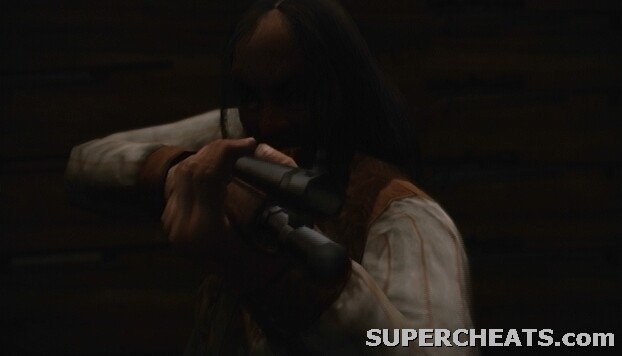 Cletus isn't playing any games. |
Only pop out from behind cover to shoot Cletus while he is reloading. This is your window of opportunity. Don't stay out in the open for too long though, because Cletus can reload his shotgun quite quickly. Another chance to get some shots in is when Cletus stops to take drink some Wine.
Don't even try to melee this guy, because if you get too close, Cletus will pick Frank up and throw him into the middle of the store, dealing a significant amount of damage and leaving you open to a shotgun blast.
If you are low on health, take cover behind one of the display objects and consume a food item from your inventory to regain some health. If you didn't bring a Handgun, you can smash the display case in the middle of the store to find one.
Alternatively, if you're the daring type, you can attempt to jump over the counter and grab a Sniper Rifle or shotgun. If you can manage to get your hands on either a Shotgun or Sniper Rifle, it will surely help. If you can take the abuse, go for it. The Sniper Rifle is the better choice, as you can use the scope to score some easy headshots. If you manage to get a Sniper Rifle and leave the store, you can shoot Cletus through the open double-door while remaining relatively safe.
If you want to go this route, hide behind the one of the store displays near the counter until Cletus is forced to reload his weapon. At this point, make a mad dash for the counter, hop over, and grab the Sniper Rifles from the rack on the far right. Only make this attempt if Cletus is standing at the other end of the counter, otherwise you likely won't have enough time to grab the weapon. Once you have the weapon, try to hop back over the counter and run for the exit. You will need plenty of healing items in your inventory to make it through this, as Cletus will likely be able to blast you a couple of times before you manage to exit the store.
There is a mob of zombies just outside the Huntin' Shack, so switch to a melee weapon and clear away as many of them as you can. Or, if you have a Queen, use it. If you are in dire need of healing, get into the corner, away from the Huntin' Shack double-door, and consume a food item. When the zombies outside of the store have been dealt with, stand back as far as you can from the open door. Switch to the Sniper Rifle and start hammering Cletus with shots from afar. The aiming is a bit jerky, but try your best to hit him in the head.
Cletus' Shotgun boasts impressive range, so you can still take damage here; move away from the door and use a food item from your inventory if your health is very low. If Cletus won't stop shooting through the door, head down the hall until the music stops, and then head back to the Huntin' Shack entrance and with any luck he will have calmed down.
When Cletus finally falls, you are free to loot the store of weapons. Also, be sure to snap a picture of the dead redneck if you are after the achievements associated with taking pictures of psychopaths.
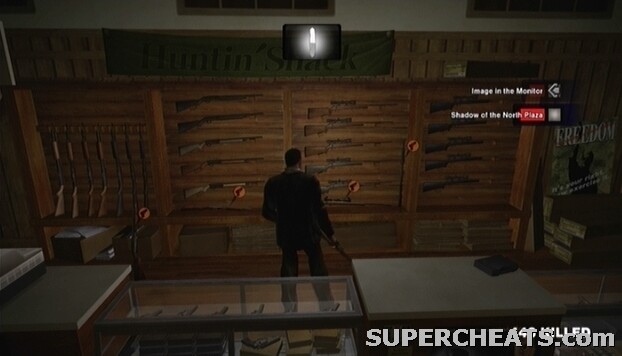 Guns guns guns! |
Cultists
The cultists first appear in Paradise Plaza at around 2:00PM on the second day. When you next enter Paradise Plaza after 2:00PM, you will witness a short cutscene depicting the True Eye cult. The cult has captured a woman named Jennifer, and seems to be preparing to perform some sort of ritual. Frank, seemingly unresponsive to the young girl's cries for help, decides that this would be a good time to take some pictures. Until the cultists spot him.
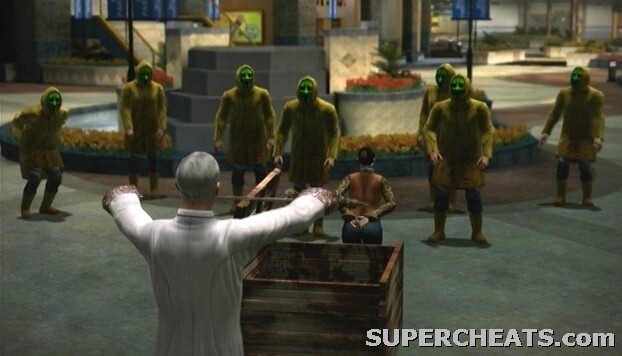 The True Eye cult first appear in Paradise Plaza around 2:00PM on the second day. |
You'll have to kill all of the cultists around the plaza to save Jennifer. As a unit, the cultists are quite tough, but if you have a Sledgehammer, tap and hold the X button while near a group of them to sweep them away. If you have a Shotgun, that works quite nicely as well. If you lack either weapon, use the Double Lariat attack instead (provided you've mastered it) by clicking the Left Thumbstick and tapping the X button.
Be careful when facing the cultists, however, as if one manages to knock Frank out, he will be taken to their lair. At this point, it's quite likely that any survivor with you will be lost. Also, if you're short on time, you could fail any current case or scoop. To avoid this, if spot one of the cult members slowly reaching into his pocket, dash away, as he will soon throw some dust into the air that can cause Frank to pass out.
If Frank is knocked out, he is then carried away to the cult's base of operations. All of your items are removed, excluding the camera and transceiver (go figure). There doesn't appear to be a way to get your items back once they've been taken from you. You can grab the sword from the red cloth in the main area and use it to slice through the cultists. Kill each and every cultist to receive the Pass Code so you can open the door and escape.
There are a couple of PP stickers in their base, so if you are after those for the achievement, you have no choice but to let them take Frank away.
Aside from that, the cultists have other ways of dealing damage. When low on health, a cultist may trigger a bomb that is strapped to him and run at you. If the suicidal cultist reaches Frank, he will latch onto him and attempt to hold him in place. Rotate the Left Thumbstick to shake the cultist off, and immediately jump away to avoid getting caught in the blast. A cultist may also take out a knife and dash toward you. If Frank is hit by this attack, he will take quite a bit of damage and be knocked to the ground.
Initially, once you have defeated all of the cultists in Paradise Plaza, you can open the box and free the woman inside. Take this woman to the Security Room to rescue her. From this point on, until you complete the "A Strange Group" scoop on the third day, groups of cultists will randomly spawn in different locations around in the mall. Once their leader is defeated, they will no longer spawn.
You get 500 PP per cultist killed, so if you see a large group of them, consider clearing them out to gain some much needed PP.
Ronald's Appetite
If you saved Ronald during the "The Restaurant Man" scoop on September 20th, eventually you will receive a call from Otis. He tells you that Ronald is getting worried about the lack of food in the Security Room and is forming a group of people to scavenge the mall for food.
You have plenty of time, but if you don't complete this scoop, you'll likely lose some survivors. Bring a food item back to the Security Room, locate Ronald, talk to him, and then hand the food item over to him. You'll receive 10,000 points for avoiding the possible mutiny.
Floyd the Sommelier
If you saved Floyd during the "Antique Man" scoop, you will eventually receive a call from Otis. He says that Floyd thinks it would lighten the mood if some Wine was brought back to the Security Room.
There won't be any negative repercussions if you do not this, but fulfilling the request yields 10,000 points. Wine can be found in the dining area of the Chris' Fine Foods restaurant in the Food Court, or in the King of Wine section of the Seon's Food & Stuff supermarket in the North Plaza. Bring at least one bottle back, talk to Floyd, and then hand over the Wine over to him to earn your points.
Kindell's Betrayal
If you rescued Kindell from the North Plaza when you encountered him during the "Transporting Isabella" case, you will eventually receive a call from Otis. He tells you that Kindell is basically freaking out, claiming that the helicopter will never arrive. Kindell is trying gain supporters so they can enter the mall and try to find another way out.
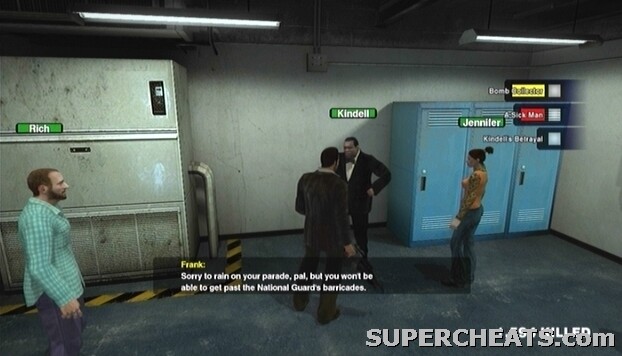 Talk some sense into Kindell before mutiny breaks out! |
You should have a good amount of time to complete this, but just make you speak to Kindell before time runs out, otherwise you will likely lose some survivors. Speak to Kindell in the security room after receiving the call and Frank will talk some sense into him. You will receive 10,000 points for avoiding the possible mutiny.
Hostile Survivors
At some point, snap a picture of the Air Duct that leads to the Security Room. Don't go after these survivors unless you have that picture.
 Take a picture of the Air Duct on the Rooftop. |
On the third day, if you visit the Huntin' Shack in the North Plaza, you are likely to encounter three survivors camping in the store. Do not step too far into the store, as you will be welcomed by a barrage of bullets. While getting shot at, Frank will probably stagger and be unable to move. Slowly turn around and let the bullets push you back out the door.
Afterwards, one of the survivors will come to the door to check on Frank. When the man comes to the door, head in and speak to him. Again, do not step too far inside, as the two survivors behind the counter will begin shooting again if you get too close.
Continue speaking to Jonathan and eventually Frank will mention the Security Room. The group demands to see a picture of the Air Duct that leads down to the Security Room before they'll agree to follow. If you don't have a picture of the Air Duct on hand, you have no choice but to run back to the Rooftop, snap a picture of the Air Duct, and then return to the survivors in the North Plaza.
 Show the Air Duct photo to the hostile survivors who are holed up in the Huntin' Shack during the morning of the third day. |
Once you have shown the survivors the picture that they requested to see, they agree to follow Frank. Each of them is equipped with a gun, so escorting them shouldn't be too difficult. Take them through Leisure Park, since doing so is much quicker. Just hug the northwest wall as you make your way to Paradise Plaza in an effort to avoid stirring the convicts.
Be sure to swap something in your inventory for Brett's Machine Gun before taking the survivors through the Air Duct.
Paul's Present
If you chose to save Paul in the “Long-Haired Punk” scoop after his change of heart, you will eventually receive a call from Otis. He tells you that Paul has something to give to you. Next time you visit the Security Room, speak to Paul to receive a Molotov Cocktail. This is a great thing to throw into a crowd of zombies!
Simone the Gunslinger
If you took the time to rescue Simone from the "A Woman in Despair" scoop, Otis will eventually call with a request from Simone. Simone would like Handgun. Handguns are very easy to come by. Zombie cops are usually carrying one. Simone wants the gun as a precautionary measure, so it's safe to give it to her. Deliver the gun to Simone to receive 10,000 PP for fulfilling her request.
Cheryl's Request
If you rescued Cheryl, who was locked in the movie theatre warehouse during the "A Strange Group" scoop, you will eventually receive a call from Otis. He tells you that she has a favour to ask. Next time you visit the Security Room, find and speak to Cheryl.
Cheryl wants Frank to take some pictures of her. She asks that he focus on her "important" parts. Take a few pictures of her as she does a few different poses. You will receive 10,000 PP for fulfilling Cheryl's request.
Dead Rising Xbox 360 Index
No comments yet. Tell us what you think to be the first.