01 - Rock Bottom
Condemned 2: Bloodshot Walkthrough and Guide
Condemned 2 Guide
Mission 01: Rock Bottom
The first part of this mission serves as a tutorial. First you will learn about Player Responses; when the Player Response prompt appears at the bottom of the screen, you then have a short amount of time to press the Player Response Button (A on Xbox 360, X on PS3) to trigger a response from Ethan pertaining to the current situation. Each mission has a certain number of response opportunities, and triggering all of them yields the highest number of mission points in the Player Response category. You can see the total number of response opportunities in the current level and how many you have triggered so far by viewing the mission objectives. Even a single missed response will prevent you from earning a Gold rating and upgrade at the end of the mission, so always pay attention.
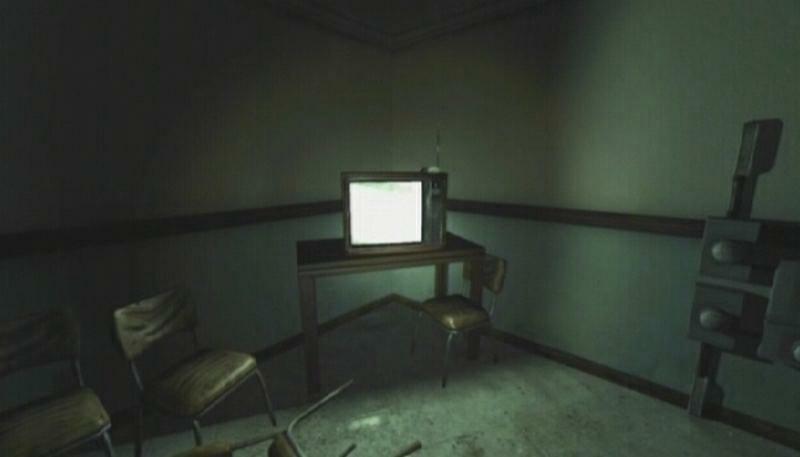
Follow the bum up the stairs and approach the gate. Press the Player Response button when the opportunity arises to seize control and throw the gate open. Here you will experience combat for the first time. After a short, verbal confrontation, a number of thugs will appear, giving you the chance to familiarize yourself with the combat system. Follow the instructions that appear onscreen and defeat each of the thugs. These guys aren’t very tough, but there are a couple of health packs atop a television that you can use if need be. If you think this onslaught of thugs was unwarranted, you’d better get used to everyone hating you soon, because that’s the norm in this city.
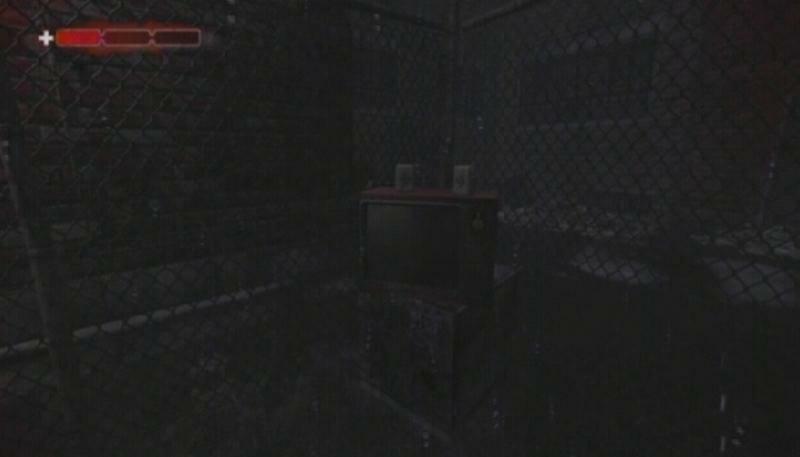 Health Packs | 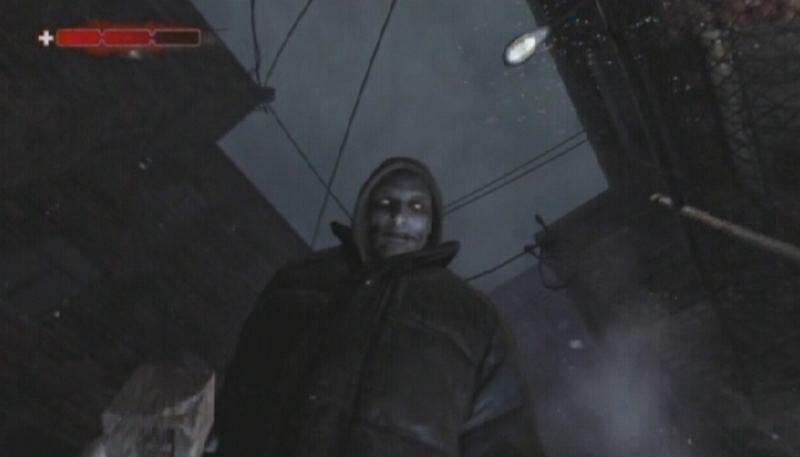 Enemy |
TV and VCR Repair Shop
When you’re ready to move on, open the gate next to the dumpster and start down the walkway. Approach the TV and grab hold of its Antenna (1/5). Adjust the antenna using the Right Thumbstick (or Analog Stick) until a picture is visible. Hold the control stick in this position until the clip ceases. As with player responses, the antennas/reports are also a factor in determining the score you receive at the end of the mission. Each level has a number of TVs and/or radios; you can see the total number of them (under “Antennas”) in the current level and how many you have activated so far by viewing the mission objective menu.
 Gate |  TV/Antenna |
Proceed through the door at the other end of the walkway to enter the TV repair shop. If you haven’t a melee weapon, take up the Electric Conduit by the door, or the Pipe on shelf above the speaker, and then make your way to the back room.
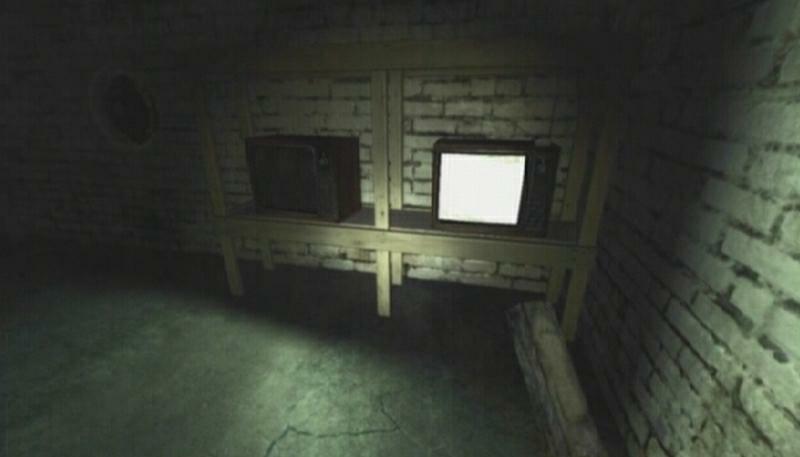
Antenna (2/5): Upon entering the back room of the TV repair shop, ignore the steps leading down to the basement and instead head up the stairs at the opposite end of the room. The TV sits on a shelf at the top of these stairs.
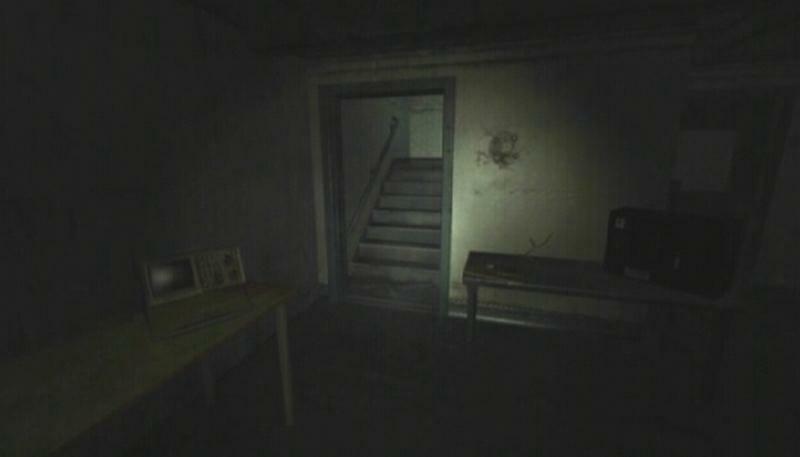 Stairs | 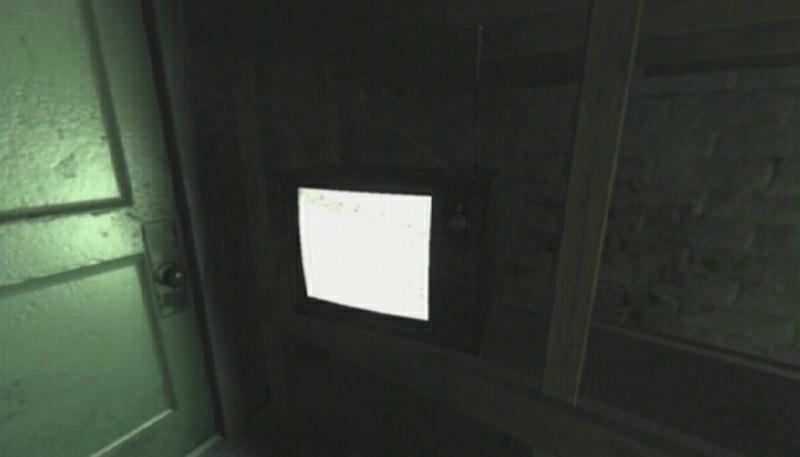 Antenna |
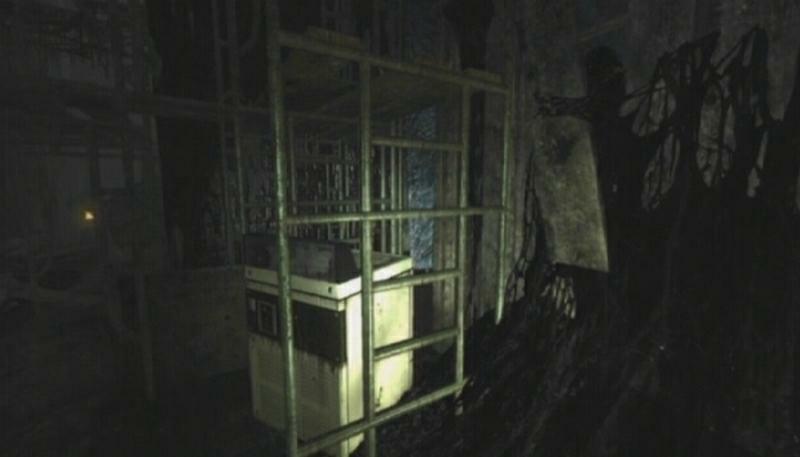
Take the stairs down to the basement and fight off the thug down there. At the bottom of the stairs, turn left and move past the shelf to spot a TV, or Antenna (3/5). There is also an Emitter (1/3) on the wall here. You’ll take damage if you get too close to the emitter, so throw something at it to avoid its harmful effects. These emitters, as well as the player responses and antennas, play a part in determining your score at the end of the mission. You can see the total number of emitters in the current level and how many you have destroyed so far by viewing the mission objective menu.
 Antenna | 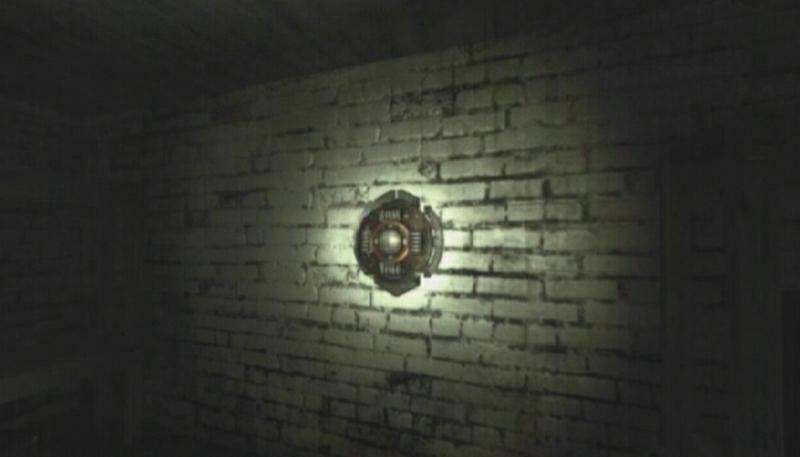 Sonic Emitter |
When you’re ready to move on, sprint back up the stairs and quickly take out the TV-throwing thug at the top. Head up the stairs at the opposite end of the room and activate the TV if you haven’t already, otherwise proceed through the open doorway. Move as far down as you can and push the shelf over to gain access to the room. You’ll have to kill the thug here with a chain attack. Just attack him until the chain attack tip appears, read it carefully, then follow its instructions and successfully pull off the chain attack to take him out instantly. Level one chain attacks won’t kill every variant of enemy instantly, but they do deal a fair amount of damage regardless. The next thug that enters the room must be dealt with using an environmental finisher; attack him until he falls to his knees, then grab hold of him and bring him over to a TV marked with the white skull icon to perform a brutal takedown.
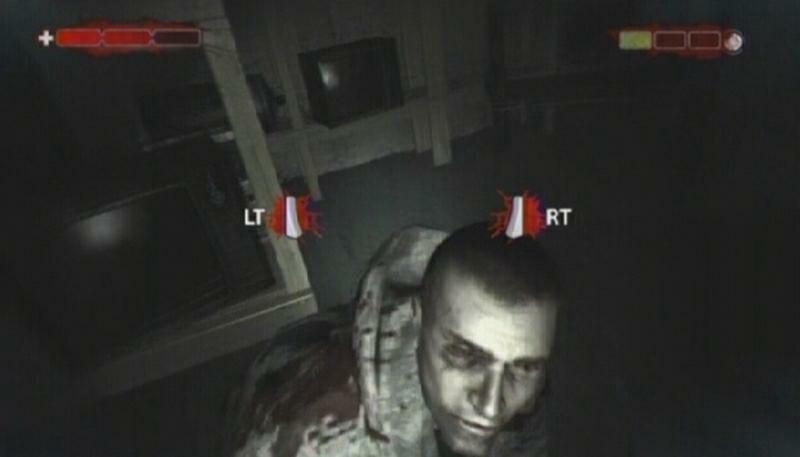 Chain Attack | 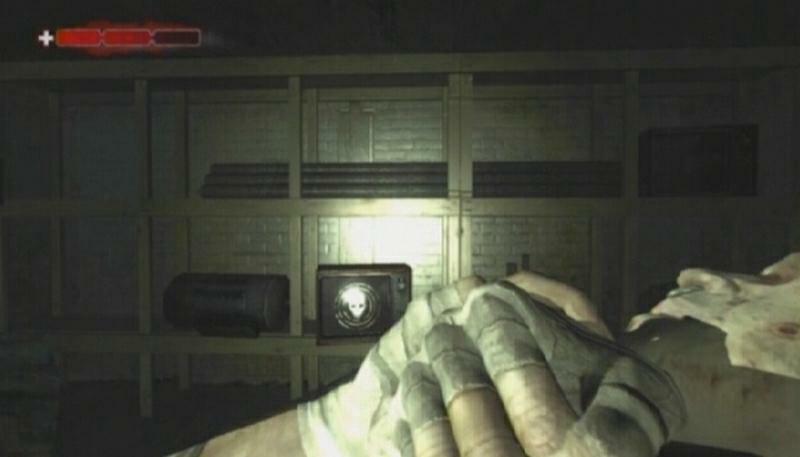 Environmental Kill |
A cabinet in this room holds a couple of health packs, so use them to restore your health if need be, otherwise climb through the open window at the far end of the room
Streets
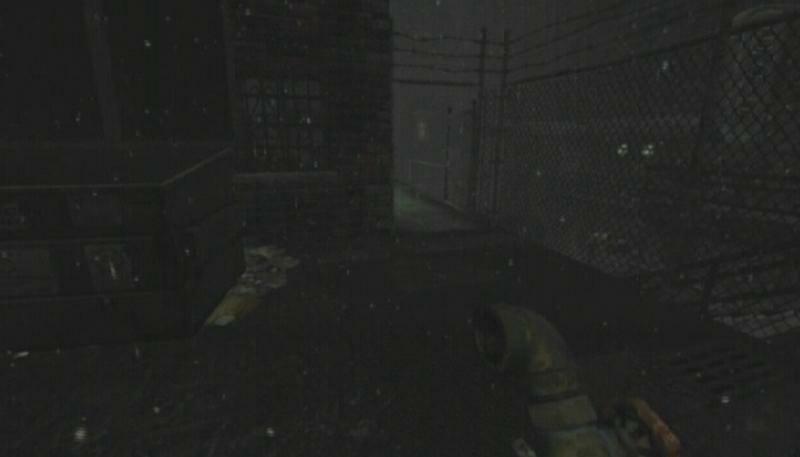
Press the Player Response button when the prompt appears, then move to the end of the walkway and peer down into the alley below. Notice the dog there; drop down and take him out before he can sink his teeth into you. Afterwards, open the gate next to the clothes dryer to knock one of the explosive barrels aside, then immediately sprint to the opposite end of the alleyway to avoid getting caught in the explosion. After stepping through the gate, turn left and sprint to the other end of the street.
 Health Packs | Gate |
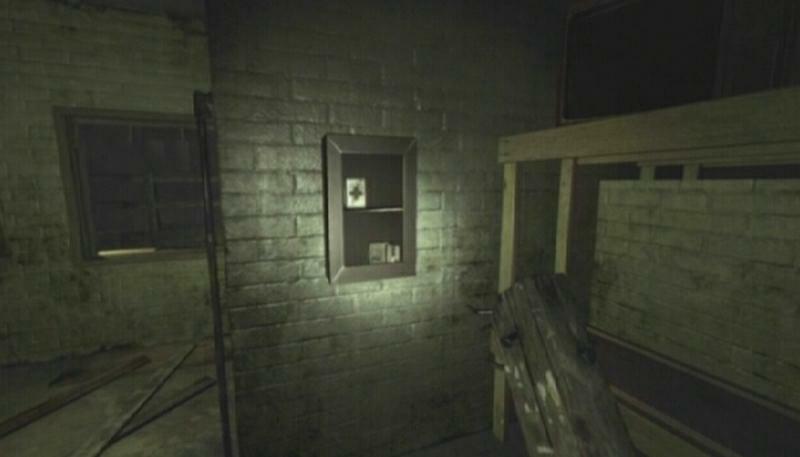
Emitter (2/3), Antenna (4/5): The emitter is attached to the wall above the doorway just beyond the overturned car. Take aim and throw your weapon—or one of the bricks next to the car—at the emitter to destroy it. A TV sits in the barred niche next to the same doorway.
 Emitter | 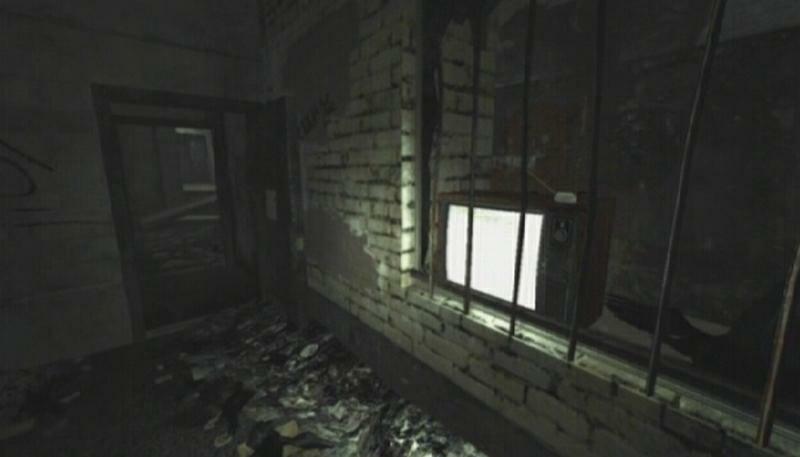 Antenna |
Head into the building just beyond the overturned car, move to the opposite end of the corridor and proceed through the door outside. Upon entering this room, turn left and open the door there. Hit the player response button when the prompt appears and step back into the streets. Kill the two thugs in this area (the slime-covered one is especially tough, so be careful) and then approach the wooden fence across from the dumpster. Stand back and wait for a fire to start, eventually reaching the explosive barrels and destroying the fence.
You’ll encounter some strange creatures on the other side of the fence. These guys, while weak in terms of vitality, can dish out some serious damage if you’re not careful. To make matters worse, their attacks are much quicker than yours and they have a longer reach than most melee weapons allow. Either hit one with a sprint attack immediately after it has spawned, or dodge an attack and quickly punch him out. Once they’ve been dealt with, head to the far end of the street and turn left when you reach the clothes dryer. Climb up the ladder to reach the walkway above.
 Ladder |
Move down the walkway until you fall through. Climb the second ladder straight ahead and drop down into the alleyway. If you are in need of health, head down the stairs to find a storage locker that holds two health packs. Proceed to the end of the alleyway and pick up one of the bricks by the locked door. Take aim at the bottom of the ladder casing and hit the seal to jar it open, partly lowering the ladder. The pile of bricks near the locked door provides an infinite amount of bricks, so simply pick another one up and try again if you missed the ladder the first time. Stand beneath the ladder and press the action button when the prompt appears to pull yourself up.
 Ladder Casing | 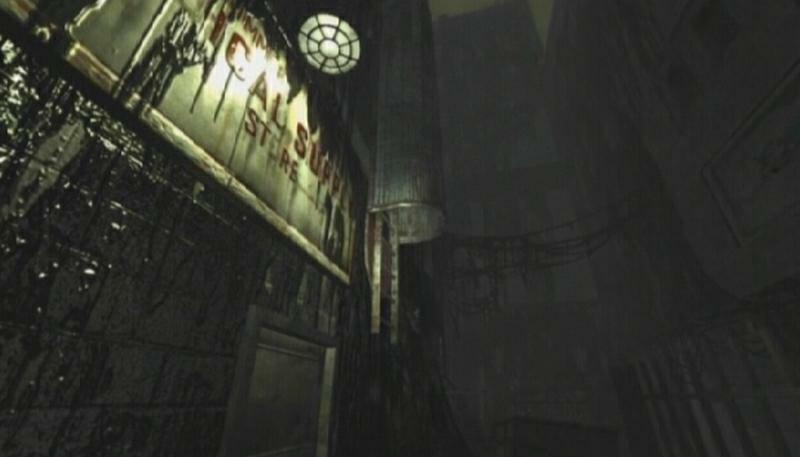 Ladder |
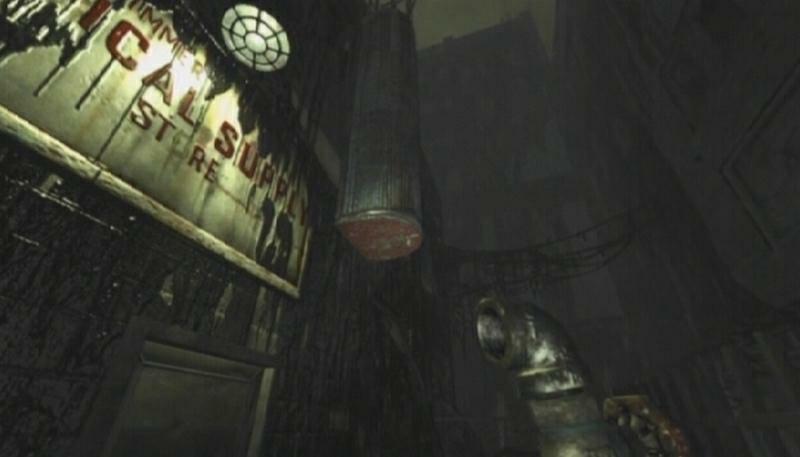
Medical Supply Store
You’ll encounter more of those tar creatures once on the roof.
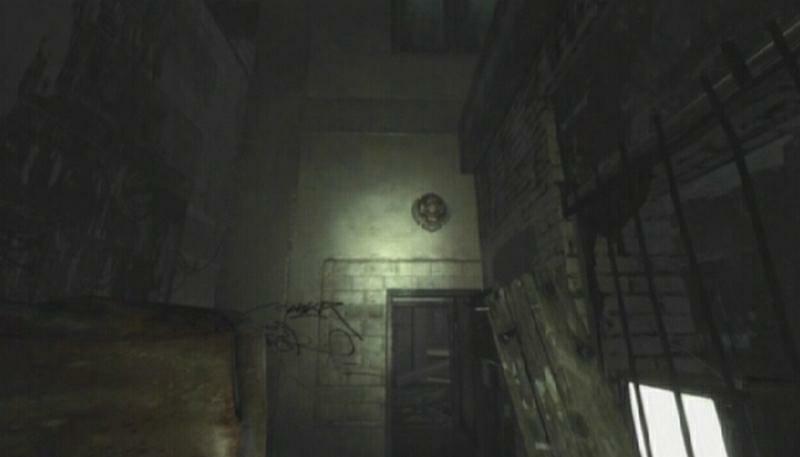
Emitter (3/3): Once the enemies have been dealt with, approach the pile of bricks in the top-left corner of the rooftop. Pick up a brick and then turn left to spot an emitter attached to the building across the way. Throw a brick at the emitter to destroy it.
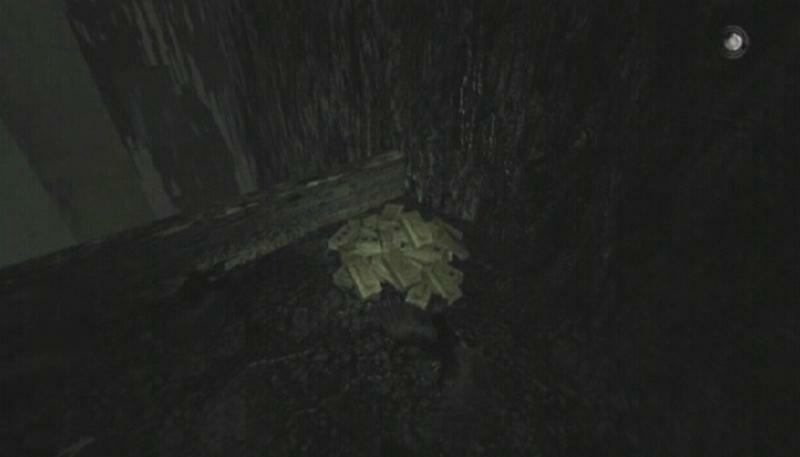 Bricks | 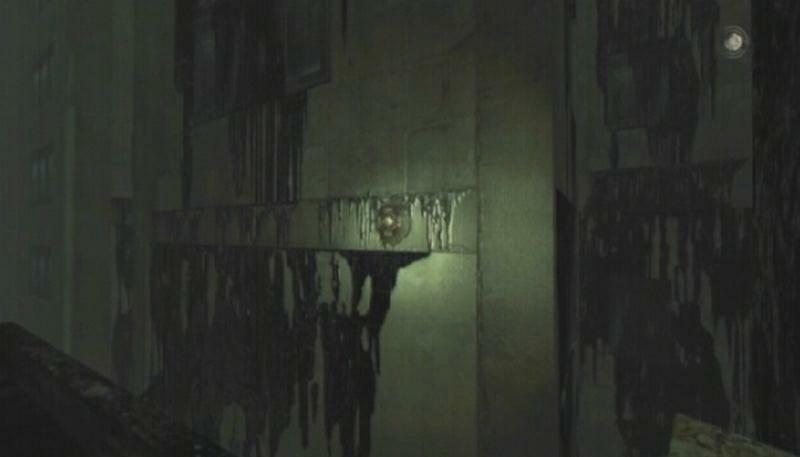 Emitter |
Look around for a pile of boards covering a hole in the roof. Approach the boards and press the action button to move them aside when the prompt appears, then drop down into the area below. If you lack a weapon you can pick up a Brace near the wheelchair up ahead. From where you fell, turn left after passing by the first wheelchair and move to the opposite end of the room. Go through the double door there and enter the small room in the bottom-right corner. Pull the lever to open the gate on the other side of the glass.
 Boards |  Lever |
Antenna (5/5): Before leaving the room, activate the TV on the table beyond the two work desks.
 Antenna |
Unfortunately you released three thugs by opening that gate. One will be waiting for you behind the shelf in the lever room; sprint towards the double door and pull off the Bum Rush Combo (Sprint Attack Attack then Combo Attack). There is another in the next room, so carefully move around the shelves until he shows himself. Afterwards, move to the far end of the room and head through the double door there. The last guy is here, so quickly take him out and then proceed through the open gate at the other end of the room.
Climb down the stairwell to spot Vanhorn. Hit the Player Response button when the prompt appears, then hop into the slime-covered room. Move past the pillar on the right and take a look at the ceiling. This mission’s Optional Objective is to destroy all fifteen of the ceiling sacs in this area. While you don’t have to complete this objective, doing so will improve the score you receive at the end of the mission.
Whatever you do, do not walk underneath one of the ceiling sacs, because if you do a creature will break free from the sac and grab hold of you. Turn left and move beyond the shelves there, then hug the wall and move towards the table in front of the pillar up ahead. Move around the ceiling sac and step onto the table. There is a pile of bricks on this table; pick up and use these bricks to destroy all of the ceiling sacs in the room (there are 10 in the initial area, 3 in the adjacent hallway, 1 in the operating room and 1 in the room across from there).
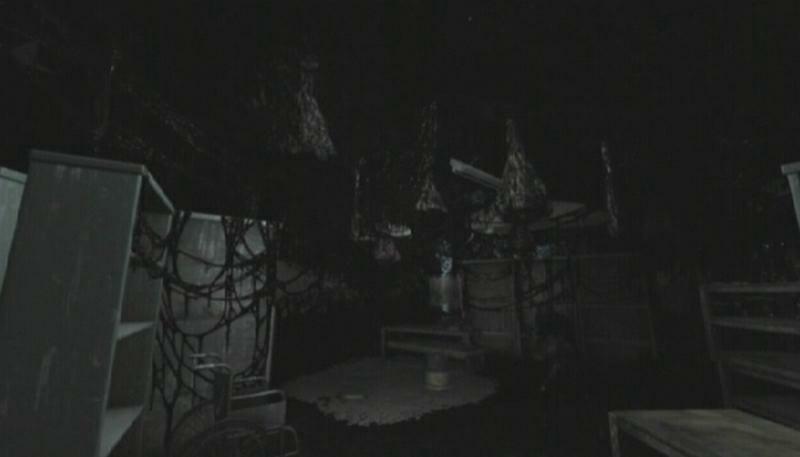 Ceiling Sacs | 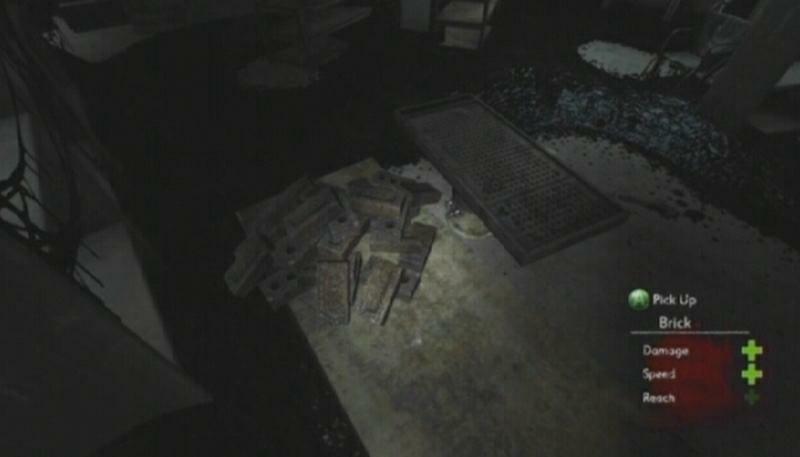 Bricks |
Make your way to the end of the slime-covered hallway and cross the ledge to reach Vanhorn and complete the mission.
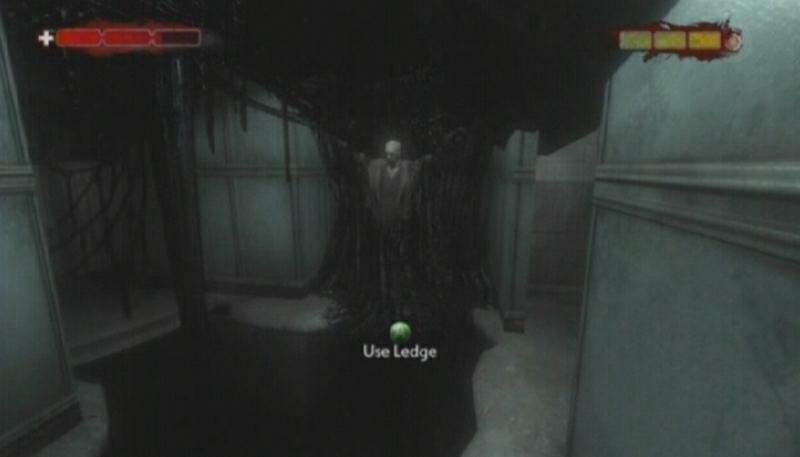 Vanhorn |
No comments yet. Tell us what you think to be the first.