02 - Preston Hotel
Condemned 2: Bloodshot Walkthrough and Guide
Condemned 2 Guide
Mission 02: Preston Hotel
Be ready to press the Player Response button when the prompt appears during the briefing. Dorland hands you a Riot Gun, a welcome change from the melee weapons you’ve had to use up to now. Follow Dorland underneath the billboard and into the hotel.
Fifth Floor
Open the SCU storage locker that is pointed out and take the ammo within, then head down the stairs at the opposite end of the room. Make your way to Dorland’s position in down the hallway and step into the small area up ahead. There’s nothing of immediate interest here, so return to Dorland and continue down the hall.
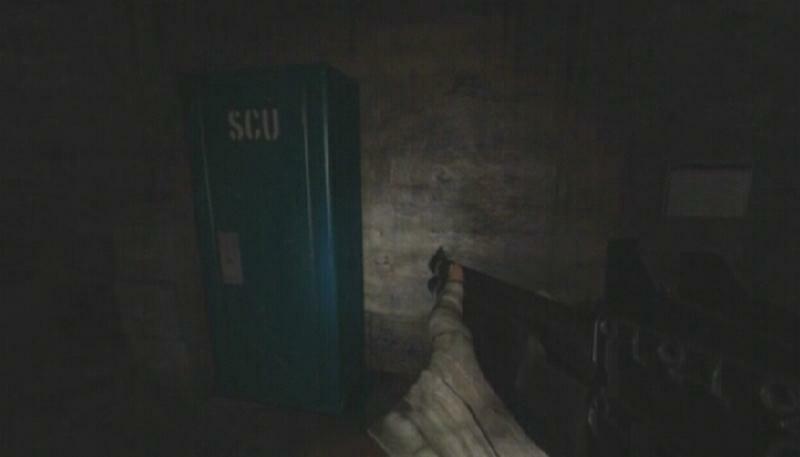 Storage Locker |
Le Rue will kick in the door of room 512 to reveal a meth-lab. There are four such labs in the hotel, and this mission’s Optional Objective is to destroy each of them. Blast the meth-lab once and then step out of the room to avoid taking damage from the subsequent explosion. That’s one of four; the remaining labs will also be pointed out in this guide, so follow along to reach their locations.
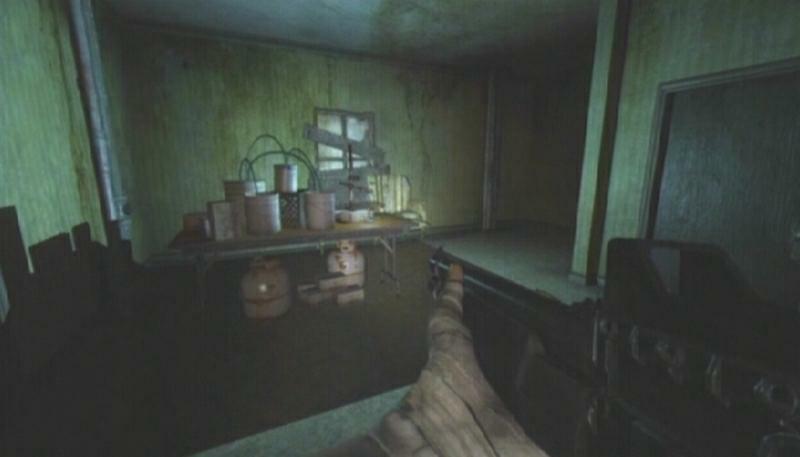 Meth-lab |
Open the jarred door to room 511 at the end of the hall and step inside. There is nothing of interest here, so step back into the hall where Dorland has uncovered a hole in the wall which leads into the hotel cafeteria. Duck under the wall and take out the addict that lunges at you with a quick blast from your Riot Gun. There is a shotgun-wielding thug through the broken wall at the opposite end of the cafeteria. He’s taking potshots at your allies, so carefully make your way there and take him out. There’s nothing notable about room 508, so head to the end of the hall where Dorland and Le Rue are standing and enter 507.
Make your way to the other end of the room and duck under the hole in the wall. Antenna (1/4) is next to the doorway at the opposite end of the room. Enter the bathroom and drop down through the hole in the wall. Leave this room and step out into the hall.
 Antenna |
Fourth Floor
Forensics -- When you reach the elevators, Ethan will bring up his Field Kit to communicate with Rosa. The answers you choose during these briefings with Rosa count towards the Forensics rating you’ll receive at the end of the mission. Asking irrelevant or redundant questions will net you a low rating, while asking the right ones will give you a Perfect rating. In this instance, the best questions to ask are “Any officers reported in the area at the time of the call?” followed by “Is there a commuter train that passes by the hotel?” for a Perfect rating.
 Field Kit |
Be prepared to press the Player Response button after speaking with Rosa. Jump down the elevator shaft after Dorland. Be ready for another Player Response prompt after the fall, then pry open the elevator door to reach safety.
First Floor
Start down the hall across from the elevators. You’ll encounter a brute partway down; be very careful, because this guy can dish out some serious damage. Hopefully you have a weapon with you, if not the Riot Gun you were given at the beginning of the mission. Otherwise just try your best to parry his attacks and hit him with some combos to bring him down quickly. Once he’s down, punch the board blocking the doorway across from the table that the brute moved aside until the meth-lab beyond it explodes.
 Brute |
 Meth-lab |
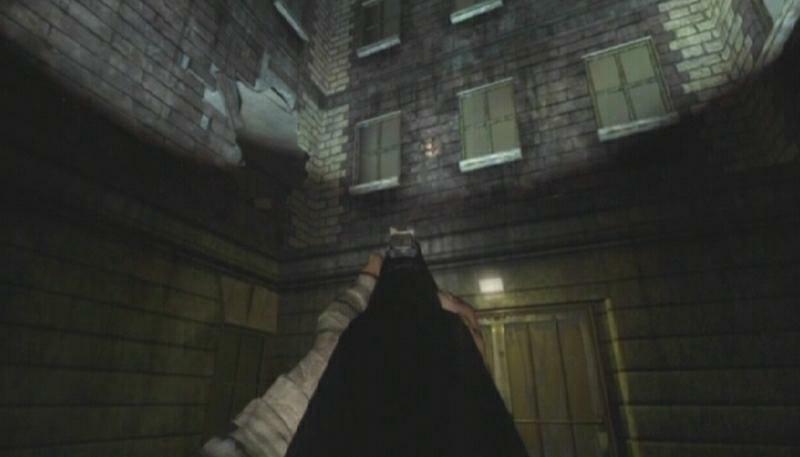
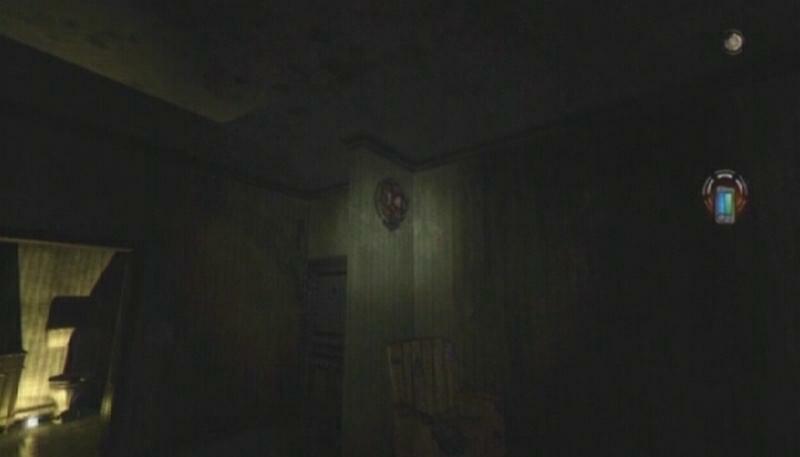
Continue to the end of the hall and turn right at the double door. Your Spectrometer indicates that there is a sonic emitter in this room. Select it from the Forensic Tools menu and follow it to Emitter (1/3), which is attached to the wall above the shelf that’s next to the doorway. There’s a pile of bricks in the back room, so pick one up and throw it at the emitter if you currently lack a weapon.
 Emitter |
Exit this room and step into the dining area across the way. Approach the long table at the other end of the room and pick up the baseball bat on it. At this point a number of thugs will appear and attack. Take them out, then head through the doorway at the end of the stage at the far end of the room. Move to the end of this corridor to reach the outside area of the hotel. Pick up the Shotgun at the top of the stairs and down some Liquor to steady Ethan’s aim. The calming effects of the drink are only temporary; the time before the effect wears off is displayed by the draining bottle in the top-right quarter of the screen. There’s a slightly more powerful Riot Gun and a couple of health packs in the locker across from the stairs.
 Baseball Bat |
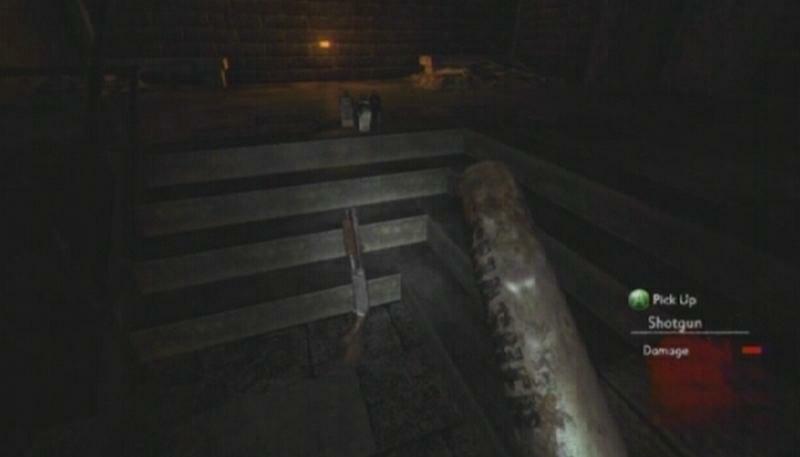 Shotgun |
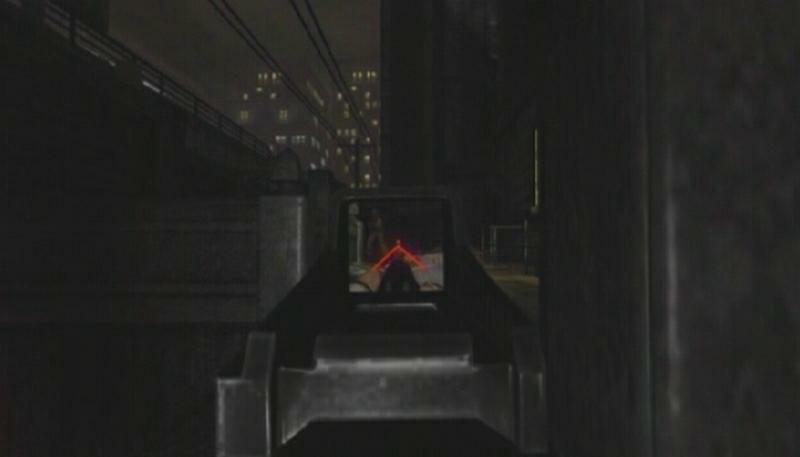
Continue down the path until you reach another set of small steps. Stand at the side of these steps, aim down the sights of your gun and blast the rioters up ahead. Take up any ammo from the rioters once they’ve been dealt with and approach the double door up ahead. Emitter (2/3) is attached near the first set of windows above the door; shoot it or throw a melee weapon at it before heading through the double door. Be ready to hit the Player Response button once you’re back inside the hotel.
 Rioters |
 Emitter |
Hotel Lobby
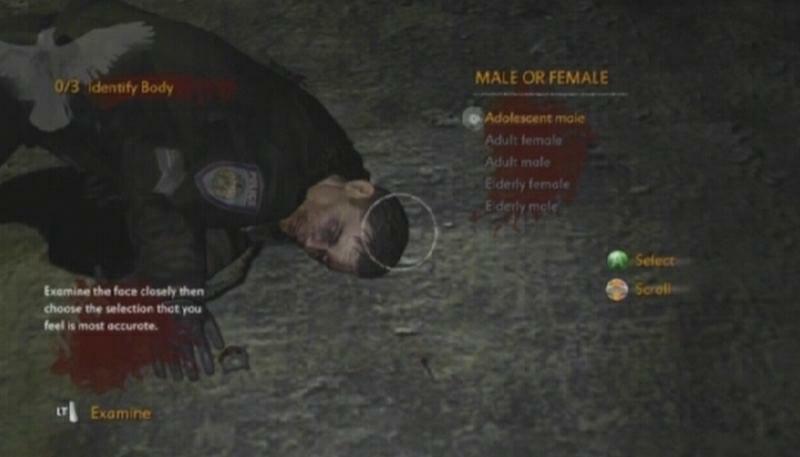
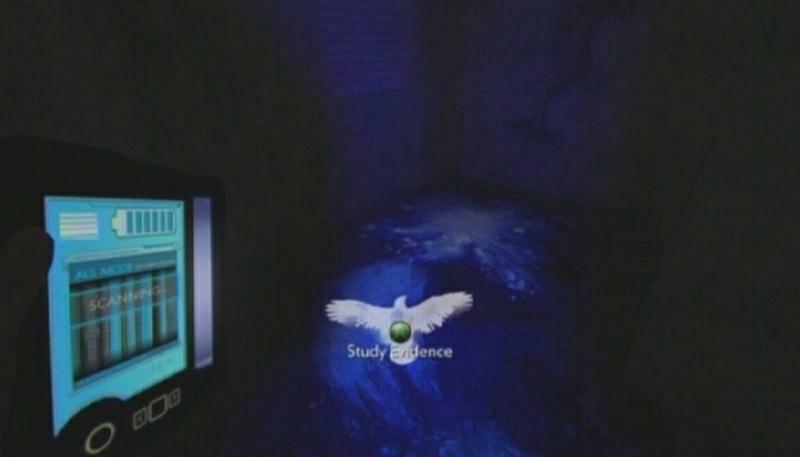
Forensics -- A “Study Evidence” icon will appear onscreen when you enter a room with examinable evidence. As with the Field Kit responses, the discoveries you make here count towards the Forensics rating you’ll receive at the end of the mission. Reporting the evidence incorrectly or making observations that are off the mark will earn you a poor rating, while making relevant observations and identifying the evidence correctly will net you a Perfect rating. You first need to select three things that identify the body. To get a Perfect rating here, examine the victim’s face and select “Adult male” from the available options, examine his jacket and select “Police uniform,” then pick up the badge by the victim’s right hand and select “Police Badge #46.” Submit the evidence to move on to the next stage.
 Identify | 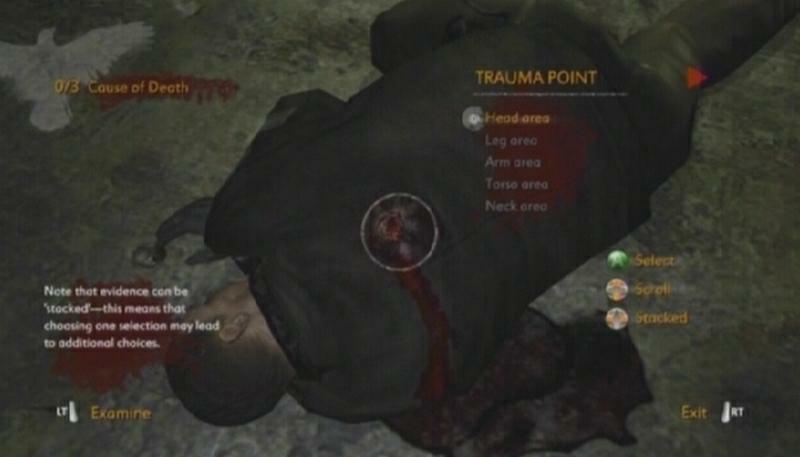 Cause of Death |
For a Perfect rating on “Cause of Death,” examine the bullet wound on the victim’s back and select “Torso area,” “Gunshot wound,” and then “Exit wound.” As for the “Has the Body Been Moved?” category, first select the UV Light from the Forensic Tools menu and then examine the blood trail behind the body. Select “Blood trail” and then “Victim crawled.”
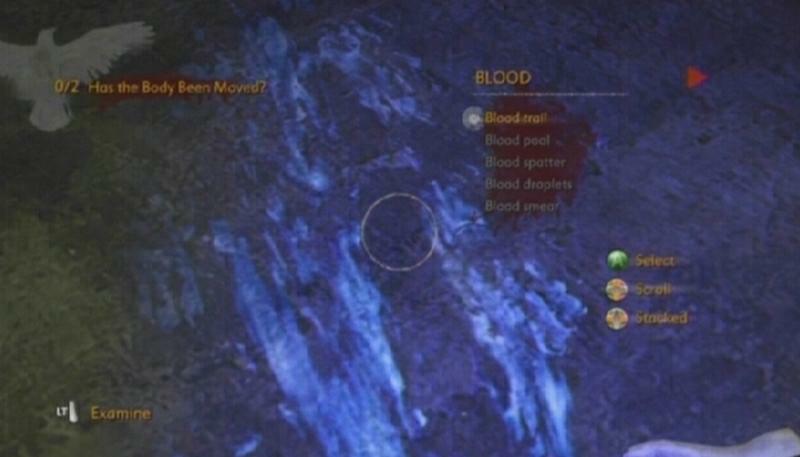 Blood Trail |
Use your UV Light and start following the visible blood trail. Move the couch aside and start down the hallway beyond it.
Antenna (2/4): Stop following the blood trail for a moment and take a right at the t-junction. Enter room 106 and locate the bathroom. Be careful though, because there is a pistol-wielding thug on the other side of the door. Take care of him first and then activate the radio on the sink.
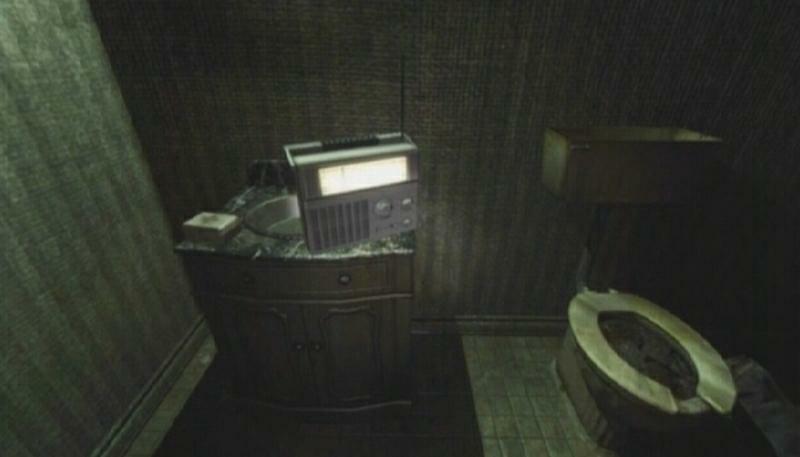 Antenna |
Emitter (3/3): Continue following the blood trail until the Spectrometer appears on the right side of the screen. The blood leads off to the left, but continue moving forward and step through the opening in the wall on the right. Head through the door across from the bathroom and turn right upon entering the room. Look above the yellow chair to spot the emitter attached on the wall. Shoot or throw something at the emitter to destroy it, and then exit back into the hall through the hole in the bathroom wall.
 Emitter |
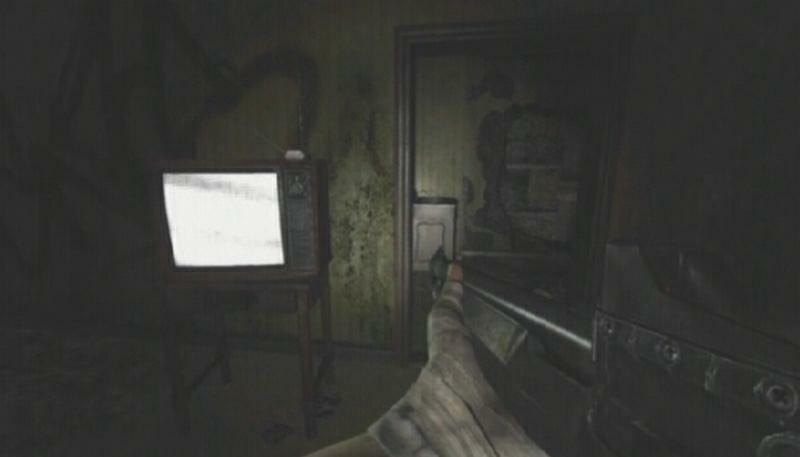
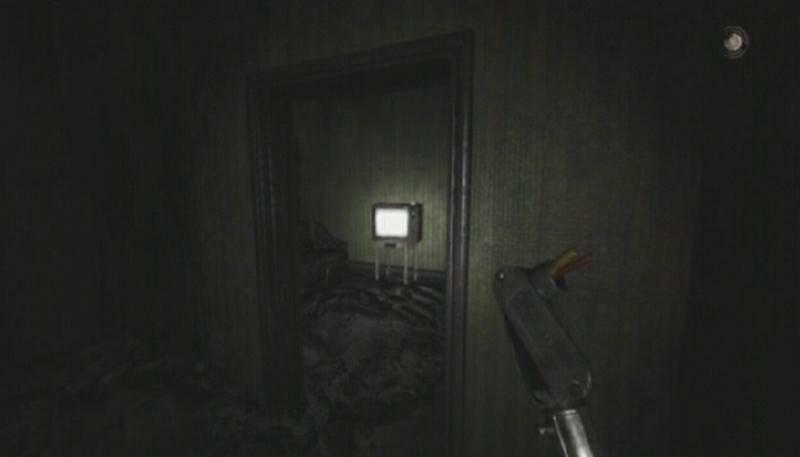
Antenna (3/4): Move to the end of the hall (where the door to room 101 is) and turn left. Be careful, as a brute will smash through a wall along the way. Kill him off, then step into the room he broke out of. A TV sits on the dresser at the far end of the room.
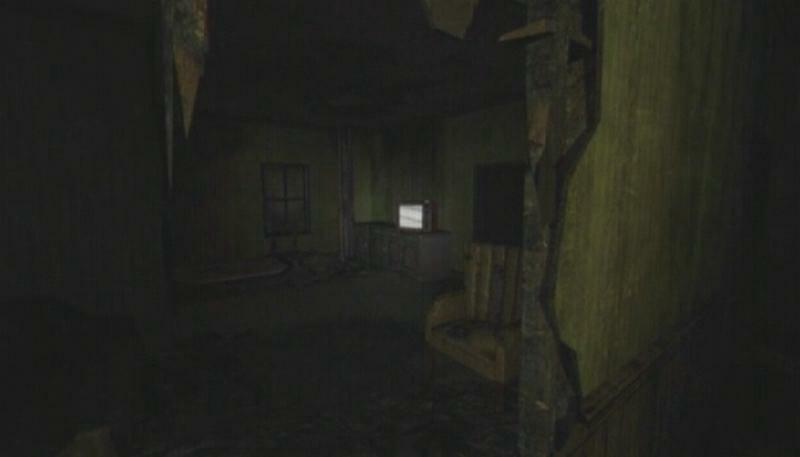 Antenna |
Forensics -- The blood trail will lead you into a small room. Examine the blood pattern and select the “Outward pattern” and “Vic dropped from above” options to get a Perfect rating. Pick up the 9mm, then pry open the elevator door to climb to the floor above.
 Evidence |
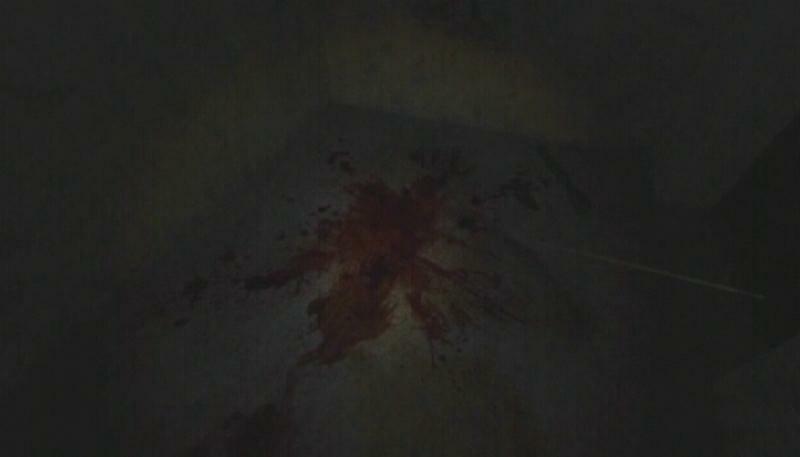 Blood Splatter |
Second Floor
From the elevator room, turn left and then left again. Follow the hallway until you reach an area with two elevators and kill off the brute that appears. At the elevators, take out your UV Light and follow the short blood trail down the hallway. When you reach the end of the trail, turn right to spot a meth-lab through a hole in the wall. Throw something at it to set it off, or walk down the steps beyond the trail, turn right and enter the room through the hole in the wall to get closer to it.
 Meth-lab |
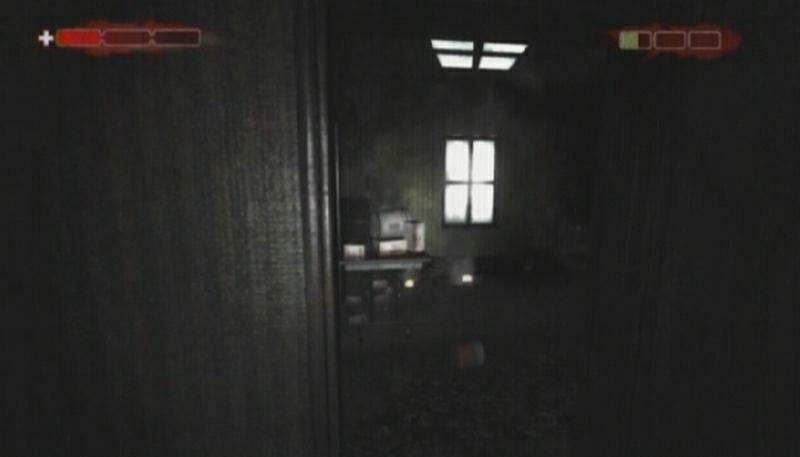
Antenna (4/4): Head down the hallway across from the meth-lab spot and search for the door to room 208. Enter the room and go through the doorway on the right side. Activate the TV on the end table and then head back into the hall.
 Antenna |
From the two elevators, follow the blood trail down the hallway on that right until you reach some tables and chairs. At this point, turn into the dining area and proceed through the open double door at the opposite end. Move past the two yellow chairs and turn right at the t-junction. At the end of the hall, move the board on the right side and duck under the wall. There is an armed thug in this room, so be careful. Destroy the meth-lab in this room and pick up the thug’s gun if needed.
 Board |
 Meth-lab |
Forensics -- When you’ve found the start of the blood trail, examine the blood splatter on the door and select the “Exit splatter” option, then identify the “Policeman’s cap” on the chair to earn a Perfect rating.
 Blood Pattern |
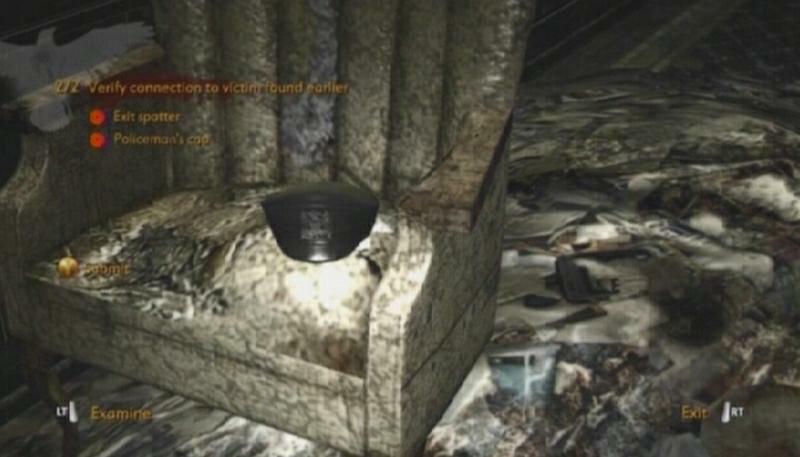 Police Hat |
Open the blood splattered door to room 212 and make your way into the adjacent room. Look down into the hole to spot a grisly scene. Be ready to press the Player Response button when the prompt appears. Jump down into the room with the body. When Dorland asks for your location, examine the phone on the table across from the body and select “Room 119” for a Perfect rating. Rosa then asks you to send her a picture of the body; select the Camera from the Forensic Tools menu and focus in on the body. To get a Perfect rating, you have to adjust the camera so the picture is as clear as possible before snapping the picture. To determine adequate clarity, what you see in the lens should look similar to what you would see while not using the camera. Afterwards, snap a picture of the victim’s face to complete the mission.
 Telephone |
Not correct forensics for gold
It doesn't show where the 5th player response is.