07 - Black Lake Lodge
Condemned 2: Bloodshot Walkthrough and Guide
Condemned 2 Guide
Mission 07: Black Lake Lodge
After a rough landing, start down the trail next to the plane's tail-end and follow this path until you reach a bridge. There are a couple of Player Response prompts along the way, so be ready. When you reach the bridge, attempt to cross it and you will fall through. There is a piece of evidence nearby; examine the bloody chunk and select “Arm” from the list of options. To determine the approximate time of the kill, zoom in on the wrist and remove the watch from it. Select “February 24th” for the date and “0003” for the time to earn a Perfect rating. Collect a sample of the evidence and then start down the blood-smeared path beyond it.
 Evidence |
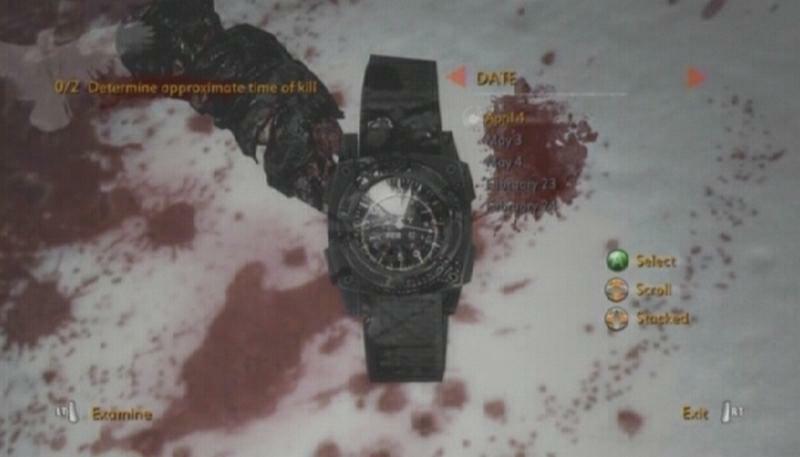 Watch |
The Spectrometer icon will appear as you make your way down the path, though there are no emitters to be found in this particular mission, so just ignore it. Eventually Ethan will bring up the Field Kit to communicate with Rosa. Select “Dehydration? With all this snow?” to earn a Perfect rating. Afterwards, continue following the trail until you reach the service building. Locate the entrance and step inside.
 Service Building |
Service Building
Forensics -- You'll come across a corpse upon entering the service building. To determine the identity of the victim, first examine the eyes and select “Male,” then examine his jacket and select “SCU,” and then pick up the wallet next to his left leg and select “D. Payant” for a Perfect rating. Be ready to press the Player Response button when the prompt appears afterwards.
 Evidence |
 Wallet |
Head through the doorway across from the corpse and make your way through these rooms until you come to another disturbing scene. This victim has had his legs torn off, and a quick look at his jacket tells you that it's another SCU officer, one of Dorland's men. Move on through the doorway across from the second victim and head up the stairs there. When you reach the top of the steps, move to the end of this area until you fall down a hole to the floor below.
You'll meet a rabid bear down here; as soon as you spot him, whip around and take off down the hallway behind the two steel shelves. As you sprint down the hall, keep an eye on your right for a room you can duck into. Proceed through the doorway at the opposite end of this room and wait here for the bear to pop in and clear the way for you. Move through the opening at the end of the tunnel for a short reprieve.
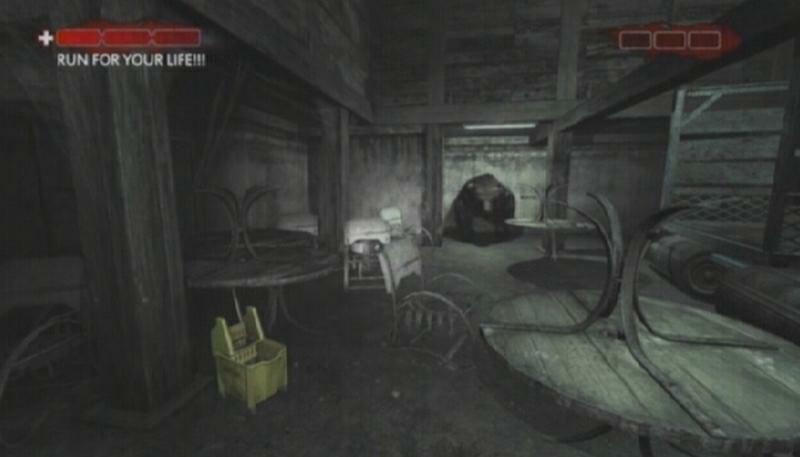 Bear! |
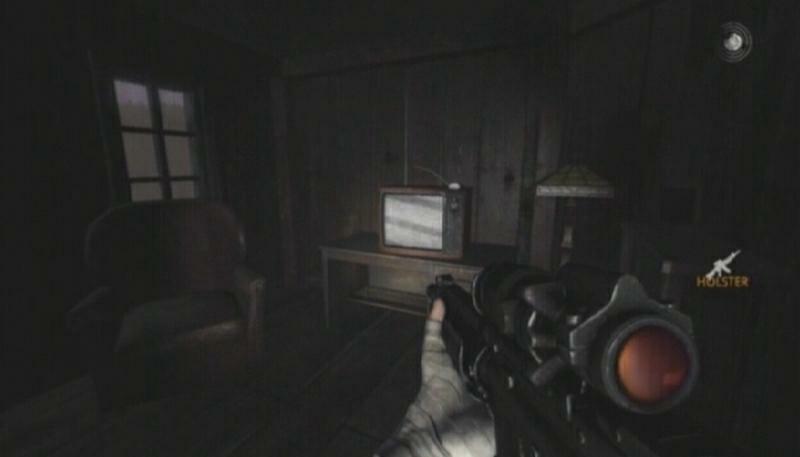
Antenna (1/3): Upon entering the room, move forward and turn left at the pillar straight ahead and step through the doorway there. The TV is sitting on a table in this room, across from the fridge.
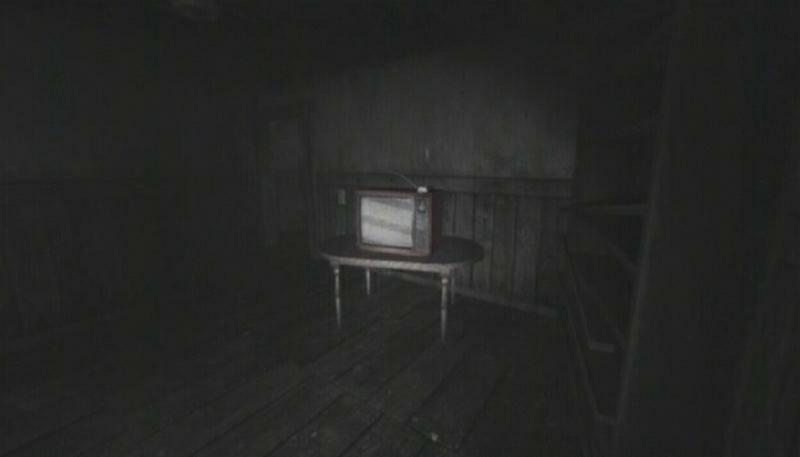 Antenna |
Climb up the stairs for another encounter with the bear. Slip past the dresser along the walkway and head through the doorway at the walkway's end. Quickly move through the opening at the far end of this room and squeeze past the bath to safety. In the next room, approach the dresser that's blocking the door and push it out of the way. As soon as you step out of the room, turn left and sprint down the hall there. You'll reach a survivor in the next area; first push the dresser to block the doorway, then sprint towards the injured officer—pressing the Player Response button when the prompt appears—and pick up the shotgun. Take aim at the propane tanks on the steel shelf to the right and wait until the officer shouts “Now!” before pulling the trigger.
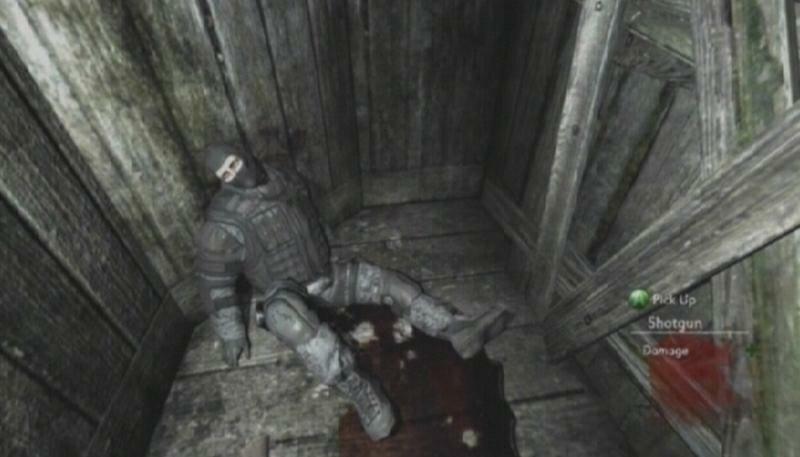 Survivor |
 Bear |
Lodge
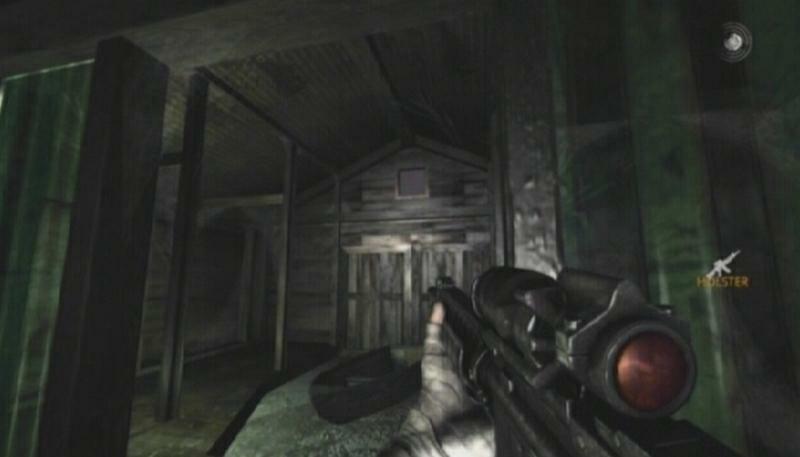
Start down the path and press the Player Response button when the prompt appears. Make your way to the end of the trail and enter Vanhorn's lodge. Creep into the next room and tiptoe towards the idle SCU officer. When you're right behind the officer, grab him and break his neck. Pick up the fallen officer's Assault Rifle afterwards and press on. You'll come to an explosive device along the way; examine the door of the device and select “DETM 12x” for a Perfect rating.
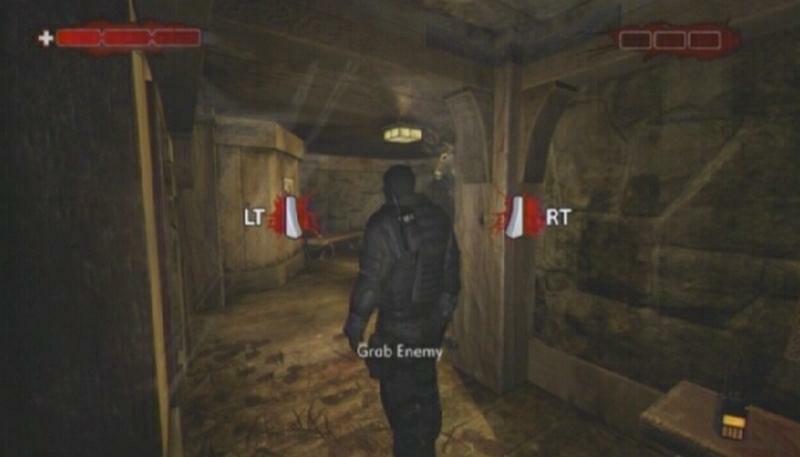 SCU Officer |
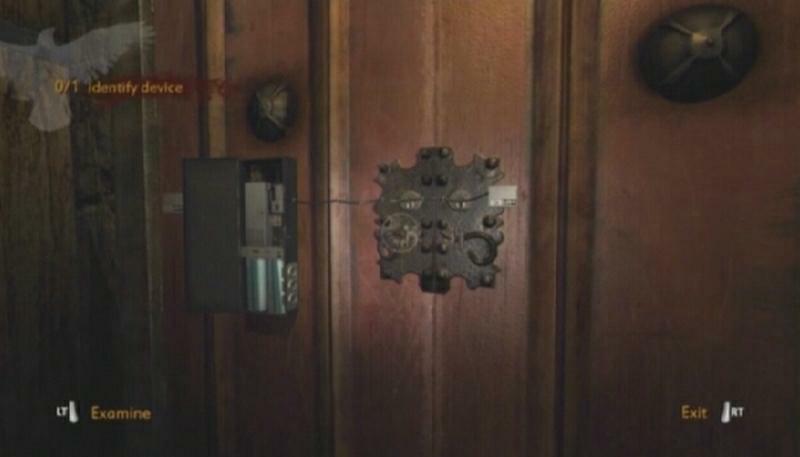 Device |
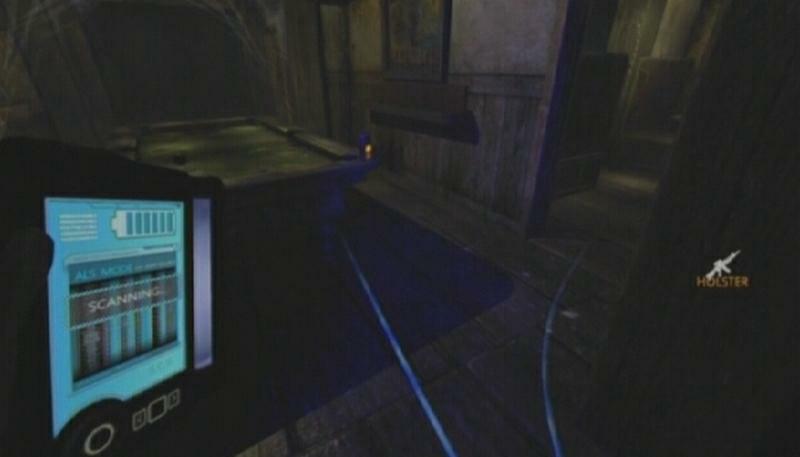
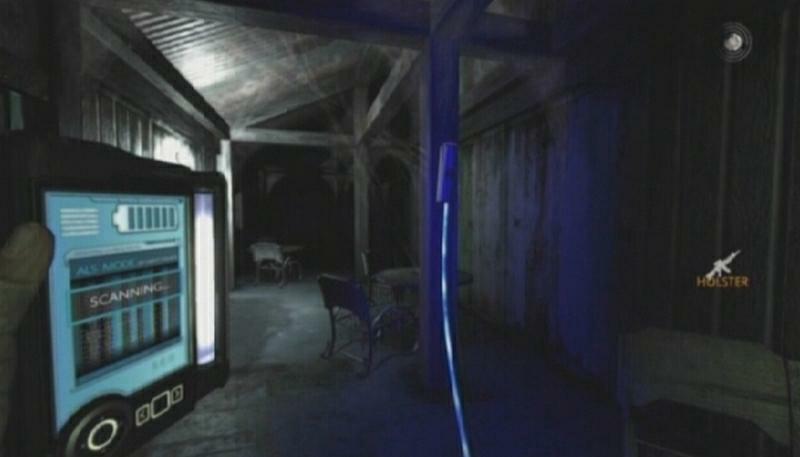
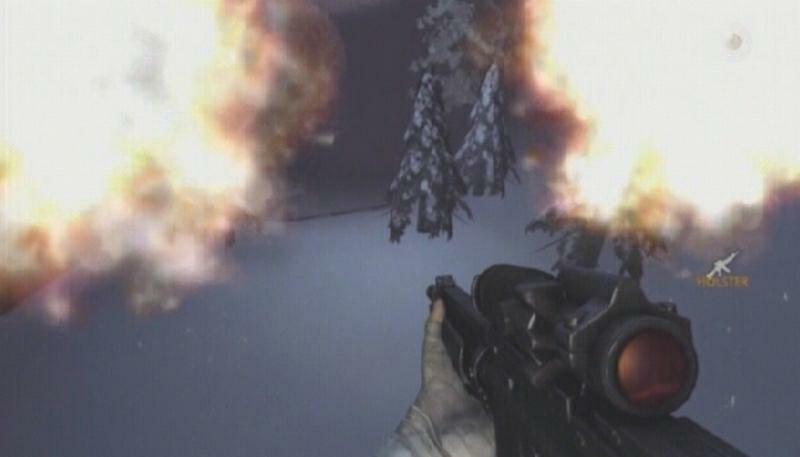
Now for the hard part; to diffuse this device, you first need to locate and dispose of the six explosives attached to it. Each explosive is connected directly to the device with cables that can only be seen in UV lighting, so whip out your UV Light to spot the cables. As you can see there are cables running every which way, so it'll take a bit of work to follow them to each blast point. You must then throw the blaster through a window, far enough from the lodge to avoid death.
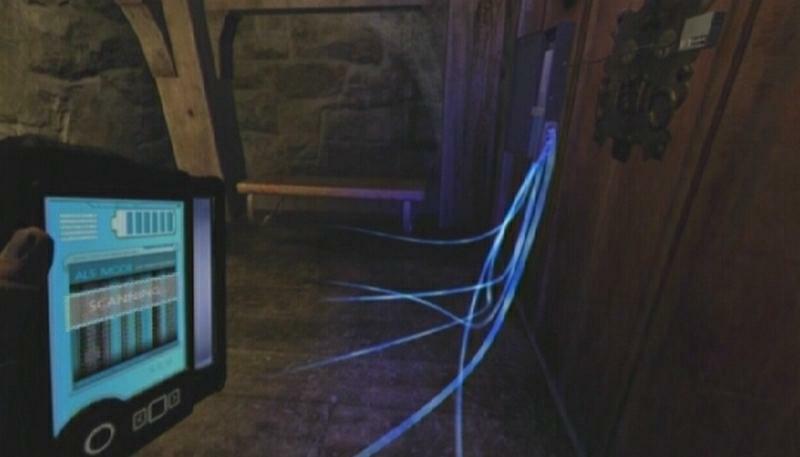 Blaster Cables |
This is the most gun-heavy mission in Condemned 2, so you must keep your gun loaded to deal with the armed SCU officers patrolling the lodge. If you earned a Gold level holster from one of the previous missions, this upgrade will certainly come in handy as you can then carry two weapons of any type at once (ex., two Assault Rifles). Regardless, just be sure to retrieve the ammo from every fallen enemy's weapon and you'll be fine.
Blast Points
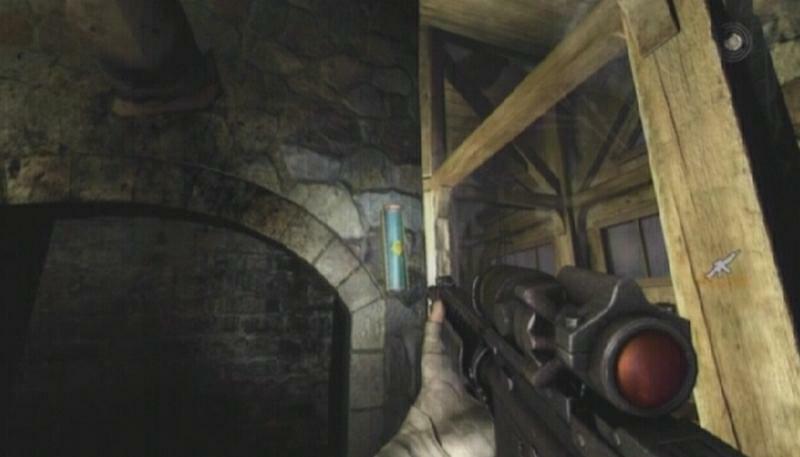
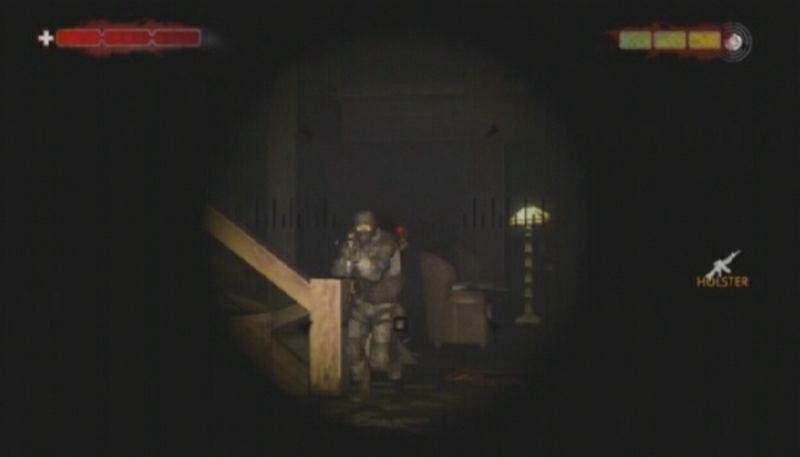
1. There is an officer patrolling the walkway through the first door, so take him out before heading down the stairs. One of the explosives can be found attached to the pillar near the fireplace. Remove the explosive and immediately toss it through the window next to the fireplace to safely detonate it.
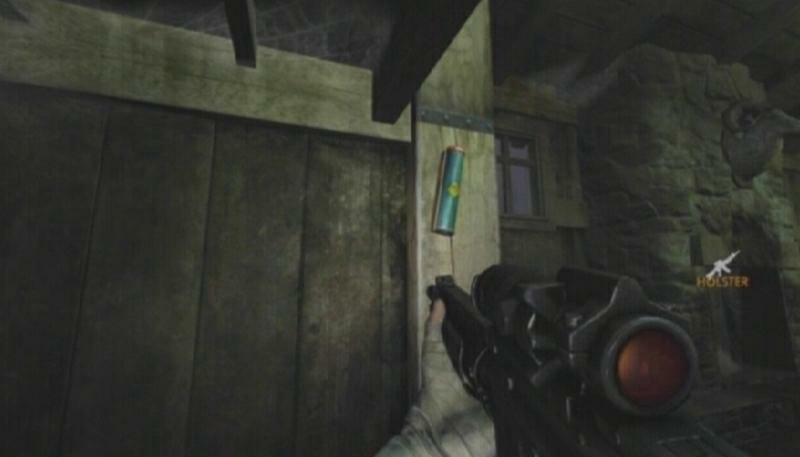 Blaster |
 Window |
2. From the lounge, follow the two cables that run beyond the doorway to the left of the stairs and continue following them until they branch off. Turn into the room on the right when you reach the split; the blaster is sitting on the first table on the left. To safely dispose of this one, grab it and then quickly return to the pool table room and throw it through one of the windows there.
 Cables |
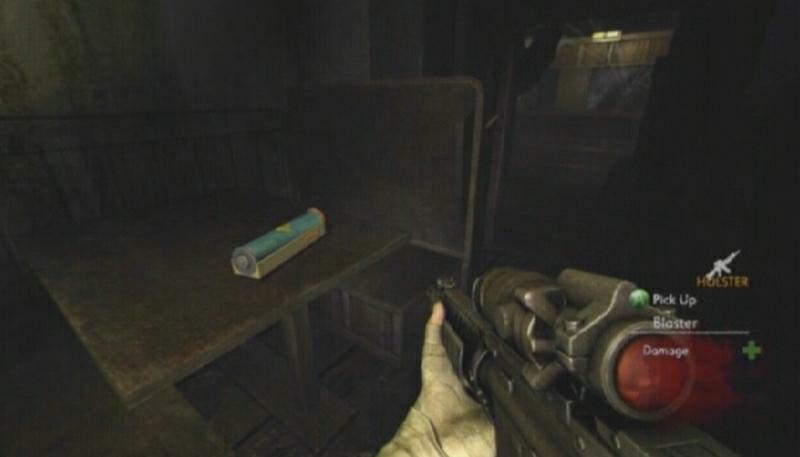 Blaster |
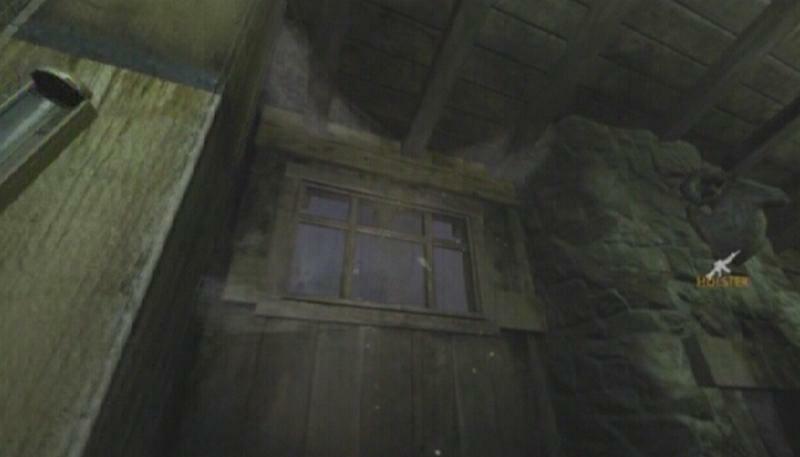
3. From the split in the pool table room, follow the second cable to the bar. Careful, as the setting off of the previous blaster likely alerted the SCU officers patrolling the area. Follow the blaster cable behind the bar and down the stairs there. Take out the officers in the kitchen and then continue following the cable to a pillar in the adjacent room. You have to throw this one through the small, square window in the nearby area. It may take a few tries to get it through, but luckily you just recently hit a checkpoint so a miss isn't a big deal.
 Blaster |
 Window |
Forensics -- There is an optional forensics bit near this blaster; head through the double door beyond the pillar that held the blaster and take a clear picture of the photos and engraving on the wall in this room.
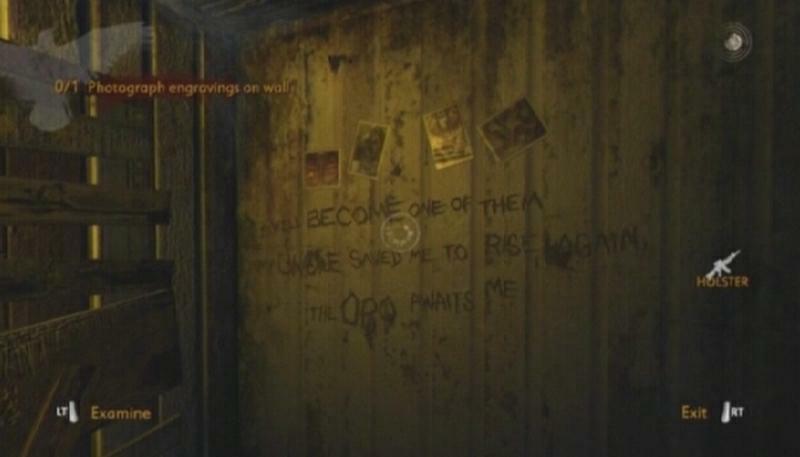 Evidence |
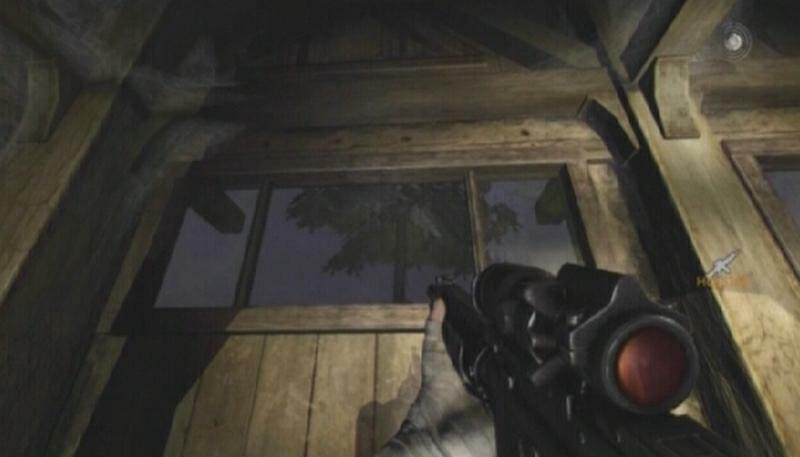
4. Return to the lounge and climb the stairs back up to the walkway. Follow the blaster cable that leads along the walkway, beyond a double door (not the one with a set of stairs beyond it) and into a dining area. As soon as you step past the fireplace here, turn right to spot the blaster attached to a pillar. You'll have to throw this one through one of the windows on the other side of the room. It might help to break the window beforehand to avoid having the blaster bounce back into the room. When you're ready, remove the blaster, sprint towards a window and toss it outside.
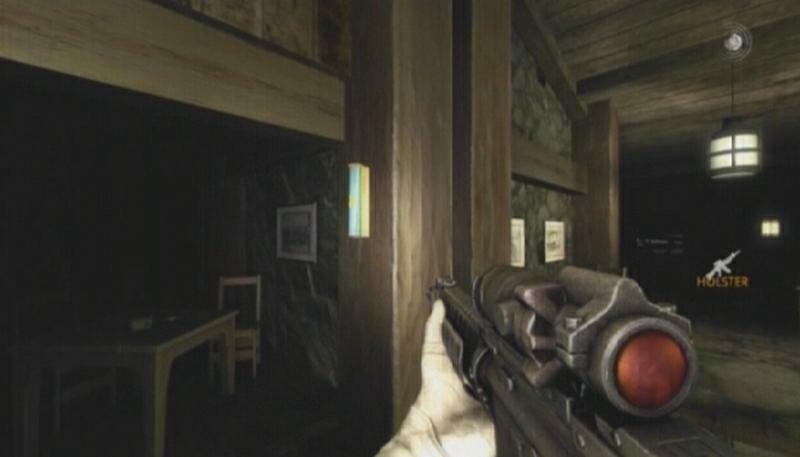 Blaster |
 Window |
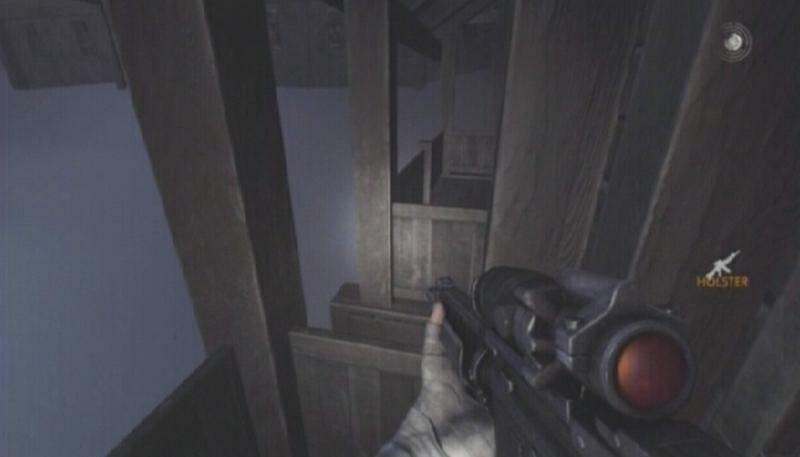
5. Return to the lounge walkway. Move along the walkway until you reach a double door with a set of stairs beyond it. Climb up the stairs and take out your UV Light to spot a couple of blaster cables. When they branch off, follow the cable that leads up the stairs on the right. You'll come to a hole in the floor, so stop following the cable and turn into the room to your left. Upon entering the room, turn right and enter the small passage there. Move to the end of the passage to reach another room. Step out onto the balcony and hop over to the one next to it. Step though the door and exit this room using the door at the opposite end.
 Balcony |
When you reach the second lounge area, head up the stairs and make your way to the other end of it. The blaster is attached to the side of the fireplace here. Before removing it, turn around and break the window behind it, then take the blaster and throw it through the open window.
 Blaster |
 Window |
Antenna (2/3): Head back down the stairs and follow the blaster cable that leads through a doorway. The cable will soon lead up through a hole in the ceiling, but continue moving forward while keeping an eye on your left. Go through the first door on your left and enter the room. The TV is sitting on the table near the chair.
 Antenna |
6. Proceed through the double door at the top of the stairs and move down the hall until you come across another cable. From the cable, turn around, move back down the hall and turn into the room on your right. Step onto the balcony and hop over to the one next to it. The blaster is attached to the pillar in this room. Remove the blaster and toss it from the balcony.
 Blaster |
 Balcony |
Antenna (3/3): In the same room, there is a radio sitting on a table in the closet across from the bathroom.
 Antenna |
Diffusing the Detonator
Forensics -- Once all of the blasters have been disposed of, return to the detonator to start disarming it. You have a total of 60 seconds to do so before the place is blown sky-high, so you may want to jot these instructions down or memorize them before attempting to disarm the device. You must first describe the device to Rosa:
1. Examine the canisters and select “2 Canisters.”
2. Examine one of the power sources on either side of the device and select “120v/12v.”
3. Examine the lights in the top-left corner of the device and select “3 blinking lights.”
4. Examine the device's keypad and select “16 Button keypad.”
5. Examine the wires below the keypad and select “2 long/1 short.”
Submit this list to Rosa for a Perfect rating. Cut the wire on the right to successfully disarm the device. Be ready to press the Player Response button when the prompt appears afterwards.
Device |
 Wire |
Vanhorn's Library
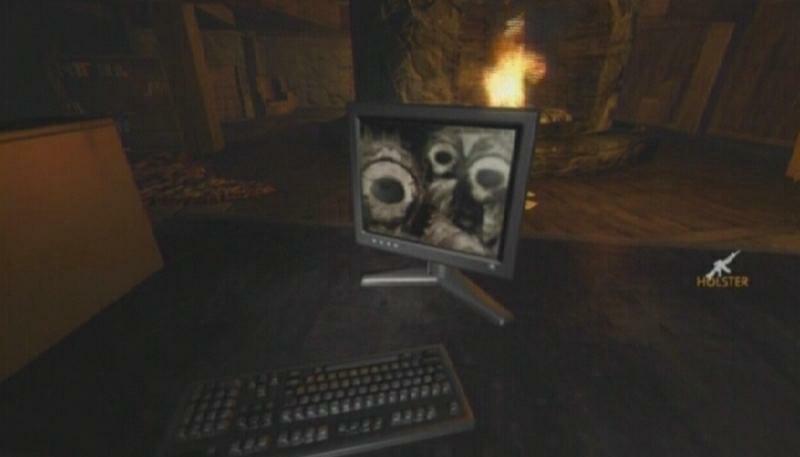
Climb down the stairs and examine the computer on the desk. Holster the .44 on the desk if needed, then examine the monitor and select “Vocal cords” to gain access to the computer. Vanhorn's video message will be interrupted as a troop of Dorland's men storm into the library. You're going to have to hold here until help arrives. A good place to make your stand is in the sitting area behind the fireplace. Sprint over to that area and down the Liquor that's between the two chairs to steady your aim. Fight off Dorland's men until Le Rue arrives. Carefully make your way to the escape vehicle and hop in to complete the mission.
 Computer |
 SCU |
What happens next he dies