Neptune's Bounty
Bioshock Walkthrough and Guide
Neptune's Bounty
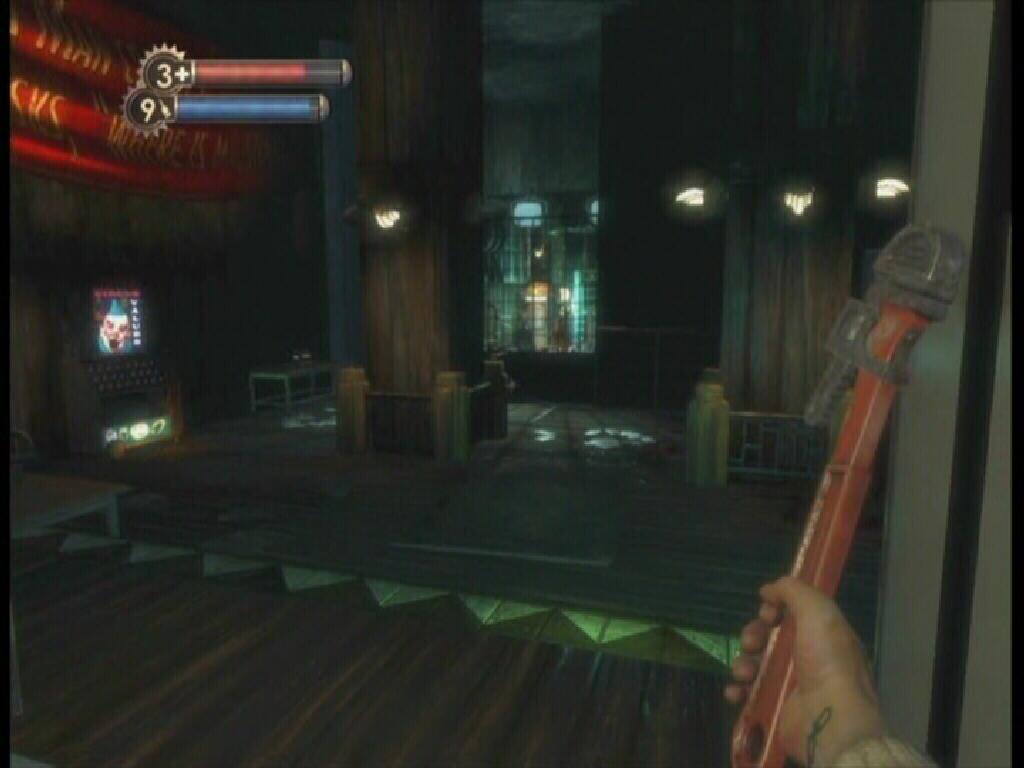
Climb up the stairs and pick up the Machine Gun and Shotgun ammunition on the bench to your left. The Circus of Values machine can be used to purchase some healing supplies if needed. Just a heads up, you'll be encountering another Big Daddy in one of the proceeding areas. It would be a good idea to purchase Electric Buck ammo for your Shotgun, since at this point that is what appears to be the most effective weapon against the Big Daddy. Be sure to hack the machine before you start buying items, you won't have to spend as much money buying supplies this way. Hop over the rubble and move through the proceeding hallways, eventually you will find yourself in the Lower Wharf area.
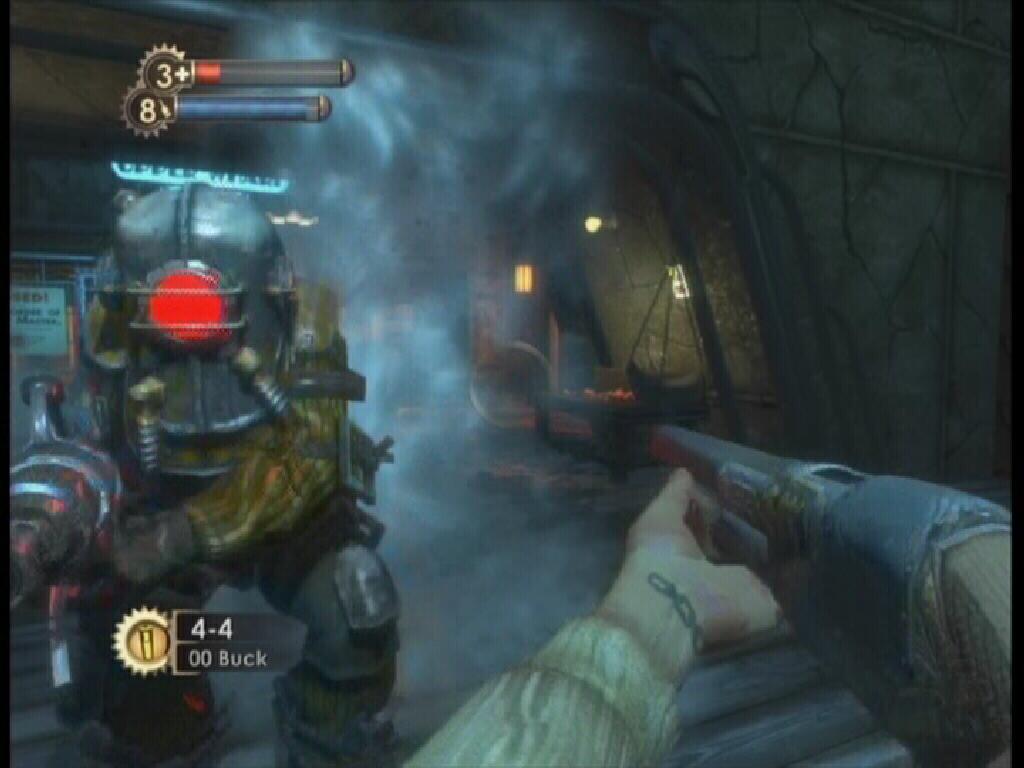
Rosie
In this area, you are likely to encounter another Big Daddy. This variant of Big Daddy is called "Rosie." The Rosie is different from the Bouncer that you encountered at the end of the previous level. For one thing, Rosie is wielding a Rivet Gun. If hit by it, you will take a great deal of damage. Rosie is deadly accurate, too. This means that you must be extra careful, since there really is no running away this time, as you may have done while facing the Bouncer. It is much more difficult to avoid a bullet than it is to avoid a giant tin-man. As with the Bouncer, Rosie is not initially aggressive towards you, he only turns hostile if you deal damage to him. Before you start attacking Rosie, clear the area of any enemies that may make things harder for you. There is a Turret under the dock that you are currently standing on, one is also under the dock at the other end of the room. Either destroy or hack these two Turrets.
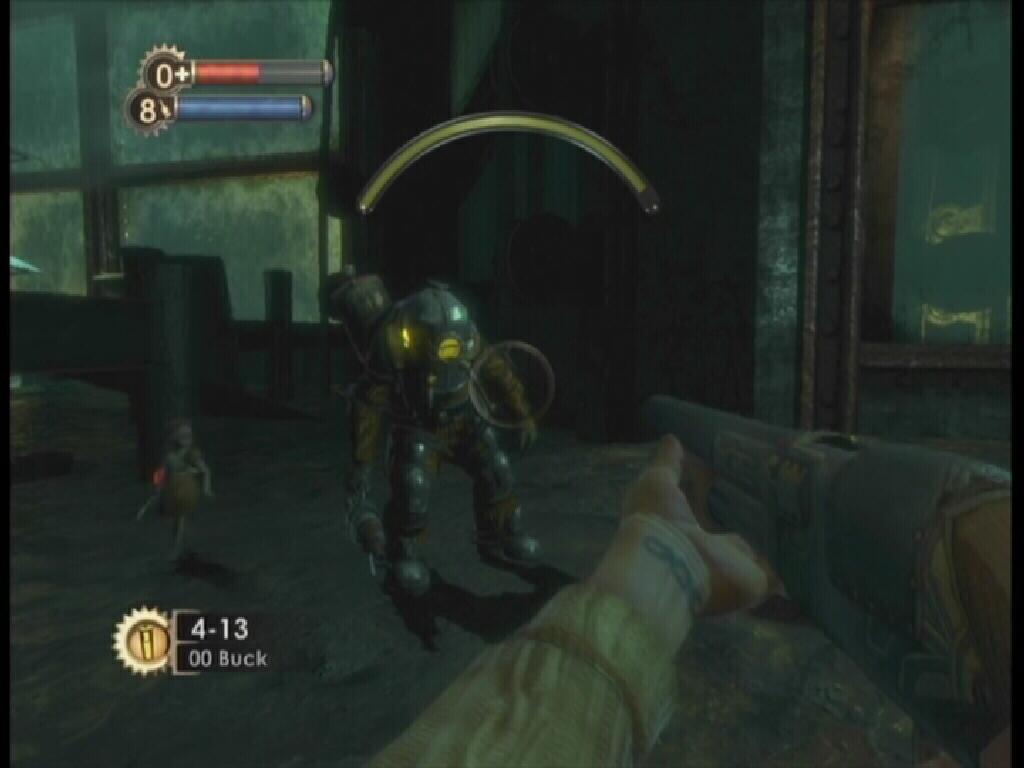
Rosie
The Splicers in this area are likely to be a mixture of Leadhead and Nitro Splicers. You've dealt with both of these types before. The best weapon against a Nitro Splicer is its own bomb. Using Telekinesis to catch their thrown bomb, then tossing it back should take the Nitro down to critical health, possibly even killing them instantly. Once you have cleared the area of enemies leaving only the Big Daddy, Little Sister, and yourself, retrieve the "Medical Expert" tonic in the middle of the lower ground level, and then move towards the dock at the opposite end of the dock that you first stepped onto when entering this area. There is an audio diary (Bathysphere Keys) underneath this dock.
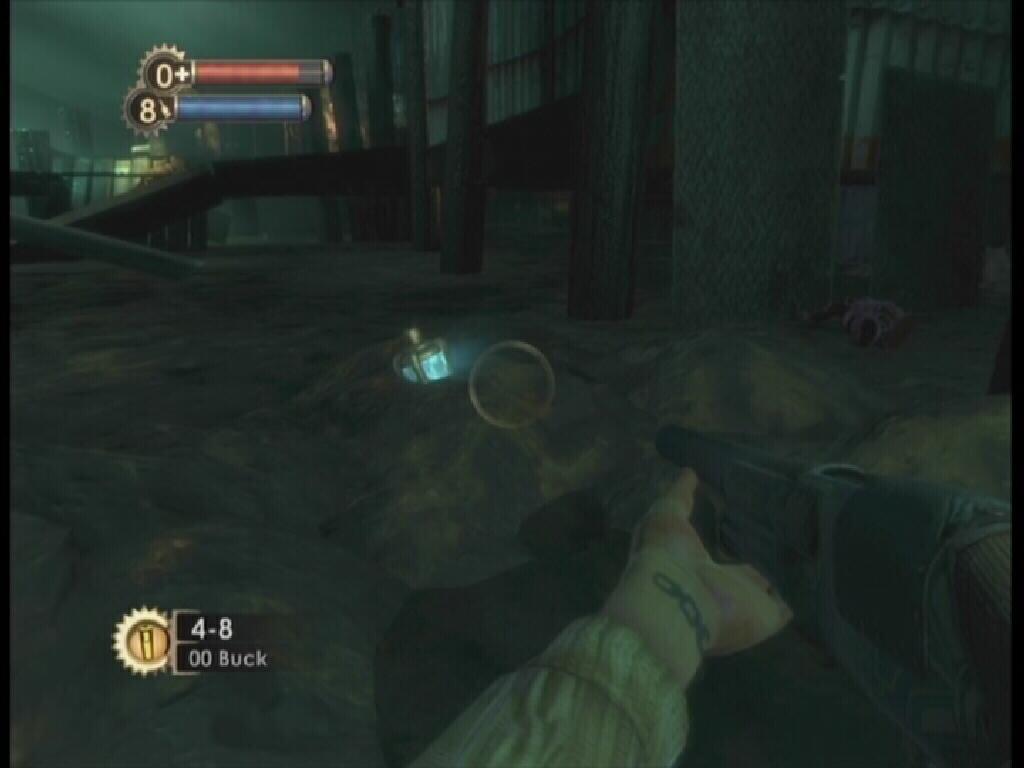
Medical Expert
If a Little Sister is not with the Big Daddy, simply follow him. He eventually reaches a vent along a wall (you've probably already come across these vents before). The Big Daddy proceeds to pound below the opening, this causes a Little Sister to appear from the vent. Press the Start button to pause the game and call up the Pause menu. Notice the icons and the "Little Sisters In This Level" text at the bottom of the screen. The initial icon shows a picture of a Little Sister with a Big Daddy, this means that the Little Sister has not been Rescued or Harvested yet.
In this particular level, there are three Little Sisters. When you encounter a Big Daddy, you can be sure that a Little Sister is close by, though one is not always in the immediate vicinity. If there are still Little Sisters in the level that you have not dealt with, follow any Big Daddy that you encounter if he does not have a Little Sister with him. If you kill a Big Daddy, a fresh one will eventually take its place.
Before you provoke the Big Daddy, be sure that you have an adequate amount of First Aid Kits in supply. Rosie may be a tad difficult to kill at this point, though if you die, you are revived and sent back to the Vita-Chamber at the beginning of this level. Right now, your best weapon is the Shotgun's Electric Buck ammunition. Armor-piercing Pistol Rounds also work. Additionally, the proximity mines that the Rosie occasionally throws your way can be lobbed back at him using Telekinesis. He's tough, but you can't really go wrong, since you do not lose any progress if your health reaches zero.
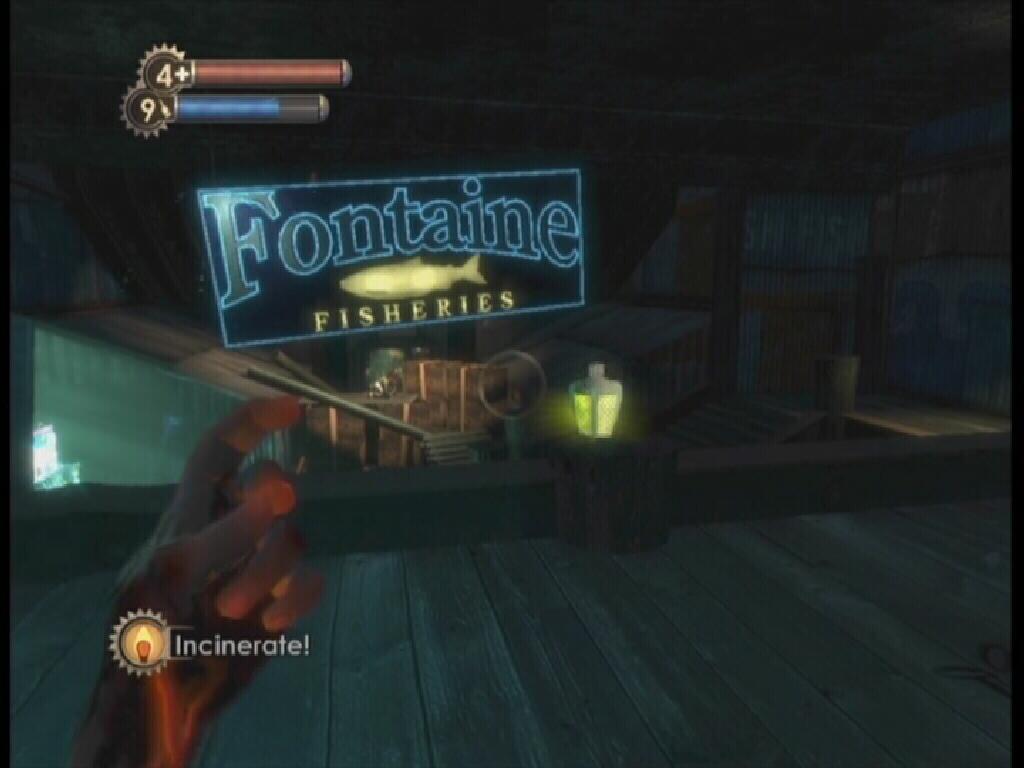
Fontaine Fisheries
Back on the dock that you stepped onto when you first entered this area, find the entrance to "Fontaine Fisheries" and proceed through. If you have been saving all of the Little Sisters that you have encountered up to this point, you'll find your first gift from Tenenbaum by the Gatherer's Garden station. Inside is the "Hypnotize Big Daddy" plasmid, a few First Aid Kits, and some ammo. With the ADAM that you have collected from the Little Sisters so far, it would be a good idea to purchase, at the very least, an extra Plasmid Slot.Use Telekinesis to toss the RPG turret's fire back at it, a couple should do it. RPG turrets are not the best to hack, since they tend to cause more damage than actual help. The remainder of this paragraph details the location of the next audio diary, if you do not care for the diaries, skip ahead to the next paragraph. Take the stairs by the Circus of Values vending station down to the flooded section below. Walk along here, after passing over some debris you'll see the audio diary (Timmy H. Interrogation) behind a remotely locked door. The keypad to the left of the door is used to unlock it. You can either enter the four digit code, or you can simply hack your way in, both achieve the same thing. The audio diary is in this room, as well as some ammunition for various weapons.
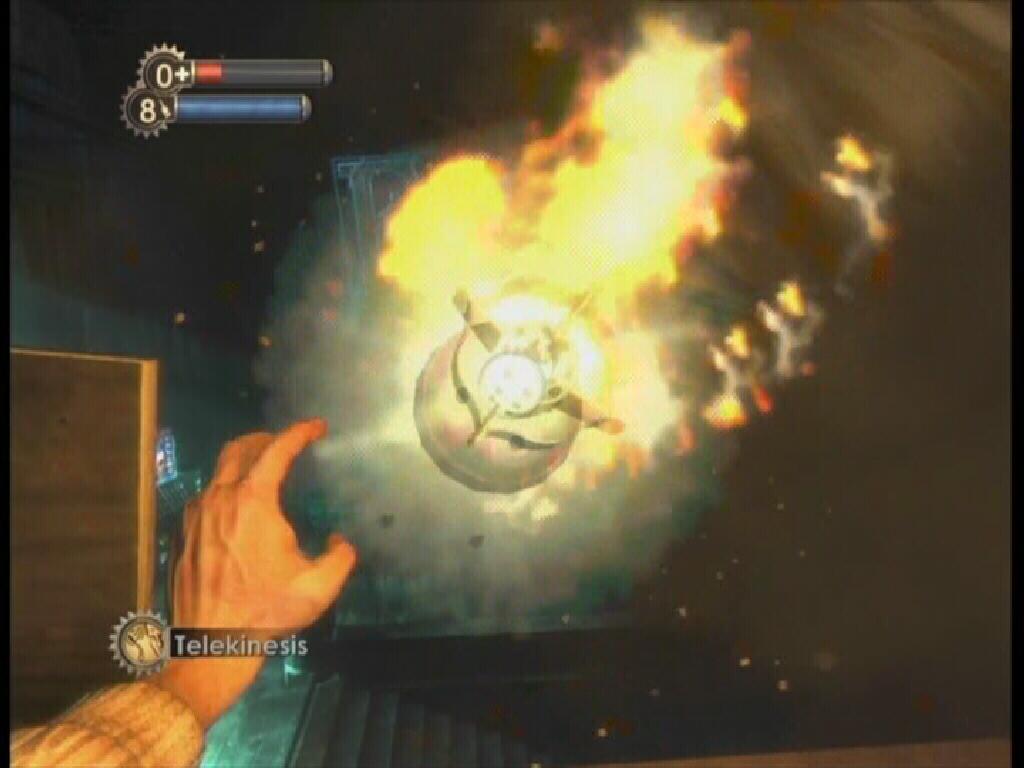
RPG Turret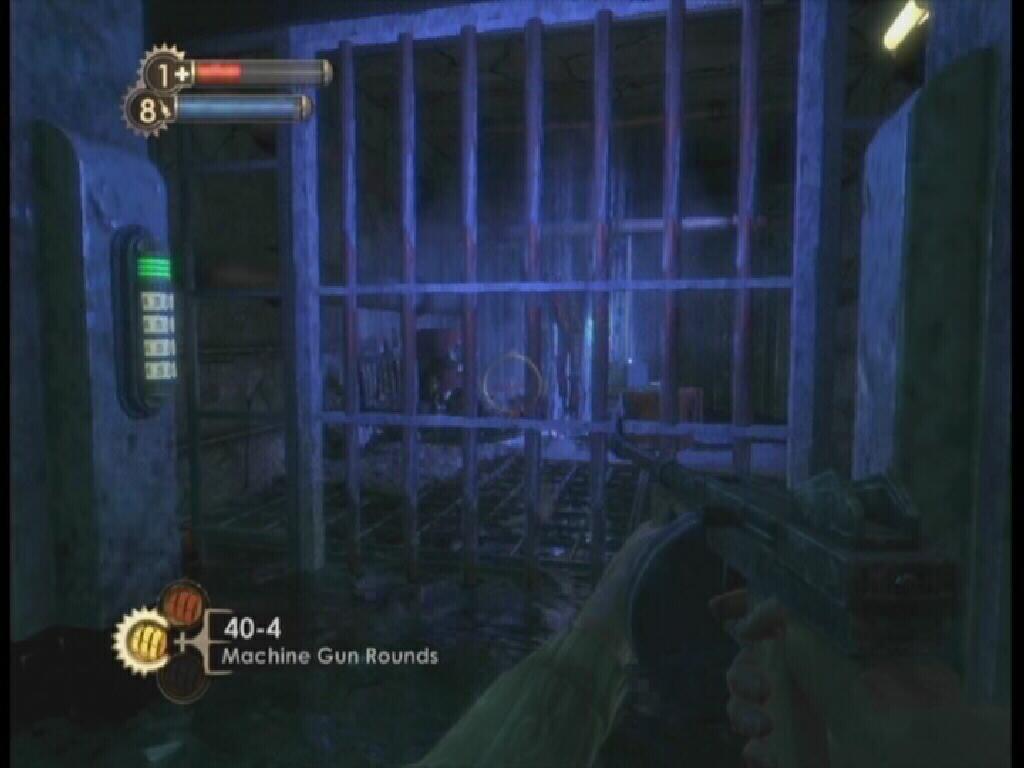
Locked Room
Hop over the boxes that the RPG turret sat upon and proceed through the doorway. Approach the metal door and use the wrench to knock. You are attacked by an exceptionally strong Spider Splicer shortly after speaking with the man behind the door. You do not need to completely drain the Spider Splicer's health, you need only weaken her. She is quite deadly, though fortunately there is a Health Station on the pillar in the middle of this room. Once the Splicer has been chased off, retrieve the Grenade Launcher sent by Peach Wilkins on the conveyor belt to the right of the metal door.
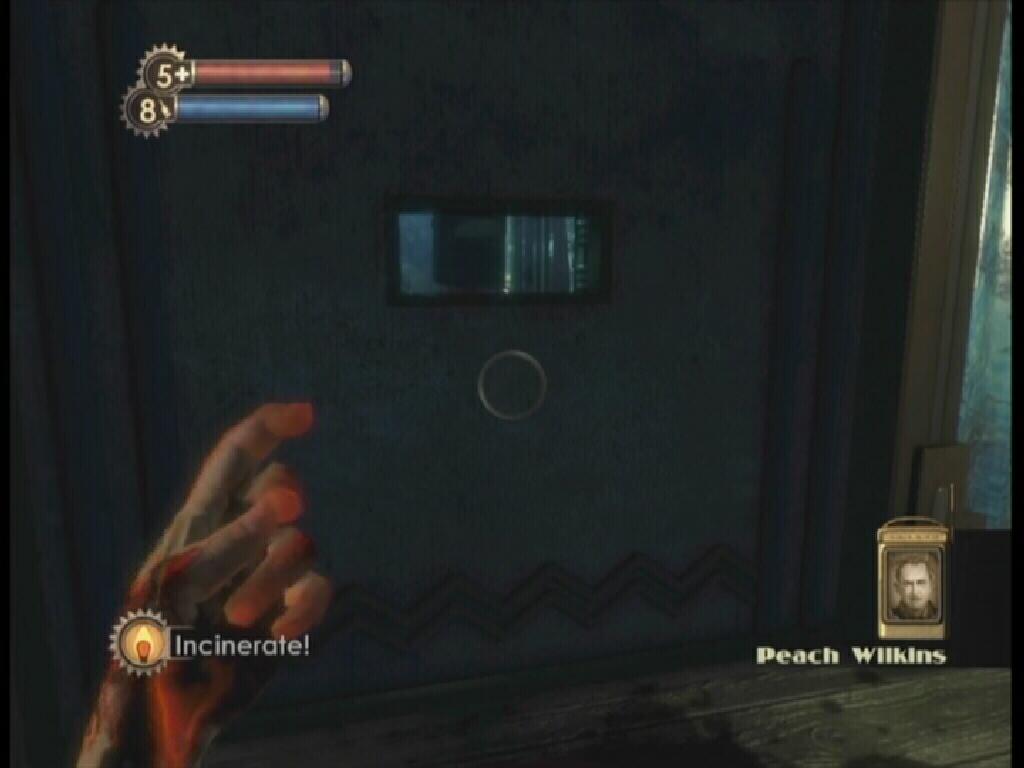
Peach Wilkins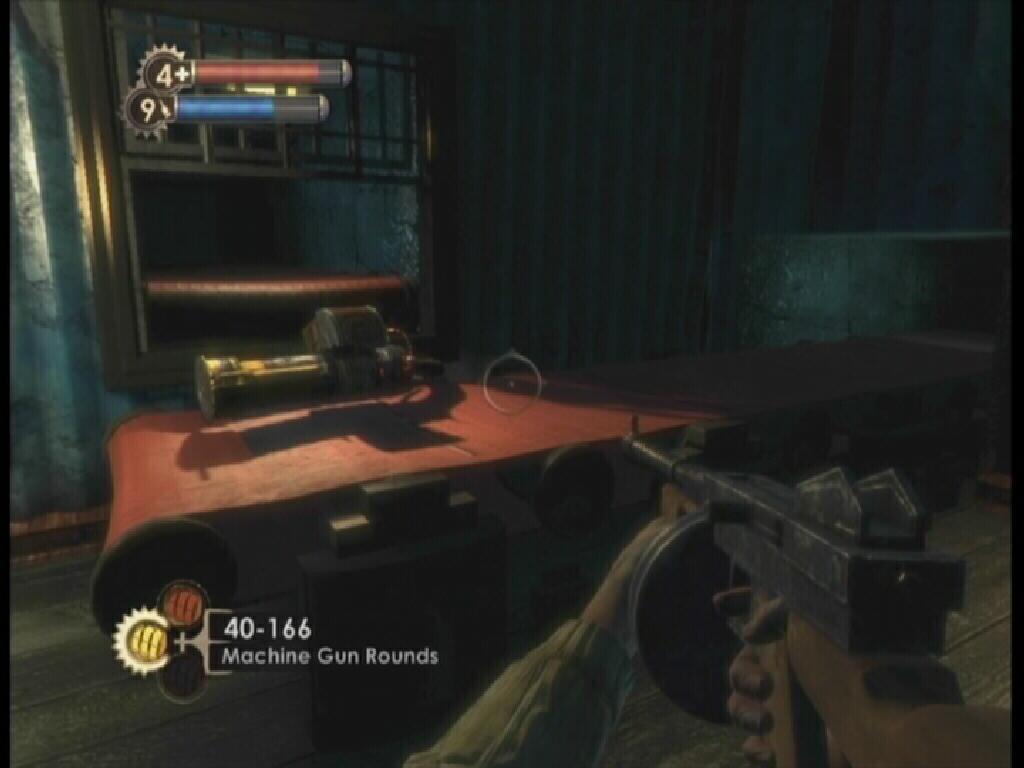
Grenade Launcher
Finding The Research Camera
Back in the main part of Fontaine Fisheries, go through the doorway across from the Gene Bank station. The proceeding hallway is likely full of Nitro Splicers, have Telekinesis ready. As you turn the corner take a right into the small alcove. Crouch down and go through the hole in the grate. Follow this tunnel, you'll find an audio diary (Fontaine Must Go) and some ammo at its end. Continue following the hallway, the stairs at its end lead up to the Upper Wharf. An audio diary (Finding The Sea Slug) is on the table across from the entrance of this area.
A Big Daddy should be nearby, if not already in this area. First and foremost, clear the immediate vicinity of Splicers, then be sure that a Little Sister is with the Big Daddy. If there is no Little Sister in sight, follow the Big Daddy until he fetches one. There is an RPG Turret in this room, you can use it to your advantage by placing yourself behind the Big Daddy, in such a way that he is blocking you from the Turret's fire. The RPG turret aims for you, but instead connects with the Big Daddy. Rosie will promptly destroy the Turret once he takes damage from it, though at least you managed to knock off a bit of his health, and rid the area of the RPG turret. You can deal a fair amount of damage to Rosie with the weapon that you just recently acquired, the Grenade Launcher. If you run out of Frag/Proximity grenades, switch to the Shotgun and finish him off.
Big Daddy
From the entrance, turn left and move in this direction. Once you reach the falling water and hole in the wall, look down to see an audio diary (Masha Come Home). Search the corpse nearby and remove the audio diary (Picked Up Timmy H). Shoot the lock on the gate at the end of this room to destroy it allowing you to proceed. There is a Circus of Values vending station on the left, destroy the camera halfway up the stairs before approaching it. Pick up the audio diary (Watch Fontaine) next to the machine. Destroy the Security Camera on your way up the stairs.
Destroy the lock and continue through the gate. There are a few security units to deal with here: A Security Camera, Turret, and two RPG Turrets. First and foremost, destroy these annoyances. The first RPG Turret is to your right when you move past the Bot Shutdown Panel, simply use Telekinesis to launch its grenades back at it. You only need to do this a couple of times to destroy the turret.
Up ahead, there’s a Gun Turret and Security Camera are just around the corner. Hack or destroy the Gun Turret, do the same with the Security Camera. Destroy the second RPG turret just down the hall to the right of the Gun Turret. Crouch down and crawl through the vent to the left of the Gun Turret, quickly destroy the Security Camera in the top right corner to avoid activating the alarm. Plenty of ammo can be found in this room, as well as an audio diary (Have My Badge).
Moving on, destroy the second padlock and open the door. Crouch and move through the opening in the wall. Collect the ammunition and head down the hall. The room at the end of the hall contains the Research Camera. With the Camera, you can take pictures of your enemies.

Research Camera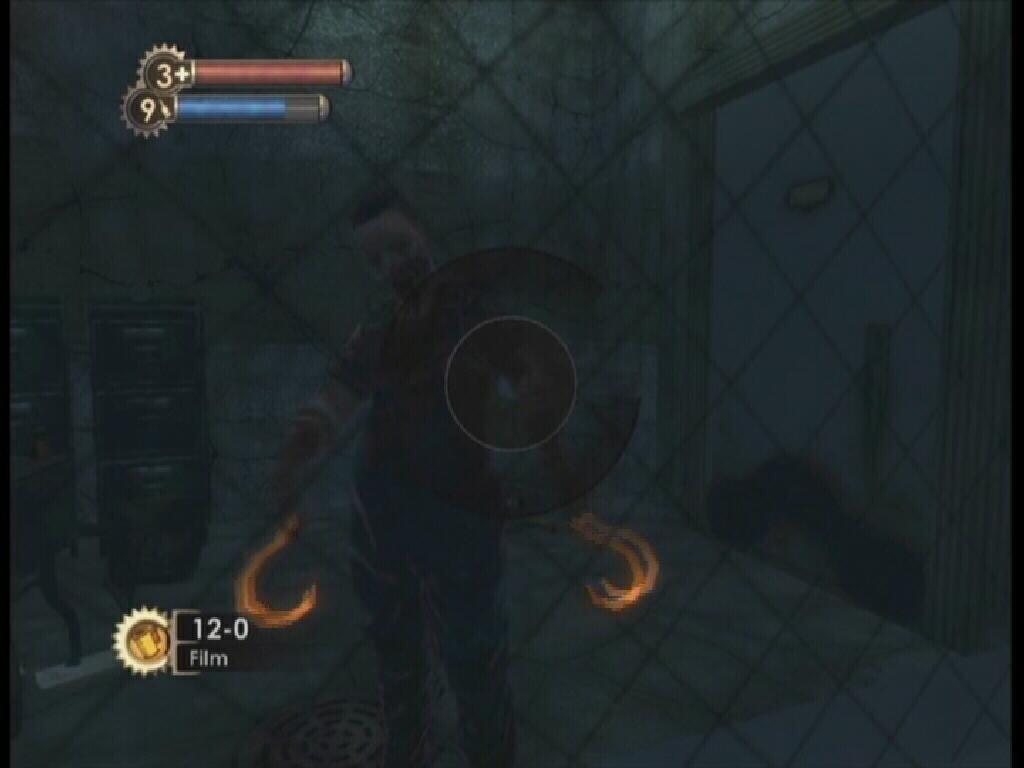
First Spider Splicer
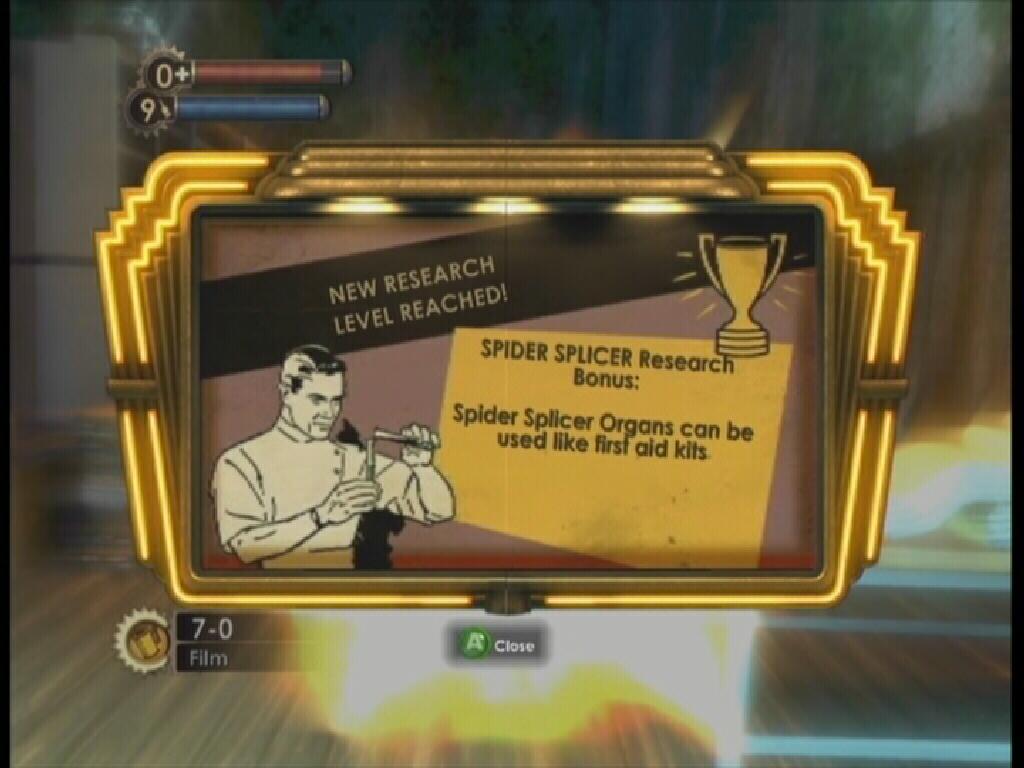
Researching your enemies is quite beneficial, each time you manage to fill the bar that is displayed at the bottom of the screen once you have taken a picture of a certain species, you reach a new Research Level. When you gain a research level, you earn a research bonus. This is an advantage that you gain over the particular species that you gained a level on. So, as an example, for gaining a Spider Splicer research level, the damage you deal to them is increased. Not only that, but at a certain level for some species, you may even receive a tonic.
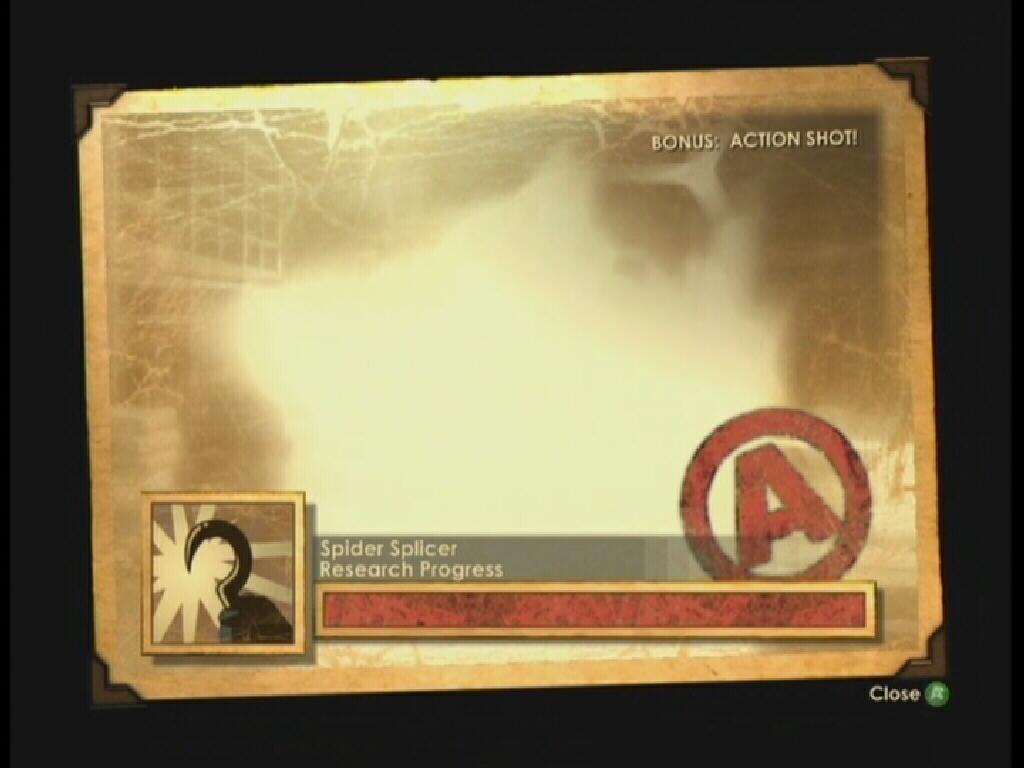
Research
Bonuses are earned for taking an "Action" shot, which means that the enemy is attacking you when you snap the picture. The amount of points that you receive for taking the picture of an enemy will decrease as you take more pictures of that particular enemy. Also, taking a picture of a dead enemy yields less points. Eventually, no more photos of that enemy can be taken. When that point is reached, you'll have to find a fresh subject if you wish to continue researching that species.
Research Level
From this point on, it is HIGHLY recommended that you take pictures of each species that you encounter until you have attained the highest research level. You gain great bonuses, making dealing with certain enemies much easier. Be sure to take pictures of all types of Splicer, Big Daddies (Rosie and Bouncer), Little Sisters, Security Bots, Gun Turrets/RPG Turrets, and Security Cameras. A number of Xbox 360 achievements require researching your enemies to unlock.
Photographing the Spider Splicers
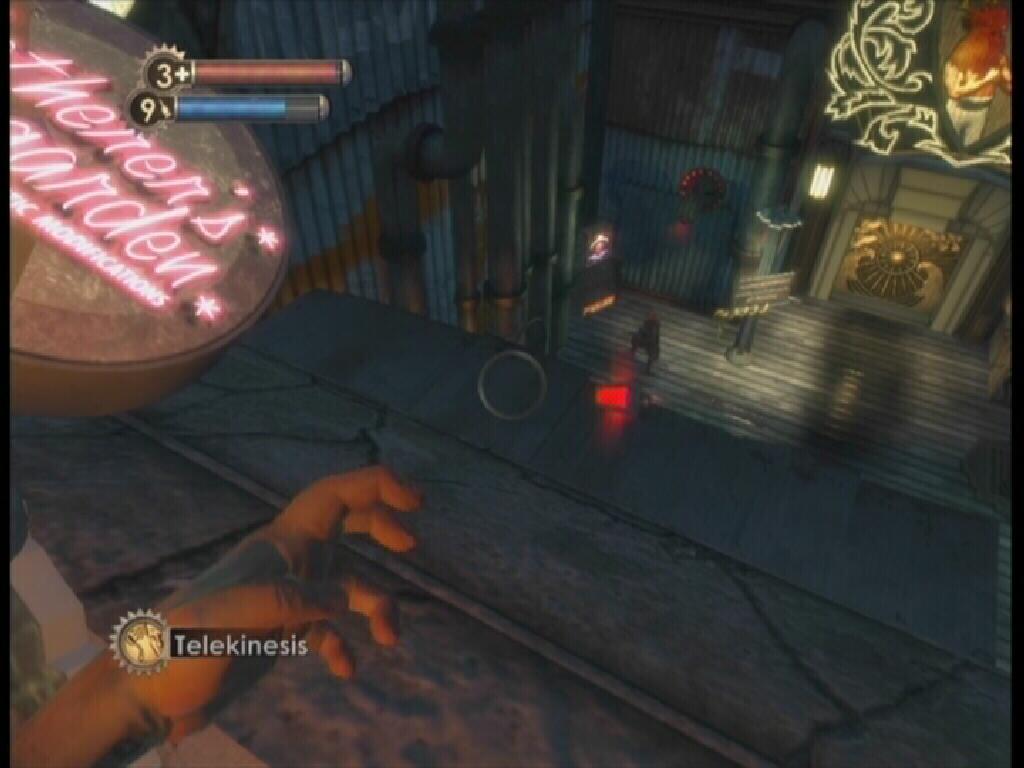
Peach Wilkins wants you to take pictures of three different Spider Splicers, then bring them back to him. The first Spider Splicer can be captured on film right after you obtain the Camera. The picture can be taken through the window to the right of the desk. Leave this room, approach the broken Gatherer's Garden machine, turn right and retrieve the "Security Bullseye" plasmid that's on the awning. Try it out on the Splicer near the Security Camera down below. Hop down off of the awning, move towards the crate to your right and pick up the audio diary (ADAM Discovery). Moving on, proceed through the door under the "Fighting McDonagh's Tavern" sign. As soon as you enter, move forward and pick up the audio diary (Eden Leaking).
Security Bullseye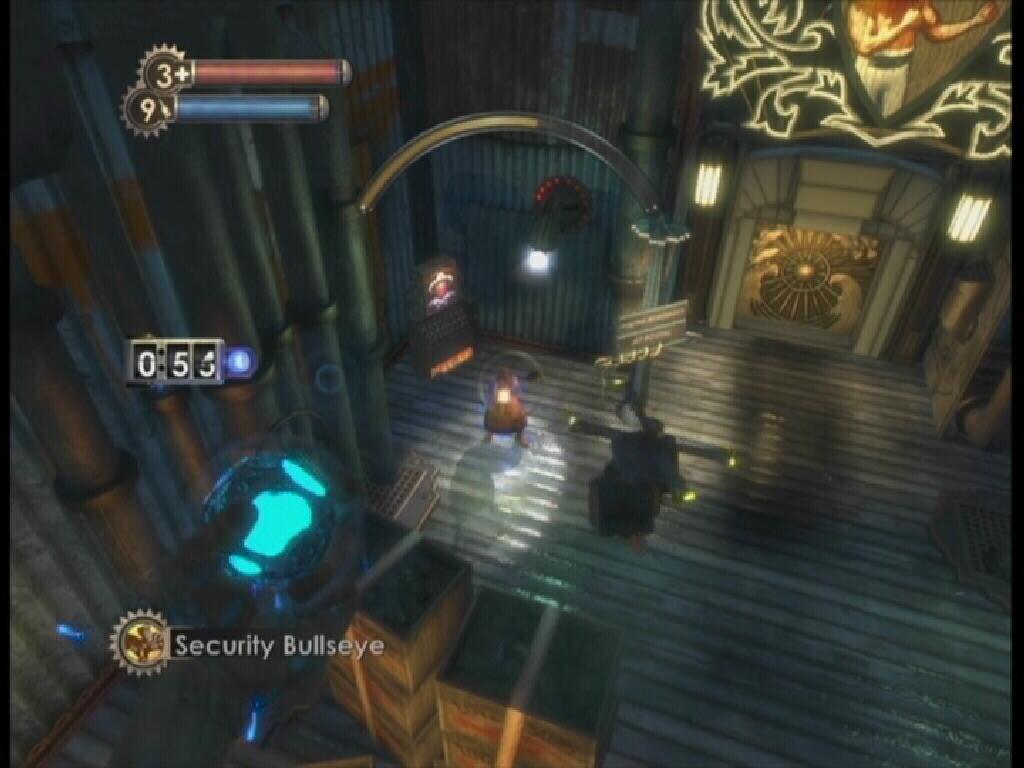
Enemy Targeted
Press on through the next area. Keep an eye on your right as you move along, as an audio diary (Fontaine's Smugglers) sits on a bench. Careful, a Security Camera is attached to the wall just above this bench. Down the stairs, turn right and enter "Jet Postal." Upon entering, turn left. An audio diary (Death Penalty in Rapture) can be found on the table here. The second Spider Splicer can be found in the adjacent room. Be sure to take as many pictures of this Splicer as you can, to further your research. When you are unable to earn an adequate score for the pictures you take, kill the Spider Splicer.
Jet Postal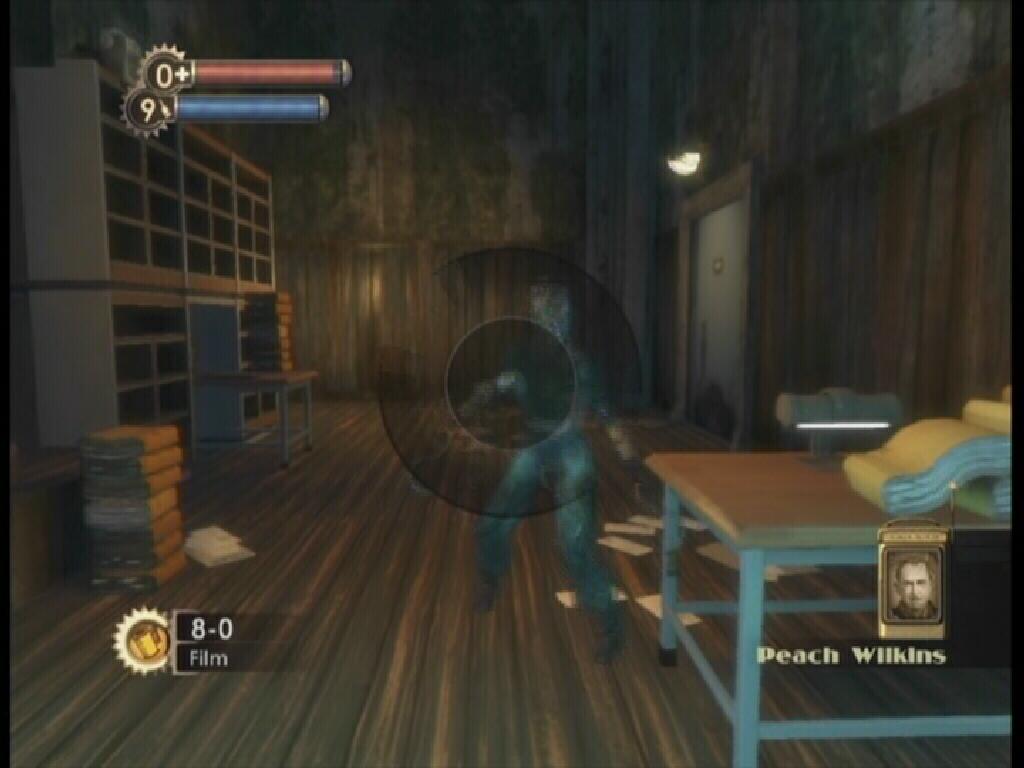
Second Spider Splicer
Once you have the photo, leave Jet Postal, walk to the door straight ahead and enter Fighting McDonagh's Tavern. Inside, you will encounter the final Spider Splicer, though it is somewhat difficult to snap his picture right off the bat. The Spider Splicer can be found by going up the stairs and entering in room 5. With that, you can return to Peach Wilkins in the Upper Wharf and present the three photos to him. Be sure to pick up the "Shorten Alarms" tonic in room 7 up the stairs. The code to enter this room is 7533.

Fighting McDonagh’s Tavern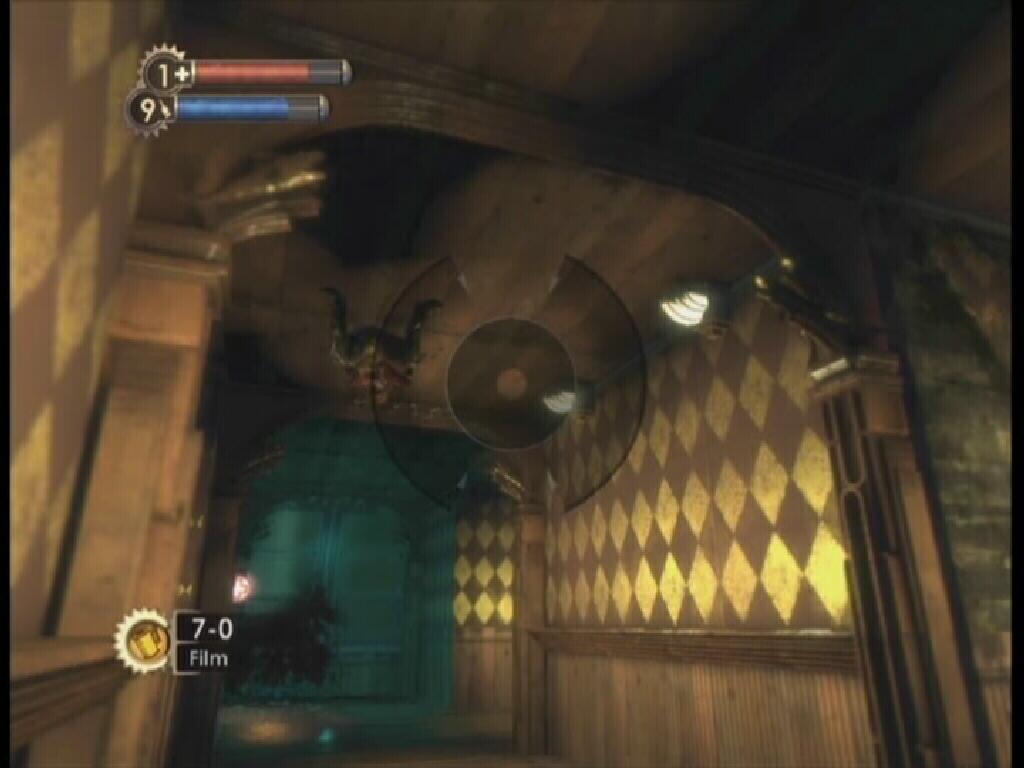
Final Spider Splicer
This paragraph and the one below it consist of the locations of several audio diaries. If you are not interested in collecting any audio diaries, skip ahead to the next section. From the Fighting McDonagh's Tavern entrance, step into the flooded area to the right. Crouch down and move through the opening in the wall. Standing on the threshold, look down to the corner on the right to find an audio diary (Meeting Ryan). Enter the main section of the tavern, retrieve the audio diary (Smuggling Ring) on the table straight ahead. Move on to the round table by the windows towards the back of the bar, an audio diary (Working Late Again) can be found on this table.
Use Electro Bolt to zap the door control next to the shut door behind the bar table and enter the basement. Go through the door that is in front of you. There is an audio diary (Rapture Changing) in this room on the table to the right. Now head up the stairs. Another audio diary (Arresting Fontaine) can be found is in room 6, use Electro Bolt on the door control to open it. There is another audio diary (Saw Masha Today) in room 7. The door can be opened either by hacking the keypad or entering the correct code. The code is 7533, as heard in the "Masha Come Home" audio diary. Be sure to take the "Shorten Alarms" tonic in this room, too.
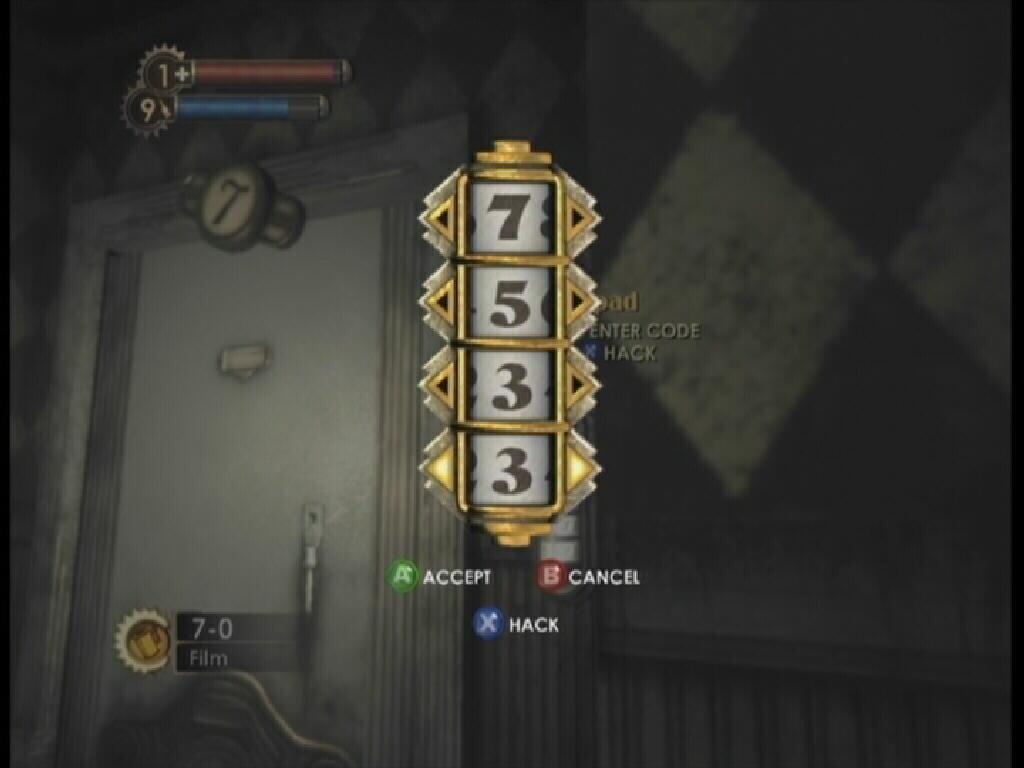
Room 7 Keypad Code
Back to the Fishery
It's time to backtrack. On your way back to the Fishery, you will encounter another Big Daddy. As with the others, if no Little Sister is in sight, follow the Big Daddy until he finds one. Now would be a good time to take pictures of both Rosie and the Little Sister for your research. Once you have either harvested or rescued the Little Sister, continue following the arrow. Keep an eye out for the yellow "Wrench Lurker" tonic, it's on a ledge near the Gene Bank station.
Wrench Lurker
On your way to Peach Wilkins' position, you'll encounter the "Elite" Spider Splicer. She's tough, but if you've been researching all of the other Spider Splicers encountered thus far, the bonuses gained from reaching higher research levels should help. When you have killed her, knock on the metal door that Peach Wilkins is behind. After giving Peach the photographs, the door opens. To the left of the door, the "Focused Hacker" Engineering tonic is stuck in some ice. Use Incinerate to melt the ice, which will allow you to pick up the tonic.
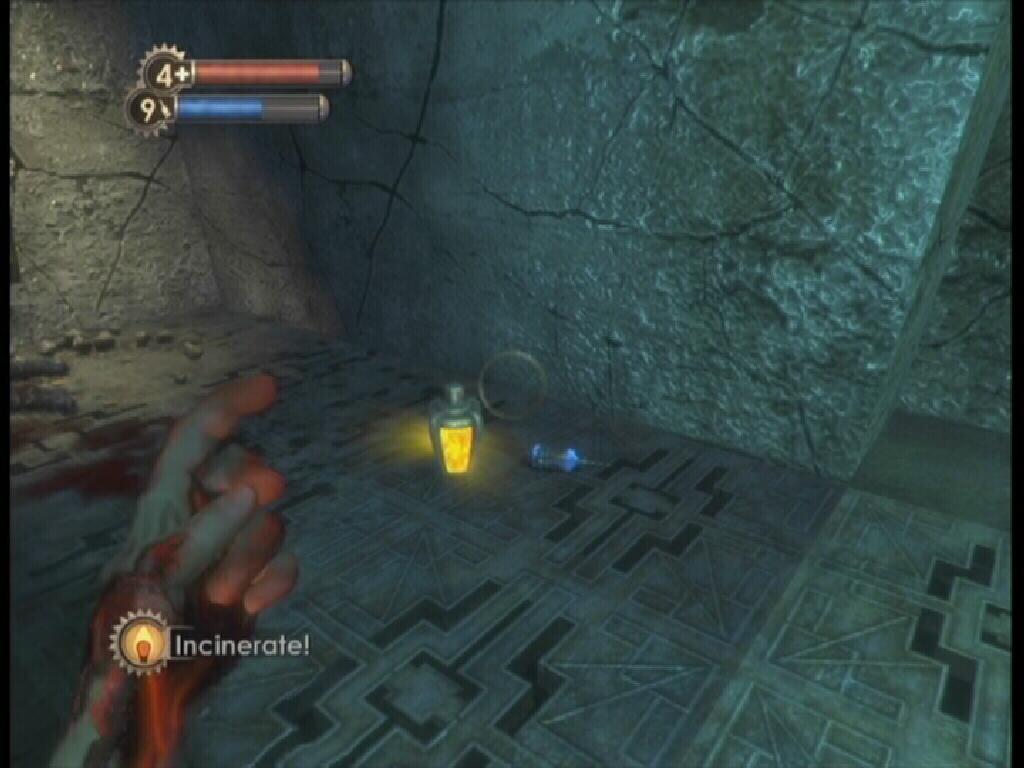
Focused Hacker
Peach Wilkins
Before you can proceed, you are required to deposit all of your weapons into the Pneumatic Tube by the door. You will be getting your weapons back later, don't worry about that. Continue on into the Freezer area. Peach Wilkins and a group of Splicers attack. You are without your weapons, though you still have your Plasmids. Peach throws Molotov cocktails to deal damage. Use his own weapon against him by using Telekinesis to toss the Molotov cocktails right back at him. Peach is surrounded by Leadhead Splicers, though they can be easily taken out with a wrench at this point. If you have Security Bullseye equipped, there is a Security Camera in this area. Hit Peach or one of his men to trigger the Security Bots.
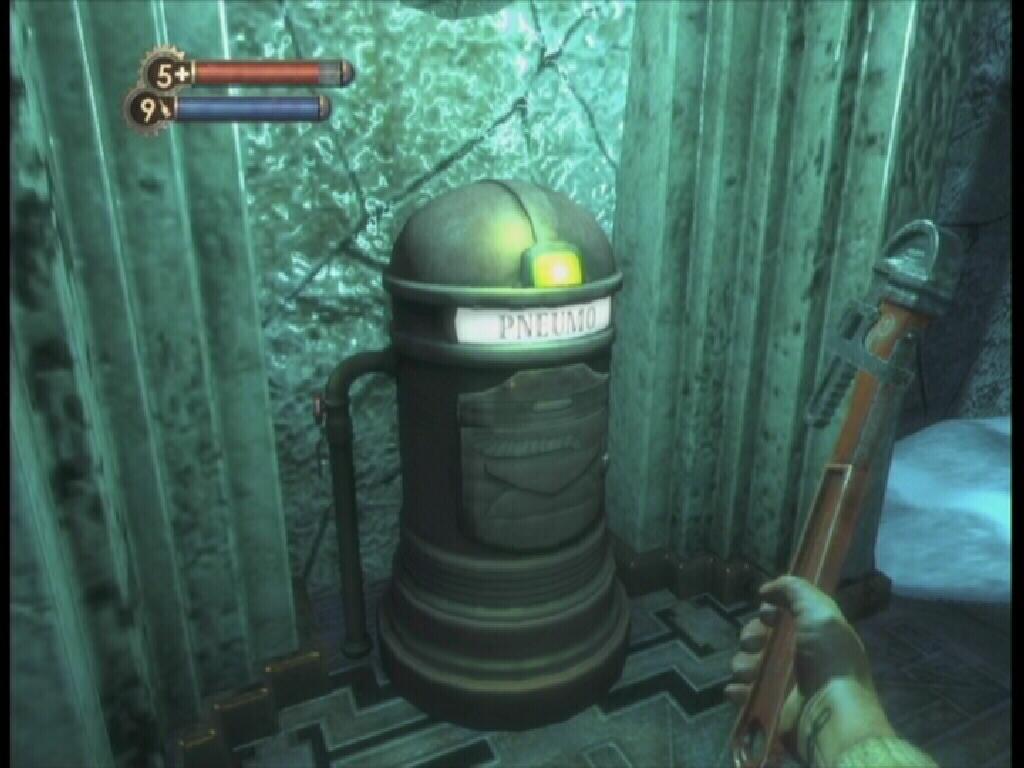
Pneumo Tube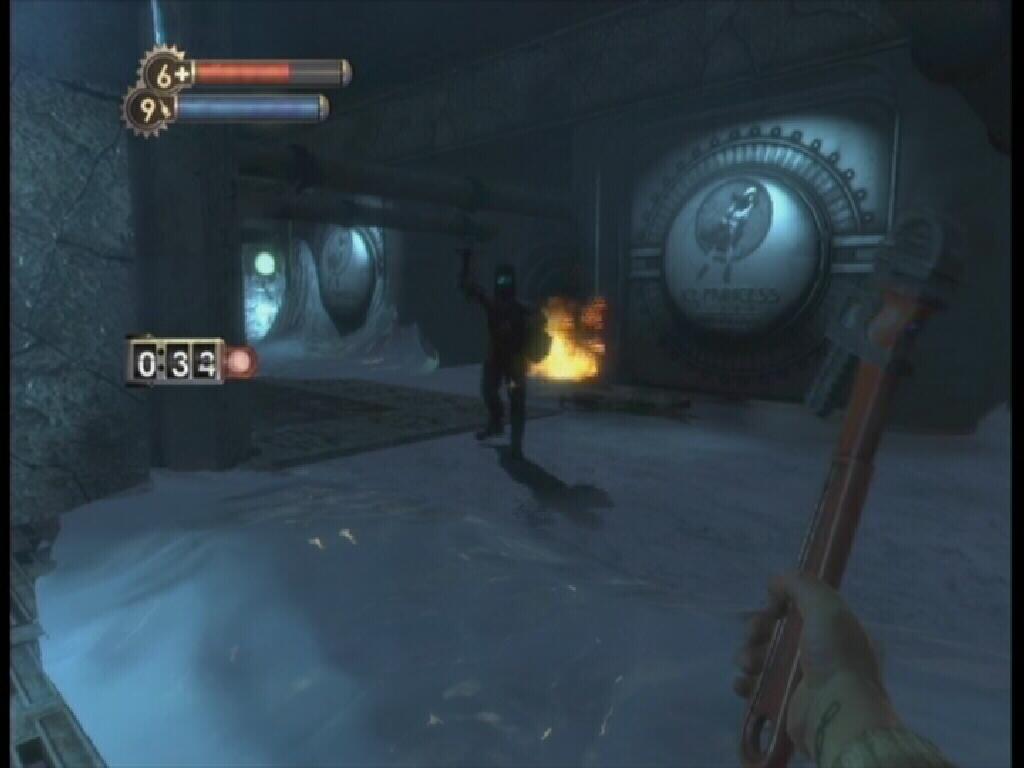
Peach
With Peach Wilkins out of the way, find the stairs and take them down to another Pneumatic Tube. Your weapons are inside of this tube. Continue down the stairs. At the bottom, approach the "Power to the People" Weapon Upgrade Station. With this machine, you can upgrade one of the current weapons in your inventory. However, the machine can only be used once, so you are limited to a single upgrade. There are other weapon upgrade stations in other levels, enough weapon upgrade stations to allow you to upgrade all of the weapons twice.
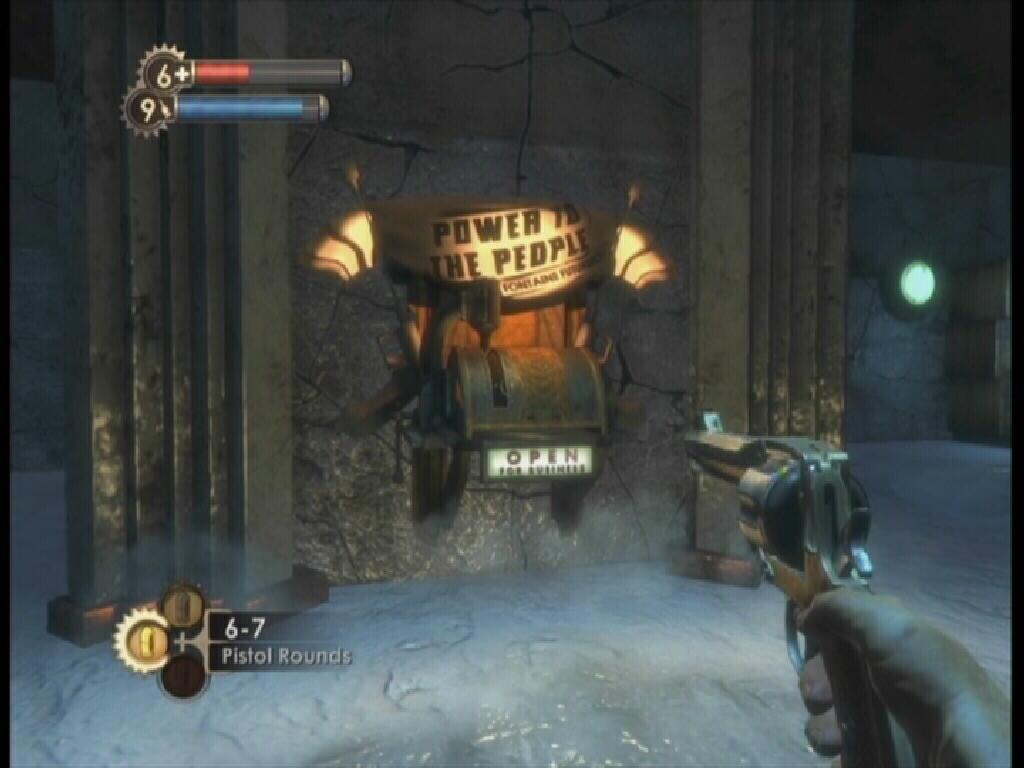
Power to the People
While facing the machine, turn left and go through the door. At the end of this area, on the table next to the safe, there is an audio diary (Putting the Screws On). Leave this room and walk to the door straight across from you. Use Incinerate to melt the ice blocking your path, follow the tunnel to its end to reach the next level.
No comments yet. Tell us what you think to be the first.